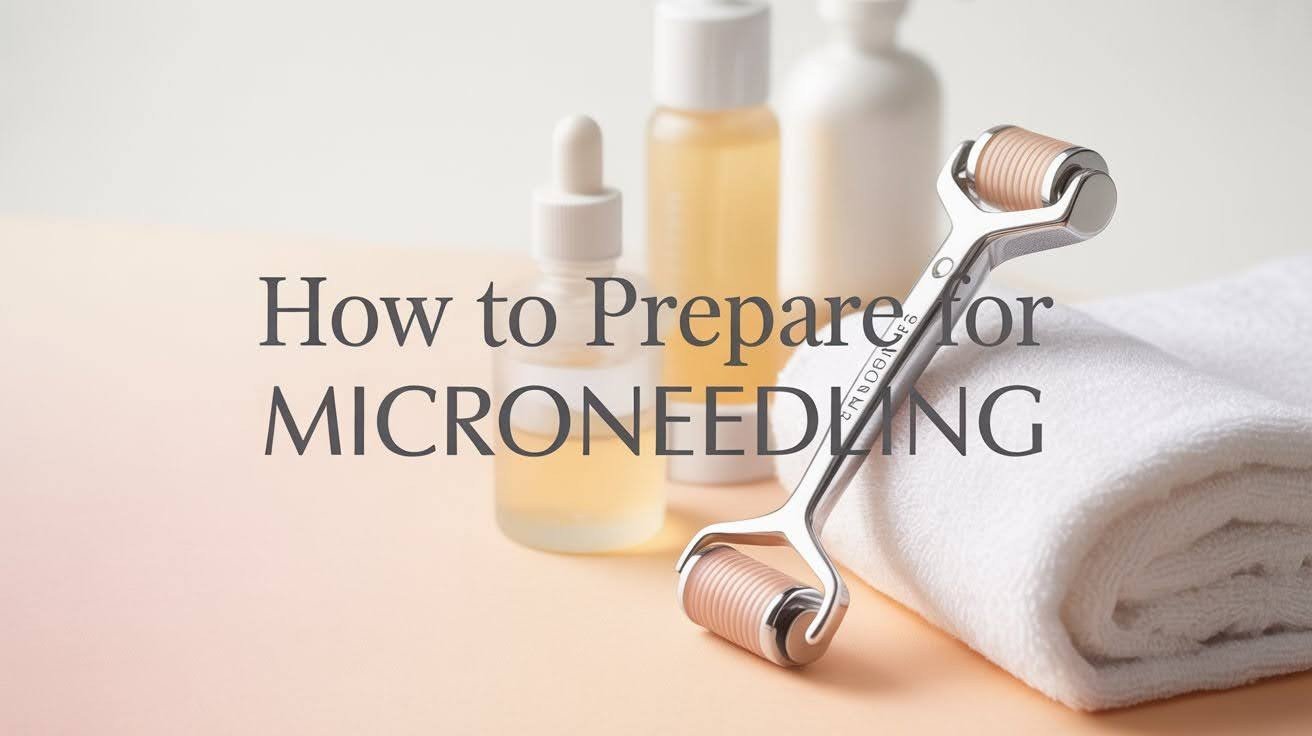
How to Prepare for Microneedling: Pre & Post Treatment Guide
Thinking about getting microneedling? You’re not alone. This popular treatment uses tiny needles to boost collagen and improve your skin’s texture, tone, and overall appearance.
But here’s the thing: proper preparation makes all the difference between good results and great ones.
Getting your skin ready before treatment and taking care of it afterward isn’t just about safety. It actually helps you get better, longer-lasting results.
This guide walks you through everything you need to know before your appointment, what happens on treatment day, and how to care for your skin as it heals. Let’s get started.
What is Microneedling?
A cosmetic procedure using fine needles to create micro-injuries, triggering your skin’s natural healing and collagen production for improved appearance.
How Microneedling Works
Microneedling is a skin treatment that creates tiny, controlled punctures in your skin using fine needles. These small injuries trigger your body’s natural healing response.
Your skin starts producing more collagen and elastin, two proteins that keep your skin firm and smooth.
The process sounds intense, but it’s actually quite safe when done by a trained professional. Many practitioners combine microneedling with other treatments for better results.
For example, adding PRP (platelet-rich plasma from your own blood) or radiofrequency energy can boost the effects even more.
Benefits of Microneedling
This treatment can address several common skin concerns:
- Reduces fine lines and wrinkles
- Fades acne scars
- Minimizes stretch marks
- Improves overall skin texture
- Evens out skin tone
- Creates a smoother, more youthful appearance
The best part? Results build over time as your skin produces more collagen in the weeks following treatment.
Pre-Treatment Instructions: How to Prepare Your Skin
Proper preparation helps ensure safe treatment and better results. Follow these steps to get your skin ready for microneedling.
1. General Skin Health Requirements
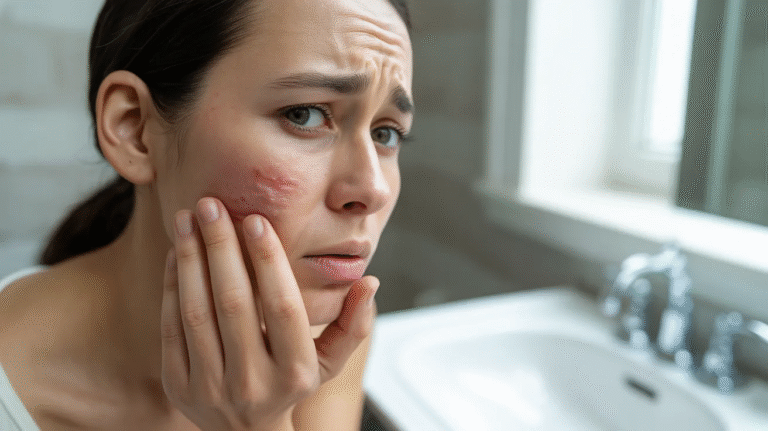
Your skin needs to be in good condition before microneedling. Avoid scheduling treatment if you have active infections, breakouts, cold sores, or eczema flare-ups. These conditions can spread or worsen during the procedure.
If your skin becomes irritated or inflamed before your appointment, call and reschedule. It’s better to wait until your skin is calm and healthy.
2. Sun and UV Exposure
Stay out of direct sunlight and skip tanning beds for at least 24 to 48 hours before your treatment. Sunburned or tanned skin is more sensitive and prone to complications.
If you must be outside, apply a broad-spectrum SPF to protect your skin. But remember, the less sun exposure, the better.
3. Skincare Product Restrictions
Stop using retinoids and acid-based products 5 to 14 days before your appointment. This includes glycolic acid, salicylic acid, and azelaic acid. These ingredients make your skin more sensitive and can cause irritation during treatment.
Also avoid exfoliants and any harsh skincare products in the days leading up to your session. Keep your routine gentle and simple.
4. Medications and Supplements
Certain medications and supplements can increase bleeding and bruising. Stop taking blood thinners like aspirin, fish oil, and Omega-3 supplements one week before treatment.
Avoid anti-inflammatory medications such as ibuprofen, Motrin, and Advil for three days prior. These can interfere with your body’s natural healing response.
Some people choose to take collagen supplements before treatment to support skin healing. This is optional but may help with recovery.
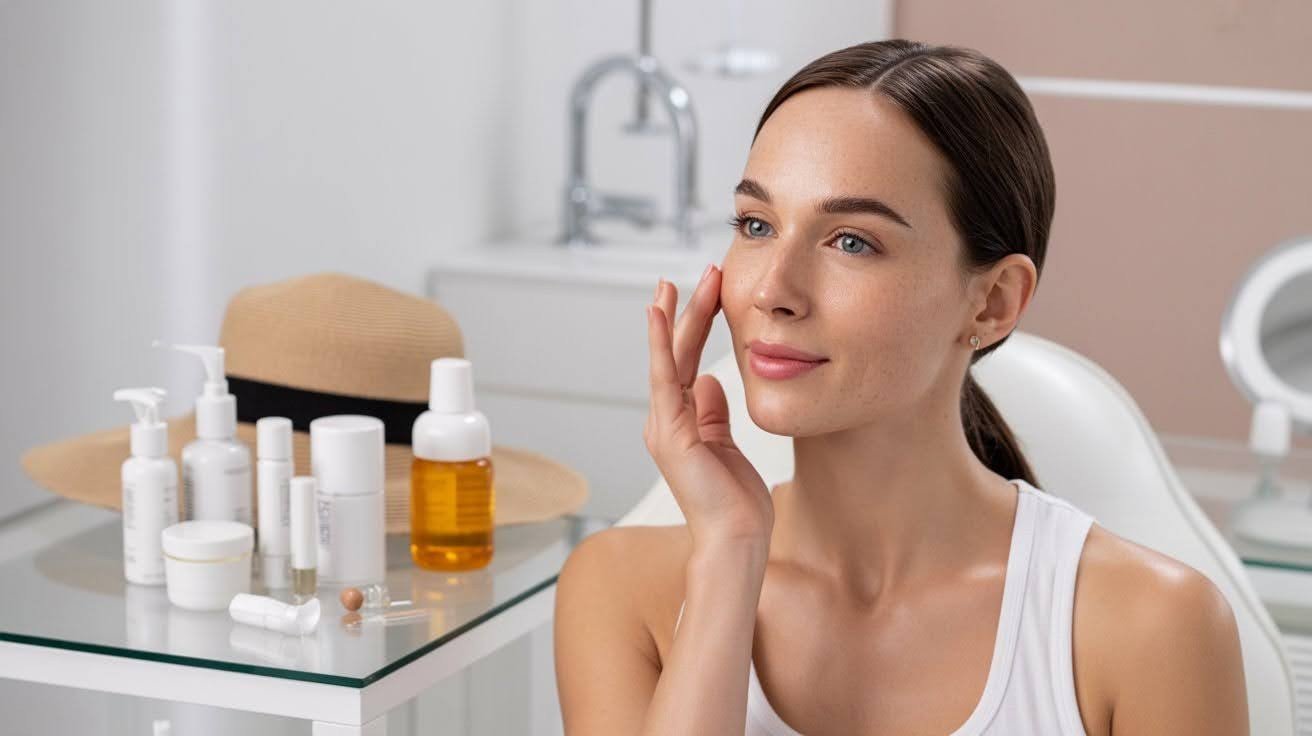
5. Day-of-Appointment Guidelines
Show up with a completely clean face. Remove all makeup, lotion, perfume, and sunscreen before you arrive. This helps prevent infection and allows the treatment to work properly.
Let your practitioner know about any changes in your medical history, new medications, or if you have cosmetic tattoos. These details matter for your safety.
If you have sensitive skin, you can take Tylenol before your appointment. Most clinics also offer topical numbing cream to keep you comfortable during the procedure.
What to Expect During Microneedling
Knowing what happens during your session can help ease any nervousness and prepare you for the experience.
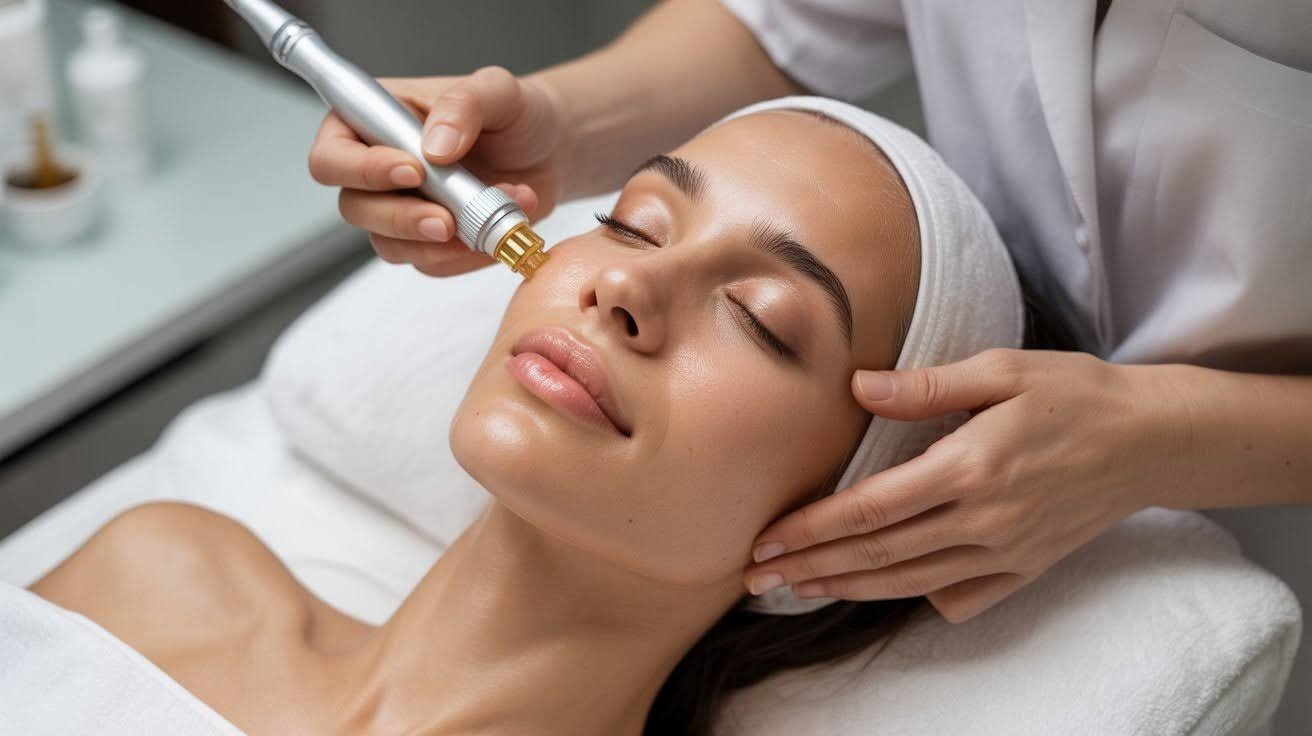
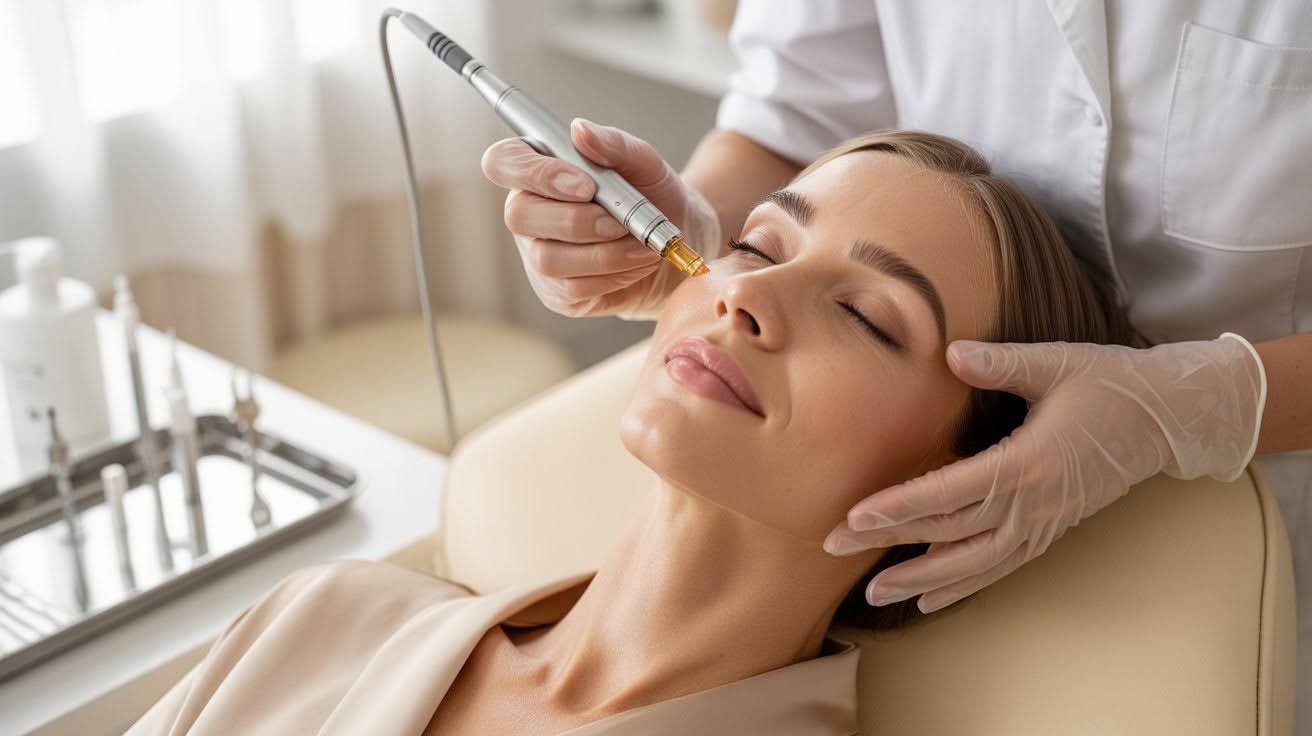
The Procedure
Your practitioner uses a device with tiny needles to create controlled punctures across your skin. These micro-injuries signal your body to produce more collagen.
Some treatments include PRP or radiofrequency energy for better results. The entire session typically takes 30 to 60 minutes, depending on the treatment area.
Sensations and Comfort
Most people describe the feeling as mild discomfort, like light pricking or scratching. Your practitioner will apply numbing cream beforehand to reduce any pain.
Many patients find the treatment quite tolerable with proper numbing.
Post-Treatment Instructions: Caring for Your Skin
Proper aftercare is crucial for healing and getting the best results from your microneedling treatment.
1. Immediate Post-Care (Day 1-3)
Redness, swelling, and mild bruising are completely normal after treatment. Your skin will look flushed, similar to a sunburn.
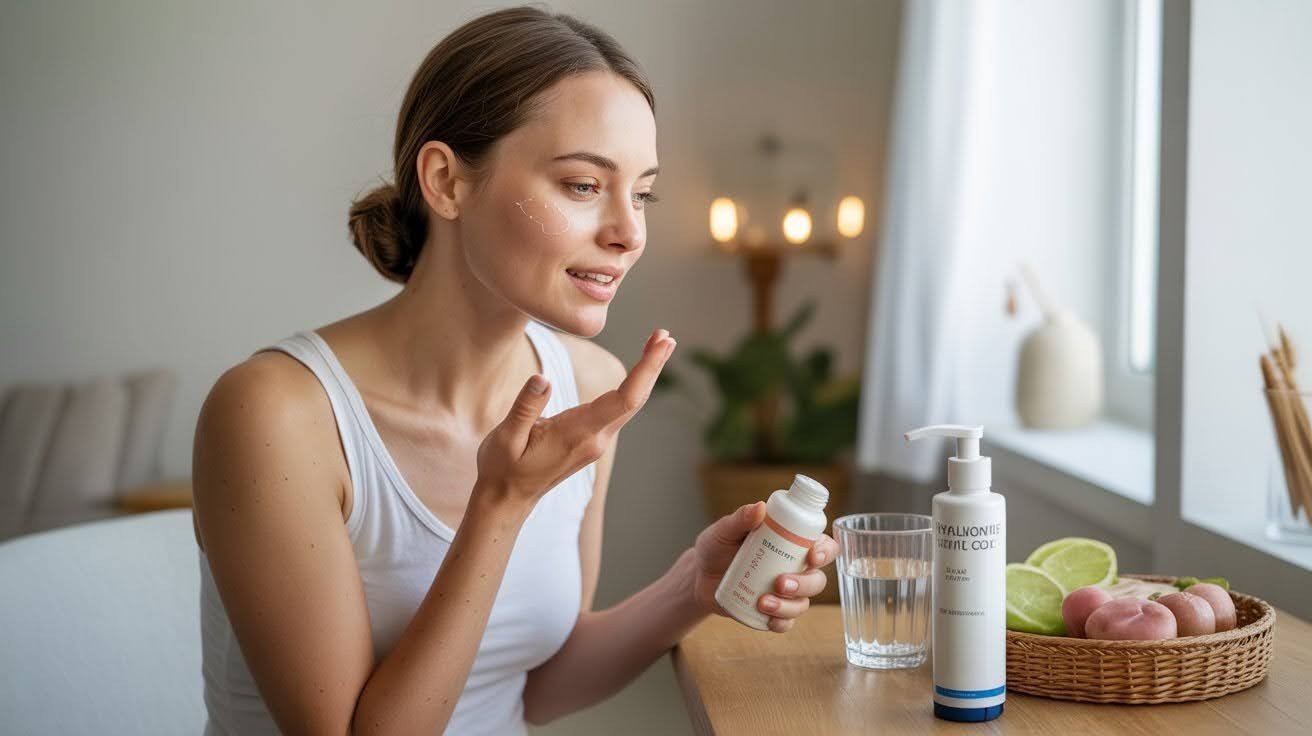
Avoid hot water, steam, sweating, and heat during this time. Stick to lukewarm water when cleansing your face. Use a gentle cleanser and moisturize with hyaluronic acid or simple, fragrance-free creams.
Don’t take anti-inflammatory medications or apply ice to your face. These can interfere with your skin’s natural healing process.
2. Short-Term Recovery (Day 2-7)
You’ll likely notice peeling and flaking as your skin sheds old cells. This is a good sign that your skin is renewing itself.
Keep moisturizing gently, but don’t scrub or exfoliate the flaking skin. Let it come off naturally.
After 24 hours, you can use mineral makeup or Oxygenetix if you need coverage. Choose products that won’t irritate your healing skin.
3. Sun Protection and Activity Restrictions
Stay out of direct sunlight for at least one week. Your skin is extra sensitive right now and prone to damage.
Wear SPF 30 or higher every day, even if you’re staying indoors. Avoid swimming, activities that cause sweating, and harsh chemicals on your skin.
4. Dietary and Lifestyle Tips
What you eat can support your skin’s healing. Some people take collagen supplements, drink bone broth, or have tart cherry juice to reduce inflammation.
Try to limit excessive sugar, dairy, and inflammatory foods during recovery. These can slow down healing and increase inflammation.
Expected Results and Maintenance

Understanding the timeline and commitment helps you set realistic expectations for your microneedling results.
Timeline for Results
You might notice some initial improvement within 24 to 72 hours after treatment. However, this is temporary and mostly due to swelling.
True results become visible in 2 to 4 weeks as your skin produces new collagen. Your skin continues improving for several months after treatment.
Number of Treatments Needed
The number of sessions depends on your specific skin concerns.
For pigmentation issues or dull skin, you’ll typically need 1 to 2 sessions. Anti-aging concerns and fine lines usually require 3 to 5 sessions for optimal results.
Scars need more intensive treatment. Depending on severity, you may need 3 to 8 sessions to see significant improvement.
Maintenance and Longevity
Start with treatments once a month until you achieve your desired results. After that, maintenance sessions every 2 to 4 months help preserve your improvements.
Consistent sun protection and a good skincare routine are essential. These habits protect your investment and help results last longer.
Conclusion
Microneedling can really improve your skin, but the secret to great results isn’t just the treatment itself. It’s how well you prepare beforehand and take care of your skin afterward.
These steps might seem like a lot, but they make a huge difference in keeping you safe and comfortable while giving you the results you’re hoping for.
Your skin deserves this level of care. When you’re ready to start, find a qualified provider you trust. They’ll look at your unique skin concerns and help you figure out the best plan. It’s worth taking that first step.
Frequently Asked Questions
How long before microneedling should I stop using retinol?
Stop using retinol and other retinoids 5 to 14 days before your appointment. This prevents excessive skin sensitivity and reduces the risk of irritation during treatment.
Can I wear makeup after microneedling?
Wait at least 24 hours before applying makeup to your treated skin. When you do, choose mineral-based products or gentle formulas like Oxygenetix that won’t clog your pores.
How soon will I see results from microneedling?
You may notice temporary improvement within 24 to 72 hours due to swelling. Real, lasting results appear in 2 to 4 weeks as your skin produces new collagen.
Is microneedling painful?
Most people experience mild discomfort, similar to light pricking or scratching. Your provider applies numbing cream before treatment, which makes the procedure much more comfortable.
How many microneedling sessions do I need?
It depends on your skin goals. Pigmentation issues may need 1 to 2 sessions, while fine lines require 3 to 5 treatments. Deeper scars often need 3 to 8 sessions for best results.