Blush Application Guide: Perfect Techniques for Every Face
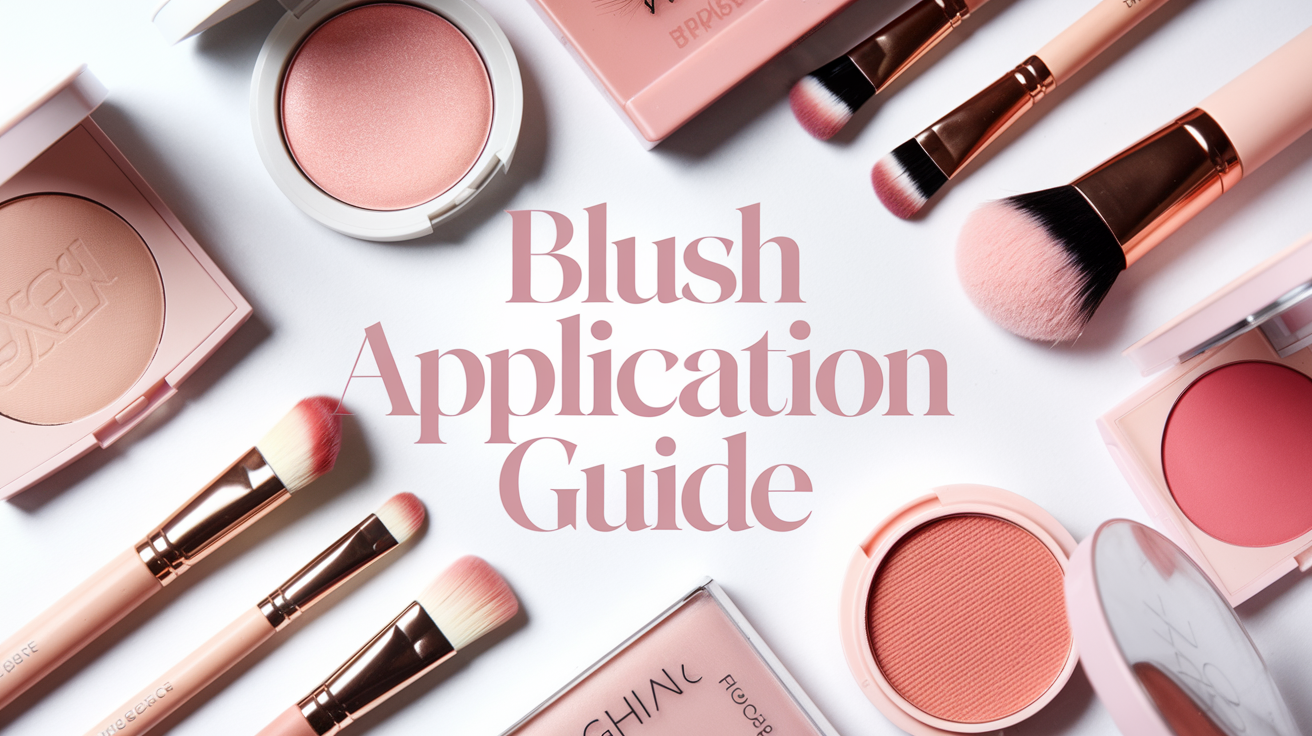
Struggling with a blush application that looks patchy or unnatural? You’re not alone.
I’ve spent years perfecting blush techniques. I’ve made every mistake possible. From clown-like cheeks to barely-there color that disappears in photos.
This guide will solve your blush problems.
You’ll learn:
- Face shape techniques that actually work
- Formula choices for your skin type
- Shade selection that complements you
- Step-by-step application methods
- Common mistakes to avoid
I’ve tested hundreds of products and techniques. I’ve worked with makeup artists and beauty experts. This isn’t theory, it’s proven methods.
By the end of this article, you’ll master blush application. No more guessing. No more frustration. Just a beautiful, natural-looking color that enhances your features.
Ready to improve your makeup routine?
Understanding the Role of Blush in Makeup

Think of blush as your face’s best friend. It adds warmth. It creates dimension. It makes you look healthy and awake.
Here’s what good blush application does:
- Mimics natural flush
- Lifts your cheekbones
- Balances your features
- Adds youthful glow
Without blush, even a perfect foundation can look flat. With it, you look like you just came back from a refreshing walk. The key is making it look natural. Like it’s coming from within.
The Best Blush Application for Every Face Shape
Your face shape changes everything about blush placement. What works for your friend might not work for you. And that’s perfectly normal.
Round Face

Your goal: Create length and definition.
Apply blush higher on your cheekbones. Start at the apple of your cheeks and blend upward toward your temples. Skip the center of your cheeks. This prevents adding width where you don’t want it.
Pro tip: Use a slightly darker shade for more sculpting effect.
Square Face
Your goal: Soften sharp angles.
Focus on the apples of your cheeks. Apply in circular motions and blend well. Keep the color away from your jawline. You want to draw attention to the center of your face.
Avoid: Harsh lines or geometric shapes.
Oval Face

Lucky you! Oval faces work with almost any blush placement.
The classic method works perfectly. First, find the apple of your cheeks. Then apply in circular motions. Finally, blend upward toward your hairline.
You can experiment with different techniques without worry.
Heart-Shaped Face

Your goal: Balance a wider forehead with a narrower chin.
Apply blush lower on your cheeks. Focus on the apples and blend downward slightly. This creates visual weight in the lower half of your face.
Avoid: Placing blush too high on your cheekbones.
Choosing the Right Blush Formula

There are three main types of blush: powder, cream, and liquid. Each has its place in your makeup routine.
| Formula | Best For | Application Tips |
| Powder | Oily skin, long wear, beginners | Use fluffy brush, tap off excess, build slowly |
| Cream | Dry skin, natural finish, mature skin | Apply with fingers, blend quickly, set with powder |
| Liquid | All skin types, natural look, mixing | Use sparingly, blend fast, work in sections |
My personal recommendation? Start with powder. It’s the most forgiving and easiest to control. Once you master powder blush application, you can experiment with cream and liquid formulas.
Blush Shades That Complement Your Skin Tone
The wrong shade can make you look sick. The right shade makes you glow.
Fair Skin
Best shades:
- Soft pinks
- Peachy tones
- Light corals
- Berry shades (for evening)
Avoid: Orange-based colors that clash with your undertones.
Medium Skin
Best shades:
- Warm corals
- Apricot tones
- Rose shades
- Burnt orange
Avoid: Colors that are too pale or too dark for your natural flush.
Dark Skin
Best shades:
- Deep berries
- Plum tones
- Bright corals
- Orange-reds
Avoid: Ashy or too-light shades that won’t show up properly.
Universal tip: Your lip color after biting them is usually your perfect blush shade.
Step-by-Step Guide: Flawless Blush Application

Ready to put it all together?
Step 1: Start with clean, moisturized skin. Apply your base makeup first.
Step 2: Choose your brush. A fluffy, angled brush works best for powder blush.
Step 3: Tap your brush in the blush. Then tap off the excess on the back of your hand.
Step 4: Smile naturally. This helps you find the apples of your cheeks.
Step 5: Apply blush to the apples using gentle, circular motions.
Step 6: Blend upward toward your temples. Use light, feathery strokes.
Step 7: Step back and check your work. Add more if needed.
Step 8: Blend any harsh edges with a clean brush.
Remember: You can always add more. You can’t easily take it away.
Common Blush Application Mistakes (And How to Fix Them)
I’ve made every blush mistake in the book. Learn from my errors.
Mistake #1: Applying too much at once.
Fix: Build color gradually. Start with less than you think you need.
Mistake #2: Wrong brush choice.
Fix: Use a fluffy, medium-sized brush. Not too small, not too dense.
Mistake #3: Placing blush too low.
Fix: Apply to the apples of your cheeks, not your jaw area.
Mistake #4: Forgetting to blend.
Fix: Always blend edges. No harsh lines allowed.
Mistake #5: Matching your lipstick exactly.
Fix: Your blush should complement, not compete with, your lip color.
Pro Blush Hacks You’ve Never Tried (But Should)
These tricks will level up your blush game instantly.
Hack #1: The Two-Tone Technique Use a lighter shade on the apples and a slightly deeper shade on your cheekbones. This creates dimension.
Hack #2: The Layering Method Apply cream blush first, then dust powder blush on top. This combo lasts all day.
Hack #3: The Draping Technique applies blush from your temples down to your cheekbones. This creates a lifted, sculpted look.
Hack #4: The Ombre Blend Start with a light hand at the apples and gradually build intensity toward your hairline.
Hack #5: The Lip Connection Extends your blush slightly toward your lips. This creates a cohesive, polished look.
Conclusion
Blush application doesn’t have to be intimidating anymore.
You now know the exact techniques for your face shape. You understand which formulas work best for your skin type. You can choose shades that make you glow naturally.
The secret is starting simple. Master the basics first. Build your skills gradually. Don’t rush the process.
Remember that less is always more when applying blush. You can build color slowly. Blending is your best friend. Your face shape determines your technique.
Practice makes perfect. Every time you apply blush, you’re getting better. Some days will be easier than others. That’s completely normal.
Your perfect blush look is waiting for you. You have all the tools and knowledge to create it. Start today and watch your confidence grow with every application.
Frequently Asked Questions
Should I apply blush before or after setting powder?
Apply blush after setting powder for the best results. This prevents the blush from looking patchy or uneven on your base makeup.
Can I use eyeshadow as blush in a pinch?
Yes, but only matte eyeshadows in suitable shades. Avoid shimmer or glitter eyeshadows as they can look unnatural on your cheeks.
How do I make my blush last longer throughout the day?
Use a cream blush as your base, then dust powder blush on top. This layering technique creates a long-lasting, natural flush that won’t fade.
What’s the biggest difference between drugstore and high-end blush?
High-end blushes often have better pigmentation and smoother blending. However, many drugstore options work just as well with proper application techniques.
Can I wear blush if I have acne or sensitive skin?
Absolutely! Choose non-comedogenic formulas and clean your brushes regularly. Blush can actually help draw attention away from problem areas when applied correctly.
