Grunge Egirl Makeup: 35 Dark Academia Beauty Ideas

Stuck trying to master grunge egirl makeup? You’re not alone.
This look seems effortless. But getting that perfect messy-on-purpose vibe? That’s harder than it looks.
Here’s what you’ll find in this guide:
- 35 different makeup techniques for eyes, lips, and face
- Step-by-step tutorials with real product recommendations
- Common mistakes to avoid (and how to fix them)
- Styling tips to complete your look
I’ve spent years perfecting these looks. Tested dozens of products. Made every mistake in the book. Now I’m sharing everything that actually works.
No fluff. No impossible techniques. Just proven methods that create that authentic grunge egirl look you’re after. If you’re new to alternative makeup or want to level up your current style, this guide solves your biggest challenges.
Ready to change your look?
From Cobain to Clicks: The Evolution of Grunge Egirl Style
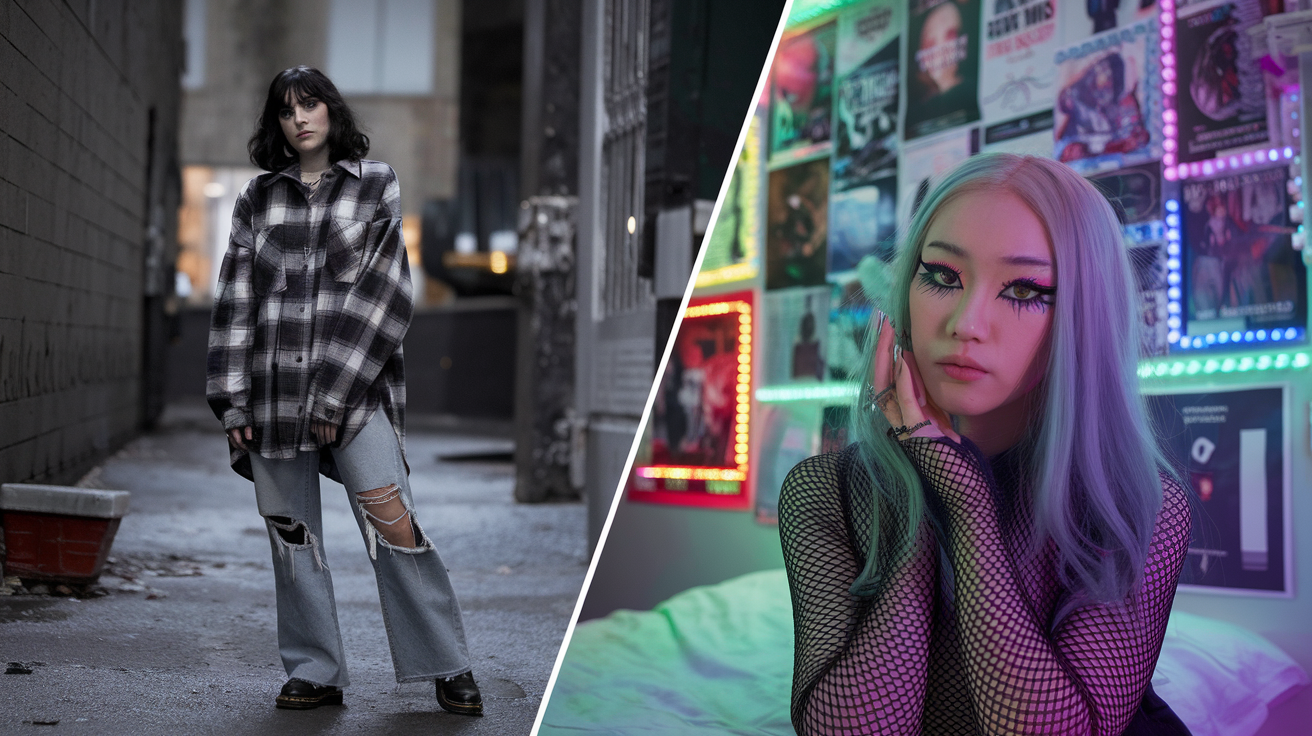
The 90s grunge scene gave us flannel shirts and Doc Martens. But today’s egirls? They took that rebellious spirit and made it digital.
Think Kurt Cobain meets TikTok.
The original grunge look was about rejecting beauty standards. Egirls kept that energy but added their own twist:
- Anime-inspired elements
- Digital age accessories
- Social media ready angles
This isn’t your mom’s grunge phase. It’s evolved.
35 Grunge Egirl Makeup Ideas
1. Smudged Kohl Liner with Red-Tinted Waterline

Start with black kohl pencil. Draw thick lines around your eyes. Now here’s the trick: smudge it. Use your finger or a brush. Make it look like you slept in it.
Add red liner to your waterline. This creates that “tired but cool” vibe.
- Best kohl pencils: Urban Decay 24/7, NYX Professional Makeup
- Smudging tools: small flat brush or clean finger
- Red liner alternatives: burgundy, dark pink, or brown-red
2. Reverse Smokey Eye with Metallic Silver
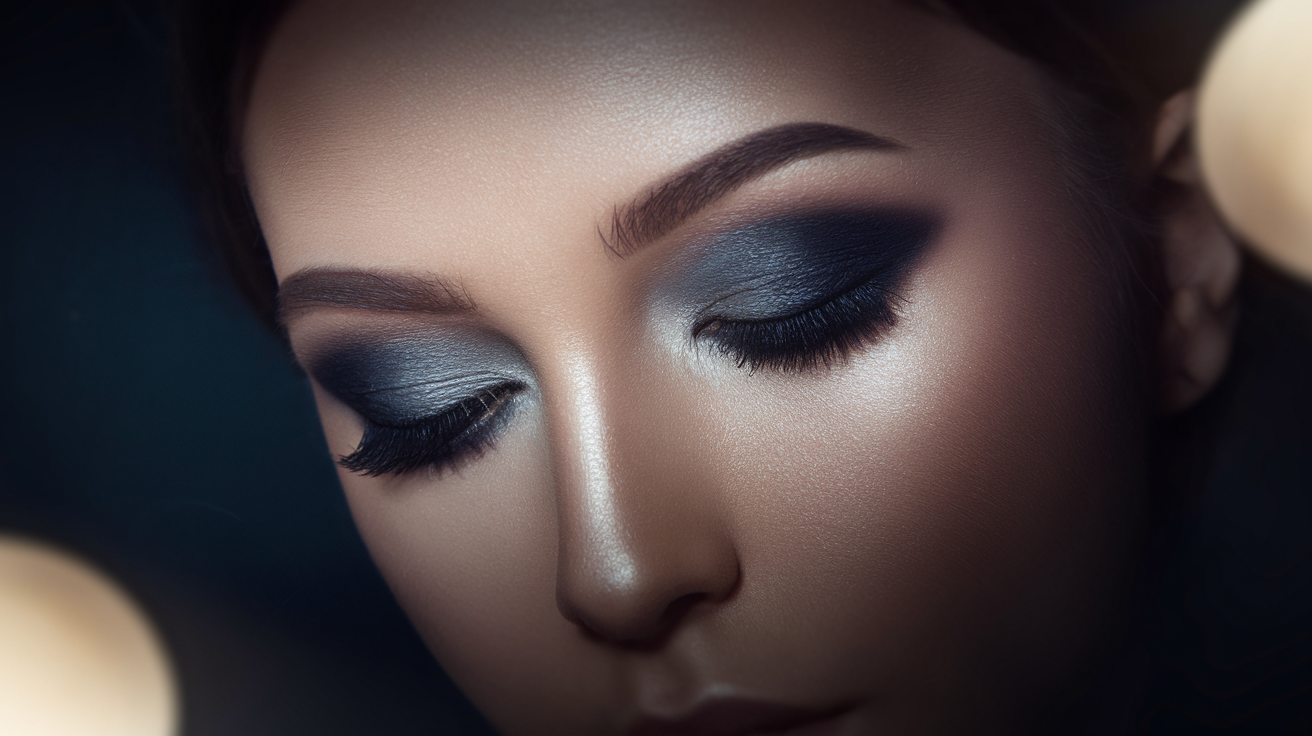
Forget everything you know about smokey eyes. Put the dark color on your lid. Light color goes in the crease.
Add metallic silver to the inner corner. It pops against the darkness.
- Dark shades to try: charcoal grey, deep purple, navy blue
- Light crease colors: champagne, light beige, soft pink
- Silver alternatives: white shimmer, light gold, pearl
3. Black Cut Crease with Glitter Tears
Create a sharp line above your crease with black eyeshadow. Keep the lid nude or white.
Now for the magic: glitter tears. Apply small dots of glitter below your eyes. Like you’re crying diamonds.
- Cut crease tools: flat shader brush, concealer, setting powder
- Glitter options: silver, holographic, clear with sparkles
- Application tip: use cosmetic glue for better staying power
4. Winged Liner + Bottom Lash Spikes

Draw your winged liner as usual.
But here’s where it gets interesting: bottom lash spikes.
Use liquid liner to draw individual lashes under your lower lash line. Make them different lengths.
- Liner types: felt tip, brush tip, gel liner with angled brush
- Spike lengths: vary between 2-5mm for natural effect
- Placement: focus on outer third of lower lash line
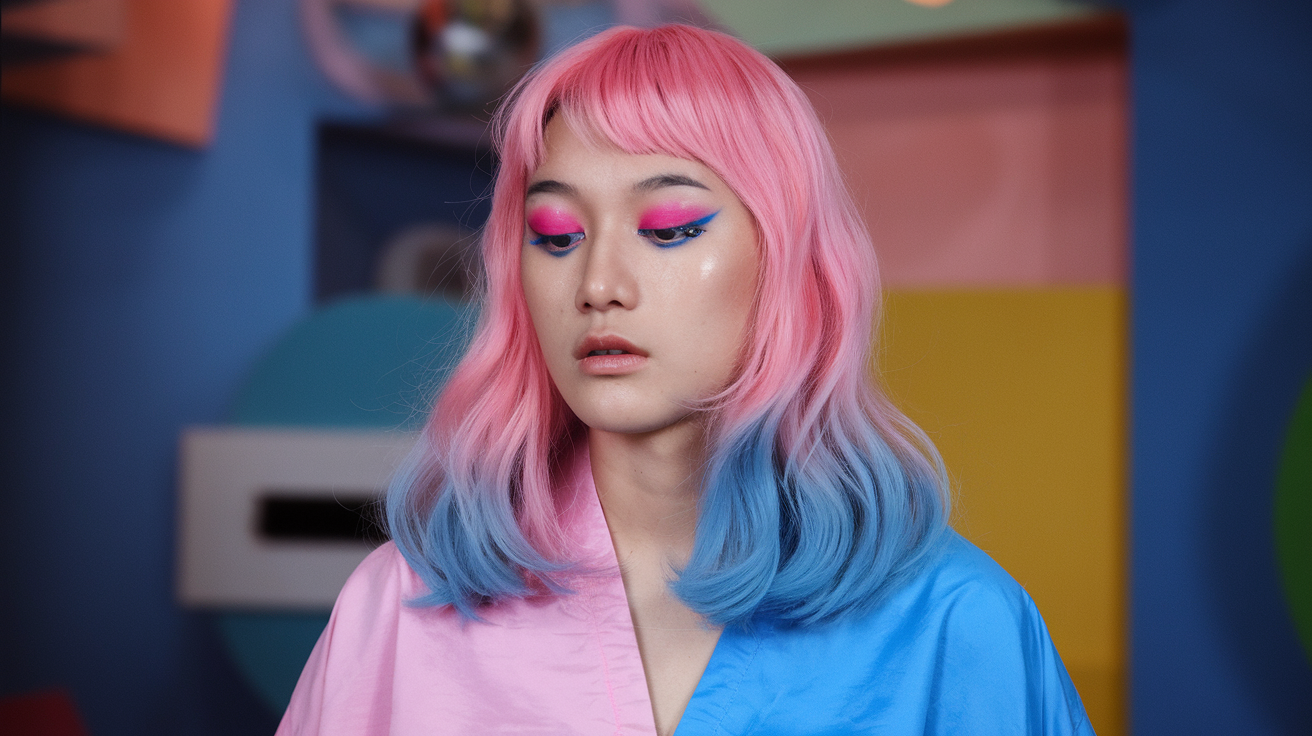
5. Purple-Pink Haze Eyeshadow
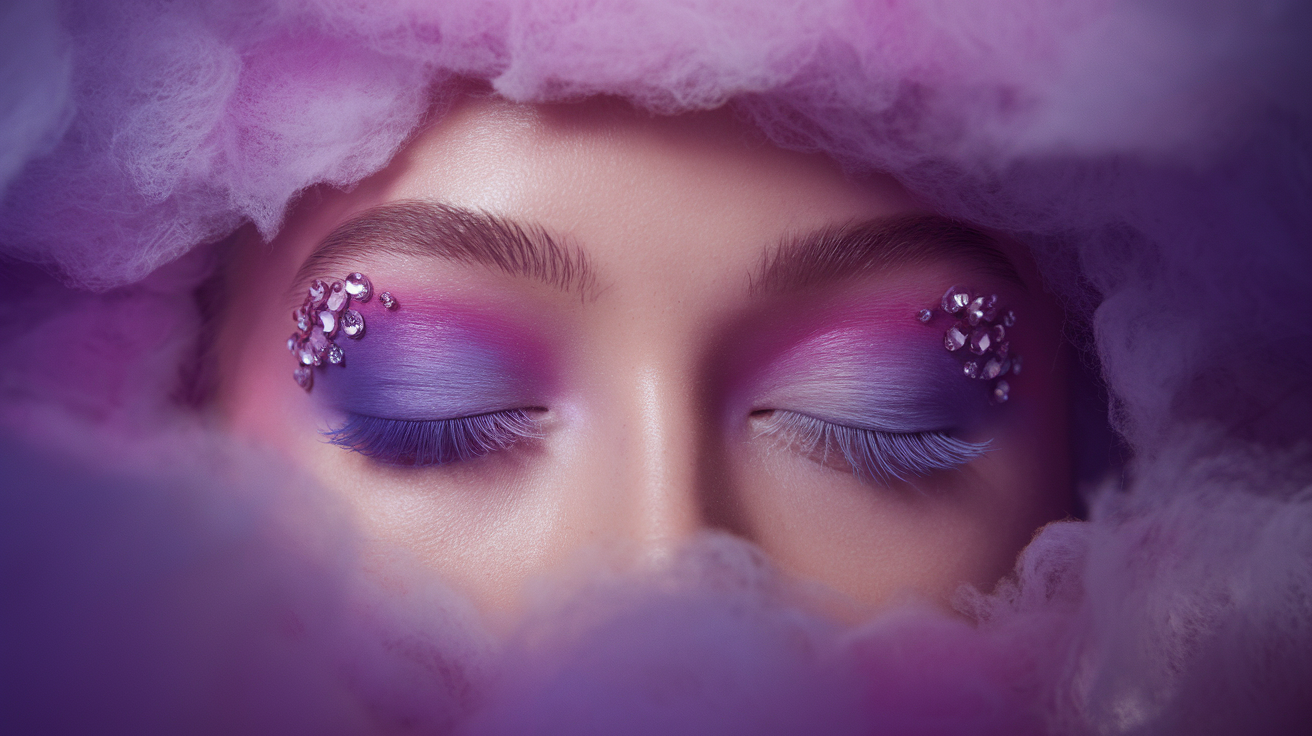
Blend purple and pink shadows together. No harsh lines. Think cotton candy meets bruise.
Keep it soft and dreamy.
- Purple shades: lilac, lavender, deep plum, violet
- Pink tones: dusty rose, mauve, berry, hot pink
- Blending brushes: fluffy dome brush, large shader
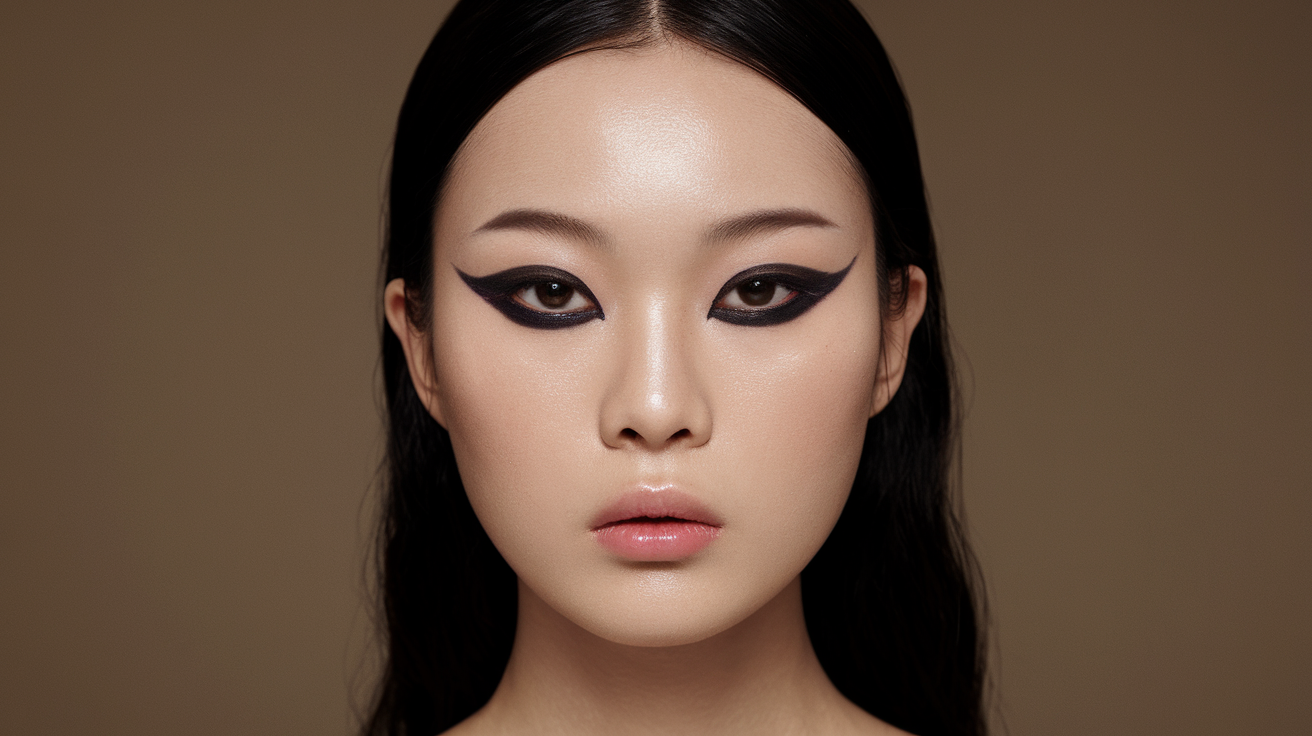
6. Graphic Liner with Broken Heart Motif

Draw a broken heart with liquid liner. Place it at the outer corner of your eye.
Keep the rest simple. Let the heart be the star.
- Heart placement options: outer corner, under eye, temple area
- Line thickness: start thin, build up gradually
- Color variations: red, black, white, or match your outfit
7. Grunge Halo Eye Using Grey & Black
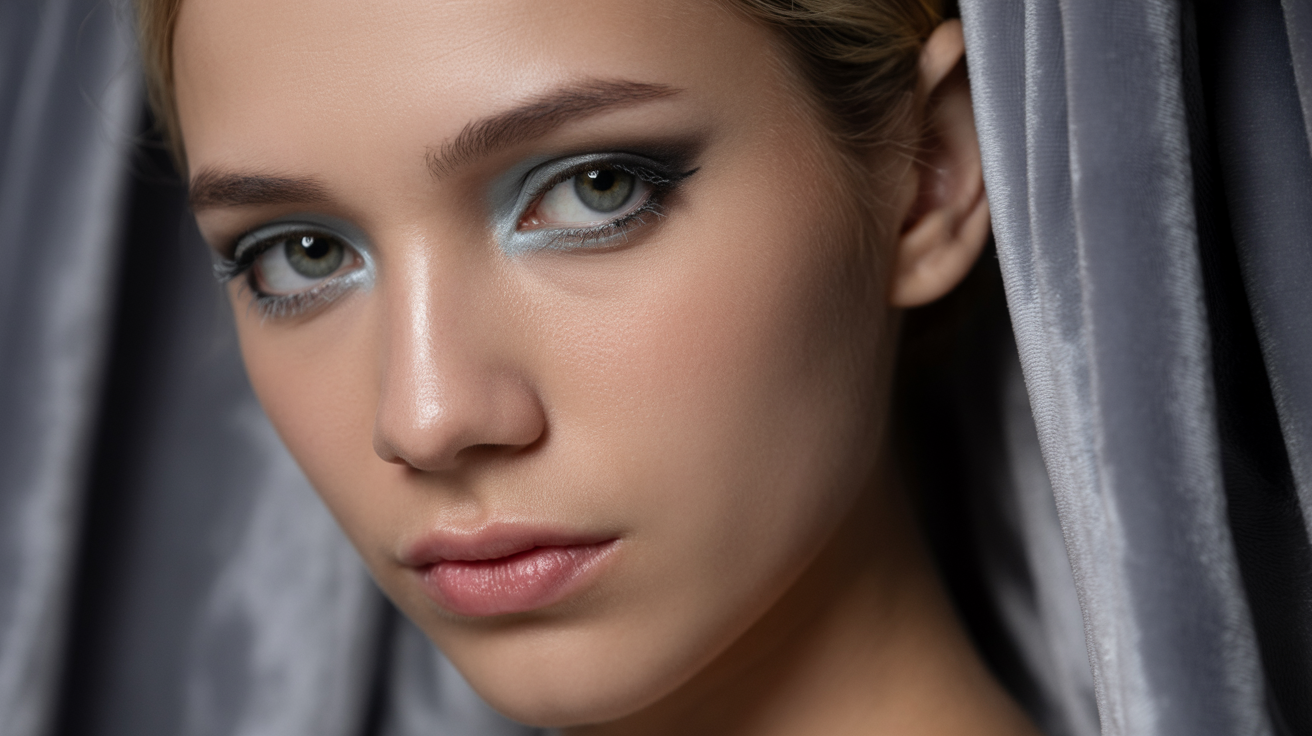
Halo eyes aren’t just for angels anymore. Use grey on the inner and outer corners. Black in the center of your lid.
Blend until it looks like storm clouds.
- Grey shades: ash grey, charcoal, silver-grey, warm grey
- Black placement: center of mobile lid only
- Blending direction: small circular motions outward
8. Smoked-Out Shadow with Studs/Gems

Create a messy smokey eye. Don’t worry about perfection.
Add small studs or gems around your eyes. Use lash glue to stick them on.
- Smokey colors: black, dark brown, deep green, navy
- Stud sizes: 2-4mm work best for eye area
- Placement areas: outer corner, under brow, cheekbone
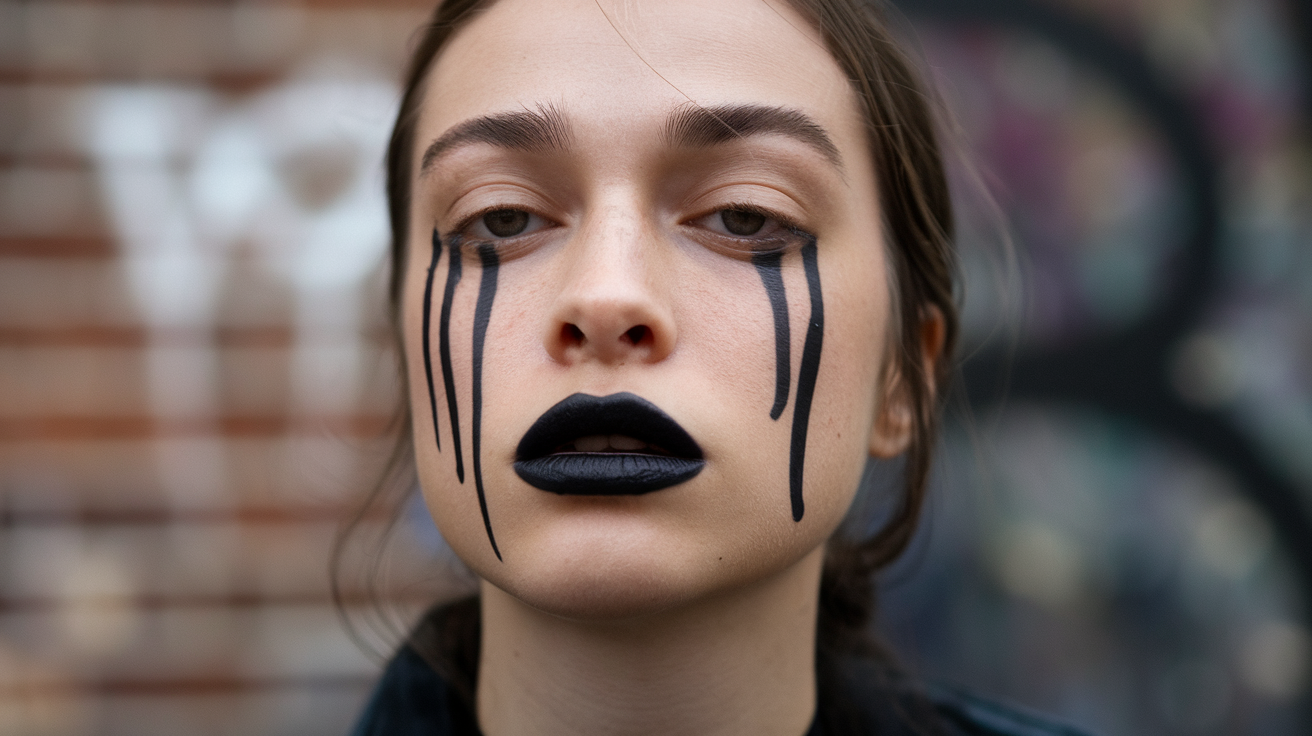
9. Blood-Drip Eyeliner for Cosplay Twist
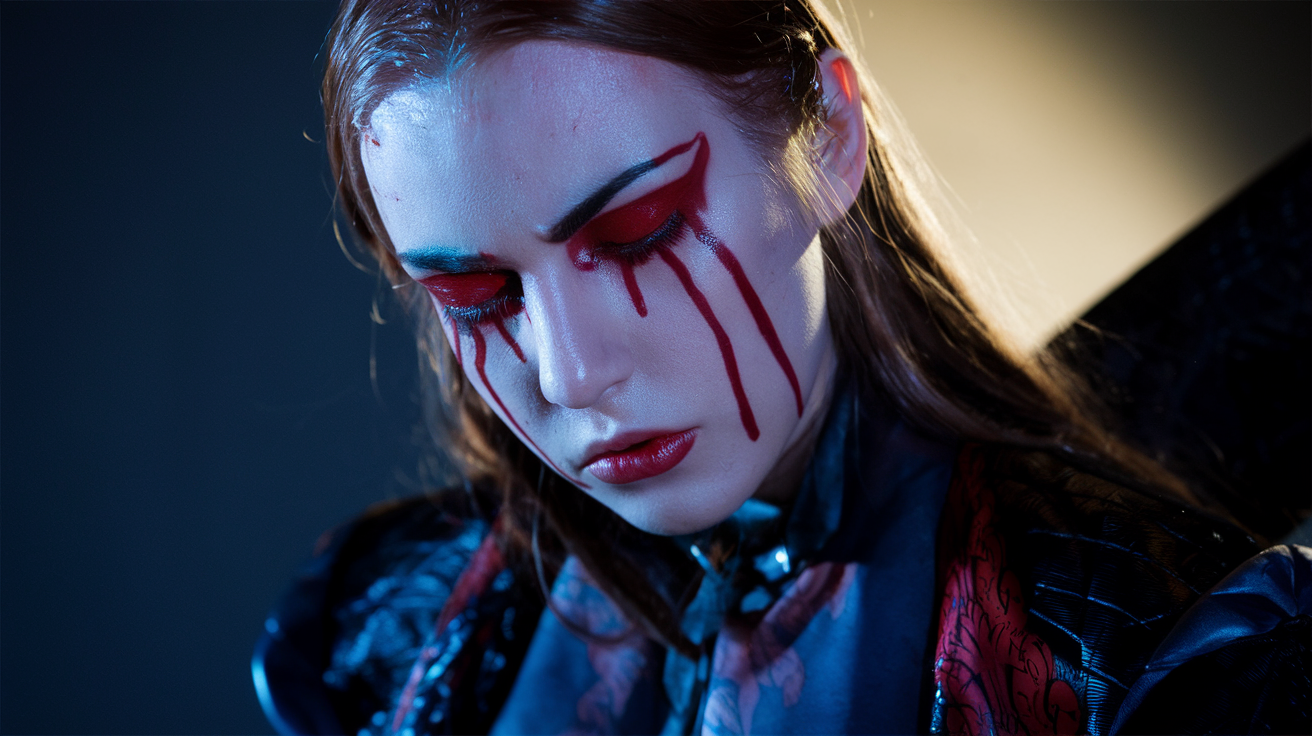
This one’s dramatic. Draw normal eyeliner. Then add dripping lines going down from the outer corner.
Use red liquid liner for the drips.
- Red liner brands: NYX Epic Ink, Stila Stay All Day
- Drip lengths: vary between 5-15mm
- Base liner: keep it simple black or dark brown
10. Neon Green Inner Corner Pop
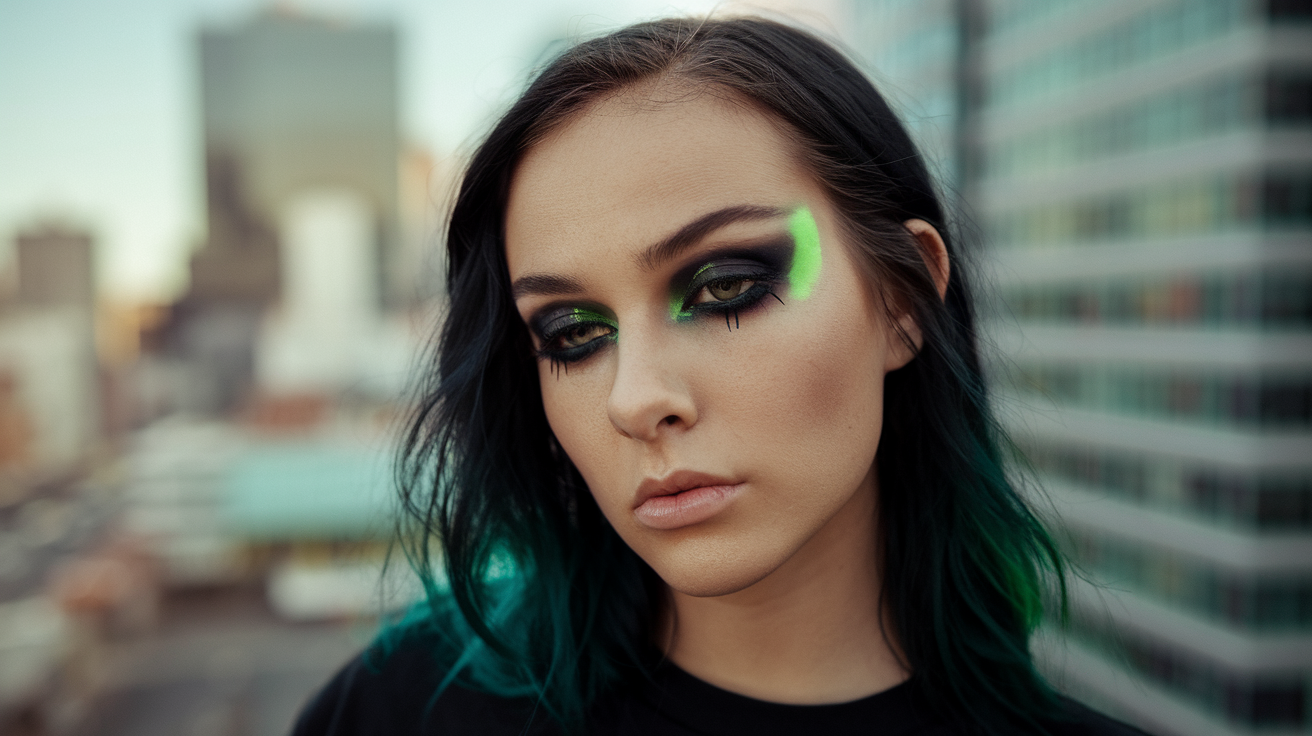
Keep everything else dark and moody. Add a bright neon green to your inner corners.
The contrast is striking.
- Neon options: lime green, electric green, yellow-green
- Application tools: small detail brush, fingertip
- Base requirement: white eyeshadow base for color payoff
11. Spider-Lash Mascara Effect
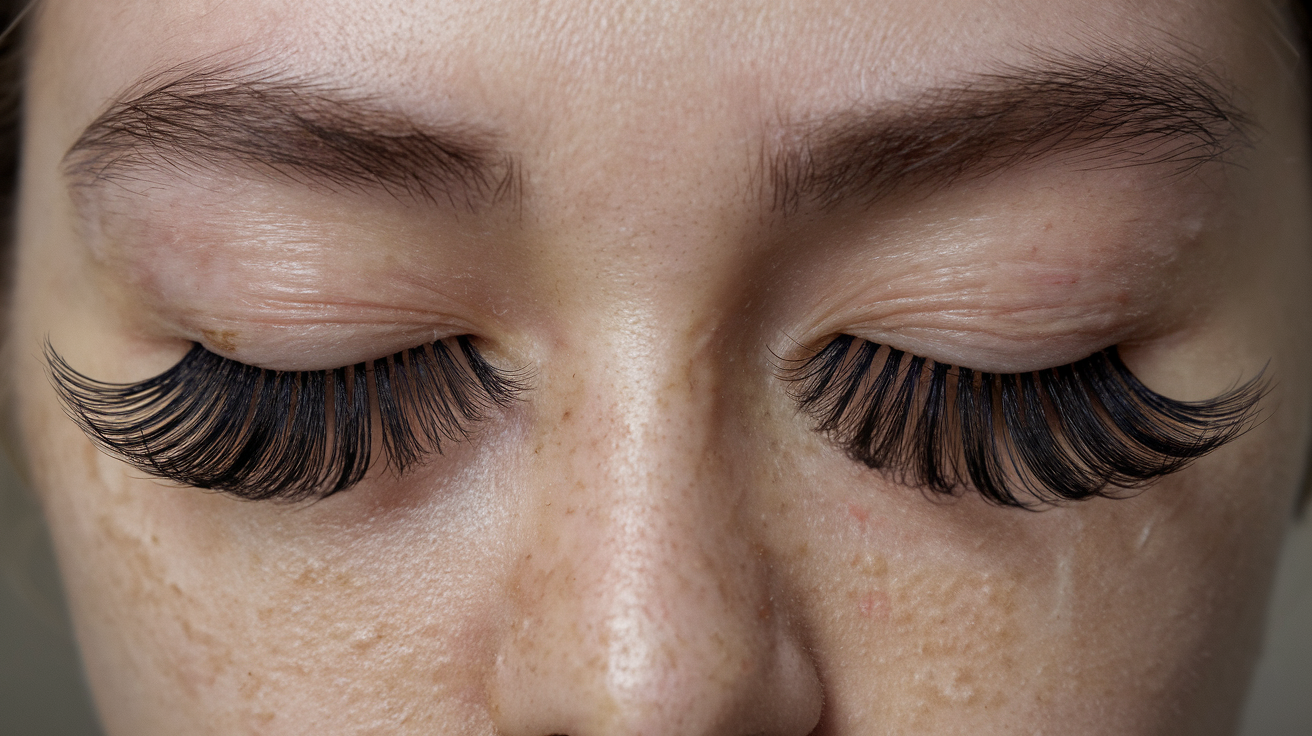
Apply lots of mascara. Let it get clumpy. Use a lash separator to create spiky, separated lashes.
Think spider legs.
- Mascara types: waterproof formulas work best
- Application: 3-4 coats, don’t let dry between
- Separation tools: clean spoolie, lash comb, toothpick
12. Under-Eye Blush with Stars or Crosses
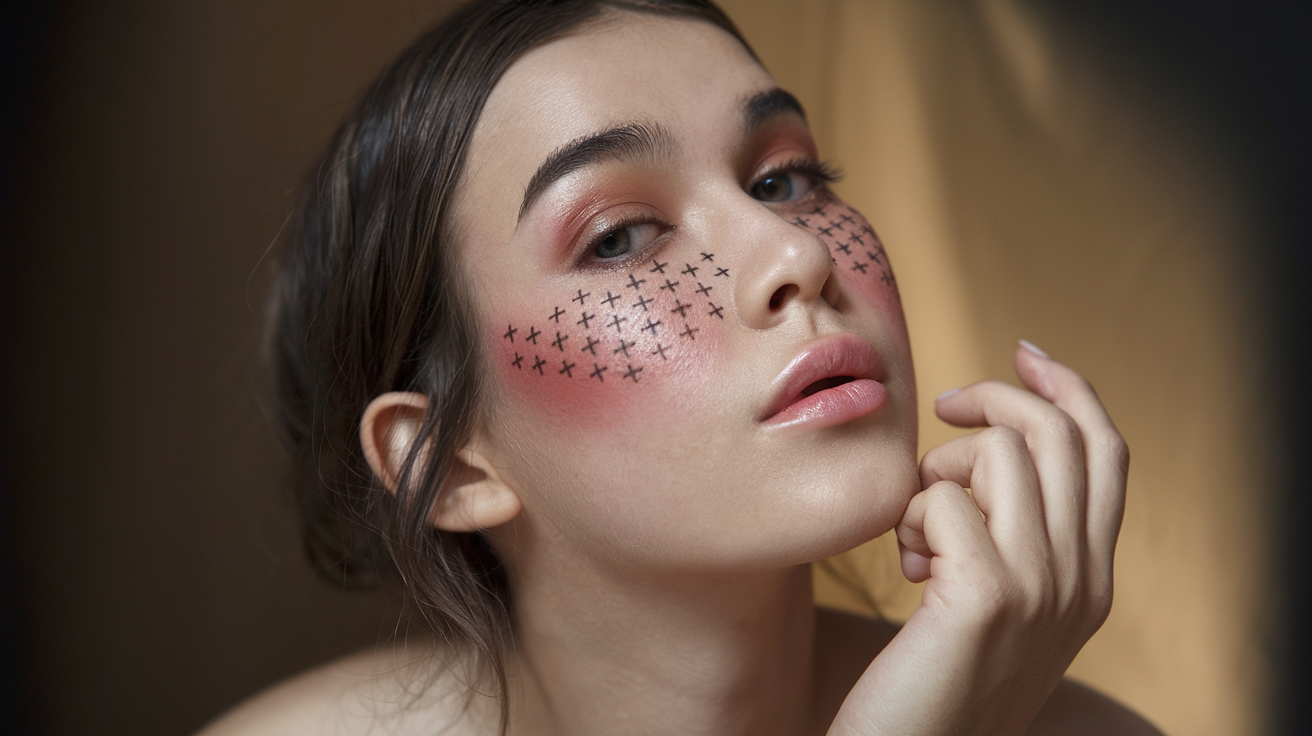
Apply blush under your eyes. This creates that “sick but cute” look.
Draw small stars or crosses with eyeliner around the blush.
- Blush shades: coral, pink, peach, berry tones
- Symbol sizes: keep under 5mm for best effect
- Placement: directly under lower lash line
13. Smudged Black Lipstick with Gloss
Apply matte black lipstick. Don’t worry about staying in the lines. Smudge the edges with your finger.
Add clear gloss on top. Creates an interesting texture.
- Black lipstick brands: Lime Crime, Kat Von D, Maybelline
- Smudging technique: pat and press, don’t rub
- Gloss types: clear, slightly tinted, or holographic
14. Two-Tone Lips (Black & Burgundy)

Black on the outer edges. Burgundy in the center.
Blend where they meet. Don’t make it perfect.
- Burgundy alternatives: dark red, wine, deep plum
- Application order: burgundy first, then black edges
- Blending tools: small brush, cotton swab, fingertip
15. Overlined Nude Lip with Grey Contour

Overline your lips with nude liner. Use grey eyeshadow to contour around the edges.
Creates a washed-out effect.
- Nude liner shades: match to your skin tone or slightly lighter
- Grey eyeshadow: matte finish works best
- Overlining limit: 1-2mm maximum for natural look
16. Vampy Wine-Stained Lip

Apply dark wine lipstick. Blot most of it off.
You want it to look stained, not painted.
- Wine shades: burgundy, oxblood, deep cherry, merlot
- Blotting technique: press tissue, don’t rub
- Stain duration: reapply every 2-3 hours
17. Matte Dusty Rose with Dark Liner

Dusty rose lipstick all over. Dark brown or black liner around the edges.
Don’t blend the liner in.
- Dusty rose options: mauve, muted pink, rose brown
- Liner colors: espresso brown, charcoal, deep plum
- Application: line slightly outside natural lip line
18. Lipstick “Bitten” Blur with Concealer

Apply any dark lipstick.
Use concealer to blur the edges. Make it look like you bit your lips.
- Dark lipstick colors: black, deep red, dark purple
- Concealer shade: match your skin tone exactly
- Blending area: outer edges only, keep center vibrant
19. Cross or Stitch Lip Art Using Eyeliner

Draw crosses or stitches over your lips with black eyeliner.
Keep the base neutral.
- Base colors: nude, pale pink, light brown
- Eyeliner types: gel, liquid, or pencil all work
- Design spacing: 3-5mm between each symbol
20. Glossy Black Ombré Fade

Black in the center. Fade to clear at the edges.
Lots of gloss for that wet look.
- Ombré technique: start dark, blend outward with clean brush
- Gloss types: high-shine, vinyl finish, or lip oil
- Maintenance: reapply gloss every hour
21. Cold Girl Blush Across Cheeks & Nose

Apply blush across your cheeks and nose. Like you’re cold.
Use cool-toned pinks or purples.
- Cool pink shades: rose, berry, dusty pink, magenta
- Purple options: lavender, plum, grape, violet
- Application pattern: across bridge of nose and cheek apples
22. Faux Freckles with Heart Stamps
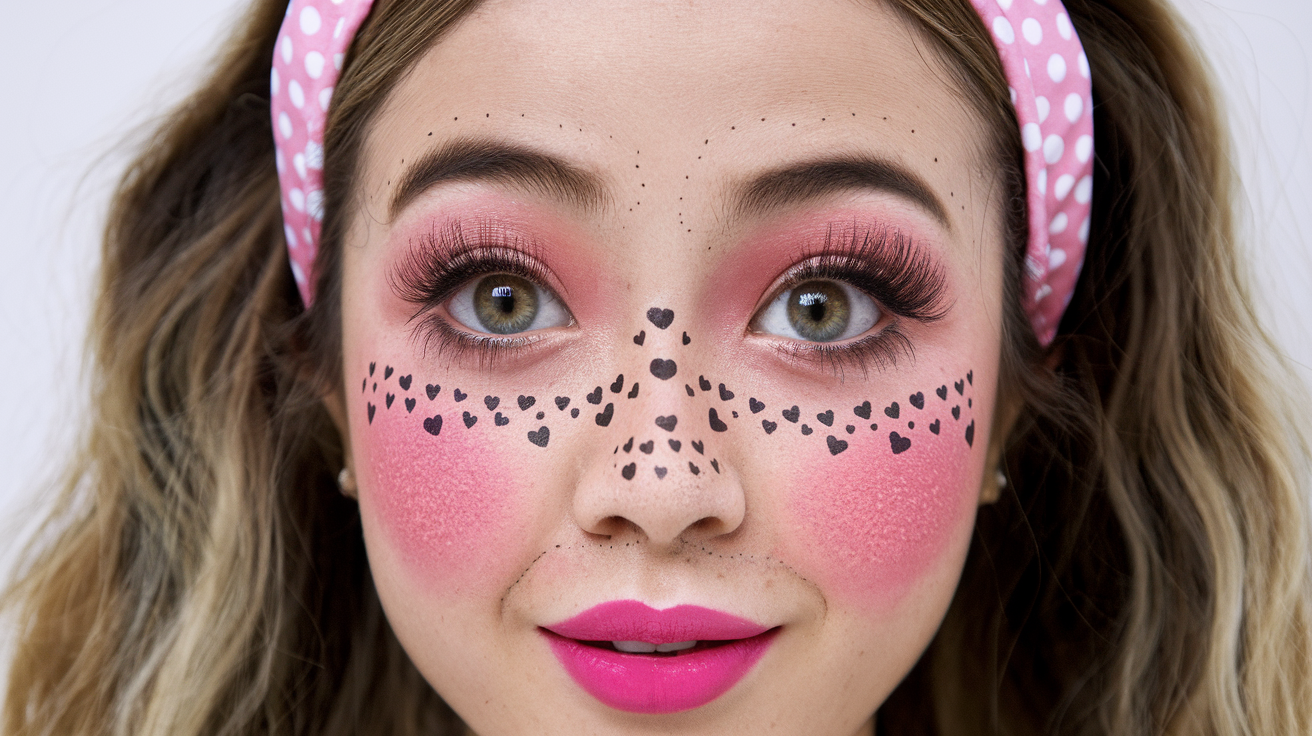
Draw fake freckles with brown eyeliner.
Replace some with tiny hearts. Use a heart-shaped stamp or draw them.
- Brown liner shades: choose 2 shades darker than skin
- Heart stamp alternatives: small brush, toothpick tip
- Freckle placement: nose, cheeks, forehead, chin
23. Pale Matte Base + No Bronzer
Pale foundation. No bronzer.
You want to look otherworldly.
- Foundation shades: 1-2 shades lighter than natural
- Finish types: matte, semi-matte, or powder foundation
- Setting products: translucent powder, setting spray
24. Soft Highlighter Only on Nose Bridge
Skip the cheekbones. Only highlight the bridge of your nose.
Creates a subtle glow.
- Highlighter shades: champagne, pearl, soft gold
- Application area: center of nose bridge only
- Tools: small fan brush, fingertip, or beauty sponge
25. Harsh Contour Under Cheekbone
Sharp, defined contour under your cheekbones.
Don’t blend it out completely.
- Contour shades: cool-toned browns, greys, taupes
- Application: hollow of cheeks, under cheekbone
- Blending: minimal, keep edges slightly harsh
26. Dewy Skin with Black Eye Bags

Glowy, dewy base.
Use grey or black eyeshadow to create fake dark circles.
- Dewy products: illuminating primer, dewy foundation, facial oil
- Eye bag colors: grey, purple-grey, muted black
- Placement: directly under eyes, blend downward
27. Visible Pores and Textured Finish
Don’t cover everything. Let your skin texture show.
Use less coverage foundation.
- Foundation types: light coverage, tinted moisturizer, BB cream
- Application: sheer layers, don’t build up
- Skin prep: minimal primer, let natural texture show
28. White or Red Face Gems
Stick small gems on your face. White or red work best.
Use lash glue to attach them.
- Gem sizes: 2-6mm diameter for face placement
- Colors: clear, white, red, black, silver
- Placement areas: temples, cheekbones, under eyes
29. Tape Blush Technique (Angled Upward)
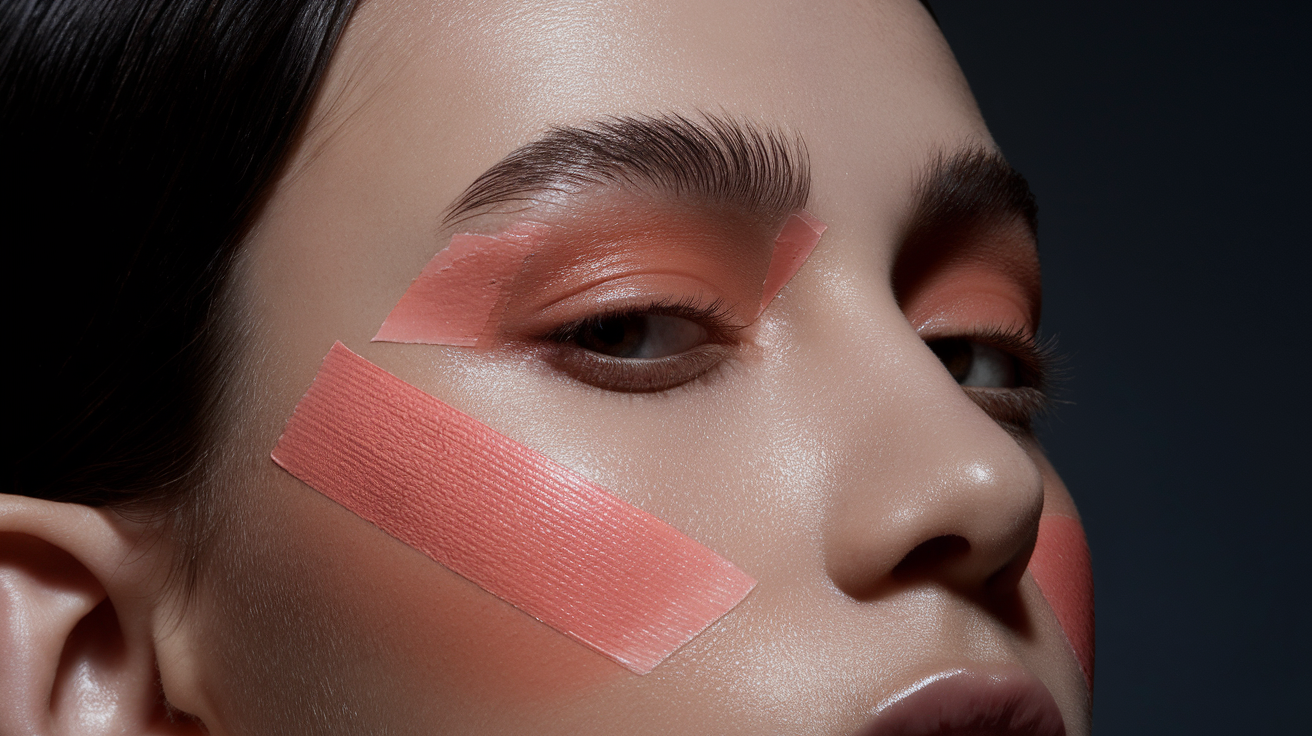
Use tape to create sharp blush lines.
Apply blush along the tape. Remove for clean edges.
- Tape types: painter’s tape, medical tape (gentler on skin)
- Blush application: pat don’t sweep for sharp lines
- Angle direction: upward toward temples
30. Concealer Lips for Raw, Stripped-Down Look
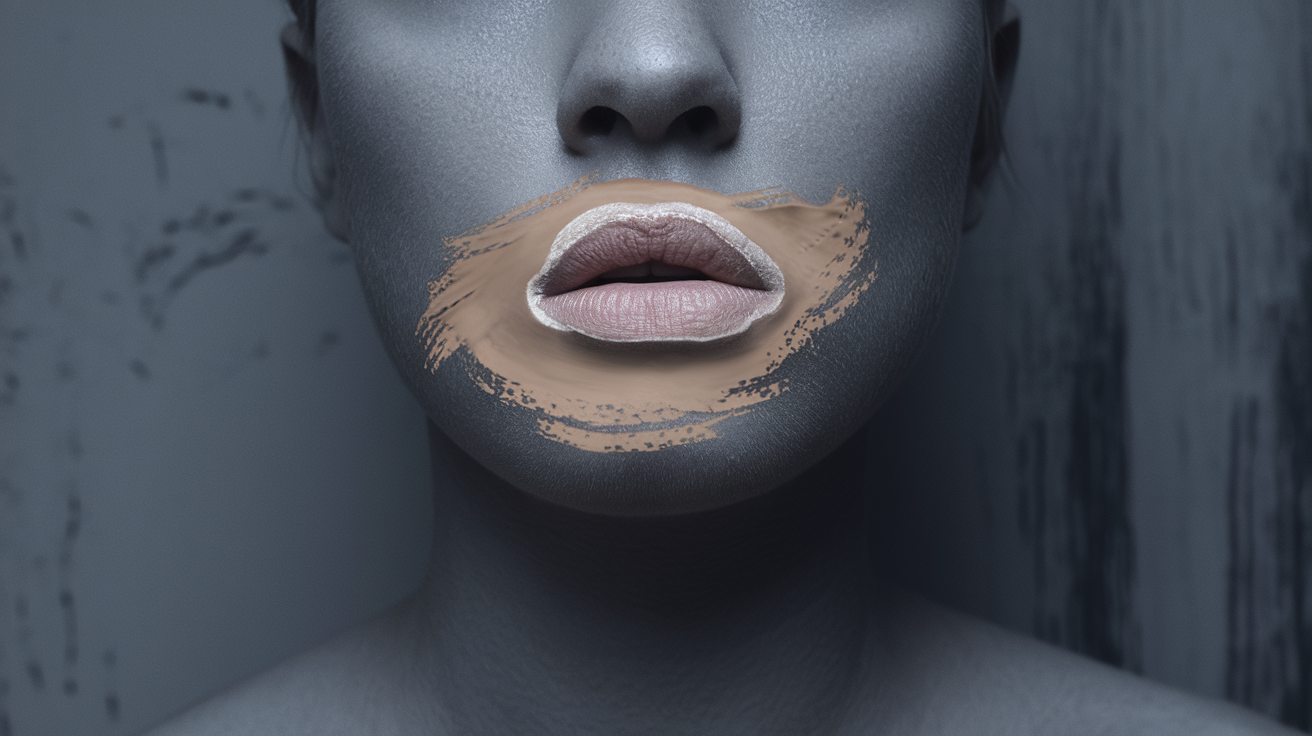
Cover your natural lip color with concealer.
Creates a washed-out effect.
- Concealer shade: match skin tone or slightly lighter
- Application: full lip coverage, including edges
- Setting: light dusting of translucent powder
31. Drawn-On Band-Aid with Sharpie
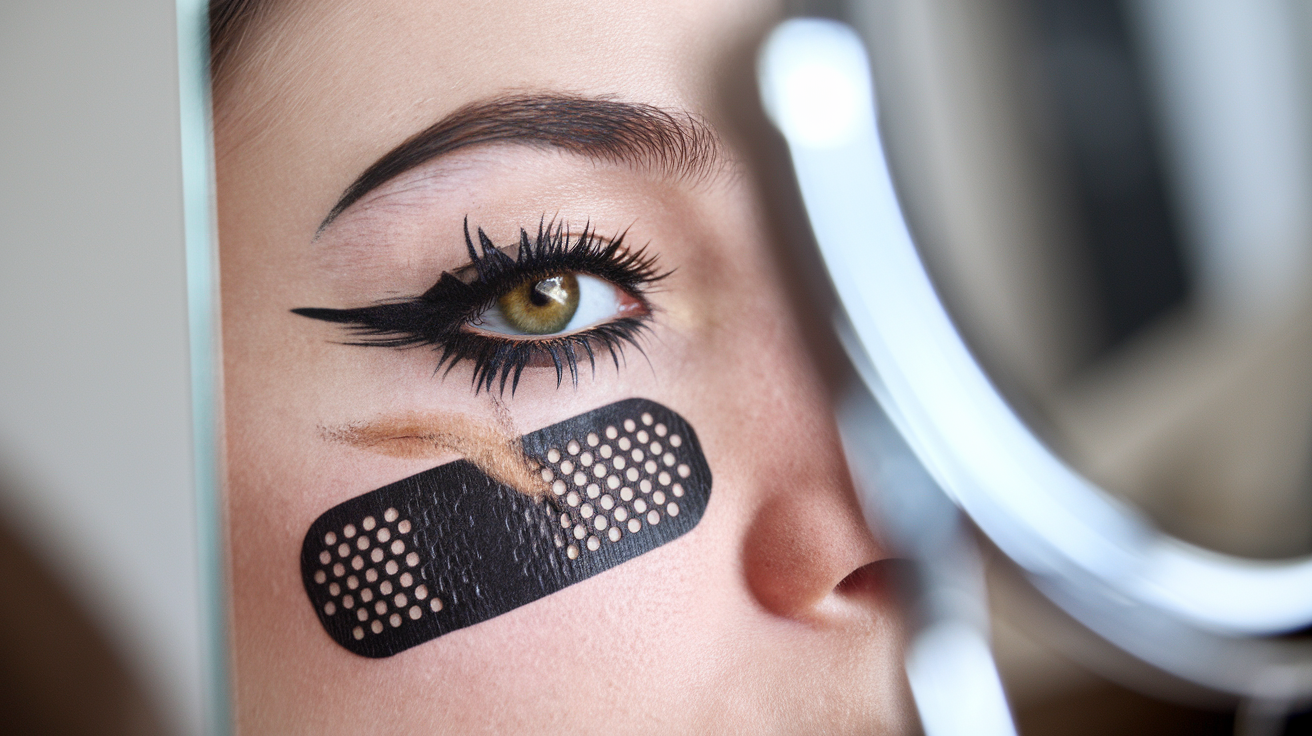
Draw a band-aid on your face with black eyeliner.
Make it look realistic.
- Liner types: gel pencil, liquid liner, or felt tip
- Band-aid elements: rectangle shape, cross pattern, rounded edges
- Placement options: cheek, temple, chin, or nose
32. Anime-Inspired Lower Lashes
Draw individual bottom lashes with liquid liner.
Make them longer and more dramatic than real lashes.
- Liner consistency: liquid or gel for precise lines
- Lash lengths: 5-10mm, vary for natural effect
- Spacing: 1-2mm between each drawn lash
33. Eyebrow Slits or Colored Brows
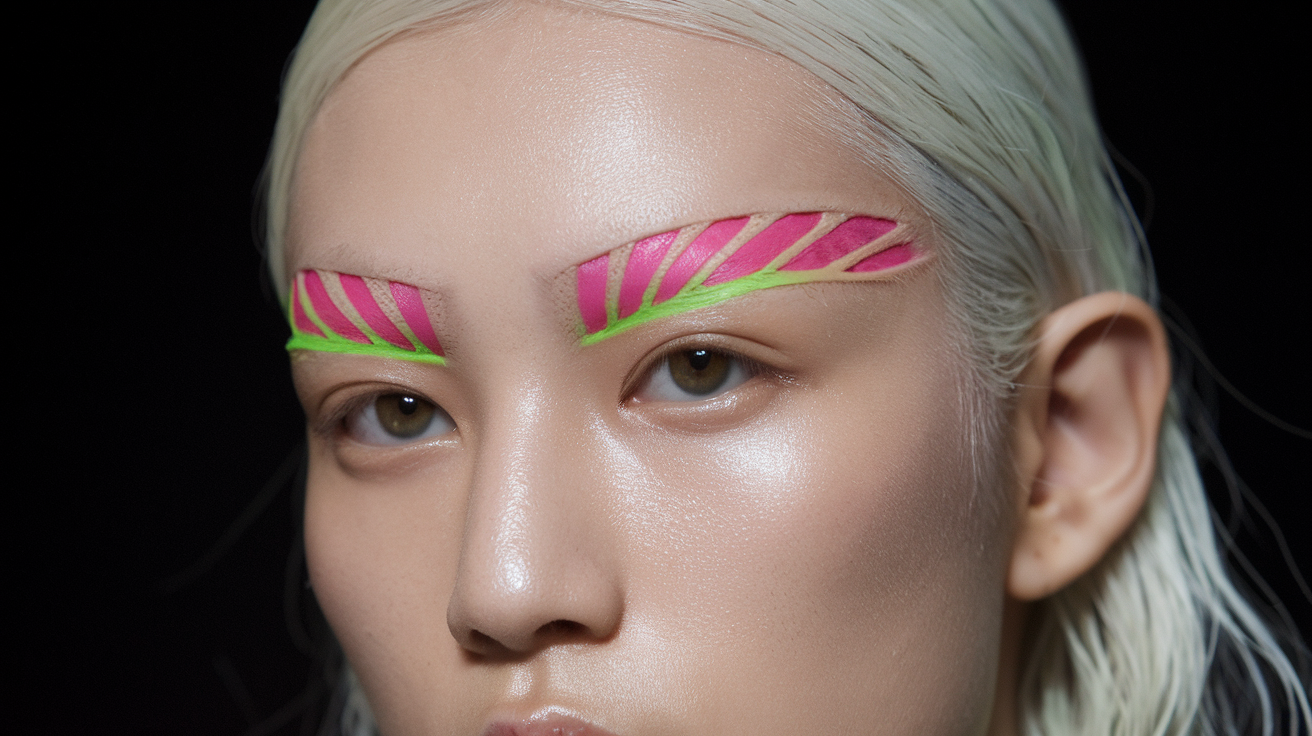
Shave small slits in your eyebrows. Or use concealer to fake them.
Try colored brow gel in unusual colors.
- Slit placement: outer third of brow, 1-2 slits maximum
- Fake slit method: concealer + setting powder
- Color options: blue, pink, purple, green, white
34. Coordinated Eye Makeup + Dyed Streaks
Match your eyeshadow to colored hair streaks.
Creates a cohesive look.
- Color matching: exact shade match or complementary tones
- Application: focus color on lid or inner corner
- Hair colors: temporary chalk, colored mascara, hair tinsel
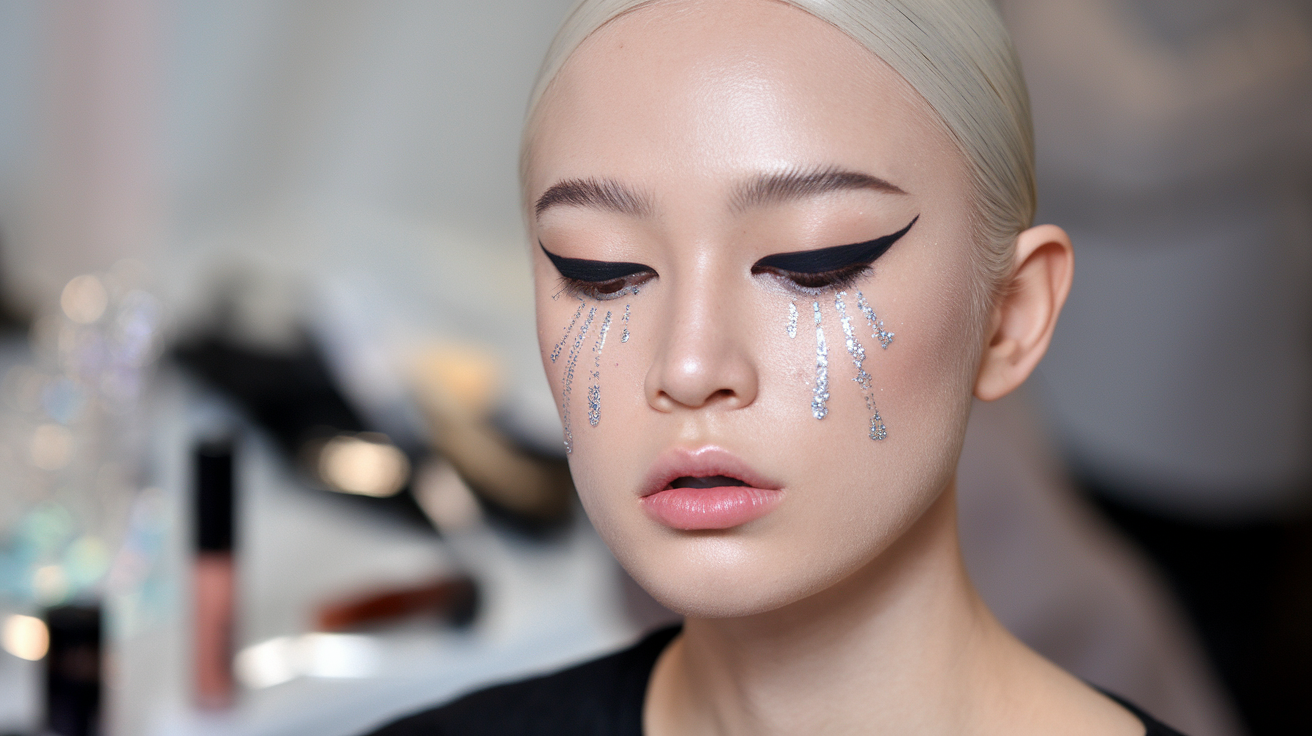
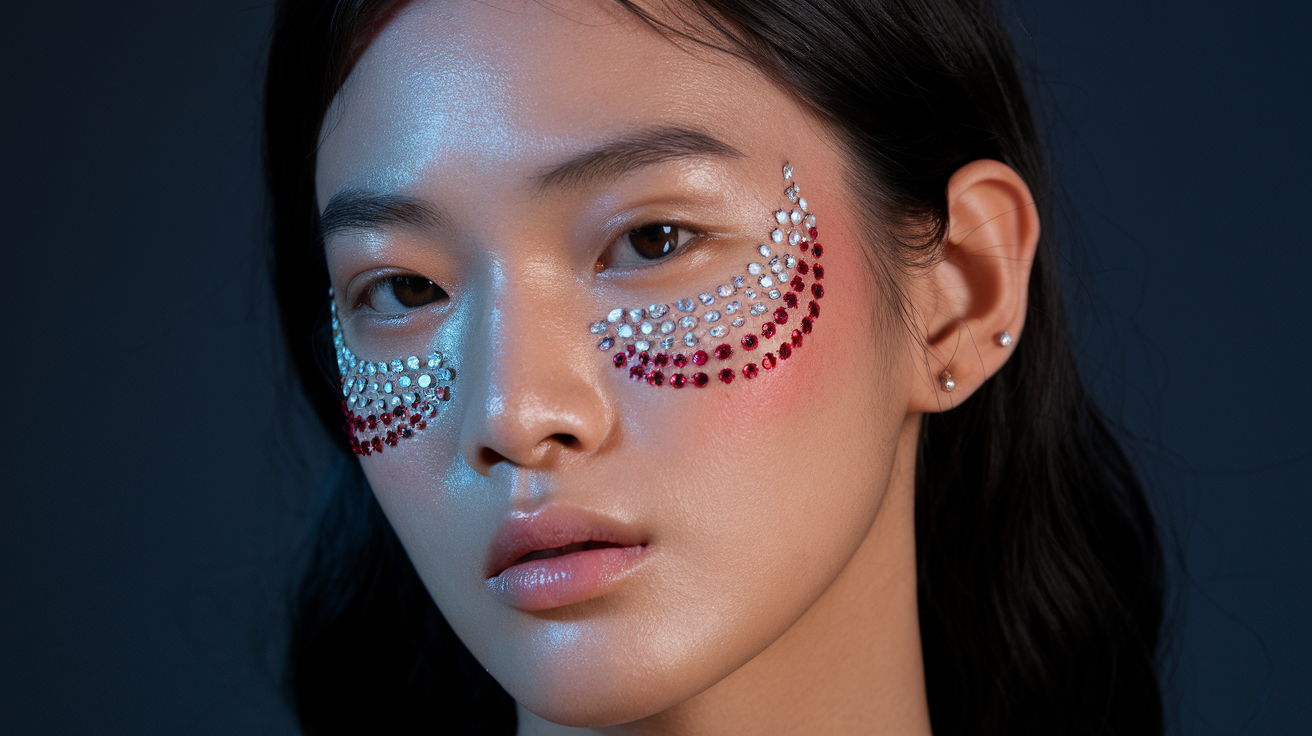
35. Rhinestone “Crying” Effect Under Eyes
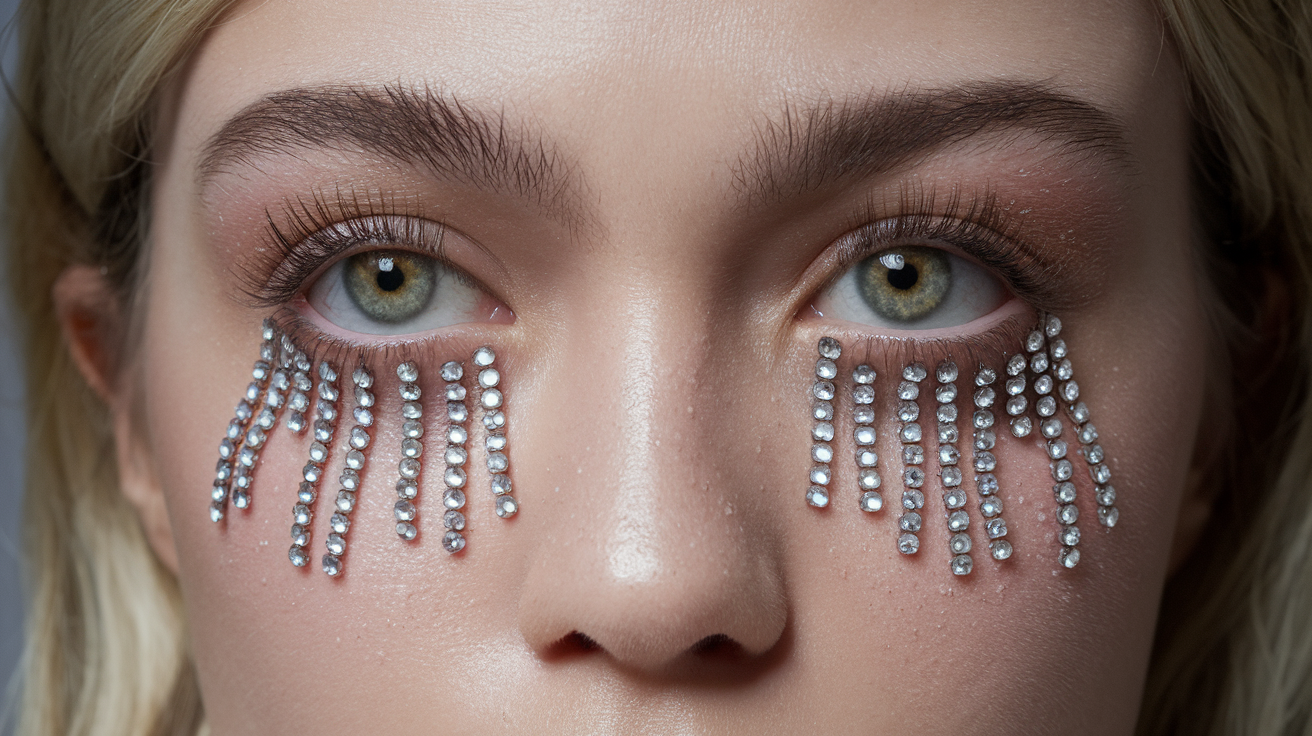
Apply small rhinestones under your eyes. Like crystal tears.
Use lash glue to attach them.
- Rhinestone sizes: 2-4mm for tear effect
- Colors: clear, white, silver, holographic
- Placement: start at inner corner, trail downward 2-3 stones
Must-Have Products for Grunge Egirl Makeup
You don’t need expensive products. Here’s what actually works:
Eyes:
- Black kohl pencil (drugstore is fine)
- Matte black eyeshadow
- Colorful eyeshadow palette
- Liquid eyeliner
- Chunky mascara
Lips:
- Matte black lipstick
- Dark lip liners
- Clear lip gloss
Face:
- Pale foundation
- Cool-toned blush
- Concealer
Extras:
- Lash glue
- Small gems/rhinestones
- Makeup brushes
Step-by-Step Tutorial: Creating a Classic Grunge Egirl Look
Step 1: Start with a pale foundation. Don’t worry about perfect coverage.
Step 2: Apply cool-toned blush across your cheeks and nose.
Step 3: Smudge black kohl around your eyes. Make it messy.
Step 4: Add chunky mascara. Let it clump.
Step 5: Apply matte black lipstick. Smudge the edges.
Step 6: Add small gems under your eyes with lash glue.
Step 7: Set with powder where needed.
Done. You look effortlessly cool.
Styling Tips to Complete the Look
Makeup is just the start. Here’s how to complete the vibe:
Hair:
- Messy texture
- Colored streaks
- Space buns or half-up styles
Clothes:
- Oversized band tees
- Plaid skirts
- Fishnet tops
- Platform boots
Accessories:
- Chunky jewelry
- Hair clips
- Chokers
Mistakes to Avoid with Grunge Egirl Makeup
Don’t make these common errors:
Mistake 1: Trying to be perfect. Grunge is about imperfection.
Mistake 2: Using too many colors. Stick to 2-3 main colors.
Mistake 3: Forgetting to blend. Even messy looks need some blending.
Mistake 4: Overdoing the accessories. Less is more with gems and studs.
Mistake 5: Copying exactly. Make it your own.
Conclusion
Grunge egirl makeup isn’t about following rules. It’s about breaking them.
You now have 35 different techniques to experiment with. Product recommendations that actually work. Common mistakes mapped out so you can avoid them.
Start small. Pick one or two looks that speak to you. Practice them until they feel natural.
Remember, imperfection is the goal. Those smudged lines and messy edges? They’re not mistakes. They’re your signature.
Don’t copy someone else’s style completely. Use these techniques as your foundation. Then make them your own.
Your makeup should tell your story. Not someone else’s.
The grunge egirl style is about authenticity. About showing the world who you really are underneath the surface.
So grab that black eyeliner. Start creating. Start expressing.
Your path begins now.
Frequently Asked Questions
How long does grunge egirl makeup actually take?
Basic looks take about 15-20 minutes once you get the hang of it. More complex styles with gems and detailed liner work can take 30-45 minutes.
Can I wear this makeup to school or work?
Absolutely, just tone it down for conservative environments. Use lighter colors and skip the dramatic accessories while keeping the core style.
What’s the biggest difference between grunge and egirl styles?
Grunge focuses on that messy, rebellious 90s vibe with smudged makeup. Egirl adds anime-inspired elements like drawn-on details and digital-age accessories.
Do I need expensive makeup brands for this look?
Not at all. Drugstore products work perfectly for grunge egirl makeup. The messy, imperfect nature of the style actually hides product flaws.
How do I make my makeup look naturally messy instead of sloppy?
Practice controlled messiness. Smudge with purpose using brushes or fingers. Blend harsh edges slightly while keeping the overall texture rough