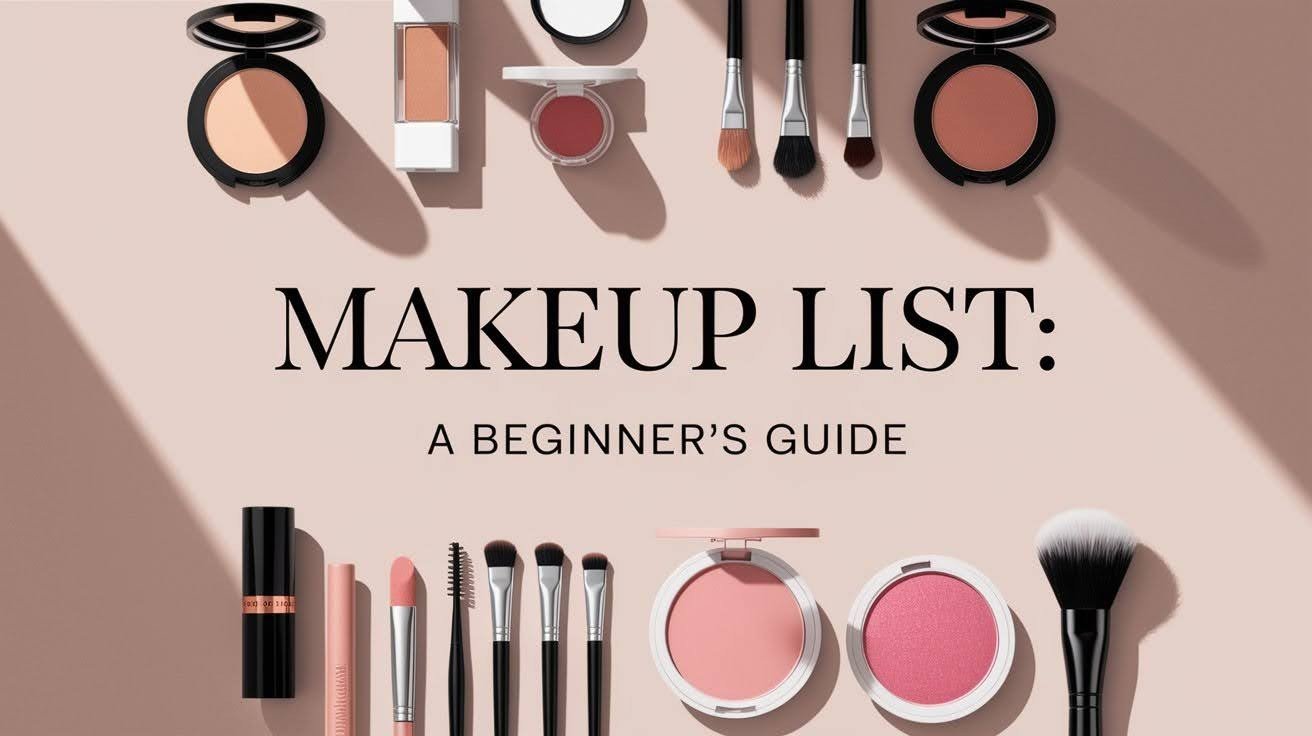
Makeup List: A Beginner’s Guide to Essentials
Welcome to the beginner’s makeup guide. Starting your makeup routine can feel overwhelming with so many products and techniques to learn. Why having a basic makeup list matters: It prevents you from buying unnecessary items and wasting money on products you won’t use.
A solid foundation of essential products helps you master basic techniques before moving to advanced looks.
What you’ll learn in this guide: The must-have makeup items every beginner needs, how to choose products for your skin type, and simple application tips that actually work.
No complicated routines or expensive splurges. Just practical advice to help you build a makeup collection that makes sense for your lifestyle and budget.
Let’s start with the basics and build your confidence from there.
What Are the Makeup Essentials for Beginners?

Overview of essential products: These are the foundational items that create a complete makeup look from start to finish.
Why not everyone needs every product but covering all bases helps: You might skip some items based on your preferences, but knowing all the options prevents gaps in your routine.
Basic Makeup List for Beginners includes: Primer, Foundation, Concealer, Eyebrow Gel, Shadow Palette, Mascara, Eyeliner, Bronzer, Highlighter, Setting Spray/Powder, and Lipstick/Lip Gloss/Lip Liner.
This list covers face, eyes, and lips – the three main areas of makeup application. Start with a few key items and gradually add more as you become comfortable with basic techniques. Each product serves a specific purpose in creating a polished, finished look.
Step-by-Step Guide: How to Apply Makeup for Beginners
Learning makeup application in the right order makes all the difference.
Follow these steps and you’ll build a solid foundation for any look.
Step 1 – Prime the Skin

Purpose of primer: Creates a smooth canvas for makeup and helps it last longer.
Primer fills in pores and fine lines, giving you an even surface to work with.
Types of primers for different skin concerns:
- Hydrating primers for dry skin
- Mattifying primers for oily skin
- Color-correcting primers for redness or dullness
- Pore-minimizing primers for textured skin
How to apply primer properly:
Use a small amount – about the size of a pea for your whole face. Apply with clean fingers or a brush, working from the center of your face outward.
Wait 30 seconds before applying foundation to let the primer set.
Expert tip: Focus on oily areas like your T-zone where makeup tends to slip first.
Step 2 – Apply Foundation

Foundation’s role in evening skin tone: It creates a uniform base and covers imperfections.
Foundation shouldn’t mask your skin – it should enhance it.
Different coverages explained:
- Light coverage: Evens tone while letting skin show through
- Medium coverage: Covers most imperfections while looking natural
- Full coverage: Hides all blemishes and discoloration
Choosing the right foundation finish based on skin type:
For oily skin: Matte or semi-matte finishes control shine For dry skin: Dewy or luminous finishes add moisture For combination skin: Satin finishes work well overall
Application methods:
- Fingertips: Warm the product and give natural coverage
- Brush: Provides buildable coverage and precision
- Beauty sponge: Creates smooth, airbrushed finish
Shade matching tips:
Test foundation on your jawline, not your wrist. The right shade disappears into your skin.
Check your match in natural light before buying.
Step 3 – Conceal

Concealer uses: Hiding blemishes and brightening under-eyes.
Think of concealer as spot treatment, not face coverage.
Choosing the right concealer shade:
For blemishes: Match your foundation shade exactly For under-eyes: Go one shade lighter than your foundation
How to apply concealer:
For blemishes: Dab directly on the spot and blend edges For under-eyes: Apply in an inverted triangle shape and blend upward
Tools to use:
- Small brush for precise blemish coverage
- Fingers for blending under-eyes
- Damp sponge for seamless blending
Step 4 – Eyebrow Gel

Importance of well-defined brows: They frame your face and complete your look.
Good brows can make minimal makeup look polished.
Types of brow products:
- Gel: Holds hairs in place and adds subtle color
- Pencil: Fills sparse areas with precision
- Clear gel: Just holds brows without adding color
How to do natural fluffy brows:
Brush brows upward with a spoolie. Apply gel in upward strokes following your natural hair growth.
Filling sparse areas:
Use light, hair-like strokes with a pencil. Build up gradually – you can always add more.
Focus on the tail where brows are often thinnest.
Step 5 – Shadow Palette

Adding depth and dimension to eyes: Even simple eyeshadow makes eyes look more awake.
Starting with neutral shades for blending practice: Browns, taupes, and soft pinks are forgiving.
Simple eyeshadow application technique:
Light shade: All over the lid as a base
Medium shade: In the crease for depth
Darker shade: Outer corner for definition
Tips for beginner-friendly looks:
Start with one or two shades maximum. Master blending before trying complex looks.
Use a fluffy brush and build color gradually.
Step 6 – Mascara

Why mascara is a must-have: It opens up your eyes instantly.
Even without other eye makeup, mascara makes a difference.
Effects of mascara:
- Length: Makes lashes appear longer
- Volume: Creates fuller, thicker lashes
- Curl: Lifts and opens the eye
How to apply mascara for best results:
Start at the base of lashes and wiggle the wand upward. Apply 2-3 thin coats rather than one thick coat.
Let each coat dry before applying the next.
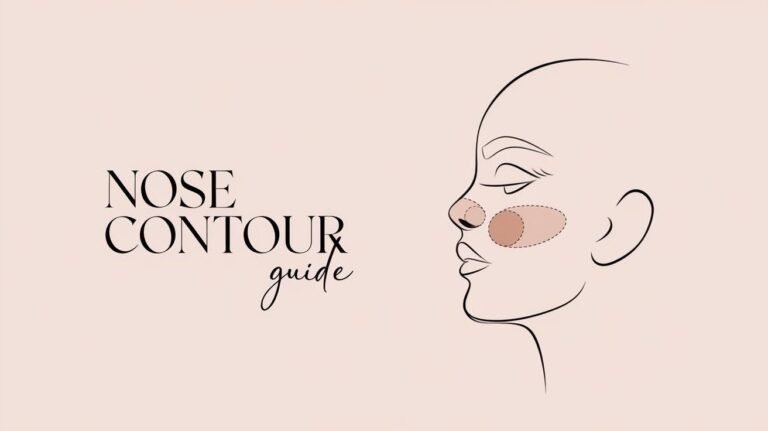
Step 7 – Bronzer and Highlighter

Bronzer’s role: Adds warmth and dimension to your face.
It brings back the natural shadows that foundation covers.
Highlighter enhances facial features by catching light on high points.
Application technique:
Bronzer: Apply in the shape of a 3 – forehead, cheeks, and jawline
Highlighter: Apply to high points – cheekbones, nose bridge, cupid’s bow
Choosing cream vs. powder formulas:
Cream: Blends seamlessly into skin, good for dry skin
Powder: Easier to control, better for oily skin
Step 8 – Blush

Adding color and life to your complexion: Blush mimics natural flush.
It prevents foundation from looking flat or mask-like.
Placement options for different looks:
Apple of cheeks: Youthful, natural look Cheekbones: More sculpted, mature look Nose and forehead: Sun-kissed effect
Application tools:
- Fingers: Natural, subtle application
- Brushes: More control and precision
- Sponges: Seamless blending
Step 9 – Setting Spray and Powder

Importance of setting makeup for longevity: Keeps everything in place all day.
How to use setting powder and spray effectively:
Powder: Apply to oily areas with a fluffy brush Spray: Mist lightly over entire face from arm’s length
Tips for oily or combination skin:
Focus powder on T-zone. Use blotting papers throughout the day instead of adding more powder.
Step 10 – Lip Products: Lip Liner, Lipstick, and Gloss

Defining lips with liner: Creates shape and prevents feathering.
Choosing lip colors and finishes:
Matte: Long-wearing but can be drying Satin: Balance of color and comfort Gloss: Adds shine and fullness
Application tips for a flawless pout:
Line lips first, then fill in with lipstick. Blot and reapply for longer wear.
Expert tips for fuller-looking lips:
Slightly overline with a matching liner. Add gloss to the center for dimension. Practice makes perfect. Start with these basics and build your skills gradually.
Essential Makeup Tools for Beginners

The right tools make makeup application easier and more professional.
You don’t need dozens of brushes to start. These seven essentials will handle most makeup looks.
Powder Brush
Your largest, fluffiest brush for setting makeup and applying finishing powder evenly.
Use for: Setting powder, bronzer, light blush application
Blush Brush
Medium-sized with tapered shape for controlled color application on cheeks.
Use for: Blush, light contouring, highlighting
Eyeshadow Brush
Flat, paddle-shaped brush that packs eyeshadow onto lids for maximum color payoff.
Use for: Applying eyeshadow all over lid, patting color onto specific areas
Crease Brush
Smaller, fluffy brush that fits perfectly in your eye crease for blending and depth.
Use for: Blending eyeshadow, applying transition colors, softening harsh lines
Eyeliner Brush
Thin, precise brush for detailed work and clean, sharp eyeliner application.
Use for: Gel eyeliner, tightlining, precise eyeshadow work
Blending Sponge
Damp sponge that creates an airbrushed finish for foundation and concealer.
Use for: Foundation, concealer, blending harsh lines, setting powder
Always dampen first and squeeze out excess water before use.
Tweezers
Precision tool for brow maintenance and removing stray hairs between professional appointments.
Use for: Removing stray brow hairs, applying false lashes
Tool care: Clean brushes weekly, store upright, replace sponges regularly, and keep tweezers sharp with rubbing alcohol.
Quality matters more than quantity. Start with these basics and add specialty brushes as your skills develop.
Tips for Building Your Personalized Makeup Kit
Building a makeup kit is a process, not a one-time purchase.
Here’s how to create a collection that works for your lifestyle and budget.
No Need for Every Product at Once
- Start with 3-5 essential items and master those before adding more products to your routine
- Focus on one area at a time – perfect your base makeup before moving to complex eye looks
- Buy products as you need them rather than purchasing complete sets that include items you won’t use
- Consider your daily routine – if you only wear makeup twice a week, don’t invest in 20 products
- Quality over quantity always wins – one good foundation beats five mediocre ones
Experimenting with Different Looks
- Try samples before buying full sizes – most beauty stores offer small portions to test at home
- Borrow from friends to test different brands and shades without the financial commitment
- Start with neutral shades that work for multiple occasions before branching into bold colors
- Use online tutorials to learn new techniques with products you already own
- Keep track of what works – write down successful color combinations and techniques
- Don’t be afraid to make mistakes – they’re part of the learning process and help you find your style
Starting with High-Quality Basics at Affordable Prices
- Research drugstore alternatives to expensive brands – many perform just as well for less money
- Invest more in base products like foundation and concealer that you’ll use daily
- Save money on trendy items like colored eyeshadows and bold lipsticks that you might not use often
- Look for multipurpose products – cream blush that works on lips, or eyeshadow that doubles as highlighter
- Check for sales and promotions at your favorite stores, but only buy what you actually need
- Read reviews from people with similar skin types to avoid costly mistakes
- Consider subscription boxes for trying new products at lower costs than retail prices
Conclusion
You now have everything you need to start your makeup routine. From primer to lipstick, these essentials will help you create polished looks while building your skills. Remember to play, practice, and enjoy makeup.
It’s supposed to be fun, not stressful. Start with simple techniques and gradually try new things as you get comfortable. Building confidence through makeup takes time. Don’t expect perfection on your first try. Every application teaches you something new about your face and preferences.
Your makeup kit will grow with you as you discover what works best for your lifestyle and features. Most importantly, makeup should make you feel good about yourself. Use these tools to enhance your natural beauty and express your personality.
Start today and enjoy the process.
Frequently Asked Questions
What makeup products should a complete beginner start with?
Start with foundation, concealer, mascara, and a neutral eyeshadow palette for basic coverage and definition. Add lip balm or tinted lip product to complete your essential starter kit.
How much should I spend on my first makeup kit?
You can build a quality beginner kit for $50-100 using drugstore brands that perform well. Invest more in base products like foundation and concealer since you’ll use them daily.
Do I need expensive brushes as a beginner?
No, affordable brushes work fine when you’re learning basic techniques. Focus on getting a powder brush, blush brush, eyeshadow brush, and blending sponge to start.
How do I know which foundation shade to choose?
Test foundation on your jawline, not your wrist, and check the match in natural light. The right shade should disappear into your skin without leaving a visible line.
Should I buy a complete makeup set or individual products?
Buy individual products that match your specific needs and preferences. Complete sets often include items you won’t use and may not have the right shades for your skin tone.