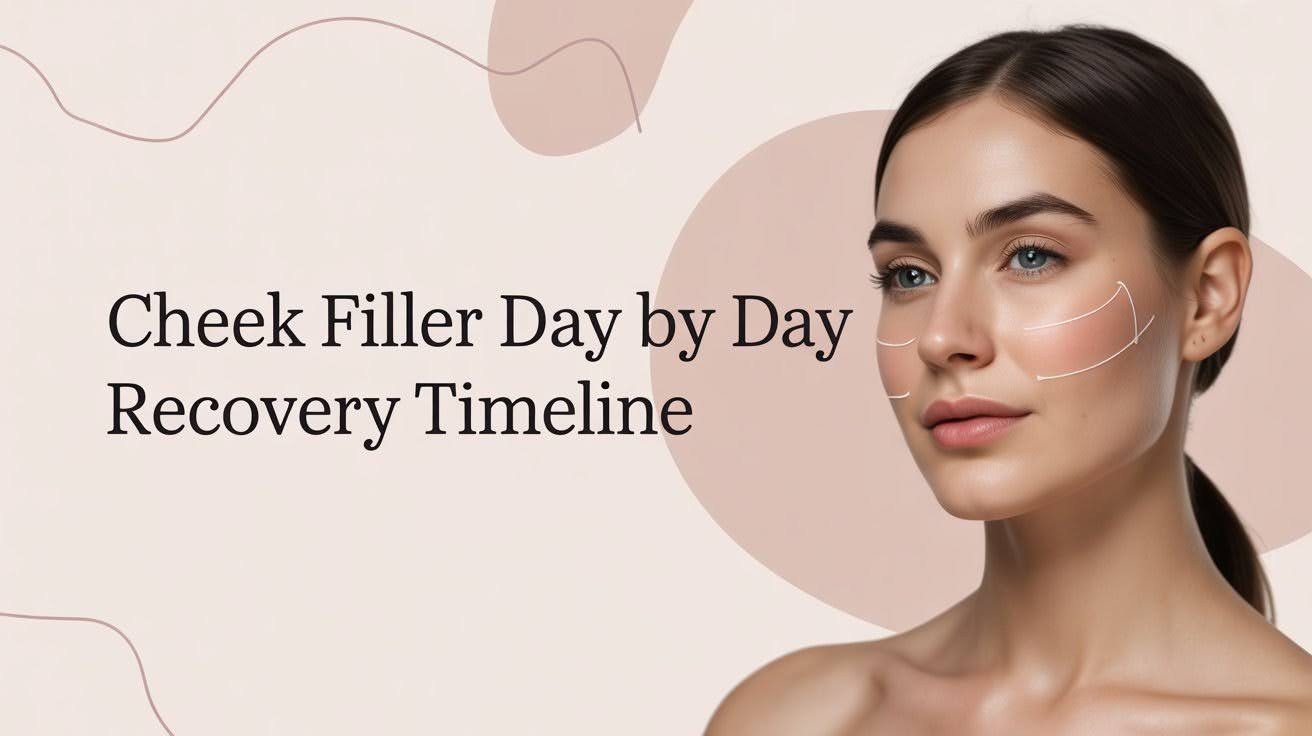
Cheek Filler Day by Day Recovery Timeline Guide
Getting cheek fillers can feel exciting and scary at the same time. I understand you want to know what happens after you leave the clinic. That’s why I put together this cheek filler day by day guide to walk you through every stage of healing.
This article covers immediate swelling, peak puffiness, and final results. You’ll learn proven aftercare tips and warning signs to watch for.
I’ve gathered reliable information from trusted sources to help you feel confident.
I’ll show you what to expect from day one through week four, plus answer common questions. This timeline gives you the complete picture so you can relax and enjoy your results.
What Are Cheek Fillers?
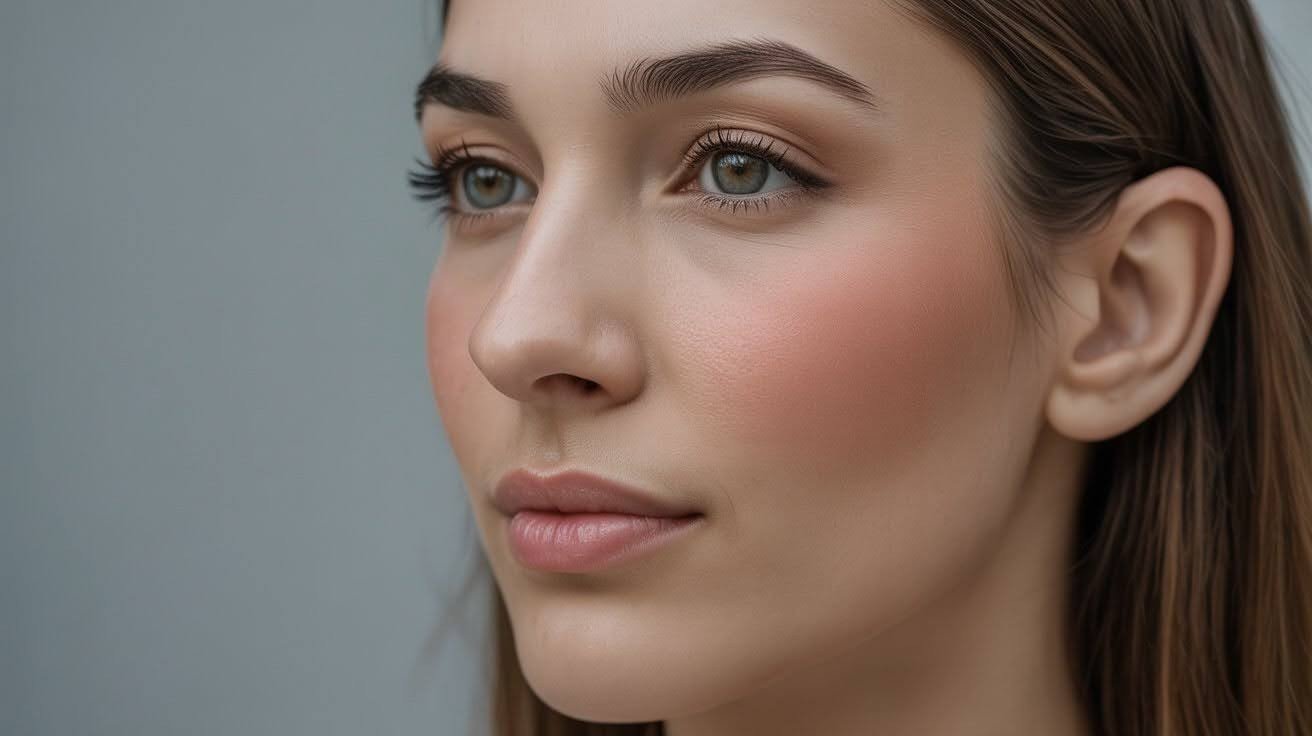
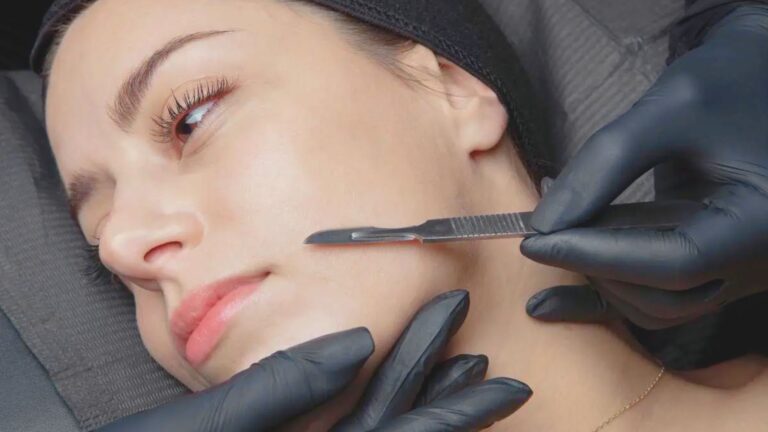
Cheek fillers restore volume and create youthful contours using injectable gels that plump and lift facial areas naturally and safely.
Dermal fillers are gel-like substances injected beneath your skin to add volume where your face has lost fullness.
The most common type is hyaluronic acid, which your body already makes naturally. Other options include calcium hydroxylapatite and poly-L-lactic acid.
These fillers restore fullness in hollow cheeks, create better facial balance, smooth wrinkles, and give you a lifted appearance.
Most treatments take about 30 minutes, and results show up right away while continuing to improve as swelling goes down.
Cheek Filler Swelling Stages
Here’s what happens to your face from day one through week four as your cheeks heal and settle into their new shape.
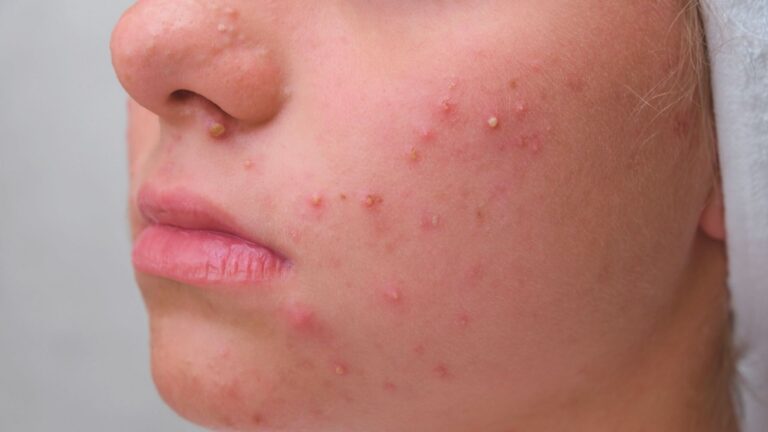
Day 1: Immediate Post-Treatment Swelling
Your cheeks will feel tender and look puffy right after treatment. This is completely normal. The needle creates tiny injuries that trigger your body’s natural response.
You might notice redness around the injection sites. Some people see small bruises or bumps. Your face may feel tight or slightly numb.
The swelling makes your cheeks look bigger than the final result will be. Don’t panic. This extra fullness goes away as your body adjusts.
Recovery tips for day one:
- Apply a cold compress for 10 minutes every hour. This reduces swelling and feels soothing.
- Keep your hands away from your face. Touching spreads bacteria and can move the filler.
- Drink plenty of water throughout the day. Hydration helps your body heal faster.
- Skip makeup if you can. Let your skin breathe and recover naturally.
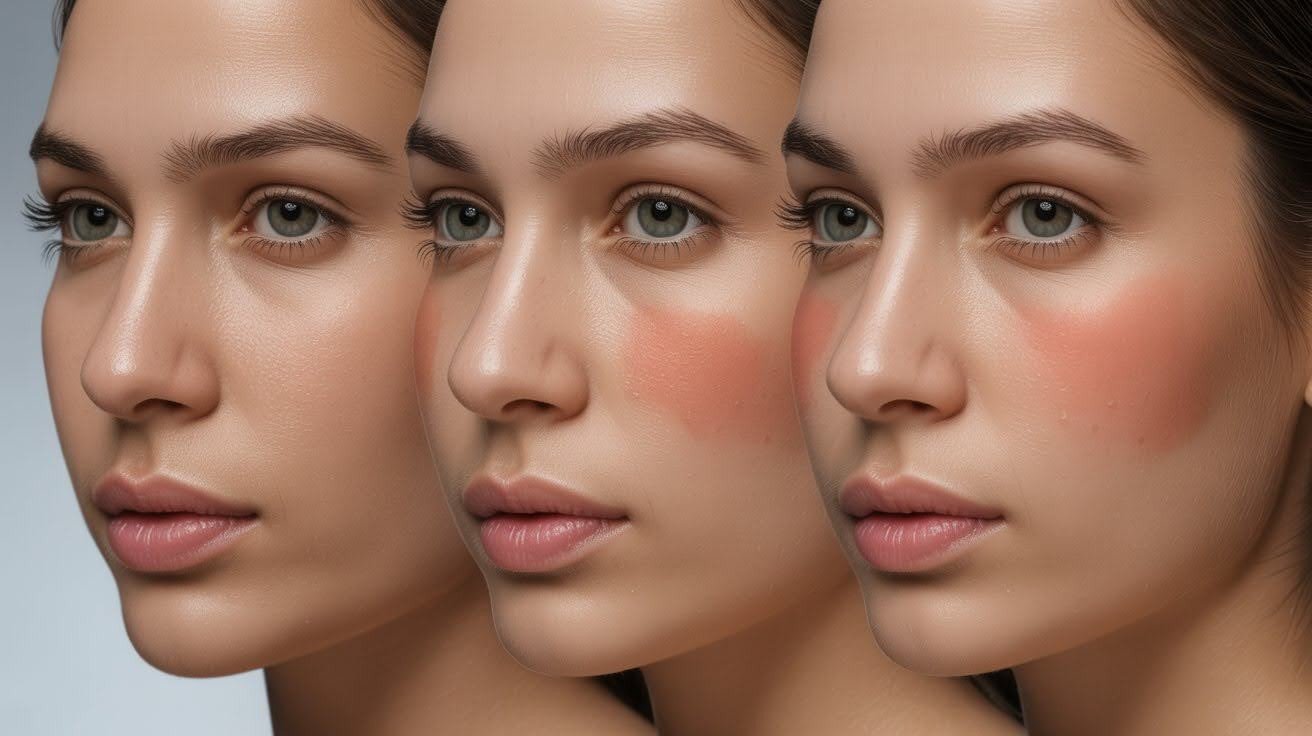
Day 2 to 3: Peak Swelling
These are typically the puffiest days. Your swelling reaches its highest point. Your cheeks might look quite full and feel firm to the touch.
Bruising often becomes more visible now. The colors can range from red to purple to yellow. This happens as blood moves toward the surface.
You may feel frustrated seeing your reflection. Remember this is temporary. Your body is working hard to settle everything into place.
Recovery tips for days two and three:
- Sleep with your head elevated on two pillows. This helps fluid drain away from your face.
- Stay away from heavy workouts and bending over. These activities increase blood flow to your face.
- Keep using cold compresses when needed. Gentle cooling still helps with comfort.
- Eat soft foods that don’t require much chewing. Give your facial muscles a break.
Day 4 to 7: Gradual Reduction in Swelling
This week brings welcome changes. The puffiness starts to go down noticeably. Your cheeks begin looking more like the result you wanted.
The tightness eases up day by day. Any bruises start fading from purple to yellow to green. You can see hints of your new contour emerging.
Most people feel comfortable going out in public now. The swelling is mild enough to cover with light makeup if desired.
Recovery tips for week one:
- Return to light activities like walking. Avoid anything that makes you sweat heavily.
- Keep drinking water and eating healthy foods. Good nutrition supports healing.
- Use gentle skincare products only. Skip anything with harsh acids or strong ingredients.
- Protect your face from direct sun exposure. Wear sunscreen and a hat when outside.
Week 2: Filler Settling
By week two, most swelling disappears. Your cheeks feel softer and more natural. The filler has had time to integrate with your tissue.
You can see the early version of your final results. The shape and volume look balanced. Any remaining puffiness is very subtle.
This is a good time to check in with yourself. Take photos to compare with your before pictures. Most people feel really happy at this stage.
Recovery tips for week two:
- Schedule a follow-up appointment if your provider recommended one. They can assess how everything settled.
- You can resume most normal activities now. Just continue being gentle with your face.
- Maintain your skincare routine with quality products. Healthy skin helps results last longer.
Week 3 to 4: Final Results
Welcome to the finish line! The filler has completely settled into place. Your cheeks look natural and enhanced exactly how you hoped.
The product has integrated fully with your facial tissue. Everything feels soft and moves naturally when you smile or talk. No one can tell you had work done unless you tell them.
This is what you’ll see in the mirror for months to come. Enjoy your refreshed appearance. The results typically last 12 to 18 months depending on the filler type.
Recovery tips for weeks three and four:
- Continue protecting your skin from sun damage. UV rays can break down filler faster.
- Stick with a good skincare routine. Moisturize daily and treat your skin well.
- Take care of your overall health. Good sleep, nutrition, and hydration keep you glowing.
Aftercare Tips to Minimise Swelling
Follow these simple care tips to speed up healing and reduce puffiness after your treatment.
- Keep your hands off your cheeks and avoid touching or massaging the treated area to prevent infection and filler movement.
- Drink at least eight glasses of water daily and sleep with your head elevated on two or three pillows.
- Skip all facial treatments, massages, harsh skincare products, and exfoliating acids for at least two weeks.
- Stay away from saunas, hot tubs, steam rooms, and intense exercise for the first week after treatment.
- Protect your face with SPF 30 or higher daily and wear a wide-brimmed hat when going outside.
- Avoid alcohol for three days and reduce salty foods to minimize bruising and water retention.
- Limit excessive facial movements and exaggerated expressions for the first 24 hours to let the filler settle properly.
Potential Complications to Watch For
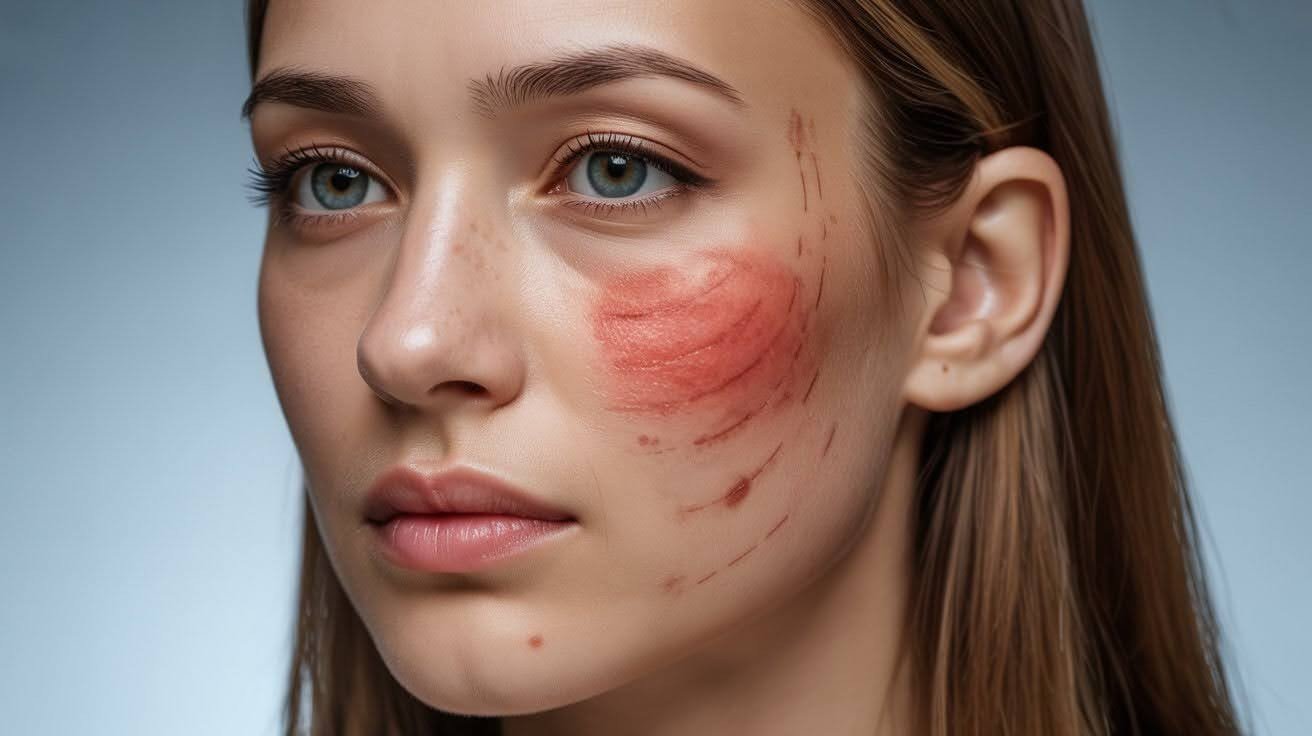
Most people heal without problems, but knowing warning signs helps you act quickly if needed.
Watch for allergic reactions like severe redness, itching, hives, difficulty breathing, or throat tightness. Call 911 immediately if you experience these symptoms.
Contact your provider if you notice infection signs like increasing pain, warmth, fever, or yellow and green discharge after the first day.
Asymmetry, unusual lumps, or hard spots that don’t soften after a week need evaluation. Skin color changes like white, gray, or bluish discoloration require immediate medical attention as they could signal blocked blood flow.
Always trust your instincts. If something feels seriously wrong, contact your provider right away.
Conclusion
Your cheek filler day by day recovery is a process that needs patience, but I promise it’s worth it.
I remember checking my reflection constantly after my first treatment, worried about the swelling. By week four, I was so happy with how natural everything looked.
Take photos each week to track your progress. The changes might seem slow, but you’ll be amazed looking back.
If this guide helped you, share it with a friend considering fillers. Drop a comment below and tell me about your experience!
Frequently Asked Questions
How long does cheek filler swelling last?
Most swelling goes down within one to two weeks. By week four, everything looks natural and settled.
Can I sleep on my side after cheek fillers?
Sleep on your back for the first three nights. After that, you can return to your normal sleeping position.
When can I wear makeup after getting cheek fillers?
Wait at least 24 hours before applying makeup. Use clean brushes and gentle products when you start again.
Is it normal for cheek fillers to feel hard at first?
Yes, some firmness in the first week is normal. Contact your provider if hard lumps persist beyond two weeks.
How can I make bruising go away faster after fillers?
Apply arnica gel and use cold compresses for 48 hours. Avoid alcohol and blood-thinning medications.