How to Make Makeup Primer at Home (Easy DIY Guide)
I spent months testing homemade face primer recipes before I found what actually worked for my skin.
Some batches were too greasy. Others pilled under foundation. A few just sat on my skin and did nothing.
This guide shares what I learned.
You will find recipes to make makeup primer at home for every skin type, plus honest notes on what DIY formulas can and cannot do.
I will also cover how to store it safely and avoid common mistakes.
Whether after a natural makeup primer or just want a silicone-free option, I will explain what each ingredient does so you go in with realistic expectations.
One thing I want to be clear about upfront: homemade primers work differently from commercial ones. I will explain why throughout this guide.
Let’s get started.
What Is Makeup Primer and What Does It Do?
Most people know primer goes on before foundation. But understanding how it works helps you make a better version at home.
Primers work through film formation. Certain ingredients create a thin layer over the skin when they dry, giving foundation something to grip onto.
Commercial primers often use silicones like dimethicone to create a smooth surface that temporarily reduces the appearance of pores.
DIY primers cannot replicate this exactly, since most natural ingredients have a much milder film-forming action.
But they can still prep skin, support hydration, and improve how foundation applies.
Some primers also contain humectants, which draw moisture into skin, or occlusives, which lock moisture in. Knowing this helps you pick the right ingredients for your skin type.
Why Make Makeup Primer at Home?
There are real reasons people switch to a DIY makeup primer, and it goes beyond saving money.
Some commercial primers contain silicones, fragrances, and preservatives that may feel heavy or trigger breakouts.
The FDA considers most cosmetic silicones safe for general use, but if your skin reacts to them, going silicone-free is worth trying.
Making your own also means you control every ingredient. You can avoid known irritants, choose skin-supporting actives, and adjust the texture.
Most recipes use ingredients that cost a few dollars and make multiple batches.
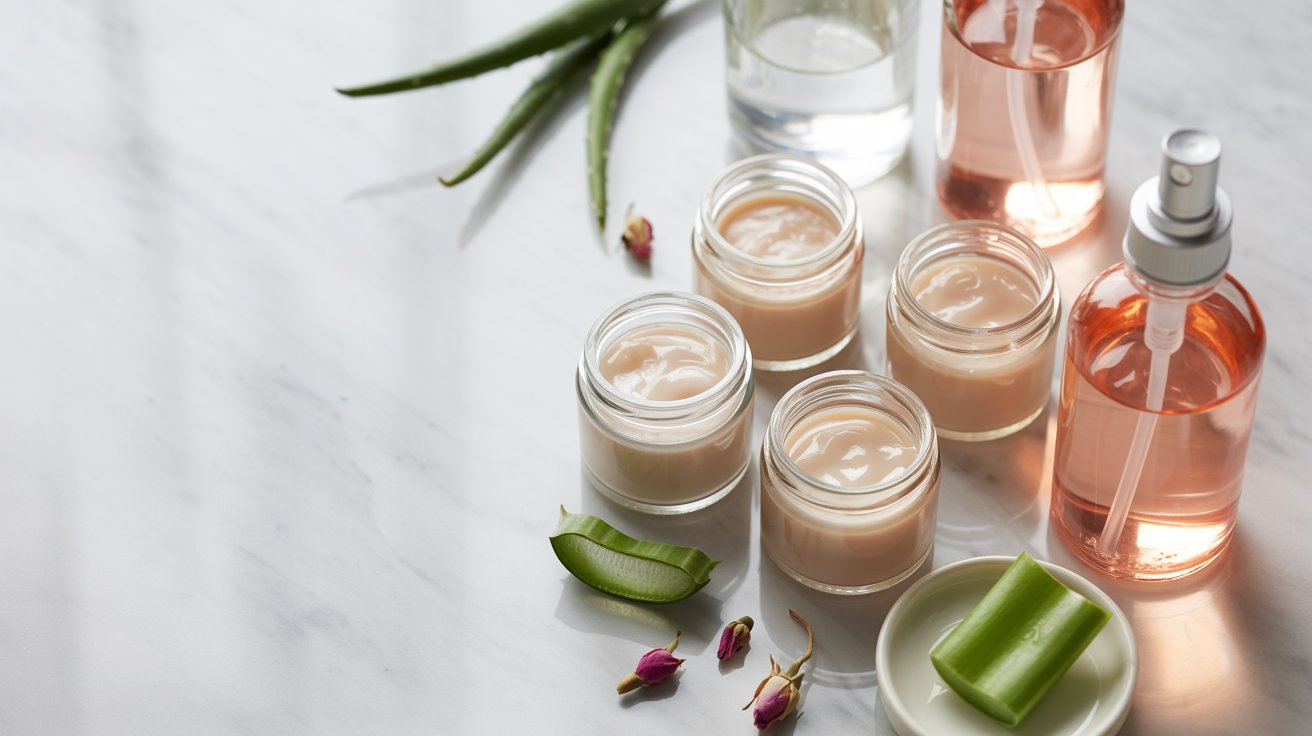
Key Ingredients You Need
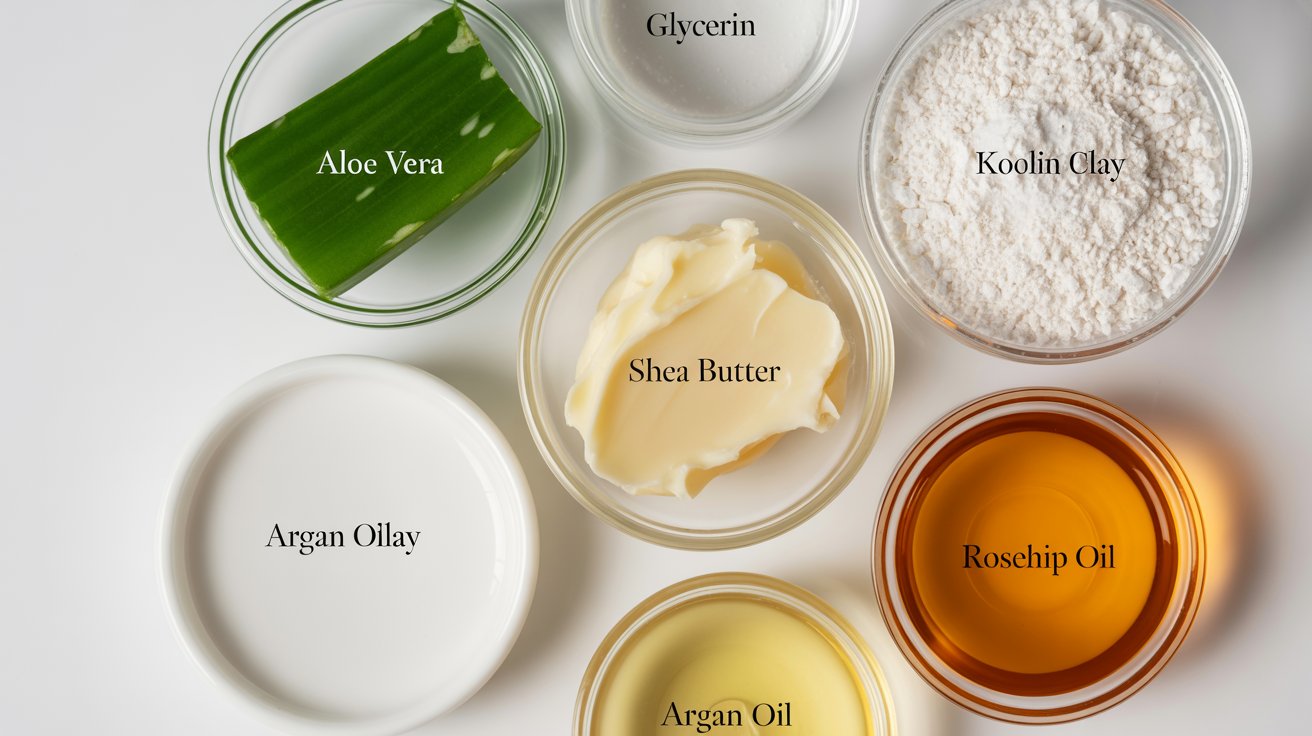
Knowing what goes into your primer makes all the difference when building a recipe that actually works.
Moisturizing Base Ingredients
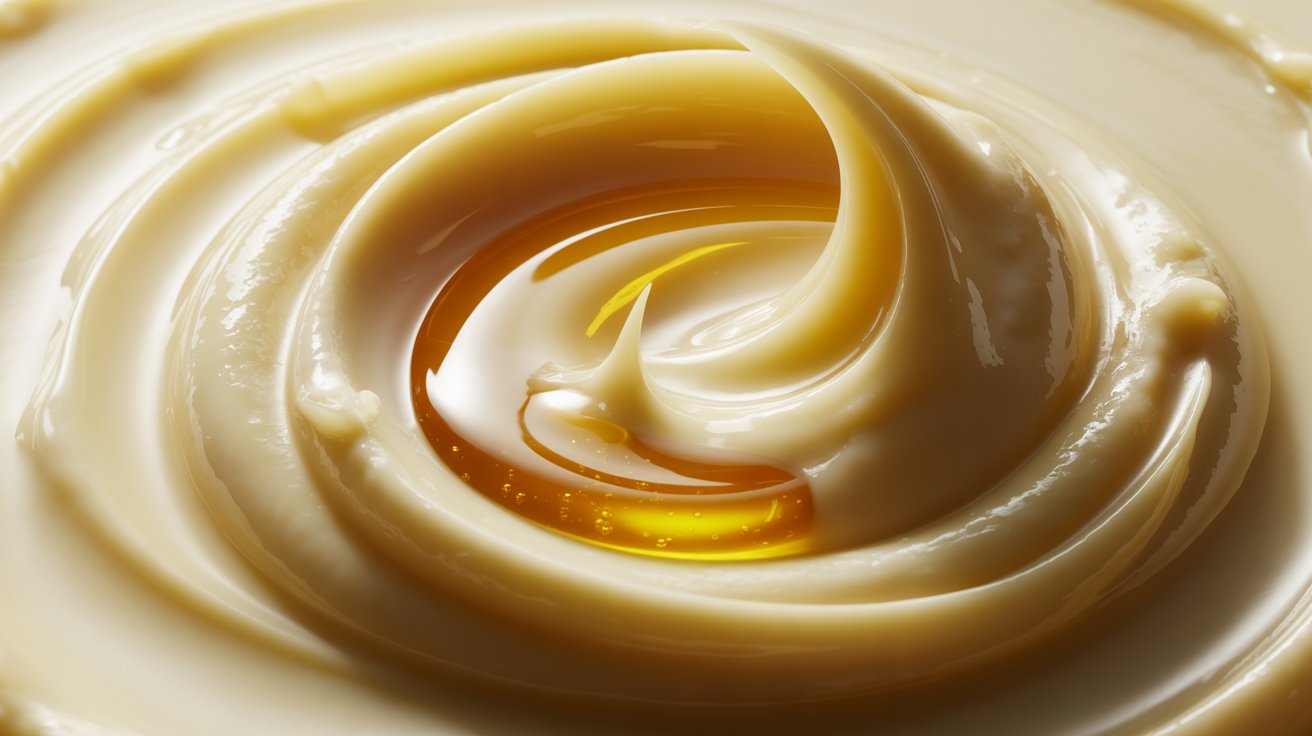
Aloe vera gel has a mild film-forming effect, creating a light layer that helps foundation sit more evenly. Glycerin is a humectant that draws moisture into skin. Shea butter works as an occlusive and suits dry skin types best.
Oil-Control Ingredients
Kaolin clay and cornstarch absorb oil from the skin’s surface. Kaolin is gentler and better for sensitive or dry skin. Arrowroot powder works similarly and leaves a lighter finish.
Glow and Smoothing Ingredients
Argan oil and rosehip oil are rich in fatty acids that soften rough texture. Vitamin E supports the skin barrier and adds a slight sheen. These do not blur pores the way silicone does, but they can make skin look more even.
Optional Add-ins for Skin Benefits
Tea tree oil must be diluted to no more than one percent in your final formula, roughly one drop per two tablespoons of base. As cosmetic chemists note, natural does not automatically mean gentle. Some plant-based extracts, including lavender, can irritate skin. Avoid essential oils entirely if you have rosacea, and check with your doctor before using them during pregnancy.
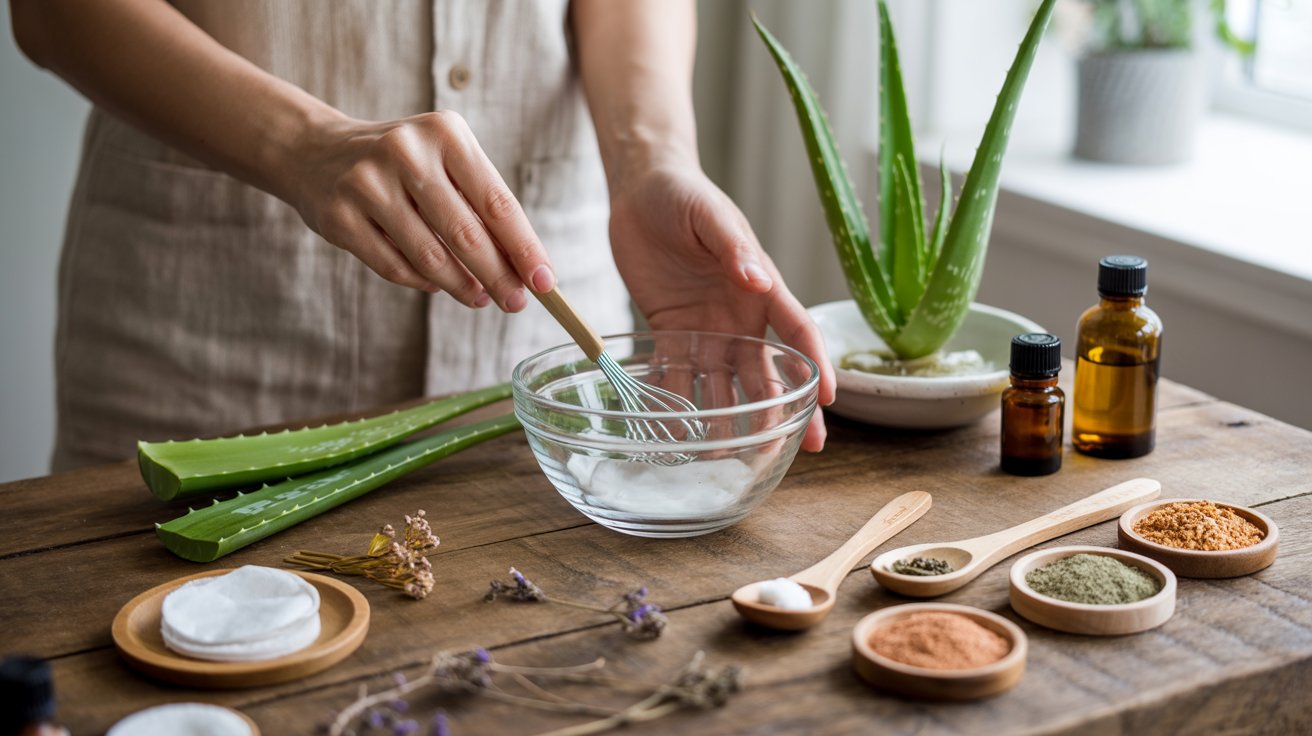
How to Make Makeup Primer at Home (Step-by-Step Methods)
These five recipes cover every skin type, and each one takes just a few minutes to put together.
1. Aloe Vera Natural Makeup Primer (Best for All Skin Types)
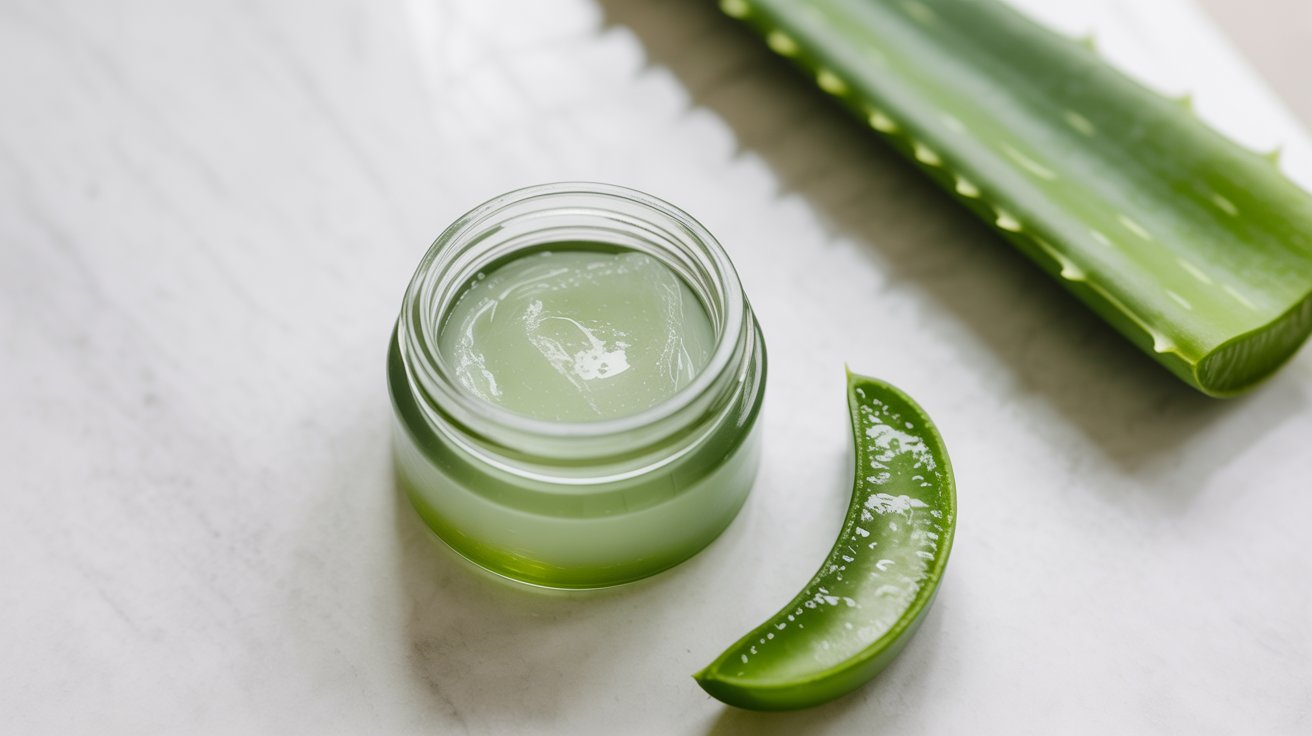
Ingredients: 2 tablespoons pure aloe vera gel, 1 teaspoon vegetable glycerin, 1 teaspoon rose water
Instructions: Combine aloe and glycerin in a sterilized bowl. Add rose water and stir until smooth. Transfer into an airtight glass jar with a sterile spatula.
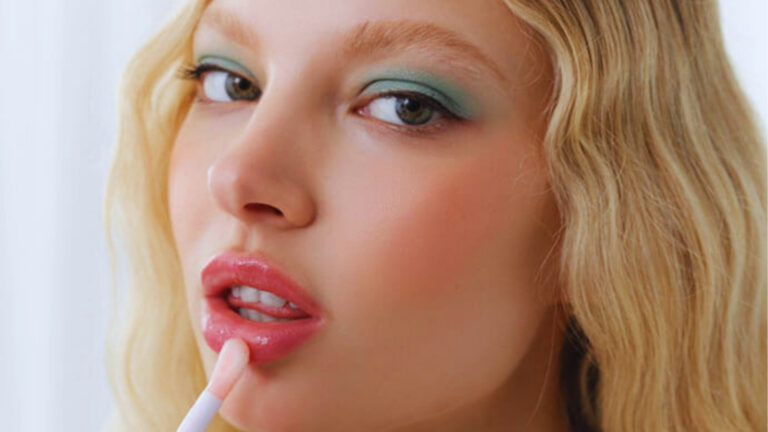
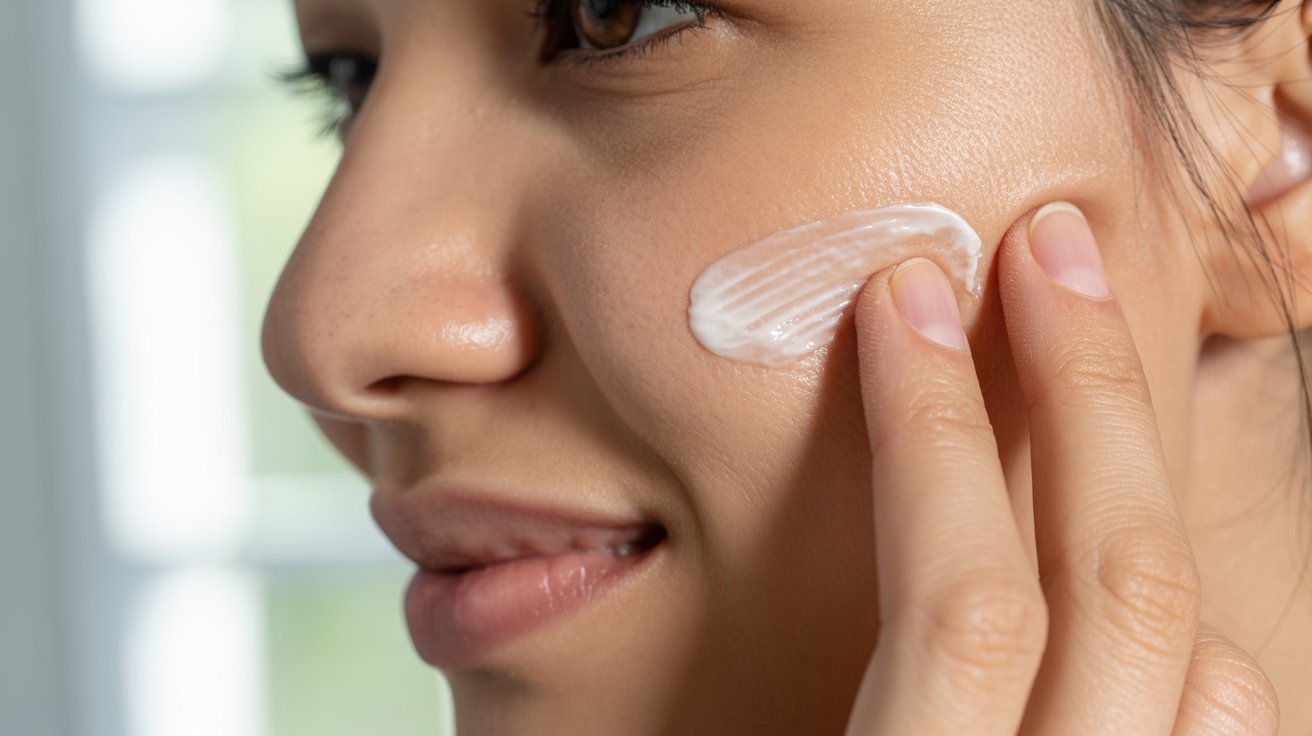
Apply: Press a thin layer onto skin after moisturizer absorbs. Wait 90 seconds before foundation.
2. Moisturizer-Based Primer (Fastest Method)
Ingredients: 1 tablespoon fragrance-free moisturizer, 1 teaspoon arrowroot powder
Instructions: Scoop moisturizer into a clean dish. Add arrowroot powder and blend until no clumps remain.
Apply: Press a thin layer across clean skin. Give it one full minute before foundation.
3. DIY Primer for Oily Skin

Ingredients: 1 tablespoon aloe vera gel, 1 teaspoon kaolin clay, 1 drop diluted tea tree oil (optional)
Instructions: Mix aloe and kaolin clay until no dry streaks remain. Add tea tree oil only if your skin tolerates it at the dilution rate above.
Apply: Apply a thin layer across oily zones. Give it two minutes before foundation.
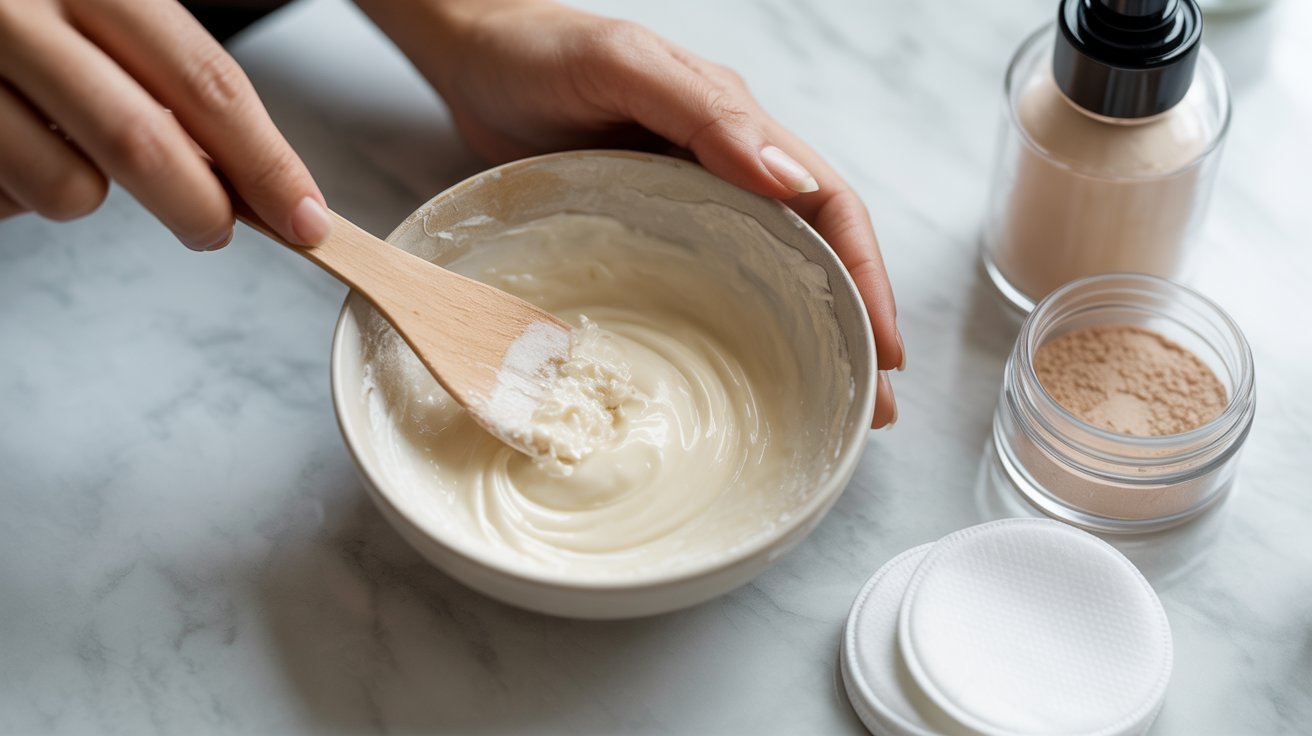
4. DIY Primer for Dry Skin
Ingredients: 1 tablespoon shea butter softened at room temperature, 1 teaspoon argan oil, 1 teaspoon vegetable glycerin
Instructions: Stir all three together until consistent. Avoid fully melting the shea butter as this changes its texture.
Apply: Warm a small amount between clean fingers and press onto skin, focusing on dry patches.
5. DIY Primer for Sensitive Skin

Ingredients: 2 tablespoons aloe vera gel, 1 teaspoon jojoba oil, 1 teaspoon rose water
Instructions: Combine all ingredients in a sterilized bowl and stir gently. Transfer to a small glass jar.
Apply: Pat onto skin with clean fingertips. Wait for it to absorb before foundation.
How to Choose the Right DIY Primer for Your Skin Type
Matching the right formula to your skin reduces the chance of a bad reaction and improves results.
- Oily skin benefits from clay and arrowroot-based recipes.
- Dry skin needs humectants and occlusives that support the skin barrier.
- Sensitive skin should stick to five or fewer ingredients with no added fragrance.
- Combination skin can start with the aloe vera recipe and add a small amount of kaolin clay to oilier zones.
When in doubt, patch test any new recipe on your inner arm before using it on your face.
When DIY Makeup Primer Will Not Work
Homemade primers have real limits. Knowing them upfront saves you frustration.
- If you have large, visible pores, a DIY formula will not fill them. That effect requires silicone-based ingredients found only in commercial primers.
- For stage makeup or photography, where coverage needs to hold under heat and lighting for hours, homemade primers are not strong enough.
- Extremely oily skin that breaks through commercial primers will likely see even faster wear with a DIY version.
- And if you need makeup to last 10 to 12 hours without touch-ups, a store-bought formula with tested preservation is the better choice.
DIY primers work best as an everyday option for normal, dry, or mildly oily skin in regular settings.
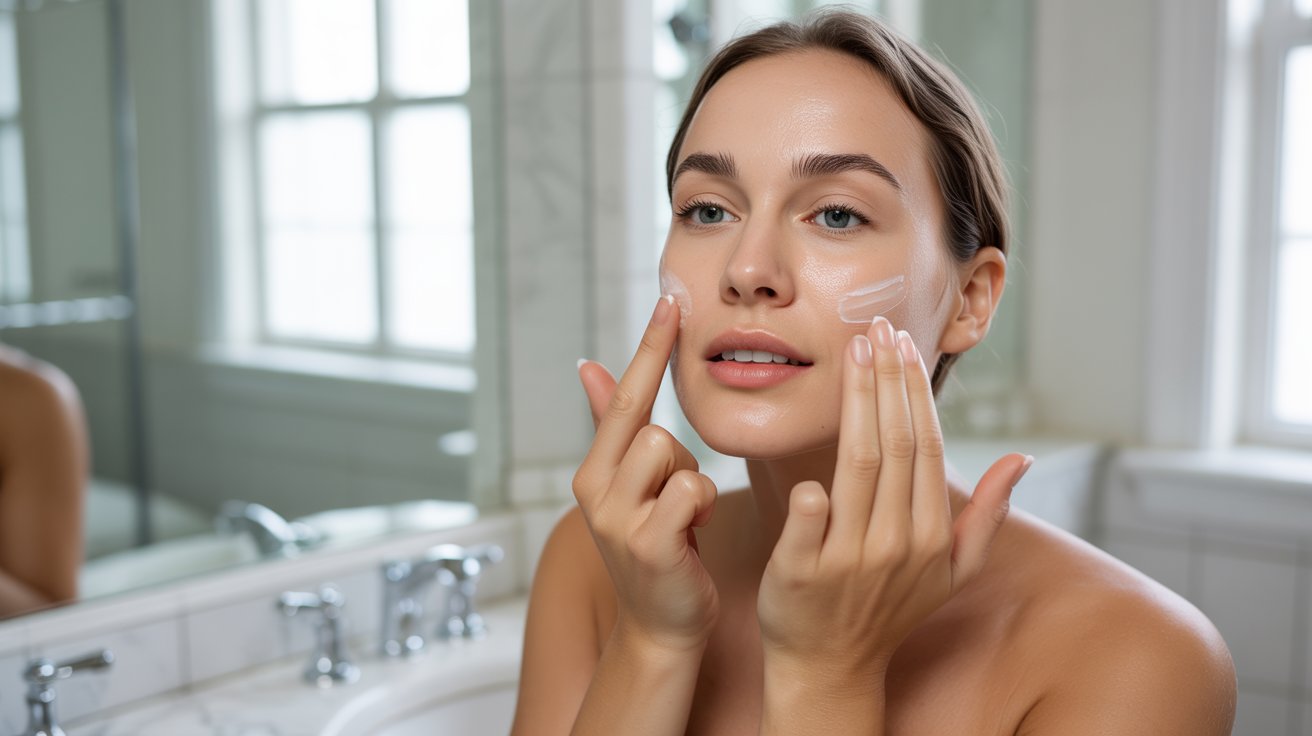
How to Apply Homemade Makeup Primer Correctly
Good application makes all the difference between makeup that lasts and makeup that fades fast.
Always start with clean, moisturized skin. Apply your primer after your moisturizer has fully absorbed.
Use clean fingertips or a damp beauty sponge. Press the primer into your skin rather than rubbing it. This gives a better finish.
Let it set for at least one to two minutes. Then apply your foundation as normal.
How Long Does Homemade Primer Last?
DIY products do not contain preservatives, so they expire faster than commercial versions.
Refrigerated primers last typically seven to ten days when refrigerated and handled hygienically. Without refrigeration, use them within three to five days.
Always use a sterile spatula to scoop product from the jar, as wet or dirty fingers introduce bacteria quickly.
Store in a glass jar with an airtight lid. If the texture changes, color shifts, or you notice any unexpected smell, discard the batch immediately.
DIY Makeup Primer vs Store-Bought Primer
It is worth knowing the real differences before you decide which one fits your routine best.
| Feature | DIY Primer | Store-Bought Primer |
|---|---|---|
| Ingredients | Ingredient-controlled, customizable | Standardized, stability-tested |
| Shelf life | 5 to 10 days | 12 to 24 months |
| Pore-blurring | Mild surface smoothing | Stronger effect (silicone-based) |
| Cost | Low | Moderate to high |
| Wear time | Moderate | Longer, especially with silicones |
| Preservative-free | Yes | No |
For everyday wear, a natural makeup primer made at home works well. For full coverage or long events, a commercial primer holds up better. Many people layer both for a balanced result.
Common Mistakes to Avoid
Using unsterilized tools is the most common issue. Bacteria from unwashed bowls or fingers can spoil a batch within days.
Always wash tools with hot water and soap or wipe with rubbing alcohol before use.
Too much clay dries out skin and cracks foundation. Too much oil reduces wear time. Measure carefully until you know how each ingredient behaves.
Cosmetic chemists and dermatologists generally recommend patch testing any new formulation before applying it to your face.
Apply a small amount to your inner arm, wait 24 hours, and check for any reaction.
Is Homemade Makeup Primer Safe for Skin?
For most people, yes, but there are limits worth knowing.
The Food and Drug Administration regulates cosmetics sold commercially, but homemade products made for personal use are not reviewed for safety or effectiveness.
That means safety responsibility falls entirely on you. Without broad-spectrum preservatives, contamination is a real risk if hygiene and storage are not taken seriously.
Use cosmetic-grade or food-grade ingredients only. Keep essential oils out of sensitive skin formulas.
If you have an active skin condition, check with a dermatologist before adding anything new to your routine.
Expert Tips for Long-Lasting Makeup Without Primer
- A light setting spray after foundation can extend wear by several hours.
- Blotting papers absorb midday oil without disturbing coverage.
- Loose setting powder pressed over foundation, especially across the nose and forehead, reduces shine throughout the day.
- Well-hydrated skin holds coverage more evenly.
- Dehydrated skin absorbs foundation in patches, which causes it to break down faster.
Conclusion
Learning to make makeup primer at home took me a few failed batches before I got it right.
The greasy ones, the flaky ones, the ones that pilled the second I started applying foundation. Those experiments taught me what each ingredient actually does and why ratios matter.
The recipes here are based on basic cosmetic chemistry. Once you understand that, adjusting a recipe becomes much easier.
Start with the formula closest to your skin type. Patch test it, store it properly, and give it a realistic trial.
A silicone-free, natural makeup primer will not behave like a commercial one, but for daily use, it can absolutely work.
Which recipe fits your skin type, and what is one ingredient you want to try first?
Frequently Asked Questions
Does aloe vera gel actually work as a natural makeup primer?
Aloe vera has a mild film-forming effect that helps foundation sit more evenly on the skin. It works best for normal to combination skin and is less long-lasting than silicone-based commercial primers.
Is DIY face primer safe for acne-prone skin?
Most recipes are safe when you use non-comedogenic ingredients like aloe vera, jojoba oil, and kaolin clay. Always patch test before applying any new formula to your full face.
How is a homemade primer different from just wearing moisturizer under foundation?
Moisturizer alone hydrates but does not create a grip layer for makeup. Primers with aloe or arrowroot give foundation something more stable to adhere to, which can improve wear over the day.
Can I use a silicone-free primer every day without breaking out?
Silicone-free primers are generally less likely to cause congestion for people who react to heavier commercial formulas. Keeping tools and jars sterile is the most important step in avoiding breakouts from DIY products.
Why does my homemade primer pill under foundation?
Pilling usually happens when the primer has not absorbed before foundation is applied, or when too much product is used. Apply a thin layer, wait at least 90 seconds, and use a pressing motion rather than swiping with a brush or sponge.