How to File Nails: Easy Step-by-Step Guide

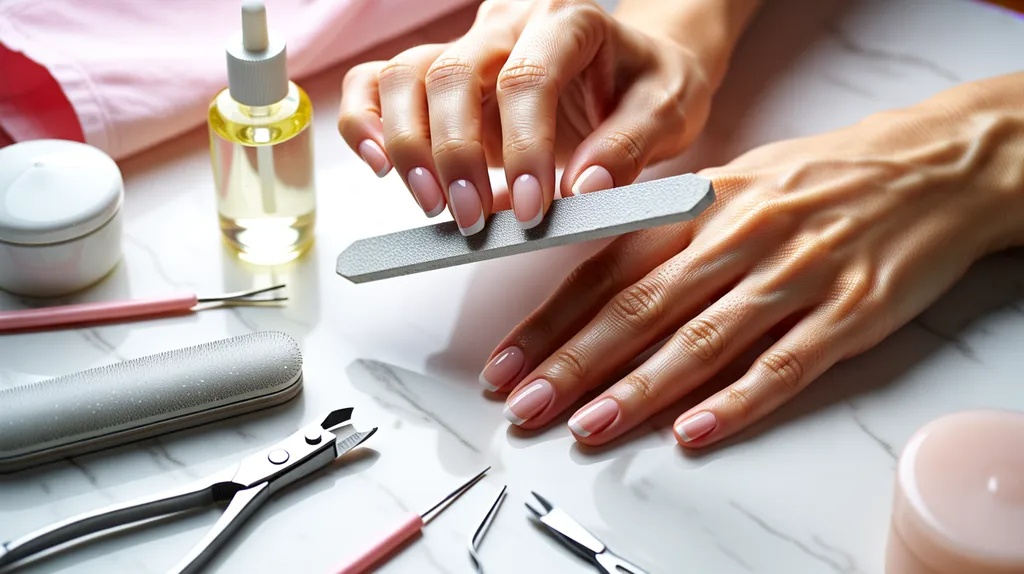
Filing your nails the right way can save you from breakage, snags, and uneven edges. This guide covers the right tools, the best filing techniques, and how to shape your nails for a clean, polished look.
Whether you are new to nail care or just want to sharpen your skills, this guide has you covered. You will learn which files work best for your nail type and how to avoid common mistakes that weaken your nails over time.
I have spent years testing different files and techniques, and I am sharing what actually works. By the end, filing your nails will feel simple and stress free, and your manicure will last longer too.
Why Learning How to File Nails Properly Matters
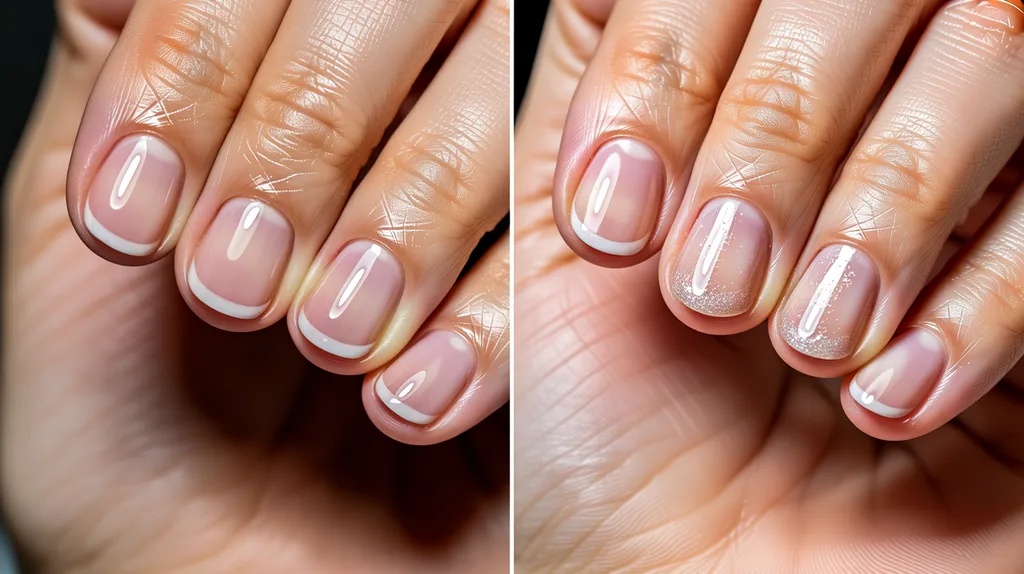
Good filing habits protect your nails from cracks, splits, and peeling over time.
Filing your nails the wrong way can cause more harm than good. Rough or careless filing weakens the nail edge and makes it prone to snagging on clothes or hair.
Over time, this leads to peeling, splitting, and slow growth. Learning proper technique helps you avoid these problems completely. It also saves you money since you will not need frequent salon visits for repairs.
Proper filing gives your nails a clean, even shape that lasts longer between manicures. It also makes applying polish or gel much smoother, since the surface and edges are even. Many people rush through filing without realizing the damage they are causing.
Taking a few extra minutes to file correctly can make a real difference in how healthy your nails look and feel. This small habit pays off in the long run for stronger, better looking nails.
Nail Filing Tools You Need Before You Start
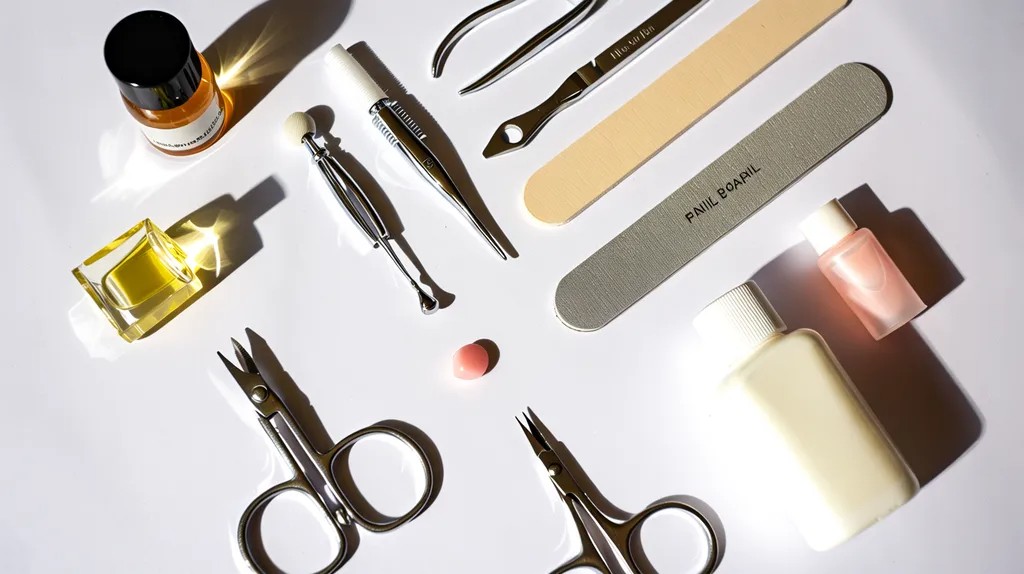
Having the right tools makes filing faster, safer, and far more effective.
Choosing the best nail file for your nail type
Soft or thin nails need a finer grit file to prevent damage. Thicker or acrylic nails can handle a coarser grit. Glass and crystal files work well for natural nails since they are gentle. Emery boards are cheap and easy to find but wear out faster.
Understanding nail file grit
Grit numbers tell you how rough or fine a file is. Lower numbers, like 80 or 100, are coarser and used for shaping acrylics or thick nails. Higher numbers, like 240 or above, are gentler and better for natural nails. Using the wrong grit can weaken your nails over time.
When to use a nail buffer
A buffer smooths ridges and gives nails a soft shine. Use it after filing, not before, so the shape is already set. Avoid buffing too often since it can thin out the nail surface. Once every two weeks is usually enough for most people.
How to File Nails Step by Step
Follow these six simple steps for a clean, even finish every time.
Step 1: Wash and dry your nails
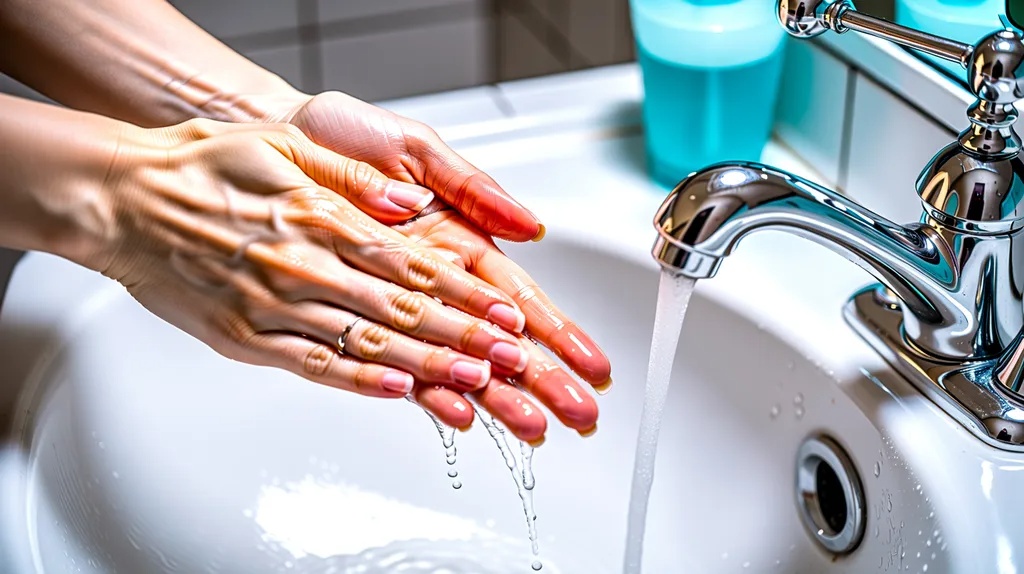
Start with clean hands before you pick up a file. Dirt, lotion, or oil on your nails can make the file slip and cause uneven strokes.
Dry your nails fully before you begin, since wet nails are softer, weaker, and break or peel more easily during filing.
Step 2: Trim nails to your preferred length
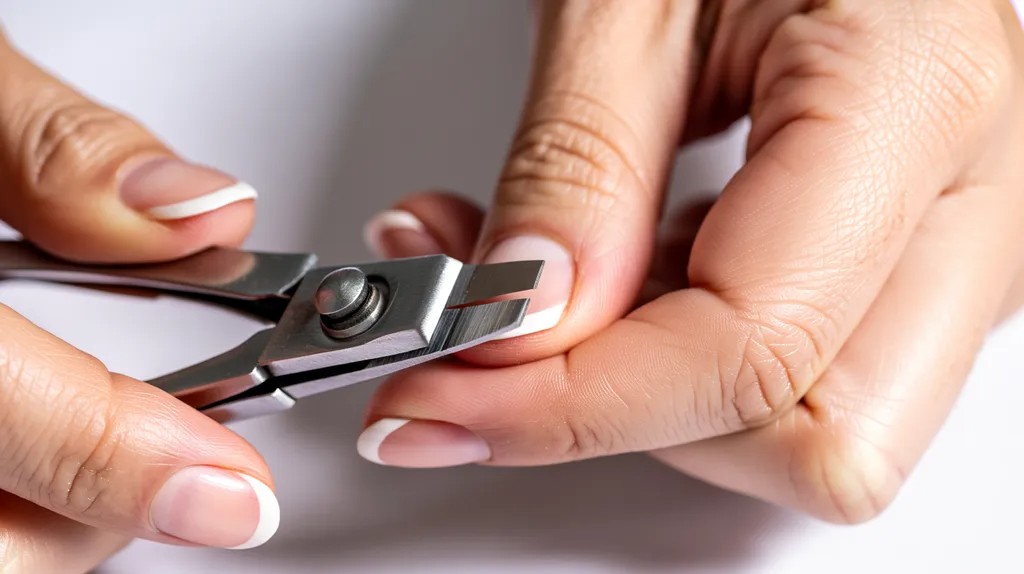
Use nail clippers to cut nails close to your desired length before you start filing them.
This saves time and reduces how much filing you need to do overall. It also keeps you from removing too much length once shaping begins.
Step 3: Choose your desired nail shape
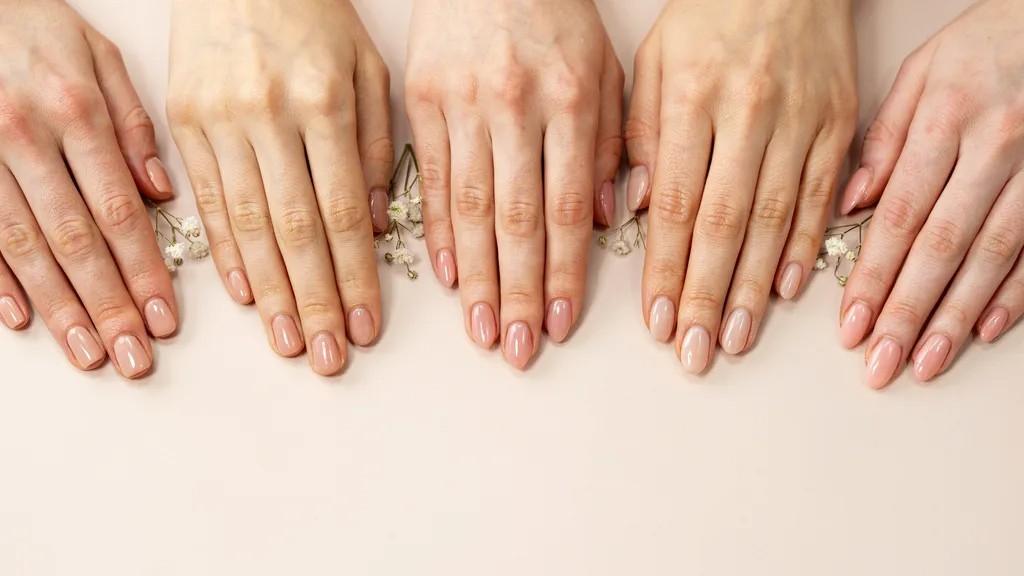
Decide if you want square, round, oval, squoval, or almond shaped nails before you begin filing.
Having a clear picture in your mind helps you file with more control, less guesswork, and fewer uneven edges to fix later on.
Step 4: File nails in one direction
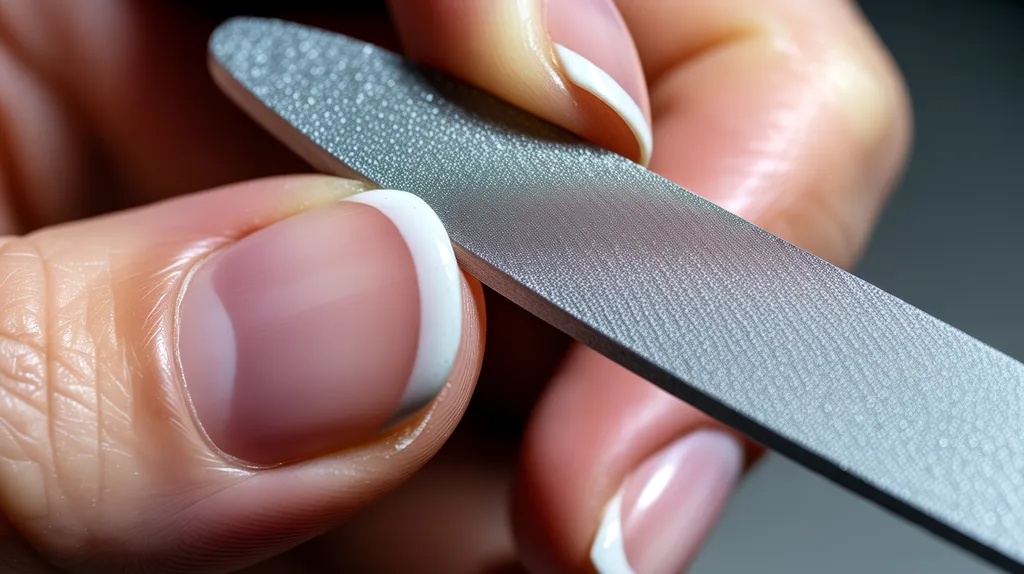
Move the file in one direction only, working from the side toward the center of the nail.
Avoid a back and forth sawing motion, since it creates friction and heat that can weaken the nail and cause splitting or peeling.
Step 5: Check the shape from every angle

Hold your hand at different angles and look closely at each nail as you go.
Small differences in shape or length are much easier to fix early, rather than after polish or nail art has already been applied.
Step 6: Smooth the edges with a buffer
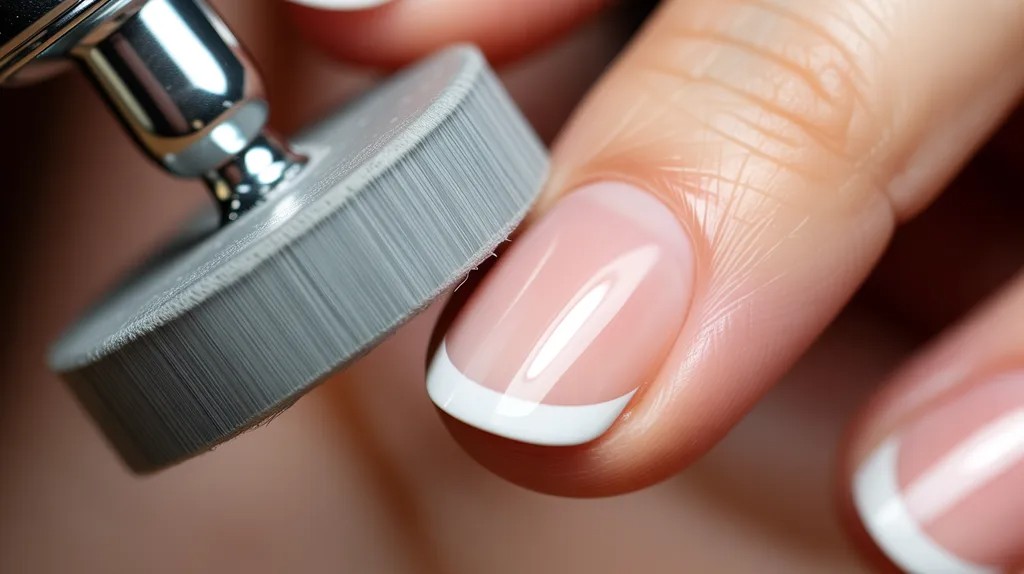
Once the shape looks right, gently buff the edges to smooth them out completely.
This removes rough spots, snags, or ridges left behind by filing, giving your nails a smoother, more polished, salon quality finish overall.
How to File Nails for Beginners
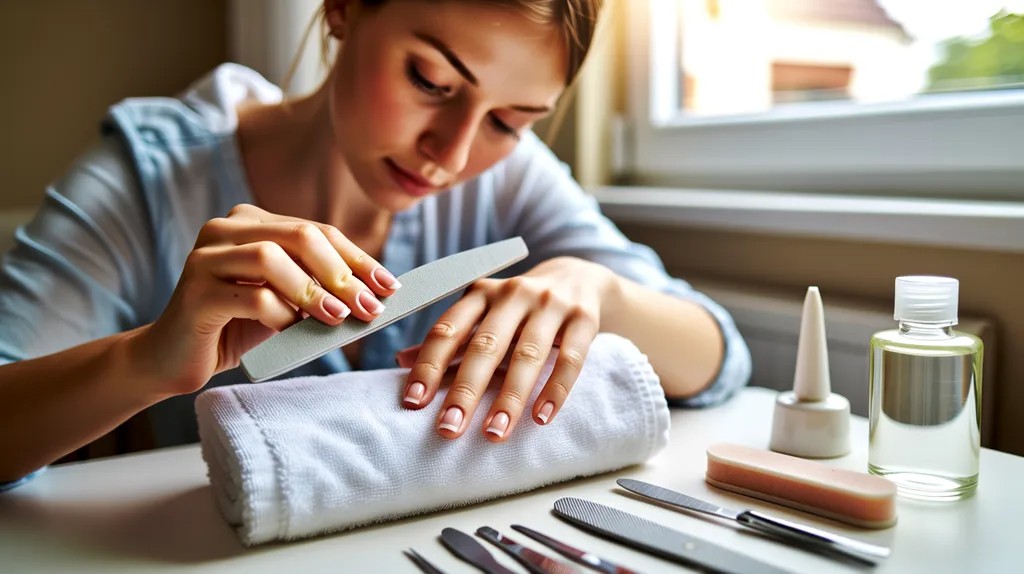
New to filing? These simple tips will help you get comfortable fast.
Easy tips to get an even shape
Start with shorter strokes instead of long ones. Short strokes give you more control and help you notice mistakes early. Take your time rather than rushing through each nail.
How to avoid uneven or jagged edges
Always file in one steady direction. Check your progress often by comparing nails side by side. Uneven pressure is usually the main cause of jagged edges.
Beginner mistakes to avoid
Avoid sawing back and forth, pressing too hard, or filing wet nails. These habits are common early on but can be fixed with a little practice and patience.
How to File Different Nail Shapes
Each shape needs a slightly different filing angle and technique.
How to File Nails Square
File the sides straight at a 90 degree angle to the tip, keeping everything flat and even. Work slowly near the corners so you do not lose length by mistake.
This shape holds gel or acrylic overlays well and gives a bold, structured finish with a bit of extra length.
How to File Nails Round
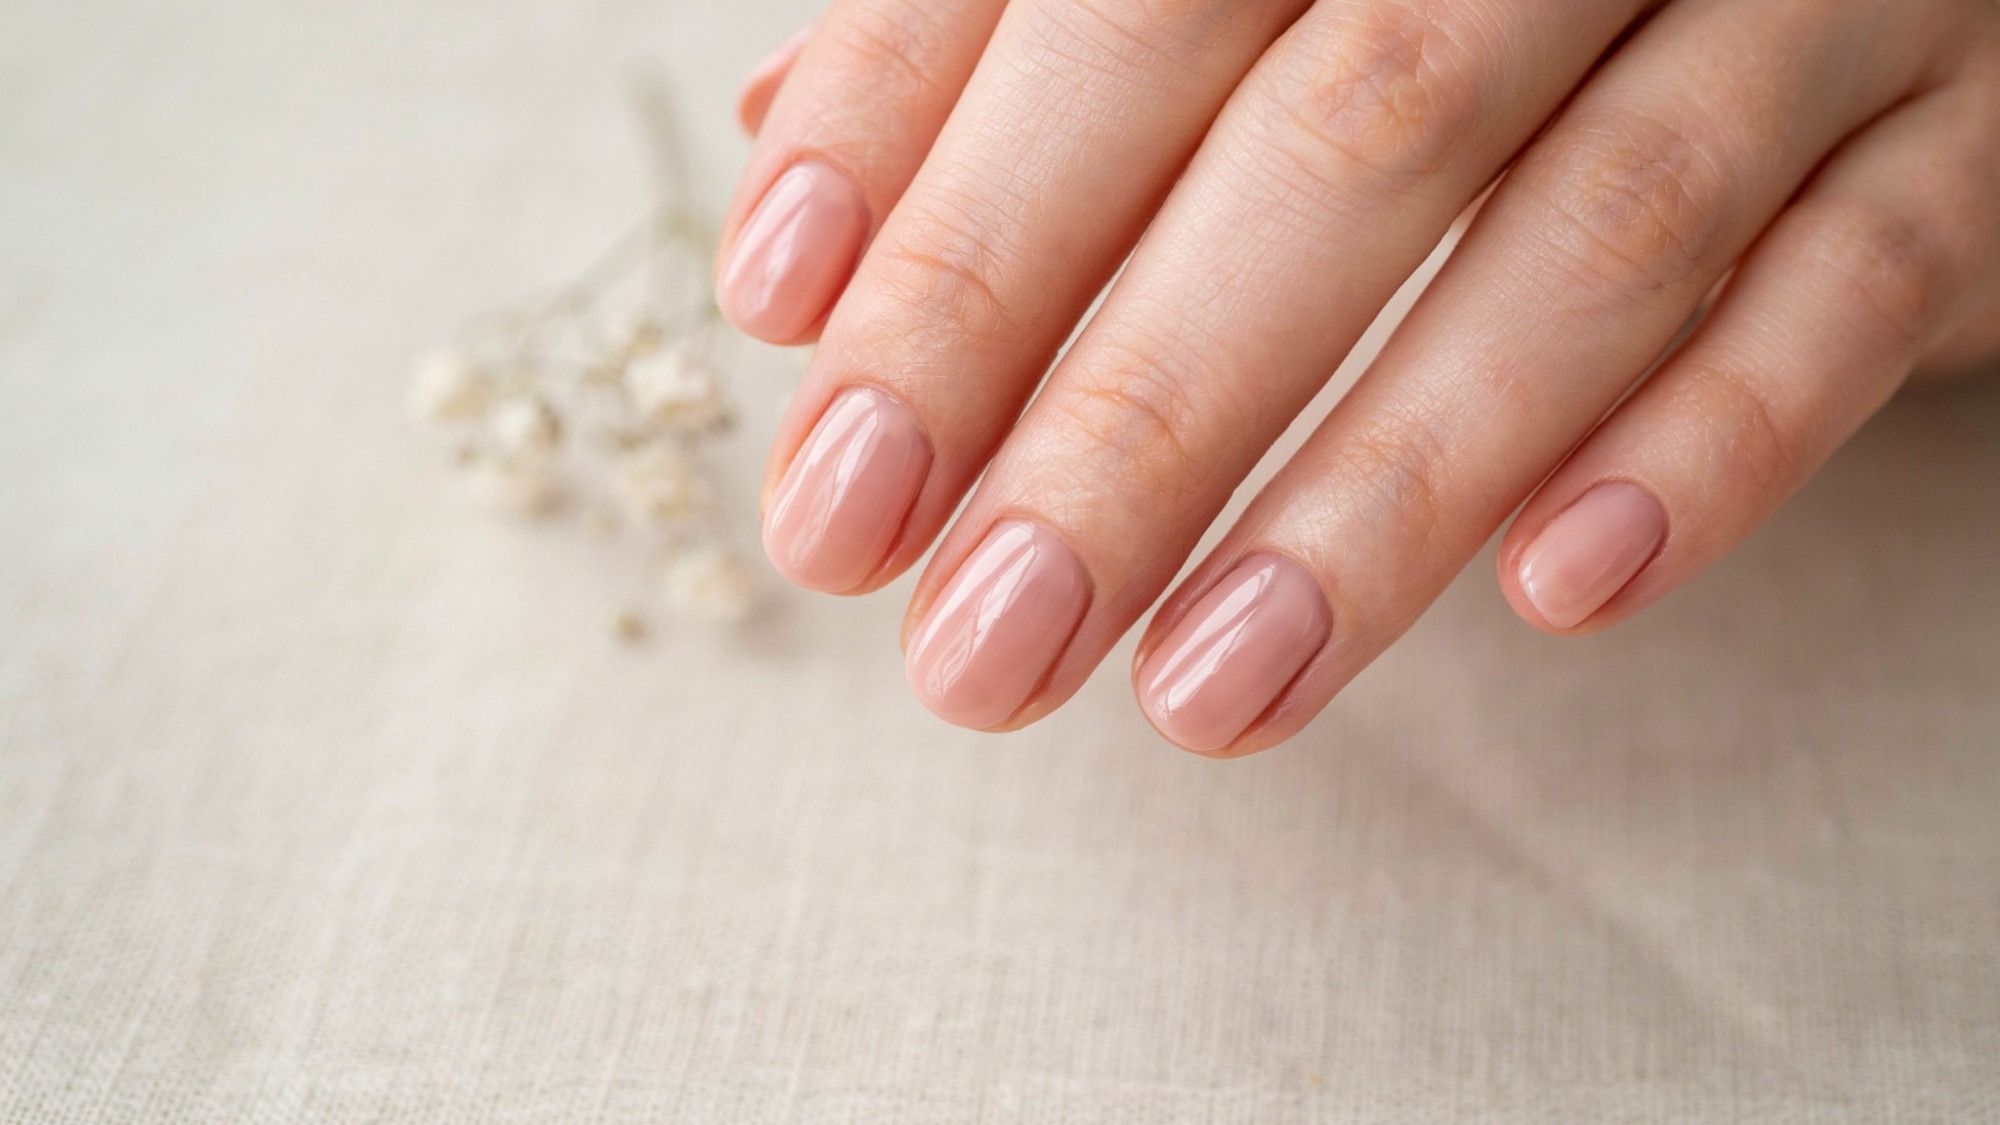
Move the file gently along the natural curve of your fingertip, skipping sharp corners entirely. This shape is easy for beginners since it follows the nail's own line.
It suits shorter lengths well and holds up nicely for people who use their hands often through the day.
How to File Oval Nails
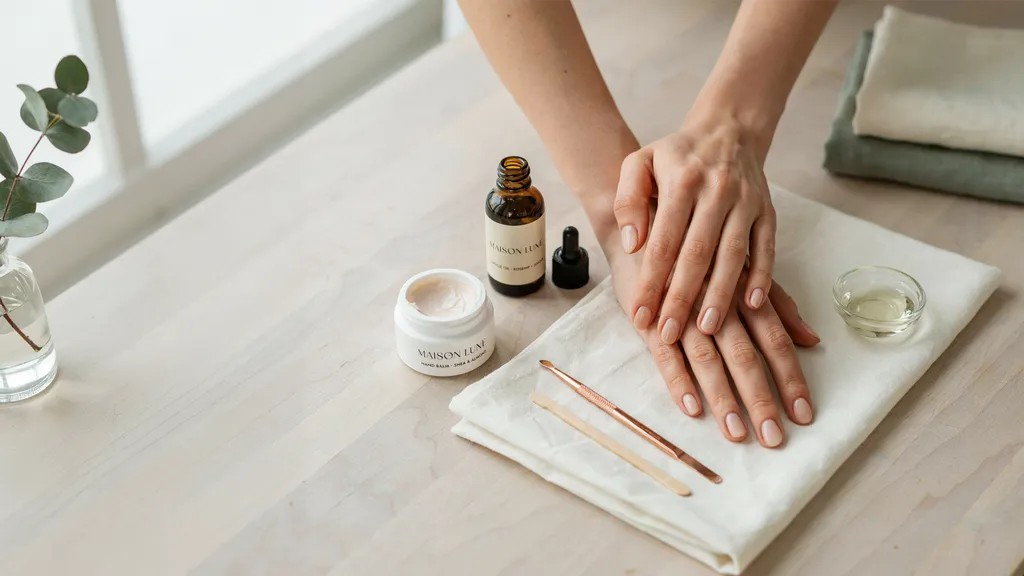
Taper the sides in a little more than you would for round nails, then curve the tip gently. Balance matters here since too much tapering starts to look almond shaped.
A bit of extra length helps the curve stand out and gives fingers a longer, slimmer appearance overall.
How to File Nails Squoval
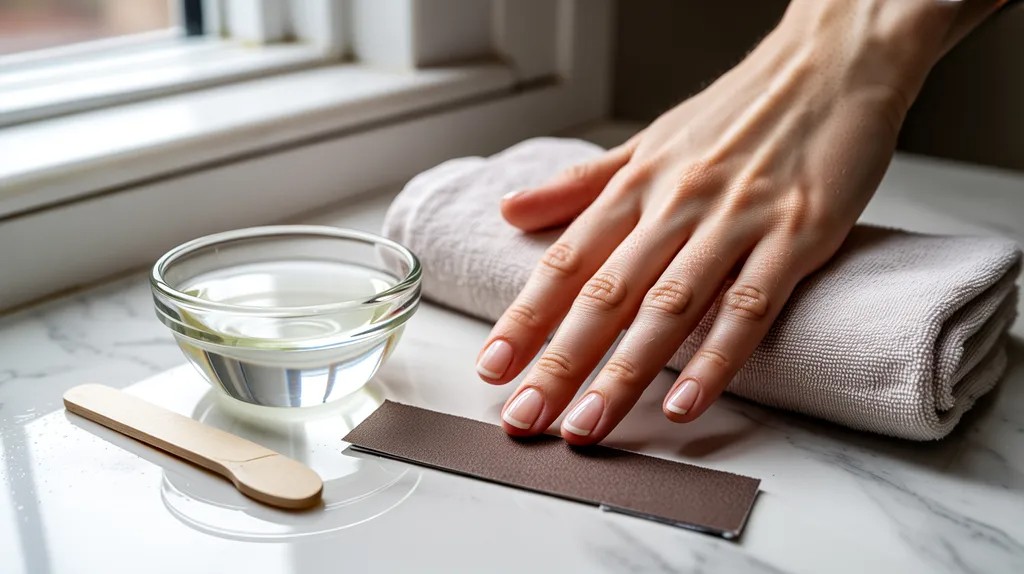
Start by filing the tip flat like a square shape, then round off just the corners while keeping the rest straight. This mix gives the strength of square nails without sharp edges that chip or snag. It works well for anyone wanting a clean, low maintenance shape.
How to File Nails Almond
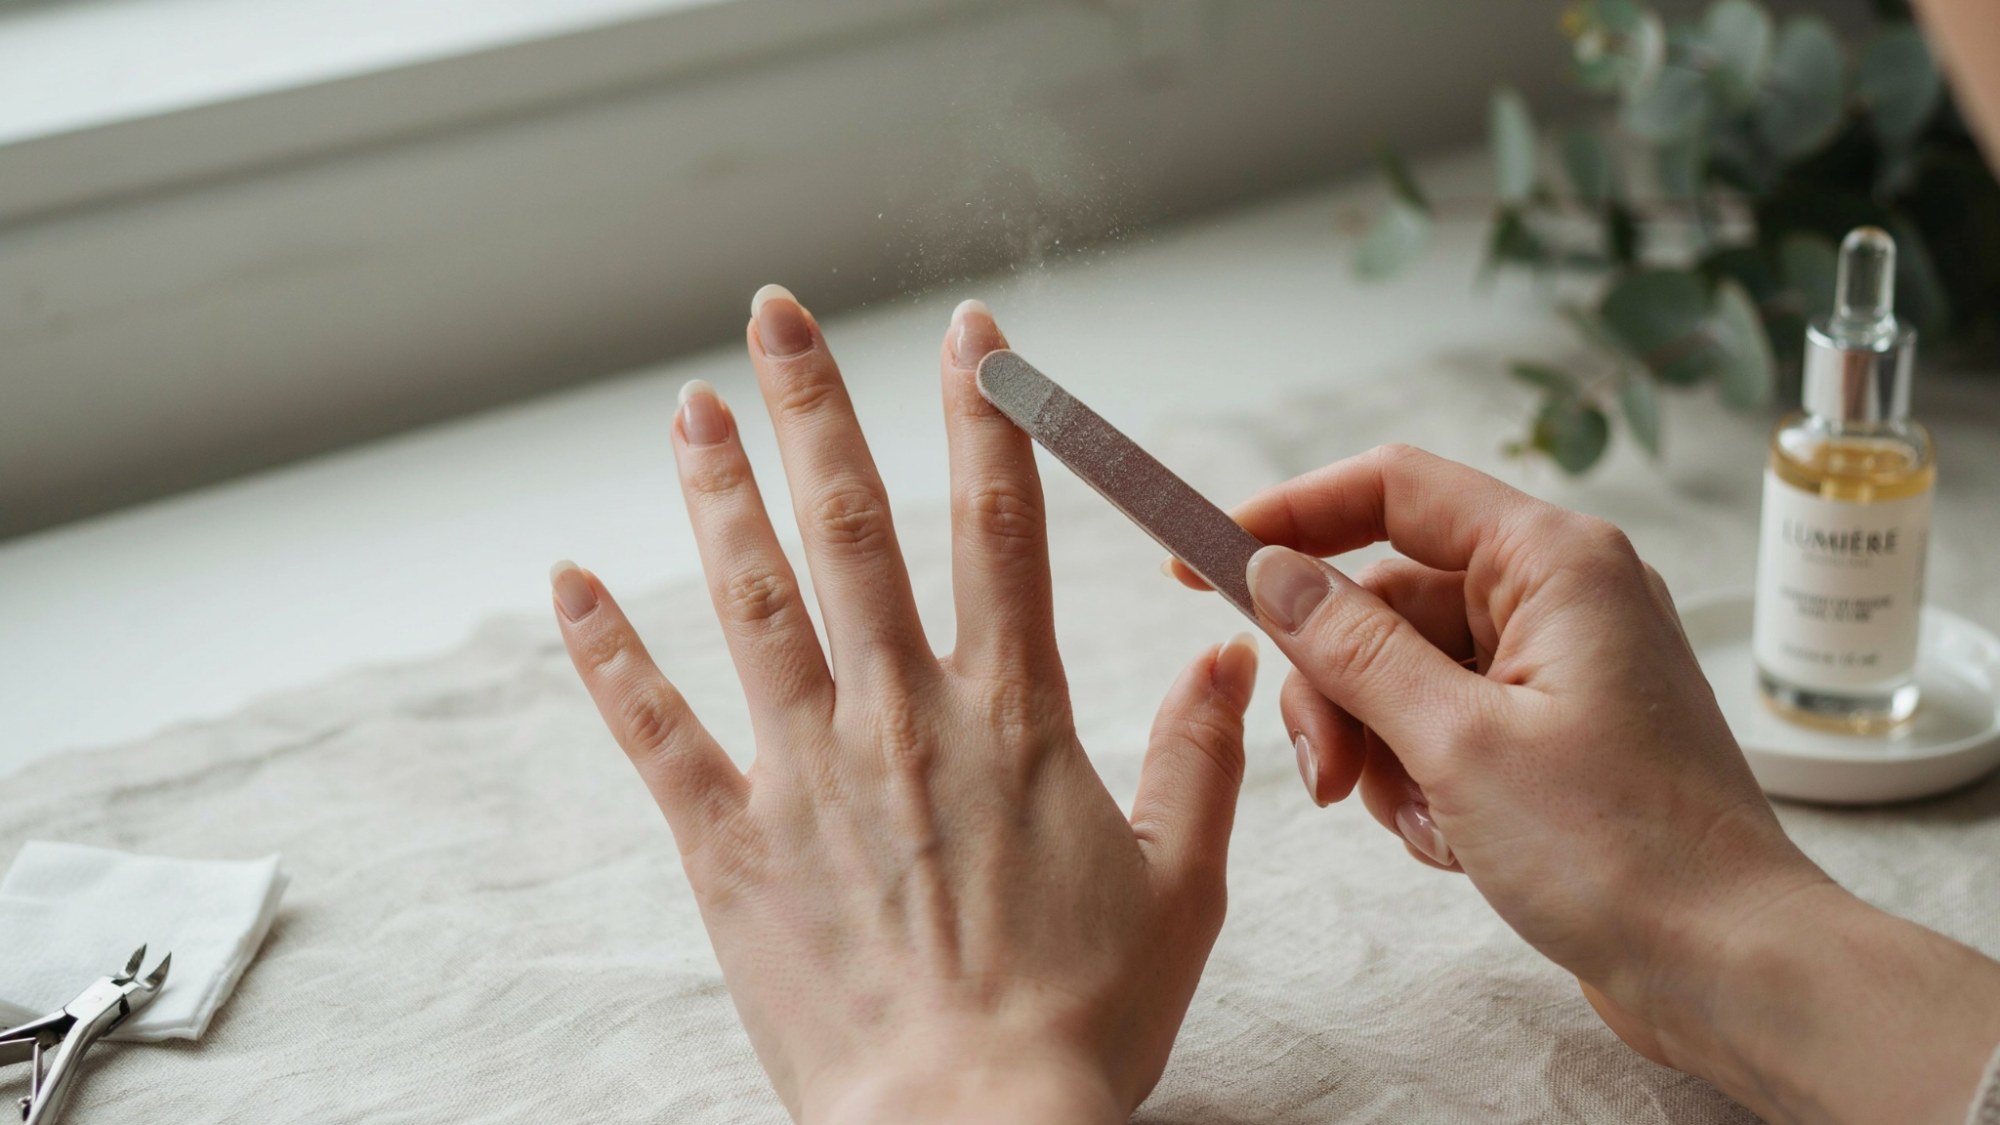
Starting near the base, angle the sides inward as you move toward the tip, narrowing the shape step by step. Check both sides often to keep things symmetrical.
End with a soft curved point rather than a sharp one, since pointed tips break more easily over time.
Best Nail Filing Tips for Strong, Healthy Nails
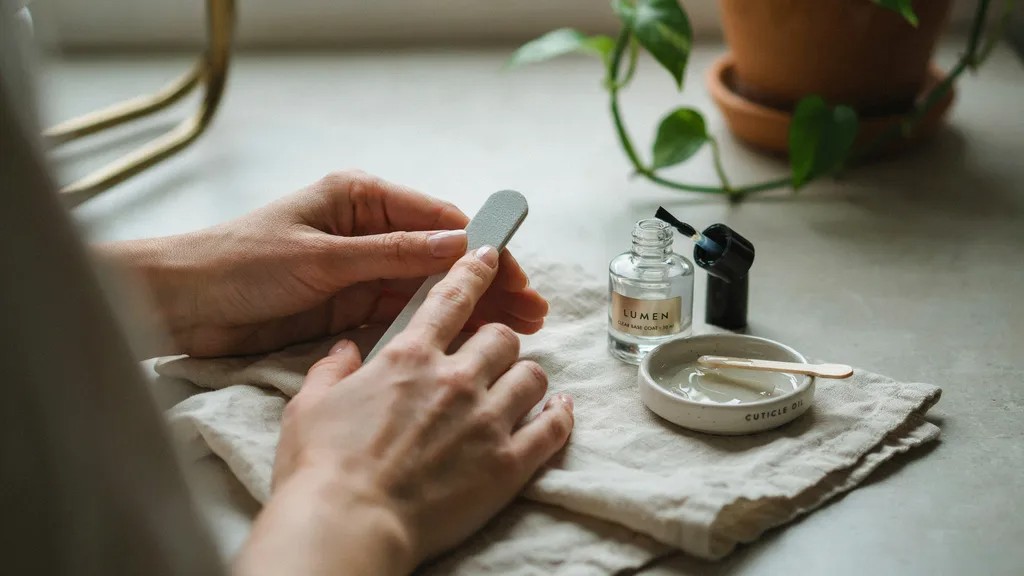
Small habits go a long way in keeping your nails strong over time.
- File natural nails vs acrylic nails using a finer grit for natural nails and a coarser file for acrylics.
- Keep all nails the same length to avoid snagging or breaking one by accident.
- Clean and sanitize your nail tools with rubbing alcohol after each use.
- Moisturize nails and cuticles after filing to keep them soft and healthy.
Nail Care After Filing
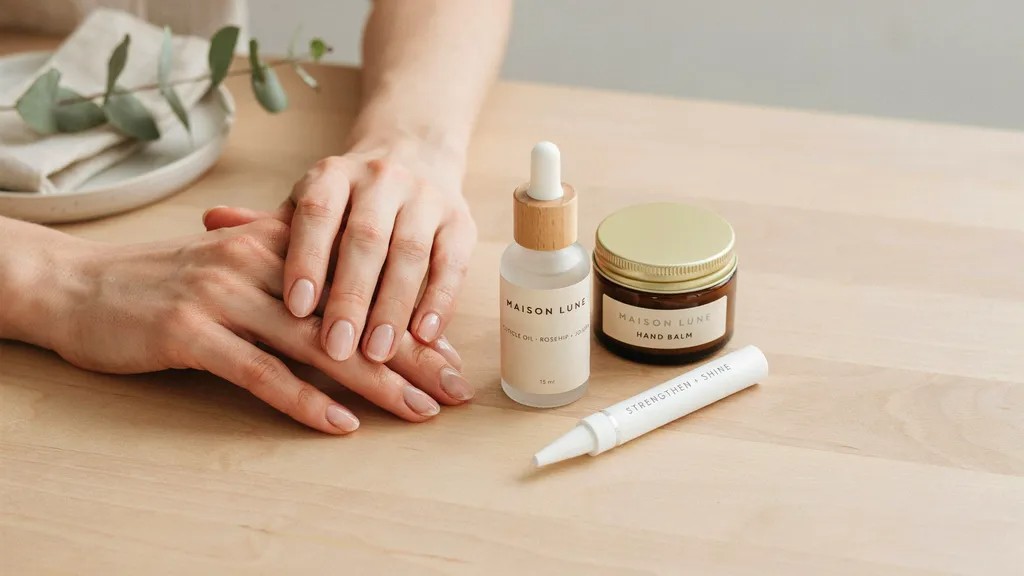
A little care after filing keeps your nails looking their best.
Buffing for a smooth finish
A quick buff after filing removes rough patches and gives nails a soft, even surface ready for polish.
Applying cuticle oil
Cuticle oil keeps the skin around your nails soft and prevents dryness or cracking after filing.
Moisturizing your hands and nails
Finish with a good hand cream to lock in moisture. This step keeps both your skin and nails looking healthy longer.
Conclusion
You made it through the full guide, and I hope it feels less confusing now. I still remember struggling with jagged edges before I learned proper technique, and it made such a difference once I got it right.
Filing your nails does not have to be complicated. With the right tools and a little patience, you can get salon quality results at home.
Try these steps the next time you file your nails, and see how it feels. Drop a comment below and share your own tips or questions. Feel free to share this post with a friend who might need it too.
Frequently Asked Questions
How often should I file my nails?
Most people should file once a week. Filing too often can weaken the nail over time.
Can I file my nails when they are wet?
No, wet nails are softer and more likely to split or tear while filing.
What grit file is best for natural nails?
A higher grit, around 240 or above, is gentle and works well for natural nails.
How do I stop my nails from splitting after filing?
File in one direction only and avoid pressing too hard, especially near the tips.
Do I need a buffer if I already have a nail file?
A buffer is not required, but it helps smooth ridges and gives nails a polished finish.