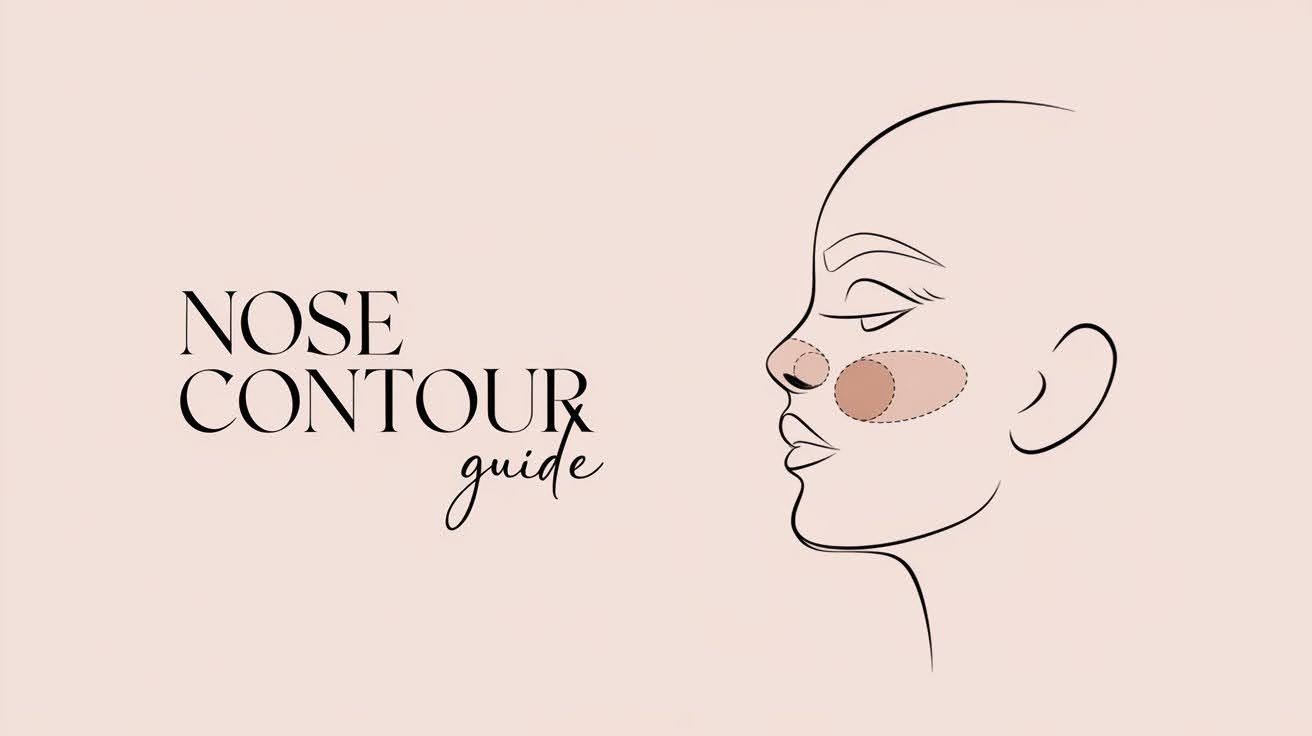
Nose Contour Guide: Easy Steps for Every Face Shape
You want to learn nose contouring. But every tutorial you’ve found is either too complicated or doesn’t work for your nose shape. I get it. I’ve been there.
Here’s what this guide contains:
- Step-by-step instructions for every nose shape
- Product recommendations that actually work
- Common mistakes to avoid
- Tips for different skin tones
I’ll solve your nose contouring problems. No more guessing. No more wasted makeup.
Why trust me? I’ve taught thousands of people this technique. I know what works and what doesn’t. You’re looking for a complete nose contour guide. That’s exactly what you’ll get.
By the end of this article, you’ll contour your nose like a pro. No makeup school required.
This isn’t another basic tutorial. It’s your complete roadmap to nose contouring success.
What Is Nose Contouring?

Think of your nose as a sculpture. Contouring is how you reshape it with makeup.
The basic idea: Use light and dark shades to create optical illusions.
Dark shades make areas look smaller. Light shades make them pop forward.
Here’s what nose contouring can do:
- Make a wide nose appear narrower
- Shorten a long nose
- Straighten a crooked nose
- Add definition to a flat nose
But here’s what it can’t do: Actually change your bone structure. This is makeup magic. Not surgery.
Nose Shapes & How to Contour Each

|
Nose Shape |
Your Goal |
Technique |
Key Tip |
|
Wide Nose |
Create the illusion of narrowness |
Apply dark contour along the sides of your nose. Keep the center light. Blend the edges well. |
Don’t go too dark. Subtle wins every time. |
|
Long Nose |
Make it appear shorter |
Contour the tip of your nose. Add highlight to the middle section only. Skip highlighting the tip. |
Highlighting the entire length makes it look longer. |
|
Bulbous Nose |
Define the tip |
Contour the sides of the tip. Highlight the center of the tip. Blend in small circles. |
Less is more with bulbous noses. |
|
Crooked Nose |
Create the illusion of straightness |
Draw a straight line down the center with highlighter. Contour the sides evenly. Focus on symmetry. |
This takes practice. Be patient with yourself. |
|
Flat Nose |
Add dimension |
Use more highlight than contour. Focus on the bridge. Add subtle shadow to the sides. |
Don’t over-contour. You want definition, not drama. |
Tools & Products You’ll Need
Essential Tools
Brushes:
- Small, fluffy brush for blending
- Flat shader brush for precise application
- Beauty sponge for seamless blending
Why these work: They give you control and smooth application.
Product Options
Option 1: Cream Products
- Pros: Easy to blend, natural finish
- Cons: Can move throughout the day
- Best for: Beginners
Option 2: Powder Products
- Pros: Long-lasting, buildable
- Cons: Can look harsh if not blended
- Best for: Experienced users
Option 3: Contour Sticks
- Pros: Precise application, travel-friendly
- Cons: Limited shade range
- Best for: Quick touch-ups
Shade Selection Rules
- For contouring: Choose a shade 2-3 shades darker than your skin tone.
- For highlighting: Choose a shade 1-2 shades lighter than your skin tone.
- Golden rule: Test shades on your jawline first.
Step-by-Step Nose Contour Guide (Beginner Friendly)

Step 1: Prep Your Skin
Start with clean, moisturized skin. Apply your base makeup first.
Why this matters: Contour goes on top of foundation, not under it.
Step 2: Map Your Nose
Use a flat brush to find your contour lines.
The technique: Hold the brush flat against your nostril. Angle it toward your inner eyebrow. This shows you where to contour.
Pro tip: Do this for both sides to ensure symmetry.
Step 3: Apply Contour
Start light. You can always build up.
The method: Apply contour along the sides of your nose. Start from the inner corner of your eyebrow. End at your nostril. Use gentle, downward strokes.
Key point: Don’t contour the actual nostrils. This looks unnatural.
Step 4: Add Highlight
Apply highlighter down the center of your nose.
The technique: Start between your eyebrows. End where you want your nose to “end.” Use a light hand. Tap, don’t swipe.
Important: The highlight should be thinner than your natural nose bridge.
Step 5: Blend Like Your Life Depends On It
This step makes or breaks your contour.
The process: Use a clean, fluffy brush. Blend in circular motions. Work from the center outward. Check from different angles.
Truth bomb: If you can see harsh lines, you’re not done blending.
Step 6: Set Your Work
Use a light dusting of translucent powder.
Why this works: It locks everything in place.
Common Mistakes to Avoid
Mistake #1: Going Too Dark
- The problem: Harsh, obvious lines.
- The fix: Start with a light hand. Build slowly.
- Remember: You can always add more. You can’t easily take it away.
Mistake #2: Wrong Brush Choice
- The problem: Patchy, uneven application.
- The fix: Use the right brush for each step.
- Rule of thumb: Dense brushes for application, fluffy brushes for blending.
Mistake #3: Skipping the Blend
- The problem: Obvious makeup lines.
- The fix: Blend every single line until it disappears.
- Pro tip: Use a damp beauty sponge for seamless blending.
Mistake #4: Contouring the Nostrils
- The problem: Unnatural, dirty appearance.
- The fix: Stop the contour at the nostril. Don’t go inside.
- Why this matters: It’s the fastest way to spot amateur contouring.
Mistake #5: Ignoring Your Face Shape
- The problem: Contour that doesn’t suit your features.
- The fix: Study your face shape first. Then adapt the technique.
- Remember: What works for others might not work for you.
Nose Contouring for Different Skin Tones
Light Skin Tones
Contour shades: Cool-toned browns, taupes
Highlight shades: Champagne, light pink
Key tip: Avoid orange-based products. They’ll look muddy.
Medium Skin Tones
Contour shades: Warm browns, deeper taupes
Highlight shades: Golden champagne, warm beige
Key tip: You can handle slightly warmer tones than lighter skin.
Dark Skin Tones
Contour shades: Deep browns, rich chocolates
Highlight shades: Golden bronze, warm gold
Key tip: Don’t be afraid to go bold. Your skin can handle more intensity.
Universal Tips
- Always test shades first
- Consider your undertones
- Natural light is your friend
- What looks good in photos might not work in person
Final Thoughts
Nose contouring isn’t magic. It’s a skill that improves with practice.
You now have everything you need to contour your nose perfectly. The techniques work. The products are tested. The steps are clear. Start simple. Master the basic technique before trying advanced tricks.
Remember that the goal is enhancement, not change. Your nose is perfect as it is. Contouring just gives you options for different looks and occasions. Practice makes progress. Don’t expect perfection on day one.
Even professional makeup artists had to start somewhere.
Most importantly, have fun with it. Makeup should be enjoyable, not stressful. Experiment with different techniques. Find what works best for your unique features.
You’ve got this. Now go create that perfect nose contour you’ve always wanted.
Frequently Asked Questions
How long does nose contouring take to learn?
Most people get the basics in 2-3 practice sessions. Getting it perfect takes about 2 weeks of regular practice.
Can I use eyeshadow for nose contouring?
Yes, matte eyeshadows work great for contouring. Choose cool-toned browns that are 2-3 shades darker than your skin.
Should I contour my nose before or after foundation?
Always contour after applying foundation. Foundation creates the base that helps your contour blend smoothly.
What if my nose contour looks muddy?
You’re probably using too much product or the wrong shade. Start with less product and choose cooler-toned contour shades.
Is nose contouring safe for sensitive skin?
Yes, but choose gentle, hypoallergenic products. Always do a patch test before trying new makeup products.