How to Cover Scars: Step-by-Step Guide

Scars don’t fade on their own timeline, and waiting for them to disappear isn’t always realistic.
I’ve spent years testing coverage methods that actually work, and I’m sharing the exact techniques dermatologists recommend to their patients.
This guide covers both temporary cosmetic concealment and long-term scar reduction options, giving you practical solutions you can start using today.
You’ll learn the five-step makeup method that works for acne scars, surgical scars, raised keloids, and sensitive scar types.
I’ll show you which products deliver medical-grade coverage, how to create waterproof results that last 12+ hours, and what alternatives exist when makeup isn’t your preference.
By the end, you’ll know exactly which approach fits your scar type and lifestyle.
Let’s get started.
Why Do Scars Look Noticeable? (Understanding Scar Types First)
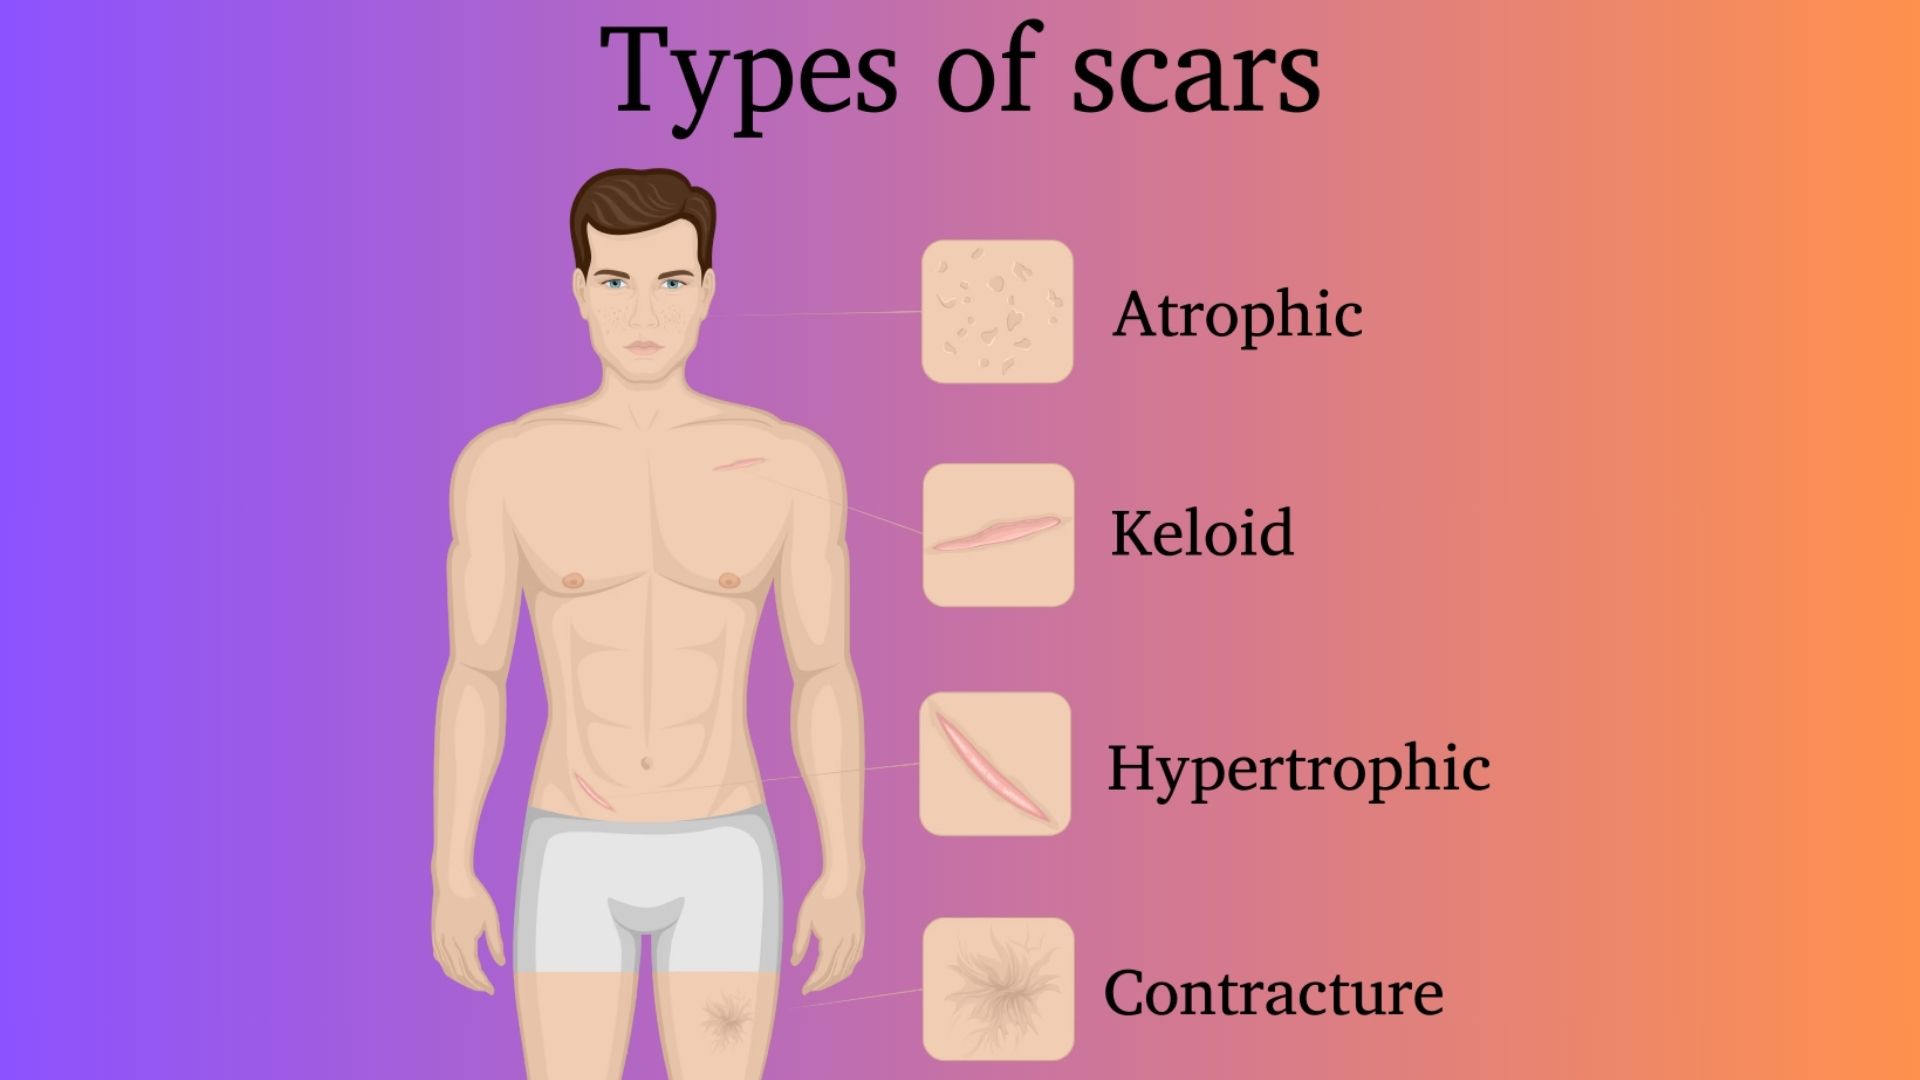
Your scar type determines your concealment approach. Scars look different because healing creates new tissue with different texture and color than surrounding skin.
Hypertrophic scars are raised and red, staying within the wound area.
Keloid scars grow beyond the wound and need heavy coverage.
Atrophic scars are indented like acne scars where texture is the main challenge.
Hyperpigmented scars are darker and common in deeper skin tones.
Hypopigmented scars are lighter and lack melanin, requiring pigment addition rather than concealment.
Fresh scars are red or pink. Old scars fade but stay different in tone or texture.
How to Cover Scars with Makeup (Step-by-Step Guide)
This five-step method works for all scar types.
Quick Checklist: Moisturize → Prime raised areas → Color correct → Layer concealer → Blend foundation → Set with powder → Lock with spray
Step 1 – Cleanse & Moisturize Properly
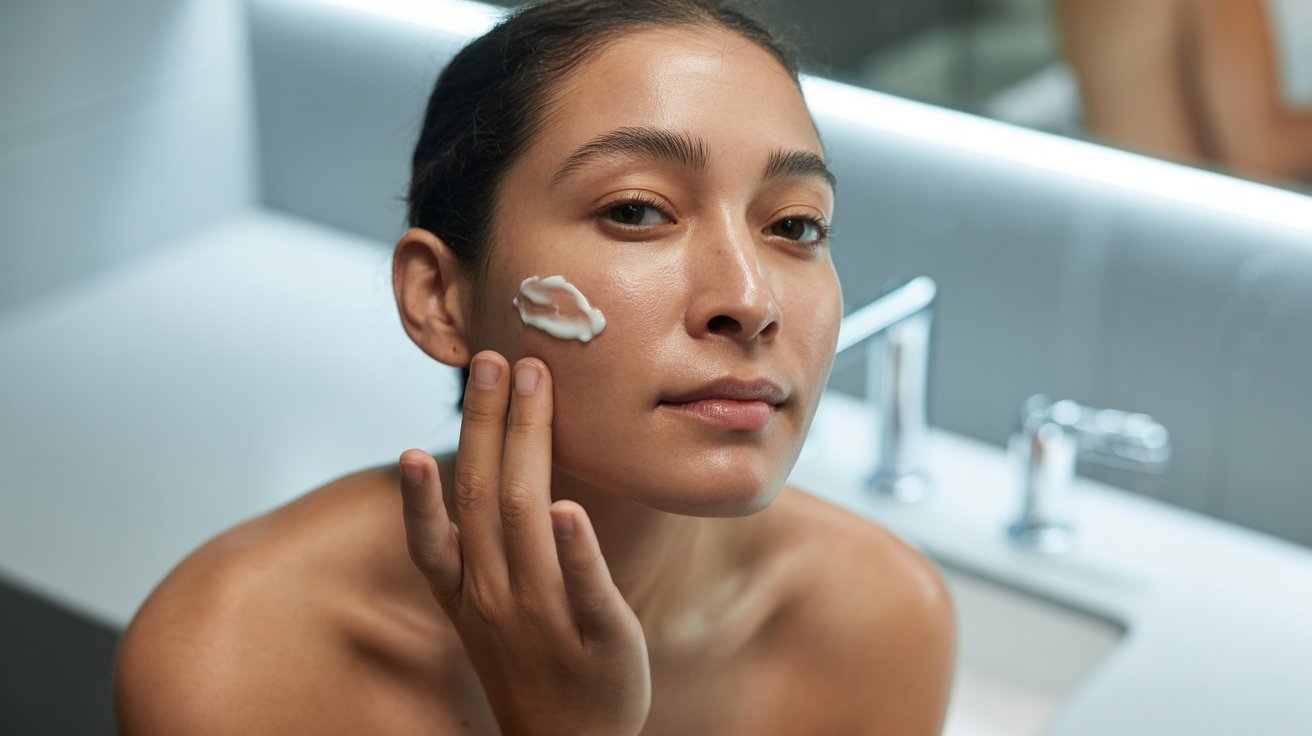
Clean, hydrated skin holds makeup better.
Use gentle cleanser, pat dry, and apply lightweight moisturizer with extra on the scar. Let it absorb for two minutes.
For raised scars, add a smoothing primer to fill texture.
Step 2 – Use Color Corrector (Which Shade for Which Scar?)
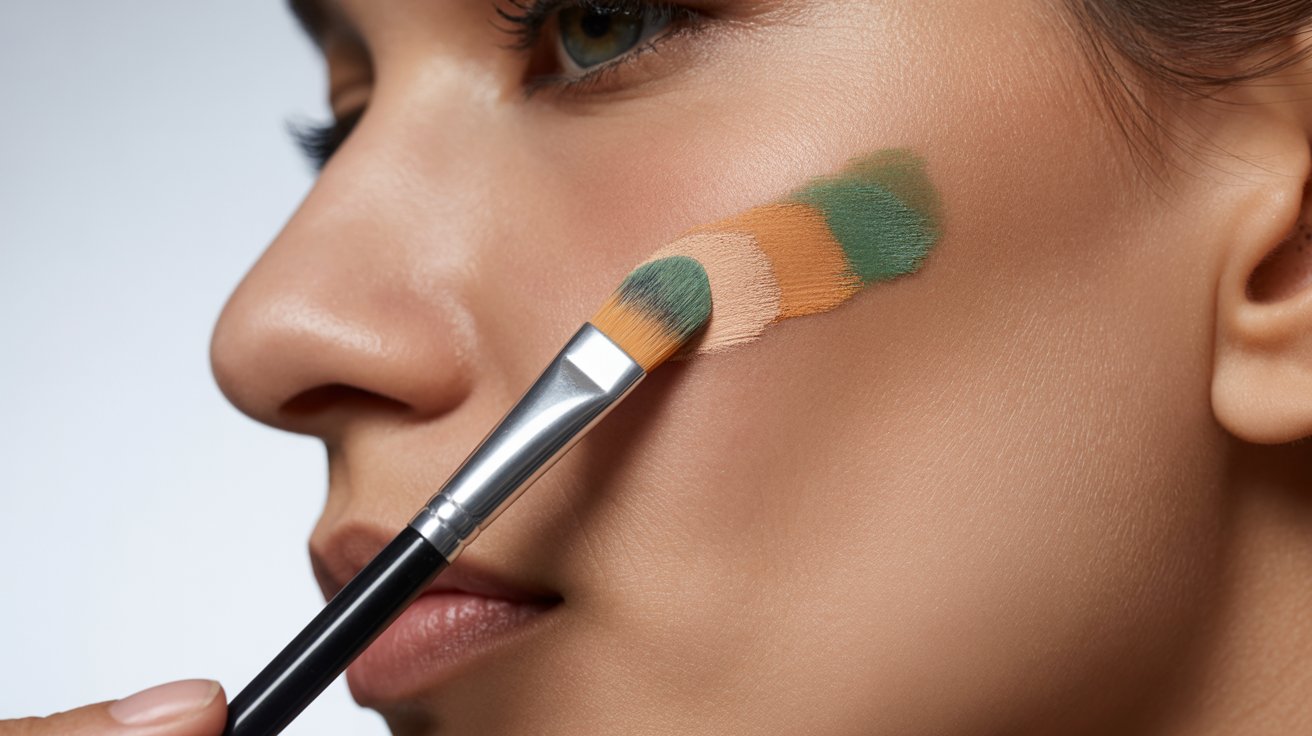
Color correction neutralizes scar tone before concealer.
Red or pink scars: Green correctorPurple or blue scars: Peach (deeper skin) or yellow (fair to medium skin)Brown or dark scars: Orange (medium to deep skin) or red (very deep skin)White or light scars: Add pigment with concealer or self-tanner
Tap the corrector gently on the scar only with a small brush or fingertip.
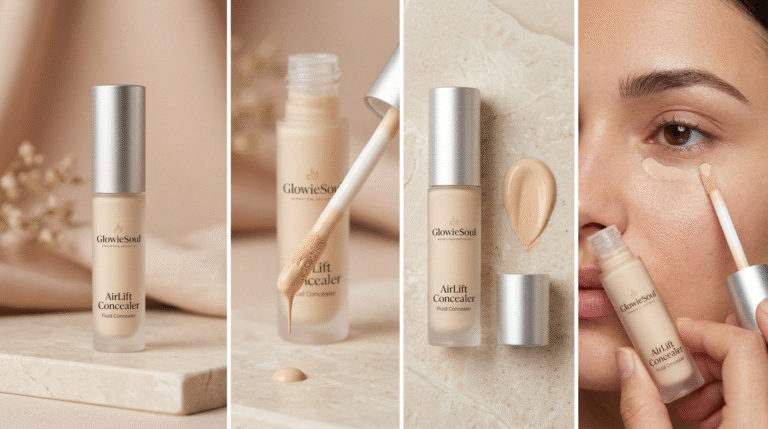
Step 3 – Apply High-Coverage Concealer
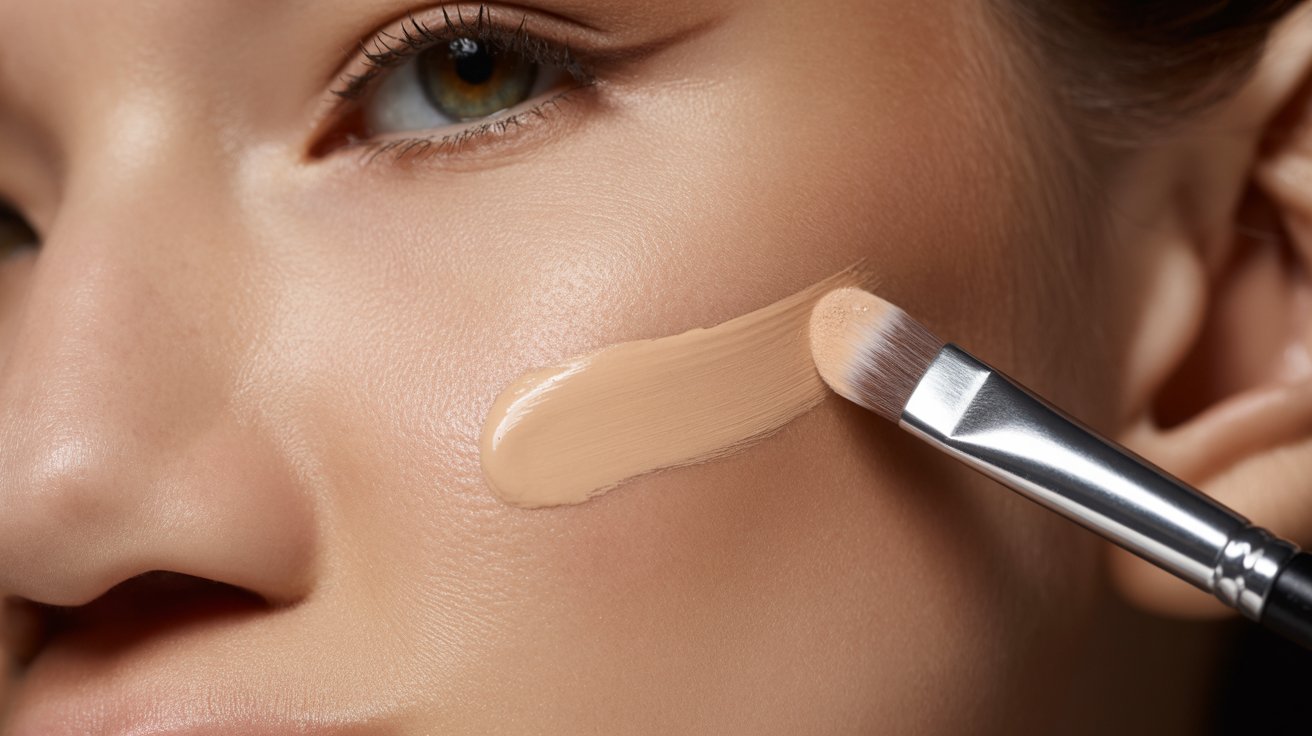
Pick concealer matching your exact skin tone. Use creamy, full-coverage formulas.
Dab on the scar with a small brush or damp sponge, starting center and working outward. Press in with tapping motion.
Build two to three thin layers, letting each set for 30 seconds. Blend edges seamlessly.
Step 4 – Use Full-Coverage Foundation
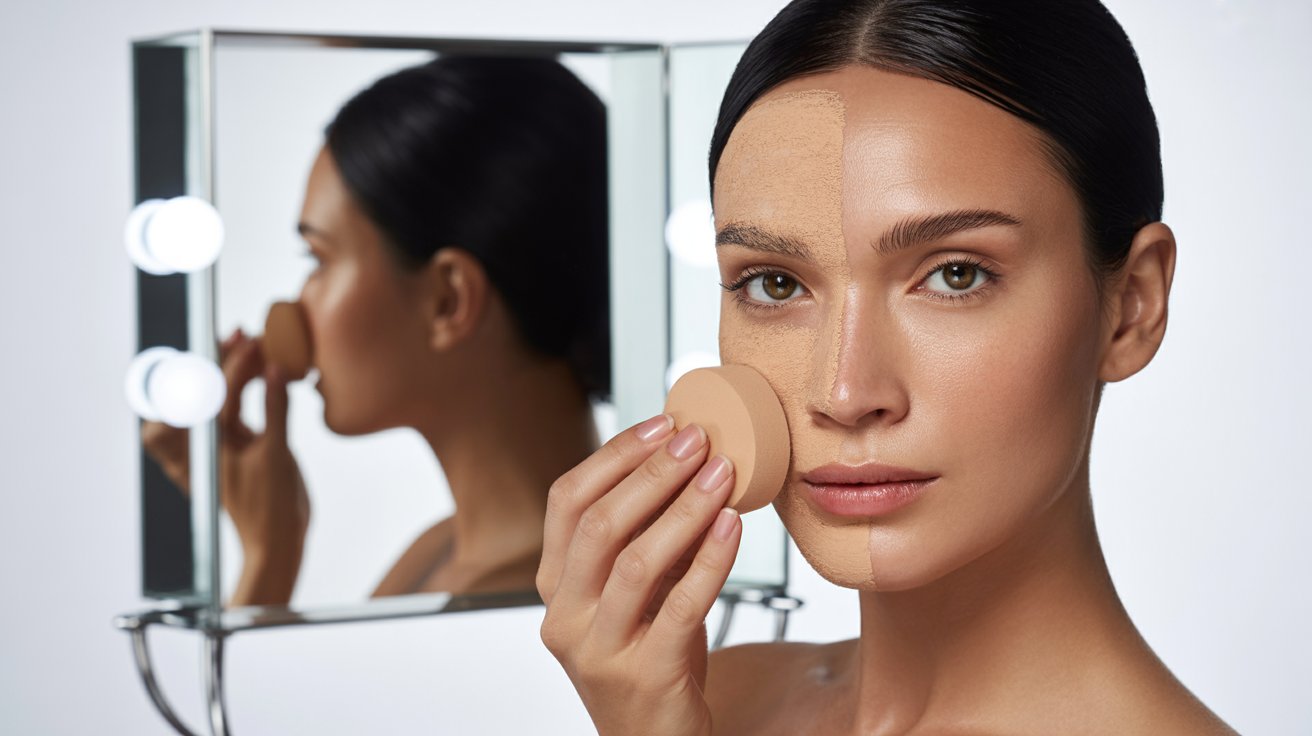
Apply foundation to the whole face with a damp sponge.
At the scar area, use gentle pressing motions. Build up as needed with one even layer.
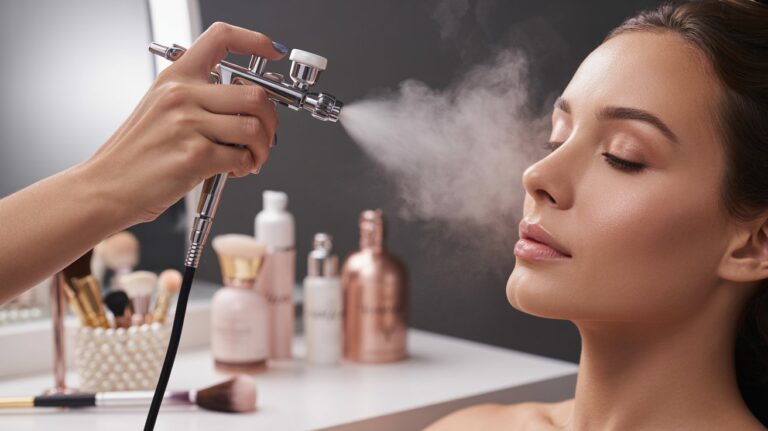
Step 5 – Set with Powder & Setting Spray

Press translucent powder onto the scar with a fluffy brush. Light dusting only.
Finish with setting spray held eight inches away, misting evenly for water-resistant results lasting through swimming and sweating.
Scar Type Coverage Guide (Quick Reference)
Let’s quickly have a look at the coverage range:
| Scar Type | Texture | Best Primer | Best Corrector | Best Concealer | Long-Term Option | Difficulty |
|---|---|---|---|---|---|---|
| Atrophic (Acne) | Indented | Pore-filling | Peach/Orange | Matte formula | Microneedling | Moderate |
| Keloid | Thick, raised | Smoothing | Green/Orange | Medical-grade | Steroid injections | Advanced |
| Surgical | Raised, red | Smoothing | Green | Buildable | Silicone gel | Moderate |
| Hyperpigmented | Flat, dark | Optional | Orange/Red | Medium-full | Vitamin C serum | Easy |
| Hypopigmented | Flat, light | Optional | None | Add pigment/self-tan | Camouflage tattoo | Moderate |
| Stretch Marks | Indented/flat | Optional | Peach/Red | Light-medium | Retinol cream | Easy |
| Hypertrophic | Raised, red | Smoothing | Green | Creamy full | Silicone sheets | Moderate |
How to Hide Scars Without Makeup
Silicone scar sheets flatten and minimize visibility.
A 2014 Journal of Cutaneous and Aesthetic Surgery study found 12 weeks of use reduced visibility by 86% in hypertrophic scars. Wear 12+ hours daily.
Scar creams with silicone reduce appearance.
The 2013 Cochrane Database identifies silicone as most effective for preventing and treating hypertrophic and keloid scars. Apply twice daily for three months minimum.
Self-tanner blends light scars. Body makeup camouflages visible areas with waterproof formulas.
Camouflage tattoos provide permanent concealment (consult dermatologist first). Compression garments help burn and surgical scars during healing.
How to Cover Scars on Face vs Body
Covering scars work differently on face and body, let’s understand how:
- Face scars need the full five-step method with careful blending.
- Surgical scars respond to green corrector and smoothing primer.
- Acne scars need pore-filling primer first, then color correction if dark.
- Body scars require transfer-resistant body makeup formulas.
- Stretch marks need color correction if red/purple, self-tanner if white.
How to Camouflage Sensitive Scar Types
For scars carrying emotional weight, use the same techniques based on texture and tone.
Start with the five-step method, using appropriate color correction. For arm or leg scars, waterproof body makeup lasts longest.
Silicone sheets minimize visibility over time. The AAD recommends these as first-line therapy for hypertrophic and keloid scars once wounds heal.
If struggling emotionally, support is available: National Suicide Prevention Lifeline (988) or Crisis Text Line (text HELLO to 741741).
Long-Term Ways to Reduce Scar Appearance
Silicone gel or sheets flatten raised scars.
The AAD’s 2022 guidelines recommend these as first-line therapy, with best results when started within the first year.
Vitamin C serums (10%+ L-ascorbic acid) fade hyperpigmented scars by inhibiting melanin production.
Retinol or tretinoin increases cell turnover. Start at a low percentage and use SPF 30+ daily (consult dermatologist for prescription strength).
Chemical peels reduce superficial scars.
Microneedling helps atrophic scars through collagen production. Laser treatments reduce appearance by 50-70% over multiple sessions. Steroid injections flatten keloids.
Consult a dermatologist before starting clinical treatments.
Mistakes to Avoid When Covering Scars
- Wrong concealer shade makes scars more obvious.
- Skipping color correction requires more product, creating cakey results.
- Applying too much at once creates thick layers. Not setting means makeup slides off.
- Rubbing breaks down coverage.
- Forgetting moisturizer emphasizes flaws. Skipping primer leaves texture visible.
- Not blending edges creates patches.
- Ignoring sunscreen lets scars darken (sun exposure is the primary reason scars worsen per dermatology research). Use SPF 30+ daily.
Conclusion
Start with the five-step method today and you’ll see immediate results.
Color correction neutralizes scar tones, full-coverage concealer builds opacity, and setting products lock everything in place for 8-12 hours.
The technique works for acne scars, surgical scars, and raised scars on the face and body.
If you prefer alternatives to makeup, silicone sheets and vitamin C serums reduce visibility over time when used consistently.
Practice makes this process faster, and most people master the technique within a week.
Choose one method from this guide and try it tomorrow. You’ll have more control over your appearance and more confidence in your choices.
What’s the first technique you’re going to test?
Frequently Asked Questions
How to cover scars on face with makeup?
Cleanse first, use color corrector for scar tone, apply full-coverage concealer in thin layers, blend with foundation, and set with powder and spray.
What’s the best waterproof makeup for scars?
Dermablend Body Makeup and Urban Decay All Nighter setting spray provide waterproof results that last through swimming and sweating.
How to cover acne scars naturally without makeup?
Use silicone scar sheets daily, apply vitamin C serum, use retinol at night, and always wear SPF 30+ sunscreen to prevent darkening.
Can you permanently cover surgical scars?
Medical tattooing provides permanent concealment by matching skin tone. Consult a dermatologist and specialized tattoo artist before proceeding.
How long does scar camouflage makeup last?
With proper setting, makeup lasts 8-12 hours. Waterproof formulas last longer and resist transfer better than regular products.