How to Cover a Bruise With Makeup?
I’ve been there more times than I’d like to admit. You wake up with a bruise from bumping into furniture, or maybe you had a medical procedure that left marks.
Either way, you need to look presentable for work or an event.
Learning how to cover a bruise with makeup changed everything for me. It’s not just about slapping on concealer and hoping for the best.
You need the right products, proper technique, and a basic understanding of color theory.
I’m going to walk you through exactly what works. We’ll cover color correction, layering methods, and realistic expectations.
No, you won’t get absolutely perfect skin, but you’ll get close enough that most people won’t notice a thing.
Understanding Bruise Color and Color Correction Basics
Bruises go through stages as they heal. Fresh ones start red or purple, then shift to blue and green, and finally turn yellow-brown before fading. Each color needs a different approach.
The color wheel is your best friend here. Colors opposite each other cancel out. Red fights green. Purple cancels yellow. It sounds complicated, but once you see it in action, it clicks.
Your skin tone matters too. What works on pale skin won’t necessarily work on deeper tones. You’ll need to adjust your color corrector shades accordingly.
I always test products on my inner wrist first. This helps me see how they look against my actual skin instead of guessing in the store.
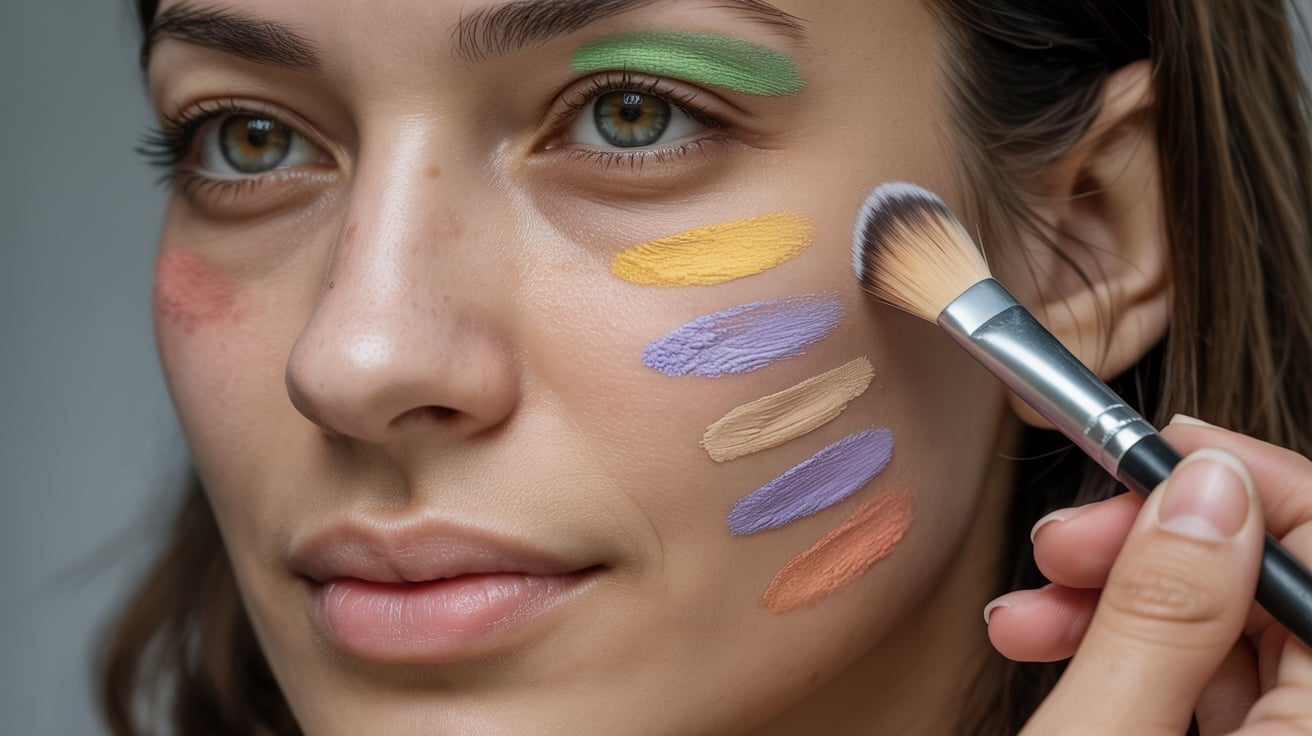
Matching Concealer Colors to Bruise Shades
- Red or pink bruises respond best to green concealer. The green neutralizes the redness completely when you apply it right.
- Blue or purple bruises need yellow or peach tones. Peach works better on darker skin, while yellow suits lighter complexions.
- Yellow or green bruises (the healing stage) require lavender or light purple corrector. This might seem backwards, but trust the process.
- Brown bruises need a lighter concealer, sometimes with a white or very light pink base. This lifts the darkness before you add your skin-tone match.
Always choose hypoallergenic products, especially if you’re covering bruises from medical procedures. Your skin is already dealing with trauma.
And hey, if your bruise came from something medical, check with your doctor before covering it up.
Step-by-Step Guide to Covering a Bruise
This is where we get into the actual technique. I’m breaking down every step because the order matters. Skip one, and your coverage won’t last.
Step 1: Prepare Your Skin
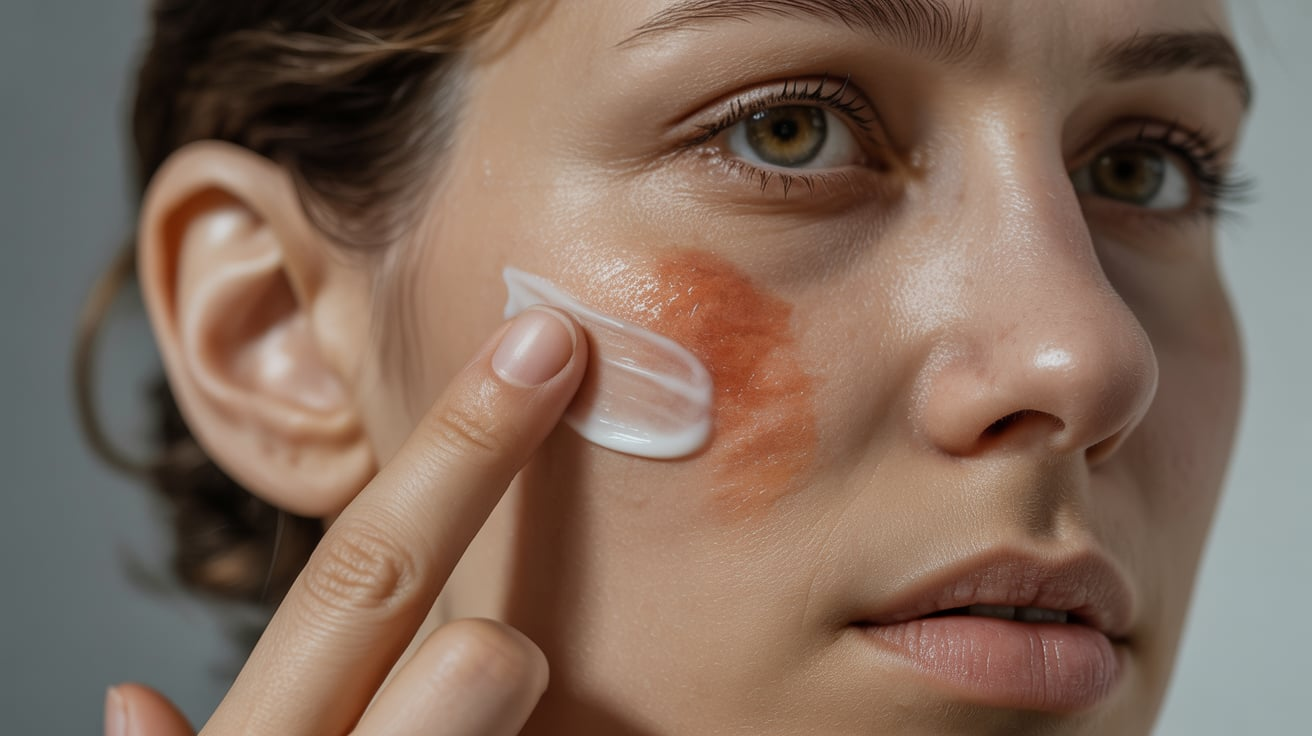
Make sure the bruised area is completely healed on the surface. No cuts, no stitches, no scabbing. Makeup goes on skin only.
I always apply a light moisturizer if the area feels dry. Let it sink in for about five minutes. Makeup sits better on hydrated skin.
Don’t rush this step. If your moisturizer is still sitting on top of your skin, your concealer will slide around all day.
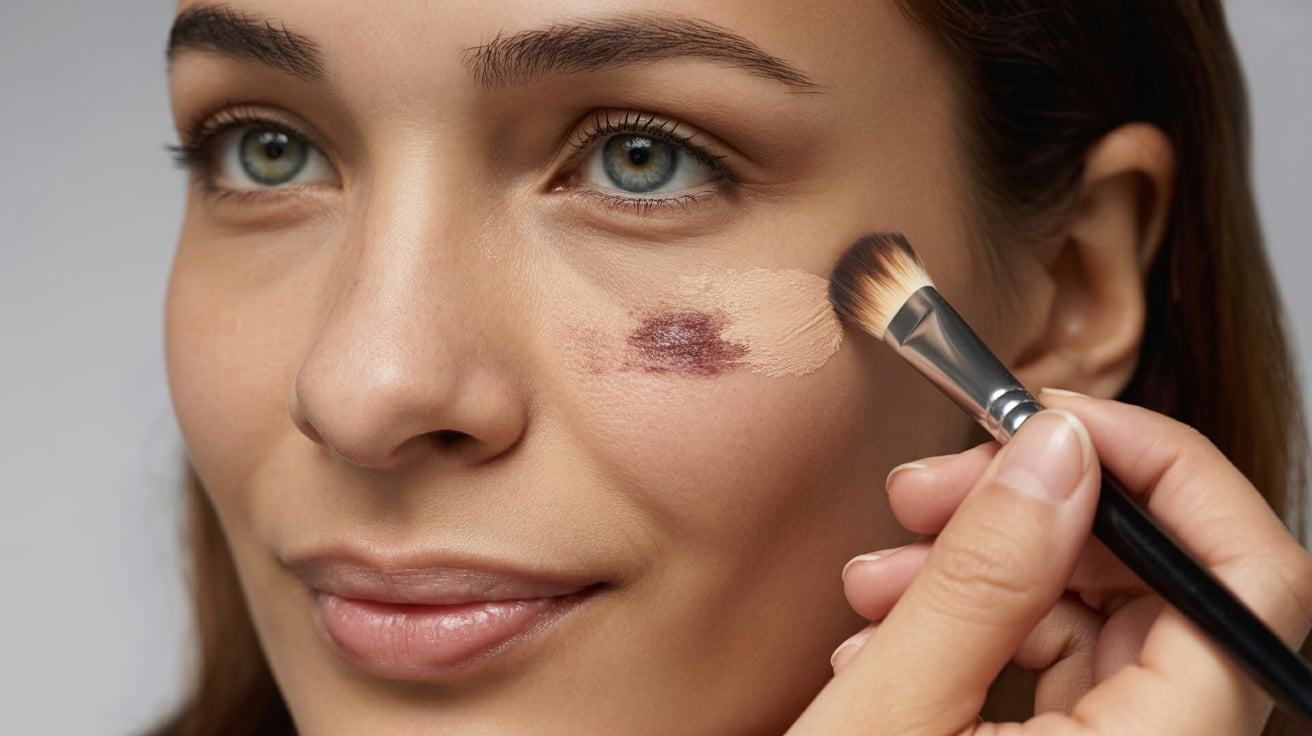
Step 2: Apply Color Correcting Concealer
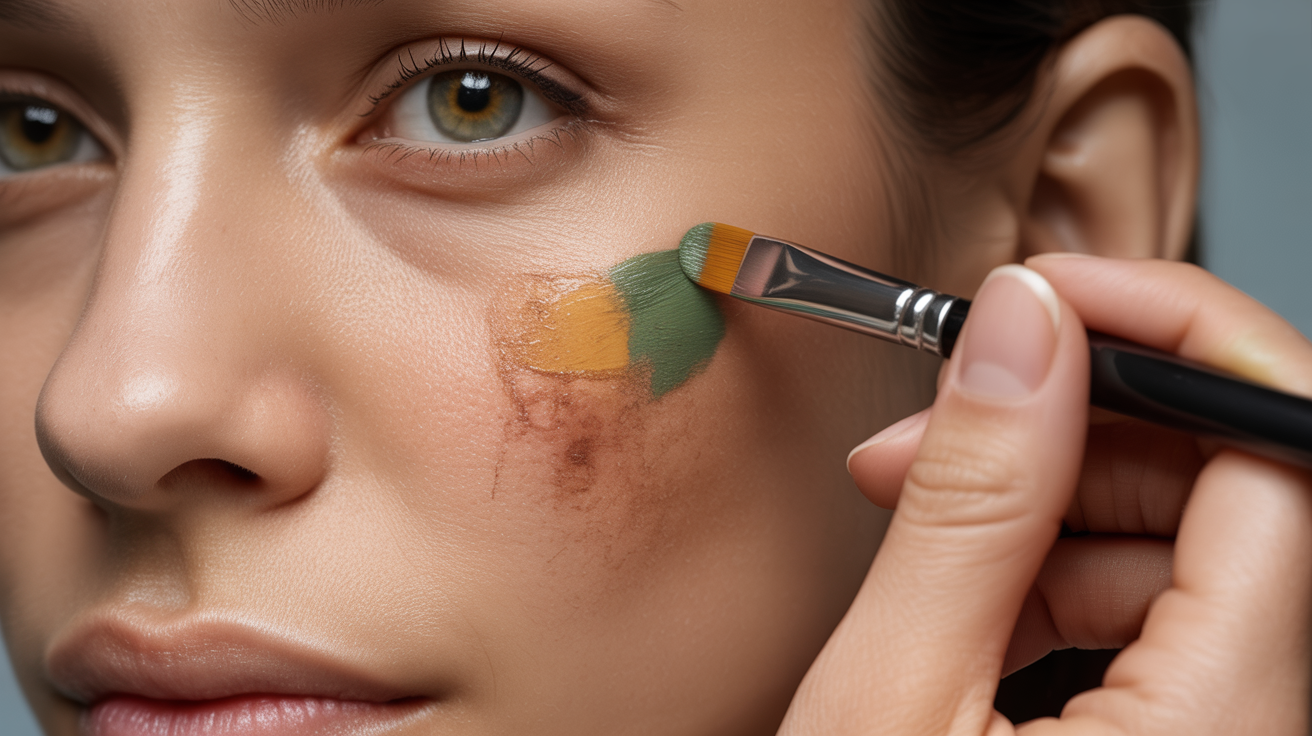
Grab your color corrector based on your bruise shade. Use a small brush or your fingertip for precise application.
Dab the product directly onto the center of the bruise. Don’t rub it. Dabbing keeps the product where you need it instead of spreading it thin.
Work from the middle outward in small patting motions. The goal is to neutralize the discoloration, not blend it into the surrounding skin yet.
Feather the edges just slightly. You want a soft transition, but keep most of the product concentrated on the actual bruise.
Step 3: Layer Your Regular Concealer
Now you need concealer that matches your skin tone exactly. Not lighter, not darker. Exact match.
Apply this over your color corrector in thin layers. One thick layer will crease and crack. Multiple thin layers stay put.
Use a stippling motion with a brush or sponge. Press and lift, press and lift. This builds coverage without moving the color corrector underneath.
Wait 30 seconds between layers. Let each one set before adding more. I usually need two to three layers depending on the bruise severity.
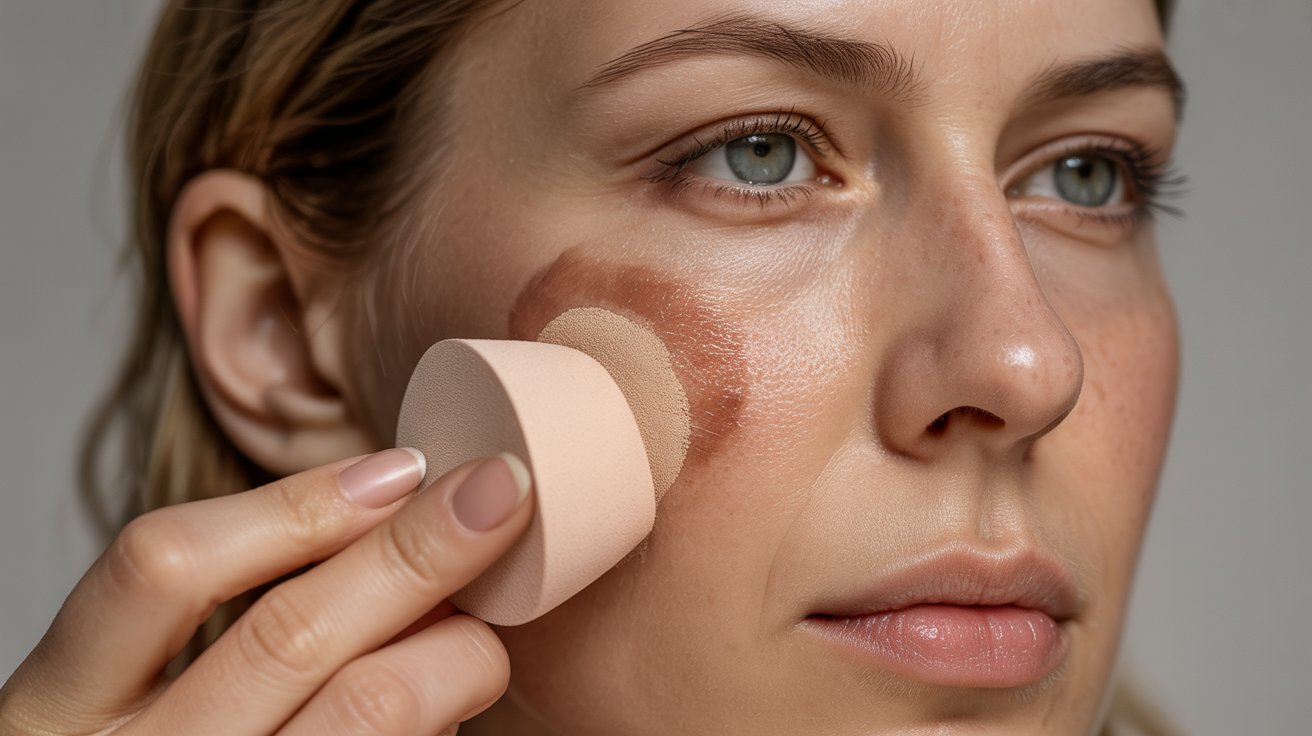
Step 4: Set With Foundation
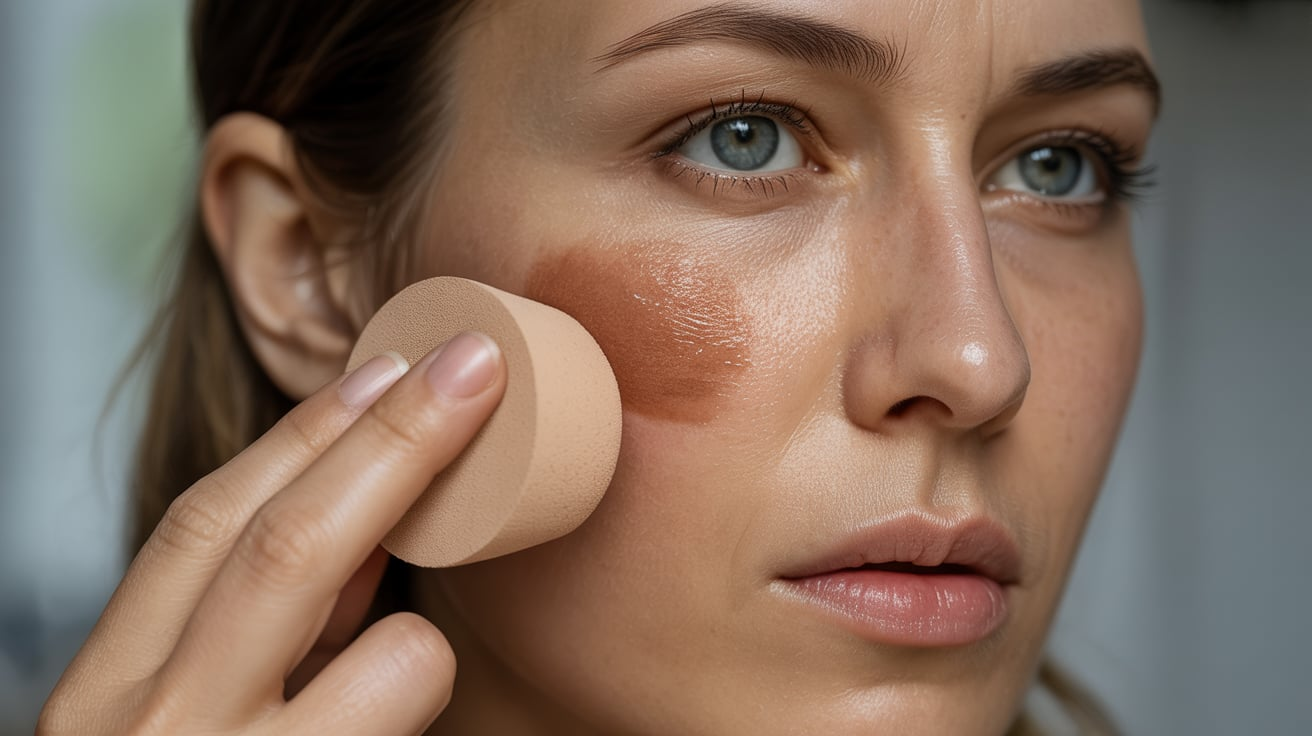
Your foundation goes on top of everything. Apply it over the concealed area and blend it into the skin around the bruise.
Use a damp beauty sponge or foundation brush. Work in gentle pressing motions, not wiping or dragging.
Make sure there are no visible lines where your concealed area meets your regular skin. The transition should be seamless.
Check the texture too. If the concealed spot looks thicker or different than the rest of your skin, blend more.
Step 5: Lock Everything in Place
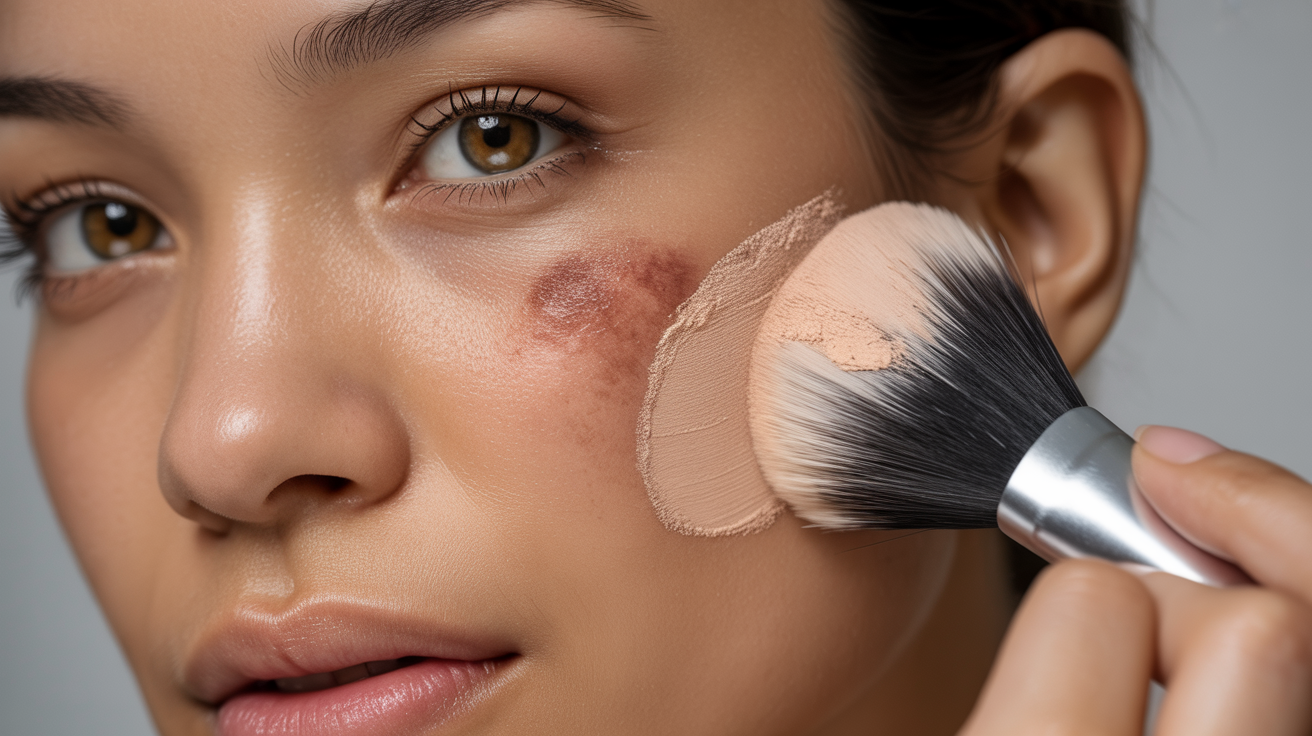
Translucent setting powder is non-negotiable. This step keeps all those layers from sliding off your face.
Use a fluffy brush or powder puff. Gently press the powder into the concealed area. Don’t sweep it on.
I use the press and roll technique. Press the powder on, then roll the brush slightly. This sets the makeup without disturbing what’s underneath.
Focus extra powder on the actual bruise area, but blend it out so you don’t have a powdery spot.
Step 6: Check Your Coverage
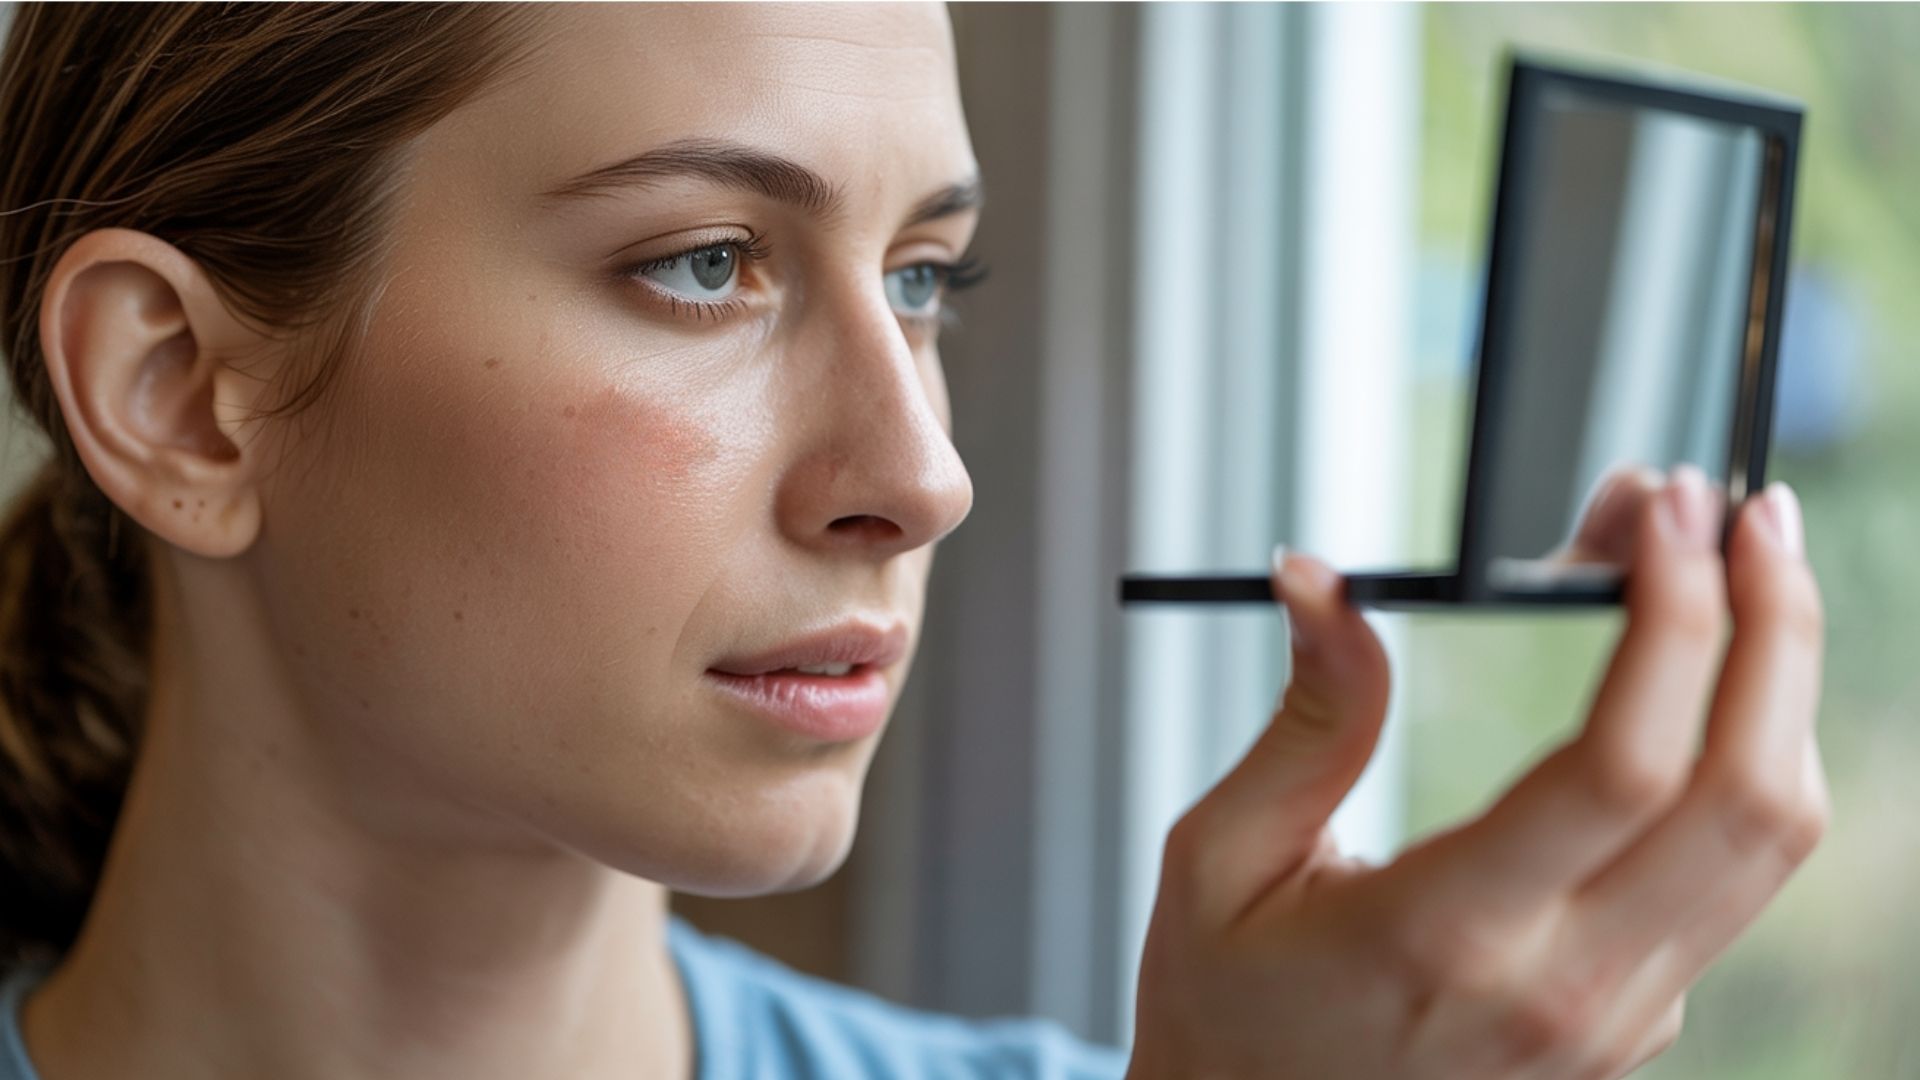
Hold your mirror at arm’s length. This is how other people see you, not from three inches away.
Look at yourself in natural light if possible. Bathroom lighting lies. Natural light shows you what’s really happening with your coverage.
If you see the bruise peeking through, add another thin layer of concealer and powder. But be careful not to overdo it.
Too much product starts looking cakey and actually draws more attention to the area. Less is usually more once you’ve done the color correction right.
Step 7: Set With Setting Spray
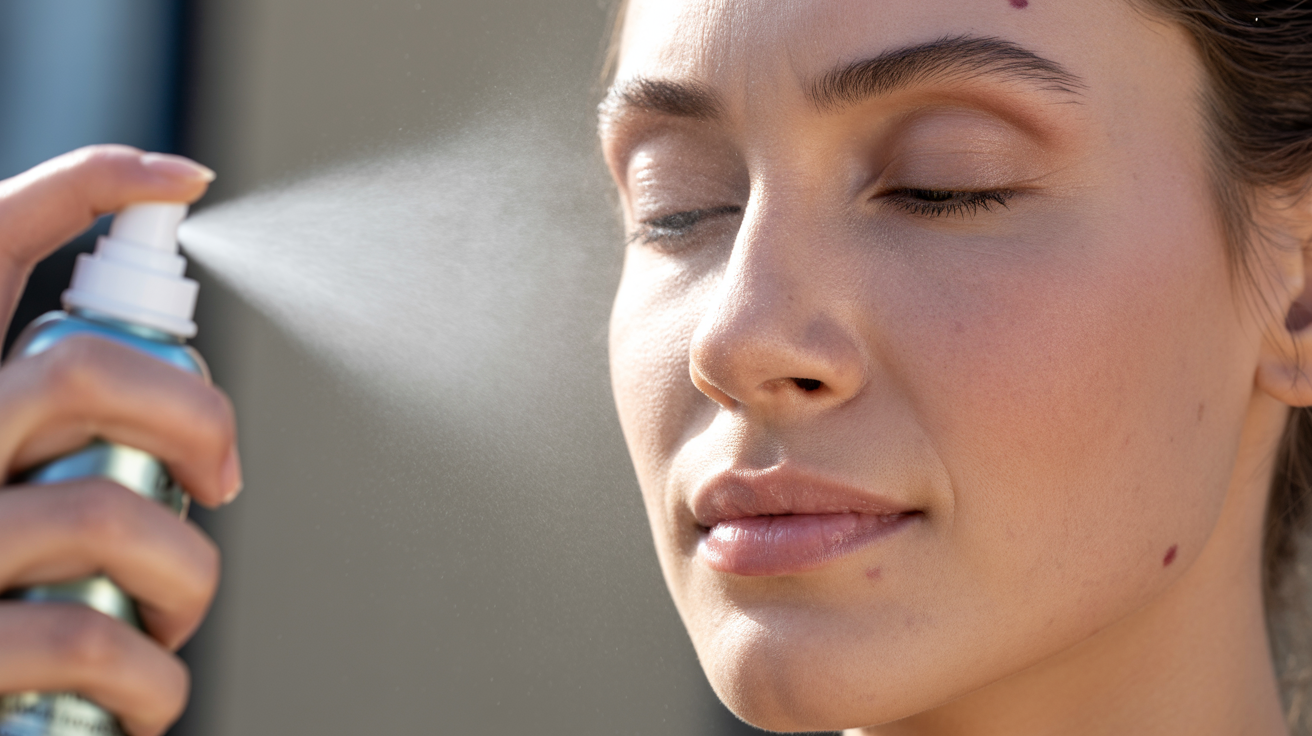
Setting spray is my secret weapon for making makeup last all day. Hold the bottle about eight inches from your face and spritz.
This melts all the powder layers together and gives you a more natural finish. Without it, you might look a bit too matte.
The spray also adds staying power. Your carefully concealed bruise won’t budge through meetings, errands, or events.
I prefer hydrating setting sprays over matte ones for how to cover a bruise with makeup applications. They look more natural and don’t emphasize texture.
Additional Tips for Better Bruise Coverage
I’ve learned some tricks over the years that make a real difference. These aren’t always included in basic tutorials, but they work.
Drawing attention elsewhere is a smart strategy. If I’m covering a bruise on my cheek, I’ll go bold with my lip color. People look where you direct them.
A bright red lip or striking eye makeup gives them something else to focus on. Just make sure your statement feature isn’t right next to the bruise you’re hiding.
Here are the tools and products that work best:
- Small precision brushes for detailed color corrector application
- Damp beauty sponges for seamless blending
- Fluffy powder brushes for setting without disturbing layers
- Long-wearing, full-coverage concealers (regular formulas wear off too fast)
- Waterproof options if you need serious staying power
- Setting spray designed for long wear
Know when to skip makeup entirely. Fresh bruises from recent procedures need air and healing time. Any open wounds or cuts should never be covered.
If your doctor specifically said not to put makeup on the area, listen to them. Your health matters more than appearance.
Conclusion
Color correction makes all the difference when you’re learning how to cover a bruise with makeup. Get that step right, and everything else falls into place.
Practice helps a lot. Your first attempt might not be perfect, but you’ll improve fast. Remember that coverage gets easier as the bruise heals and changes color.
You can get natural-looking results that boost your confidence. Sure, preventing bruises is ideal, but life happens. At least now you know how to handle it.
Try this technique next time you need coverage. Start with the color corrector, build your layers slowly, and don’t forget that setting spray.
Frequently Asked Questions
Can I Use Regular Concealer Without Color Corrector for Small Bruises?
You can try it for very light bruises, but the discoloration usually shows through. Color corrector neutralizes the bruise tones, while regular concealer just layers over them. For best results, always start with color correction regardless of bruise size.
How Long Does Bruise Concealing Makeup Stay in Place?
With proper application and setting products, your coverage should last 8-10 hours. Setting spray and powder are critical for longevity. Touch-ups might be needed if you’re sweating or in humid conditions. Waterproof products extend wear time significantly.
Will Covering a Bruise With Makeup Slow Down the Healing Process?
No, makeup won’t affect healing time if applied to fully intact skin. Make sure there are no open wounds or cuts. Remove all makeup thoroughly at night to let your skin breathe. Use gentle, hypoallergenic products to minimize irritation.
What Type of Makeup Remover Works Best for Heavy Concealer Layers?
Oil-based makeup removers or cleansing balms work best for multiple concealer layers. They break down waterproof and long-wearing formulas without harsh rubbing. Follow with a gentle cleanser to remove any residue. Micellar water alone usually isn’t strong enough.
Can This Technique Work for Covering Birthmarks or Scars?
Yes, the same color correction principles apply to birthmarks and scars. You’ll need to match the corrector to the discoloration you’re hiding. For permanent marks, invest in higher-quality, long-wearing products since you’ll use them regularly. The technique stays the same.