What Are Gel Nails? Complete Beginner’s Guide

Thinking about trying gel nails but not sure where to start? You’re in the right place.
This guide covers everything you need to know, from what gel nails are to how they work, how long they last, and how to remove them safely.
I’ve put this together based on real experience and research so you get straight, honest answers.
No fluff. No confusing terms. Just clear, helpful information.
Here’s what we’ll cover: what gel nails are, how they work, types of gel nails, benefits and risks, application and removal steps, gel vs acrylics, and beginner tips to get better results.
What Are Gel Nails?
Gel nails are a type of manicure that uses a gel-based product applied to your nails and hardened under a UV or LED lamp. The result is a hard, shiny finish that lasts weeks without chipping.
They’re made from methacrylate polymer, a flexible substance that stays soft until exposed to light. That light triggers a chemical reaction, turning the soft gel into a hard, durable coating.
Unlike regular polish that dries by evaporation and chips within days, gel cures through a light reaction. This makes it much harder, glossier, and longer-lasting.
Types of Gel Nails
Not all gel nails are the same. There are different types, and each one works in a slightly different way.
Soft Gel Polish
Soft gel polish is the most common type. It looks and feels similar to regular nail polish, but it cures under a lamp.
It’s applied in thin layers directly on your natural nail. Soft gel is flexible, which makes it comfortable to wear. It’s also the easiest to remove. You simply soak it off with acetone.
This is the best option if you’re just starting out.
Hard Gel Nails
Hard gel is much thicker and stronger than soft gel. It creates a rigid coating over the nail that adds strength and durability.
Unlike soft gel, hard gel cannot be soaked off with acetone. It has to be filed off, which takes more time and skill.
Hard gel is a good option for people who want stronger nails or need extra support.
Builder Gel

Builder gel is a thick gel used to add length or structure to the nail. It’s often used to fix broken nails or build up a flat nail into a more rounded shape.
Builder gel is sometimes called BIAB (Builder In A Bottle). It’s popular right now because it strengthens natural nails while still looking natural.
It can be soaked off or filed off, depending on the formula.
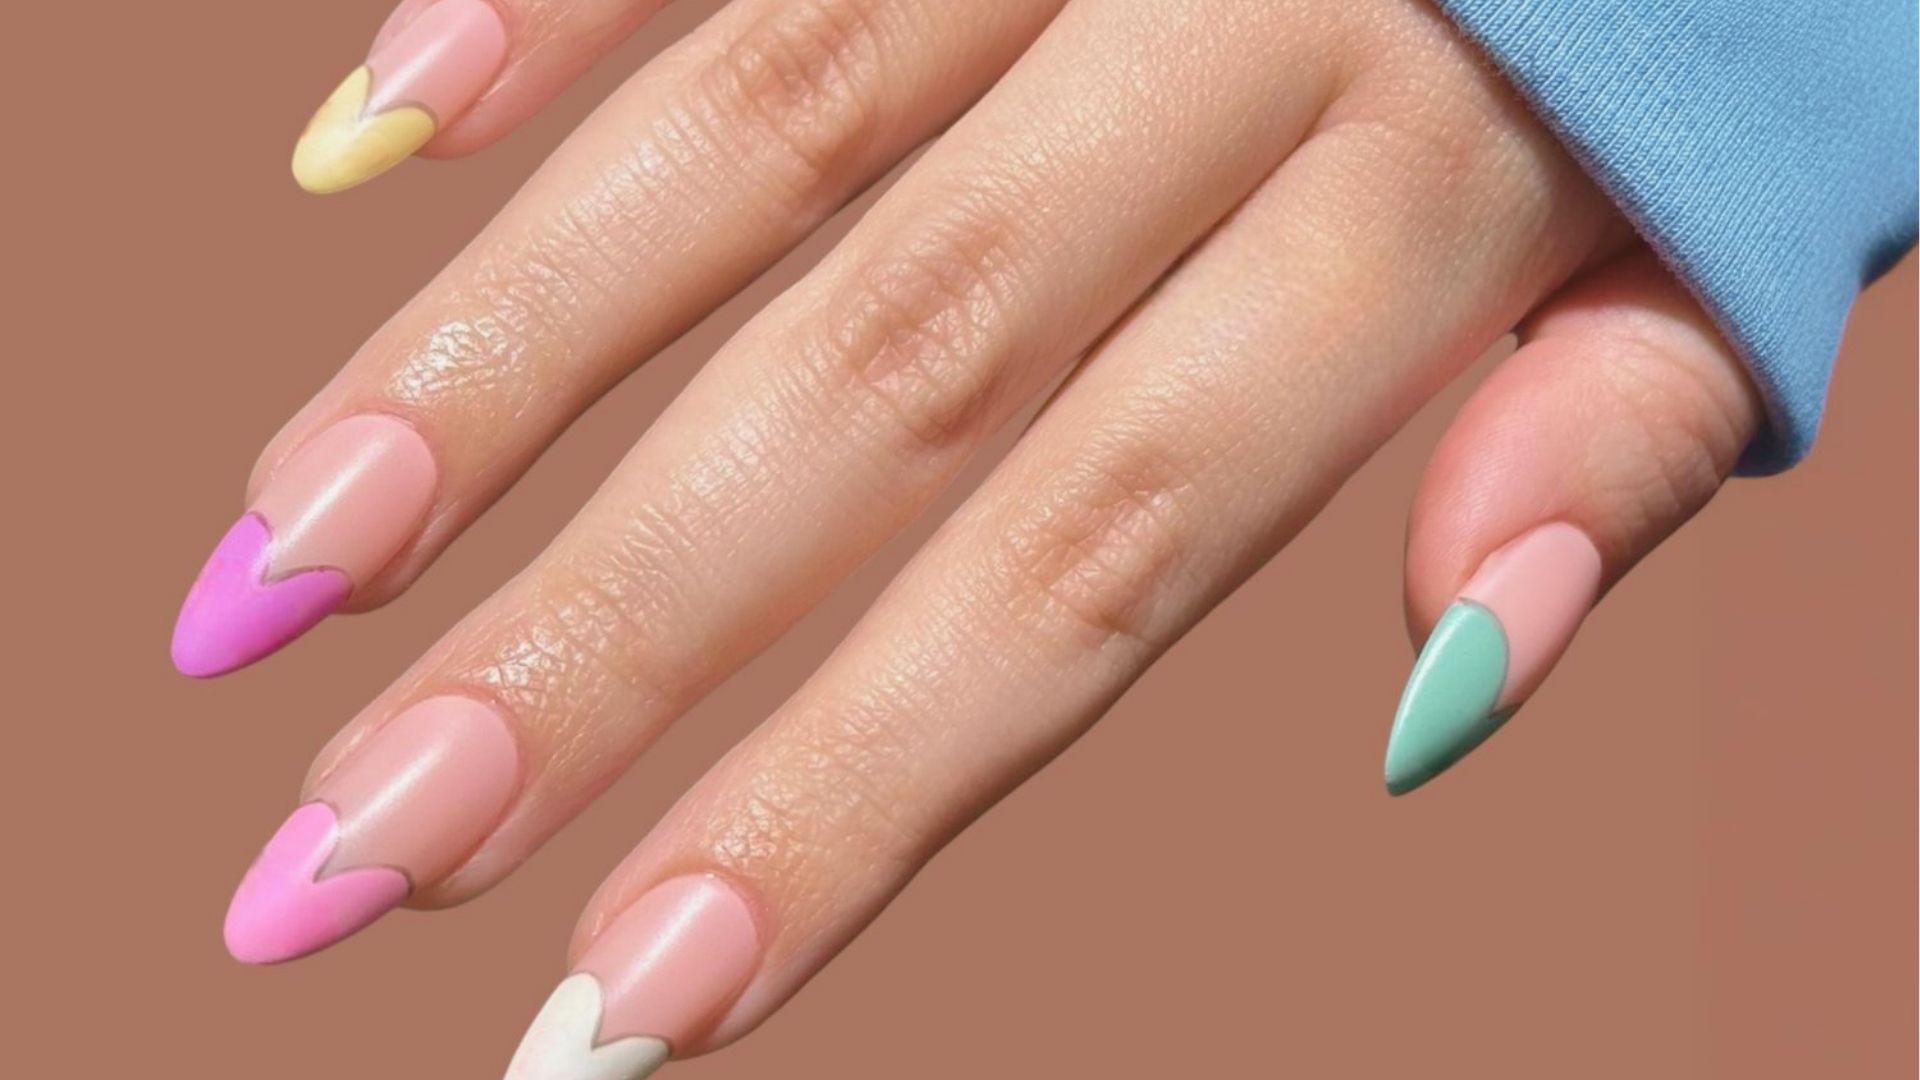
Gel Nail Extensions

Gel nail extensions are used to add length to short nails. A nail form or nail tip is placed under or on the nail, and then gel is applied over it to create the extension.
This type of gel nail takes the most skill to apply. It’s usually done by a professional nail technician.
Extensions can be shaped into different styles like square, almond, or coffin.
How Do Gel Nails Work?

The science behind gel nails is simple once you understand the basics. Here’s how the process works.
The Gel Curing Process Explained
Curing is the process of hardening the gel using light. When you apply gel to your nail, it stays soft and sticky. It only hardens when it’s placed under a UV or LED lamp.
The light activates the photoinitiators in the gel. These chemicals trigger a reaction that links the gel molecules together. This process is called polymerization, and it turns the soft gel into a hard, solid layer.
Without curing, the gel stays soft and never sets properly.
UV vs LED Nail Lamps
There are two types of lamps used to cure gel nails.
UV lamps use ultraviolet light. They take longer to cure the gel (around 2 to 3 minutes per layer). They work with almost all gel products.
LED lamps use a specific range of light. They cure gel much faster (around 30 to 60 seconds per layer). However, they only work with gel formulas that are designed for LED curing.
Most modern gel polishes are compatible with LED lamps. If you’re buying a lamp, an LED lamp is the better choice. It’s faster, more energy-efficient, and the bulbs last longer.
Why Proper Curing Matters
If the gel isn’t fully cured, it can cause real problems.
Under-cured gel can:
- Feel sticky or soft
- Peel off faster
- Cause skin irritation or allergic reactions
- Look dull instead of shiny
Always follow the curing time listed on your gel product. And make sure your lamp is strong enough for the formula you’re using.
Benefits of Gel Nails

Gel nails are popular for good reason. They offer several advantages over regular nail polish.
Long-Lasting Wear
One of the biggest benefits of gel nails is how long they last. A gel manicure typically lasts 2 to 4 weeks without chipping or peeling.
Regular polish often chips within a few days, especially if you use your hands a lot. Gel nails stay intact much longer, making them a great option for busy people.
High-Gloss Finish
Gel nails have a naturally glossy, mirror-like finish. This shine doesn’t fade the way it does with regular polish.
Even after 2 weeks, gel nails still look fresh and shiny. This is one of the reasons so many people prefer them.
Chip Resistance
Gel nails are very resistant to chipping. The cured gel creates a hard shell over the nail that holds up against daily activities like typing, washing dishes, and general handling.
Regular polish doesn’t have this kind of durability. It chips easily and often needs touch-ups within a few days.
Faster Drying Time Compared to Regular Polish
With regular polish, you have to wait 20 to 30 minutes (sometimes longer) for it to fully dry. One accidental bump can ruin your whole manicure.
Gel nails cure in seconds under an LED lamp. Once you pull your hand out from under the lamp, the gel is hard and ready to go. No waiting, no smudging.
Pros and Cons of Gel Nails
Like anything, gel nails have both good and not-so-good sides.
|
Pros |
Cons |
|
Long-lasting: Lasts 2 to 4 weeks without chipping |
Requires a lamp: You need a UV or LED lamp to cure the gel |
|
Shiny finish: High-gloss look stays fresh much longer than regular polish |
Removal takes effort: Needs acetone and time to remove properly |
|
No drying time: Gel cures in seconds under a lamp |
Risk of nail damage: Peeling or scraping gel off harms the nail plate |
|
Strong and durable: Holds up well against everyday wear |
UV exposure: UV lamps emit small amounts of radiation (use SPF on hands to reduce risk) |
|
Strengthens nails: Builder gel helps protect weak or brittle nails |
Higher cost: Salon gel manicures cost more than regular polish |
|
Wide color range: Hundreds of gel shades to choose from |
Allergic reactions: Some people react to gel ingredients, especially with repeated skin contact |
How Gel Nails Are Applied
Applying gel nails properly is the key to making them last. Skipping steps leads to peeling, lifting, and early chipping.
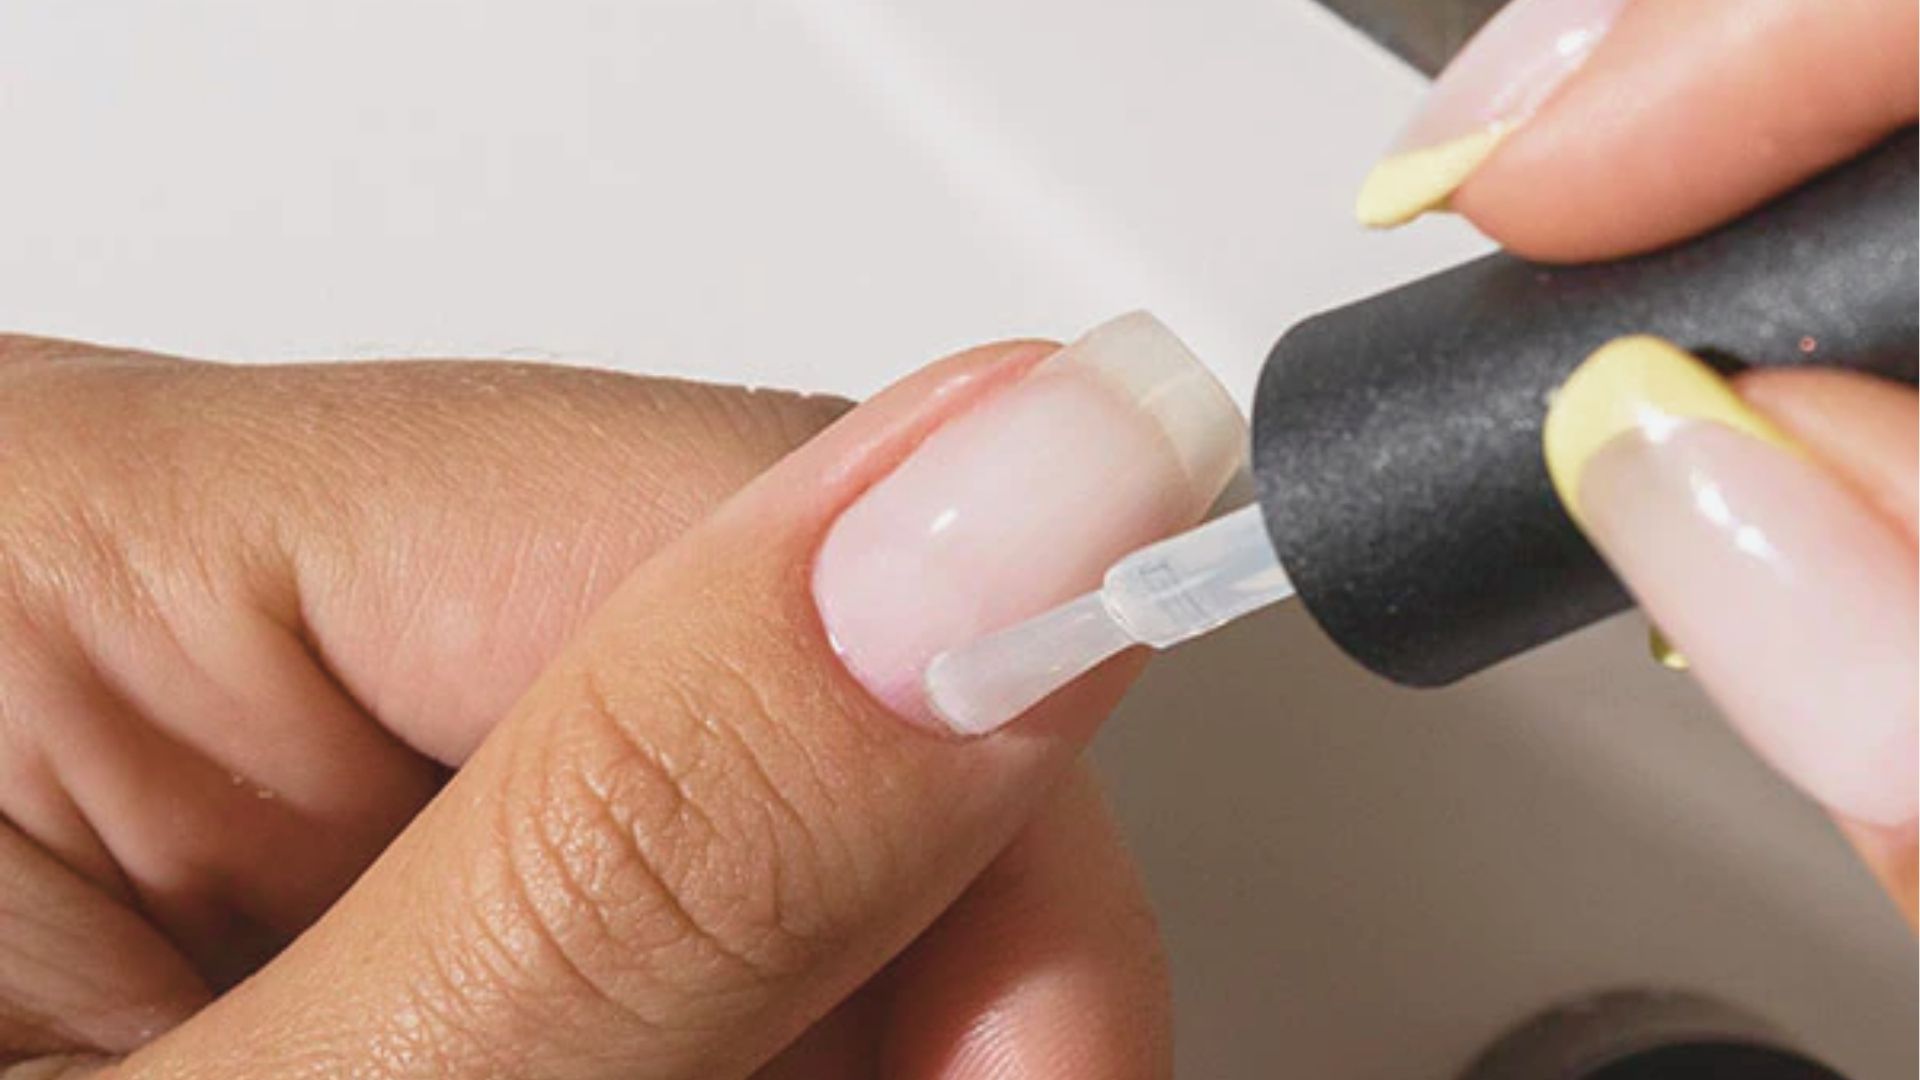
Nail Preparation Steps

Prep is the most important part of a gel manicure. Without good prep, even the best gel product won’t last.
Here’s how to prep your nails:
- Remove any old polish
- Push back your cuticles gently
- Lightly buff the surface of the nail
- Clean the nail with a lint-free wipe and nail cleanser or alcohol
- Apply a dehydrator or nail primer if needed
The nail should be completely oil-free and dry before you apply any gel.
Applying the Base Coat
The base coat is the first layer of gel. It helps the gel stick to the nail and protects the nail plate.
Apply a thin layer of base coat. Avoid getting it on the skin or cuticles. Cure it under your lamp according to the product instructions.
A thin, even base coat gives the rest of your layers something solid to hold onto.
Applying Gel Color
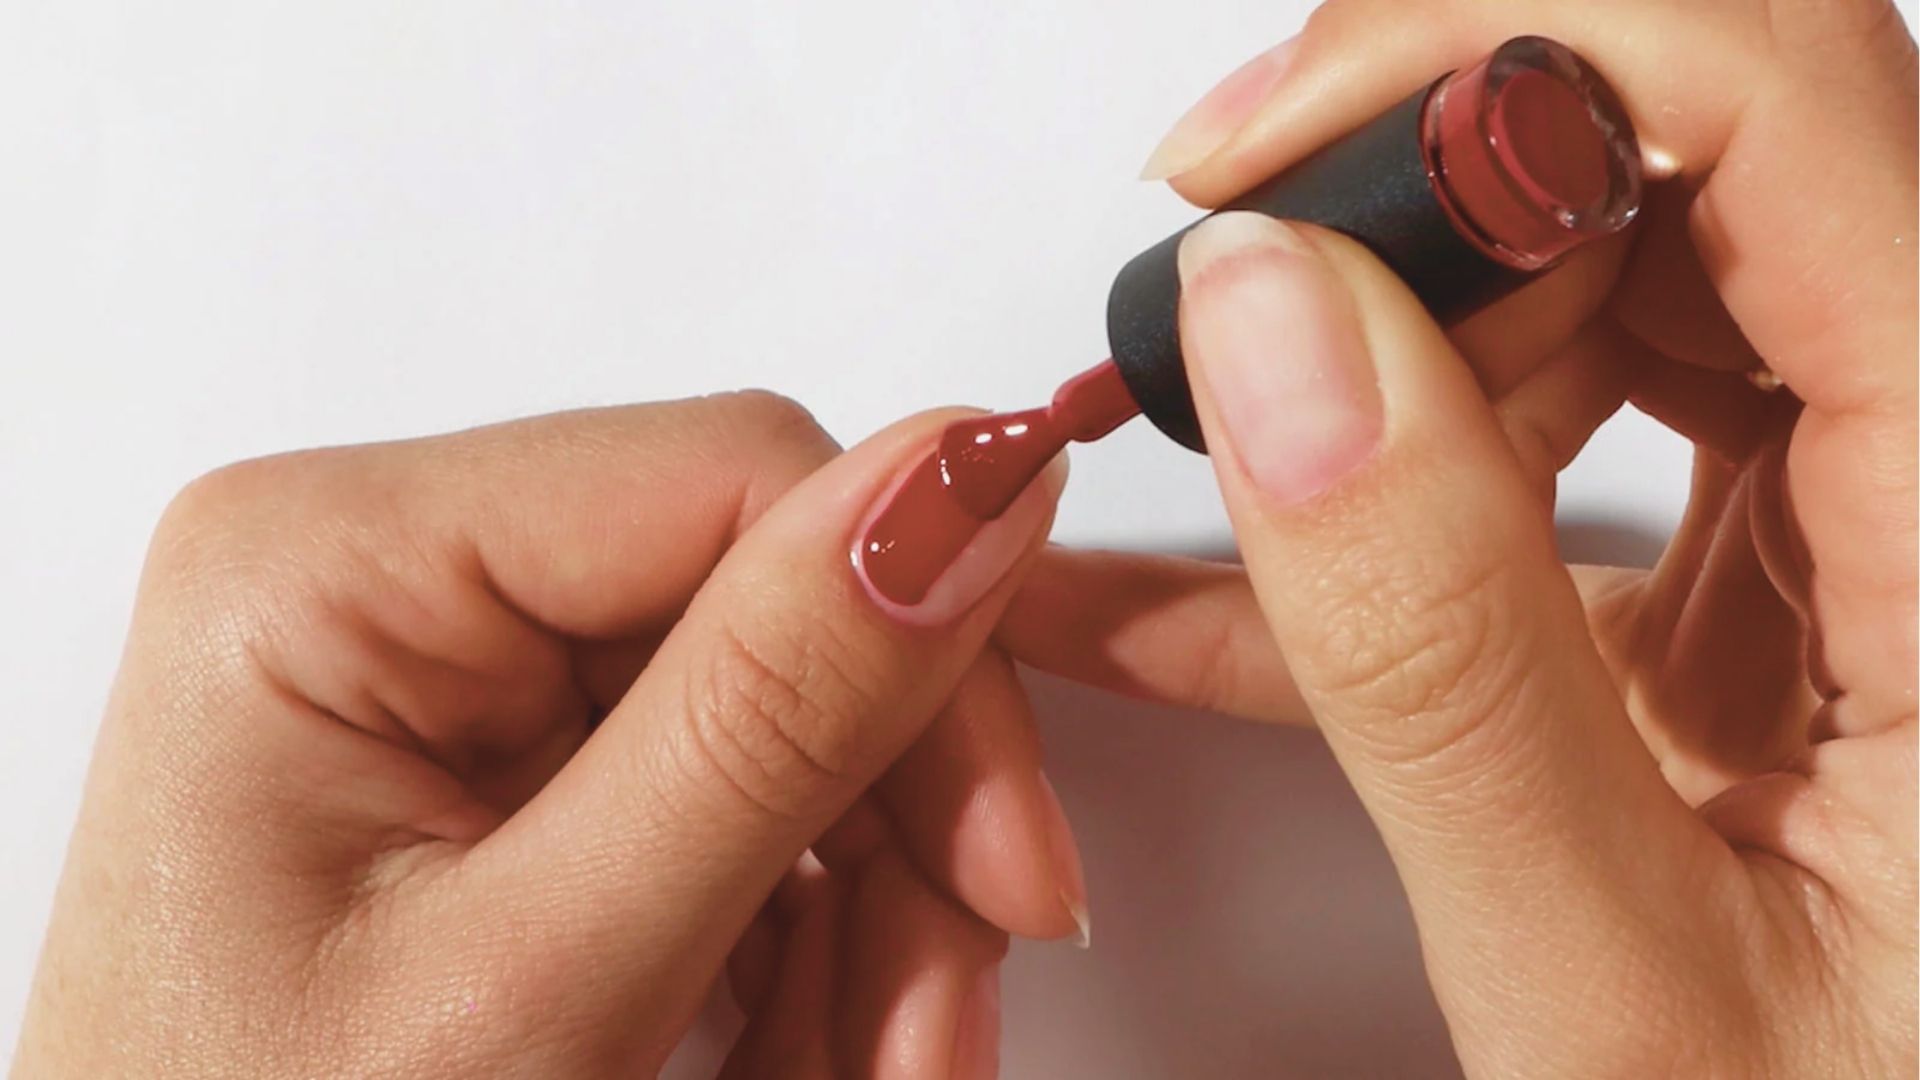
Apply the gel color in thin layers. Thin layers cure better and are less likely to wrinkle or peel.
Most gel colors need two coats for full coverage. Cure each layer fully before applying the next.
Keep the gel away from the skin and cuticle area. If gel touches the skin, it can lift and cause the whole manicure to peel.
Applying and Curing the Top Coat

The top coat seals everything in and gives the nail its shiny finish.
Apply a thin layer of top coat. Cure it fully under the lamp.
After curing, wipe the sticky residue off with a lint-free wipe soaked in nail cleanser. This reveals the final glossy finish.
How Long Do Gel Nails Last?
On average, a gel manicure lasts 2 to 4 weeks. Most people get a fill or new set every 3 weeks. Salon application tends to last longer than at-home, especially for beginners.
Several things affect wear time. Poor nail prep is the most common cause of early lifting. Thin or flexible nails, frequent water exposure, oily nail beds, thick layers, and gel touching the skin or cuticles can all shorten how long your manicure holds up.
To make gel nails last longer, always prep your nails properly before starting. Apply thin, even layers. Keep gel away from skin and cuticles. Use cuticle oil daily, wear gloves when cleaning, and never pick or peel your nails off.
Tips to Remove Gel Nails Safely
Removing gel nails the right way protects your natural nails and keeps them strong.
- Buff the top coat first before soaking. Lightly file the shiny surface to break the seal. This helps the acetone soak through faster and more evenly.
- Use 100% acetone, not regular nail polish remover. Soak a cotton ball and place it directly on the nail. Wrap each finger in foil and wait 10 to 15 minutes.
- Never peel or force the gel off. Peeling pulls off the top layers of your natural nail, leaving it thin, weak, and rough. If it’s not sliding off, re-wrap and wait longer.
- Peeling causes real nail damage over time. Your nails may feel soft, look dull, or break easily after repeated peeling. Proper removal keeps the nail plate intact and healthy.
- Choose professional removal for extensions or hard gel. A nail technician soaks and files safely without causing harm. At-home removal works well for soft gel polish if you follow each step carefully.
Are Gel Nails Bad for Your Nails?

Gel nails are safe when applied and removed correctly. Most damage comes from peeling them off, not the gel itself.
A few common myths worth clearing up:
Nails don’t need to “breathe.” They’re made of keratin, not living tissue. And UV lamp exposure during a manicure is very low. You can wear SPF on your hands if you’re concerned.
The one real risk is undercured gel. If the gel isn’t fully hardened, uncured chemicals can sit against your skin and cause irritation or allergic reactions. Always cure each layer fully and use a quality lamp.
To keep your natural nails healthy:
- Remove gel properly with acetone, never peel
- Use cuticle oil regularly
- File gently
- Take occasional breaks between manicures
Common Gel Nail Problems and How to Avoid Them
Even with the best products, problems can happen. Here are the most common ones and how to fix them.
Peeling or Lifting
What causes it: Poor nail prep, gel touching the skin or cuticles, or thick layers.
How to fix it: Clean nails thoroughly before starting. Apply thin layers. Keep gel away from the cuticle area. Use a dehydrator if your nail beds are oily.
Wrinkling After Curing
What causes it: Applying gel in thick layers, or moving the fingers during curing.
How to fix it: Always apply gel in thin, even coats. Keep your hand still under the lamp. Cure each layer fully before adding the next.
Chipping Too Soon
What causes it: Skipping the base coat, not capping the free edge, or thin top coat application.
How to fix it: Always apply a base coat. Seal the tip of the nail (called “capping the free edge”) with each layer. Apply a full top coat and cure properly.
Gel Nails vs Acrylic Nails vs Regular Polish
Choosing between gel, acrylic, and regular polish depends on what you need. Here’s a clear side-by-side breakdown.
|
Feature |
Gel Nails |
Acrylic Nails |
Regular Polish |
|
Durability |
Lasts 2 to 4 weeks |
Lasts 3 to 6 weeks with fills |
Lasts 3 to 7 days |
|
Strength |
Strong but flexible, less likely to snap |
Very hard and rigid, can crack under pressure |
Soft, chips easily |
|
Finish |
Naturally shiny and smooth right after curing |
Can look thick, needs polish or gel on top for shine |
Looks good when fresh, loses shine fast |
|
Removal |
Soak in acetone for 10 to 15 minutes |
Soak in acetone for 20 to 30 minutes or file off |
Simple nail polish remover, takes seconds |
|
Skill Level Needed |
Beginner friendly |
Requires more skill and practice |
Very easy for anyone |
|
Best For |
Everyday wear with long-lasting results |
Those who want extra length and strength |
Quick, low-commitment color |
|
Salon Cost |
Moderate |
Higher |
Low |
|
At-Home Use |
Yes, easy with a starter kit |
Harder to do at home |
Yes, very easy |
Best option for beginners: Soft gel polish. It is easy to apply, lasts long, looks great, and comes off with a simple acetone soak. Start there before moving on to acrylics or extensions.
Beginner Tips for Better Gel Nails
Small habits make a big difference when you’re just starting out with gel nails.
- Use thin, even layers. Thick layers wrinkle and don’t cure properly. Two thin coats always beat one thick one.
- Invest in a quality LED lamp. Go for at least 36 watts. A weak lamp leaves gel sticky and under-cured underneath.
- Always prep your nails first. Buff, push back cuticles, and wipe with nail cleanser. Gel won’t stick well to oily or dusty nails.
- Keep gel off your skin and cuticles. Any gel touching the skin will cause lifting and peeling. Stay as close to the edge as possible without touching it.
- Cap the free edge every time. Run gel across the tip of your nail with each layer. This seals the edge and stops chipping from starting early.
Conclusion
Gel nails are honestly one of the best upgrades you can make to your nail routine. Once I switched from regular polish, I never looked back. No more chipped nails two days in, no more waiting forever for them to dry.
Now you know exactly what gel nails are, how they work, and how to do them right. Whether you’re heading to a salon or trying it at home, you’ve got everything you need to get started.
Drop a comment below and let me know your first gel nail experience!
Frequently Asked Questions
Can you do gel nails at home as a beginner?
Yes, you can. Start with a soft gel polish kit that includes an LED lamp. Follow proper prep steps and apply thin layers for the best results.
How often should you get a gel manicure?
Most people get a new gel manicure every 2 to 3 weeks. Taking short breaks between sets helps keep your natural nails in good condition.
Does removing gel nails hurt?
No, it should not hurt. If you soak them off properly with acetone, the gel slides off without pain. Peeling them off is what causes damage and discomfort.
Can gel nails cause allergic reactions?
Yes, in some cases. This usually happens when uncured gel touches the skin repeatedly. Always apply gel cleanly and cure each layer fully to reduce this risk.
What is the difference between gel polish and regular gel nails?
Gel polish is a softer product applied like regular polish and soaked off with acetone. Regular gel (hard gel) is thicker, stronger, and must be filed off. Both use a UV or LED lamp to cure.