How to Use Builder Gel Step-by-Step Guide
Getting your nails to look salon-perfect at home is totally possible. I’ve spent a lot of time working with builder gel, and I know how confusing it can feel at first.
This guide on how to use builder gel breaks everything down simply.
We’ll cover what builder gel is, the tools you need, how to apply it on natural nails, how to build extensions, common mistakes, and tips that actually work.
No fluff. Just clear, practical steps that help you get it right.
Over years of nail work, I’ve learned that good prep always beats expensive products and that anyone can master this with the right guidance.
Builder Gel Overview and Uses
Builder gel is a thick, self-leveling gel that adds strength and structure to nails. It sits between a base coat and top coat in consistency, making it easy to work with.
It adds durability without bulk, resists chipping, and looks natural when applied correctly. You can use it to strengthen weak nails, repair damage, or build extensions using forms or tips.
One of the best things about builder gel is that both beginners and professionals can use it. Beginners love how forgiving it is, while professionals rely on it for detailed nail art and longer extensions.
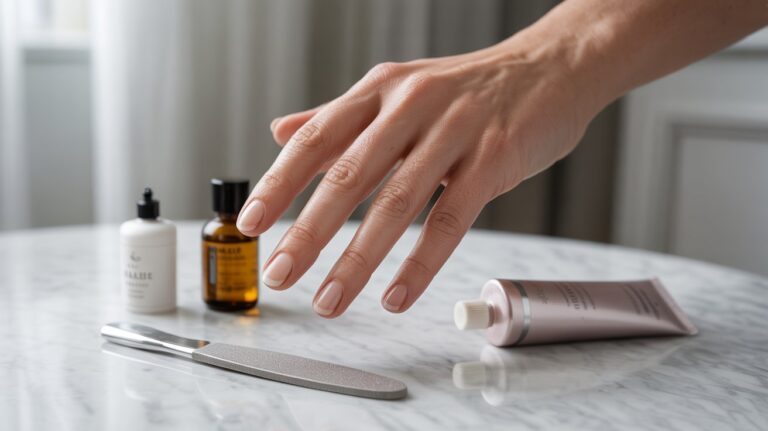
Tools and Preparation Before Application
Having the right tools and a clean nail surface sets the foundation for long-lasting results.
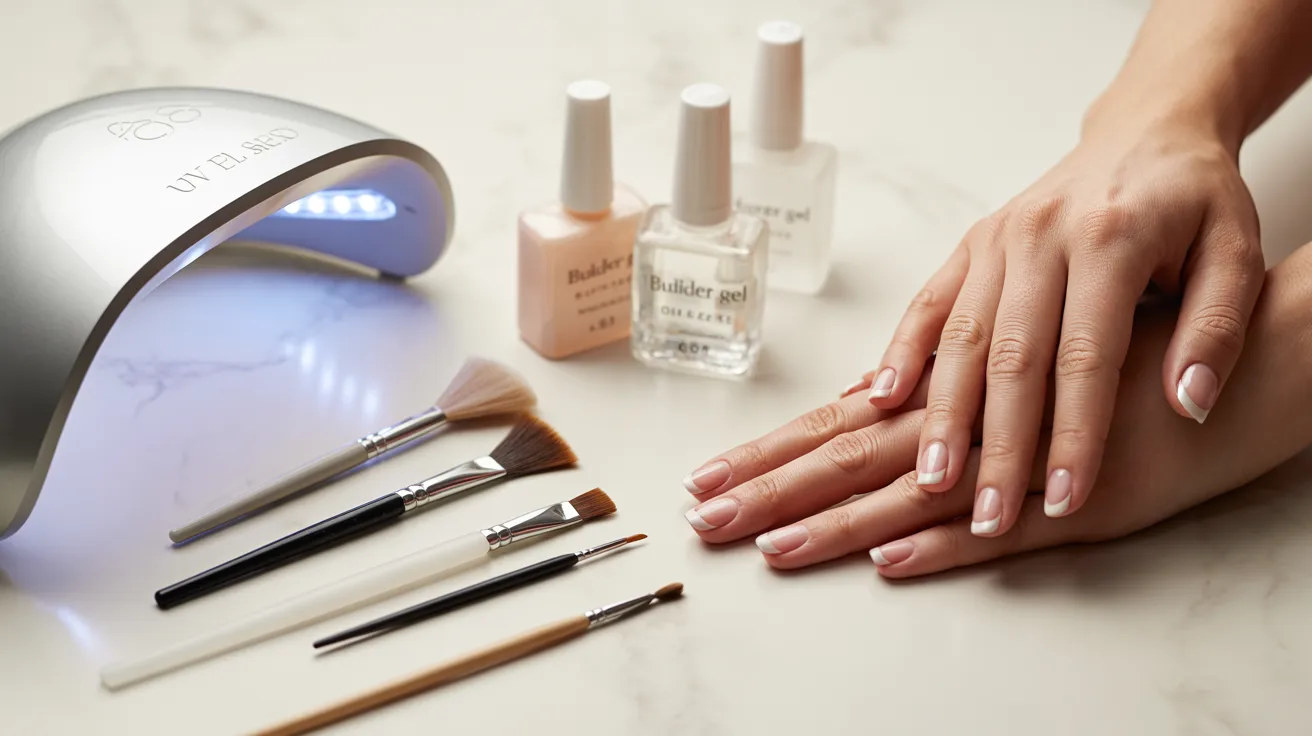
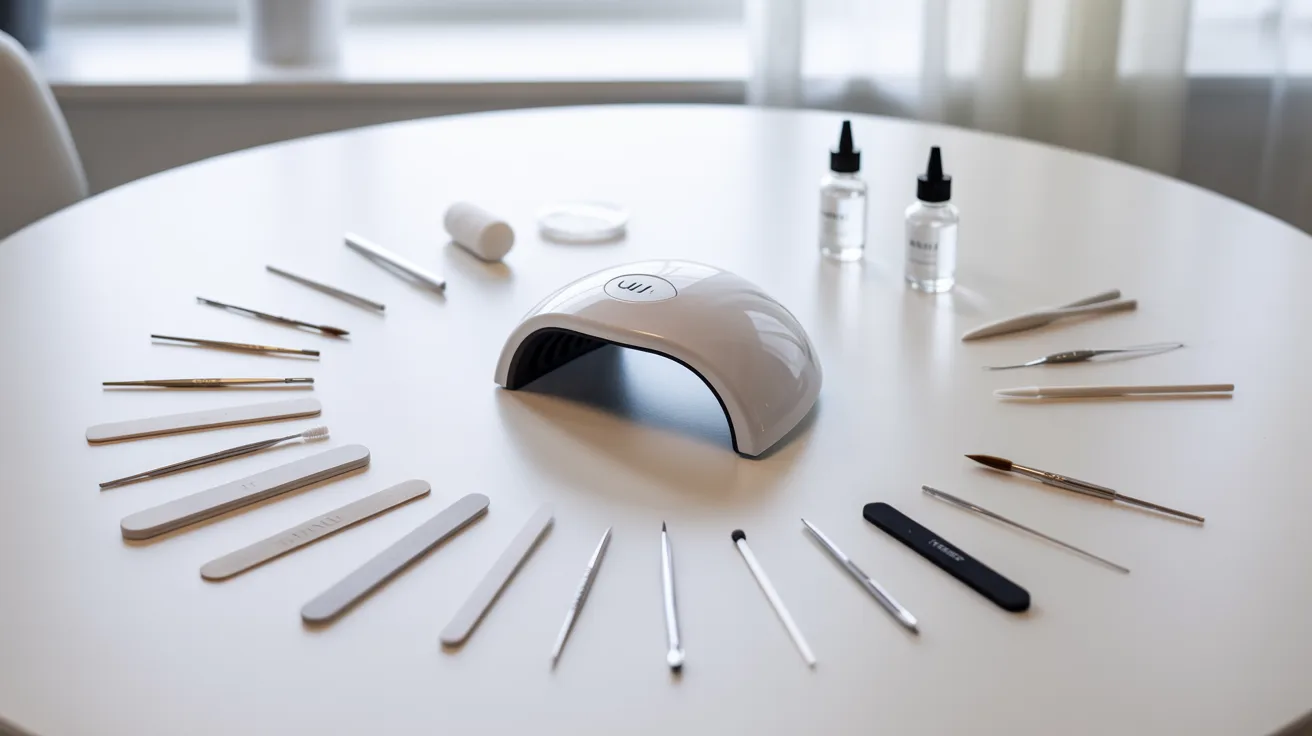
Tools and Products Needed
Before you start, gather these
- Builder gel (clear or colored)
- UV/LED lamp
- Nail file and buffer
- Cuticle pusher
- Primer and dehydrator
- Nail brush
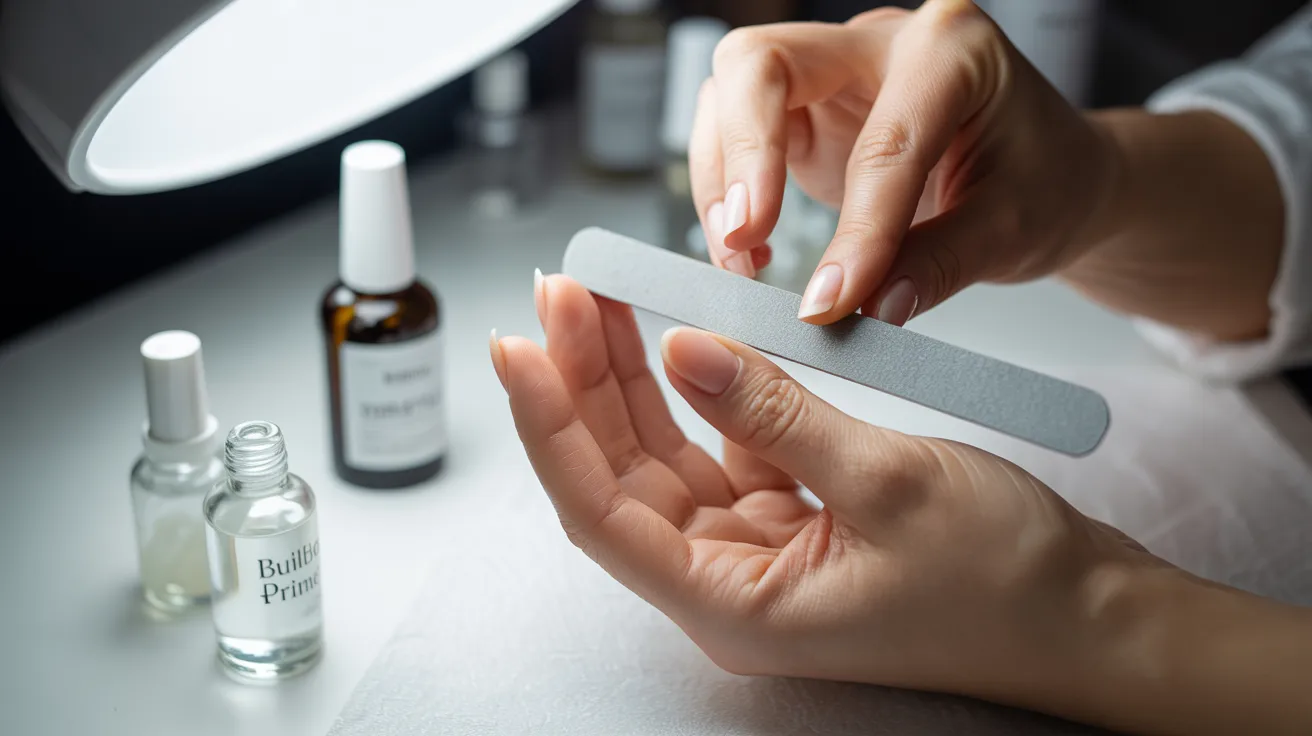
Nail Preparation Steps
Prep is everything. Skip it and your gel will lift within days.
- Push back cuticles gently
- Buff the nail surface lightly
- Clean nails with a lint-free wipe
- Remove all oils and moisture
Importance of Primer and Dehydrator
Dehydrator removes surface moisture. Primer helps the gel bond tightly to the nail. Both steps reduce lifting and extend wear time. Never skip them.
Choosing the Right Builder Gel and Lamp
Pick a builder gel that works with your lamp brand. Not all gels cure the same way. A quality LED lamp cures faster. A UV lamp works too but takes longer.
Step-by-Step Builder Gel Application Process
A simple recap of the full process so you can follow along from start to finish.
Step 1: Preparing the Nail Plate
Start by cleaning your nails thoroughly to remove any dirt or oil. Buff the surface lightly to create grip, then apply your dehydrator and primer.
Every single step here matters because skipping even one can cause your gel to lift early.
Step 2: Applying Base and Builder Gel Layers
Apply a thin base layer first and let it sit for a moment before curing. Then add your builder gel in thin, even coats.
Let the gel self-level slightly on its own before placing your hand under the lamp.
Step 3: Curing Under UV/LED Lamp

Cure every single layer before adding the next one. Skipping a cure between layers is one of the most common reasons gels bubble or lift later.
Follow your lamp and gel brand’s recommended curing time for best results.
Step 4: Shaping and Refining the Nails
Once all layers are fully cured, it is time to shape and refine. Use a fine-grit file on the surface to smooth things out. Switch to a coarser file for the edges and sides to get your desired shape.
Step 5: Applying Color and Top Coat
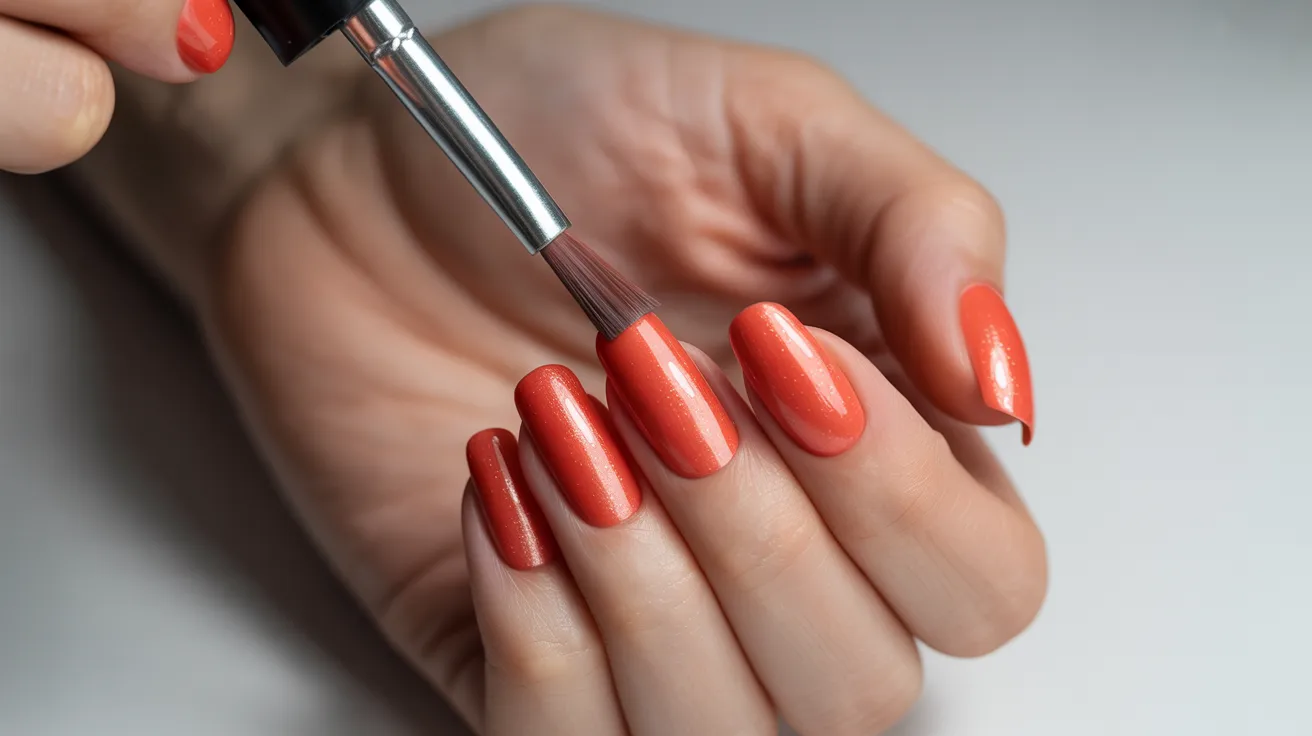
Add a gel polish on top if you want to bring in some color. Cure the polish layer fully before moving on. Finish everything off with a top coat, cure it one last time, and you are done.
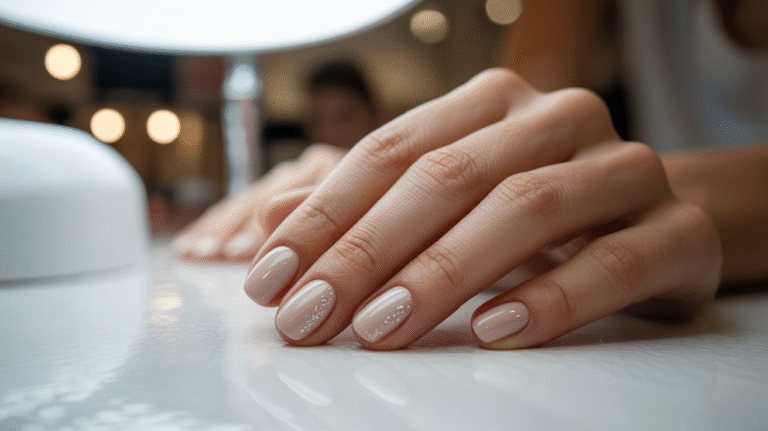
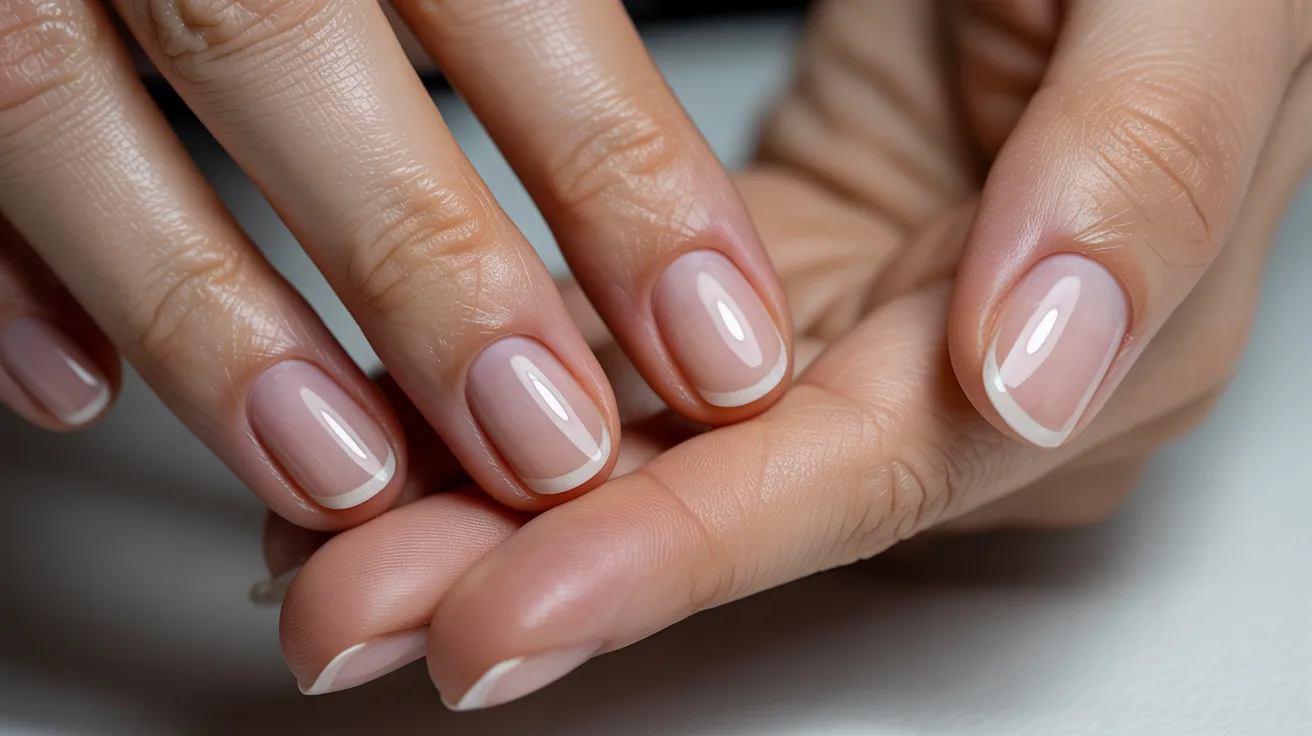
How to Use Builder Gel on Natural Nails
This section walks you through a clean, step-by-step process for natural nail application.
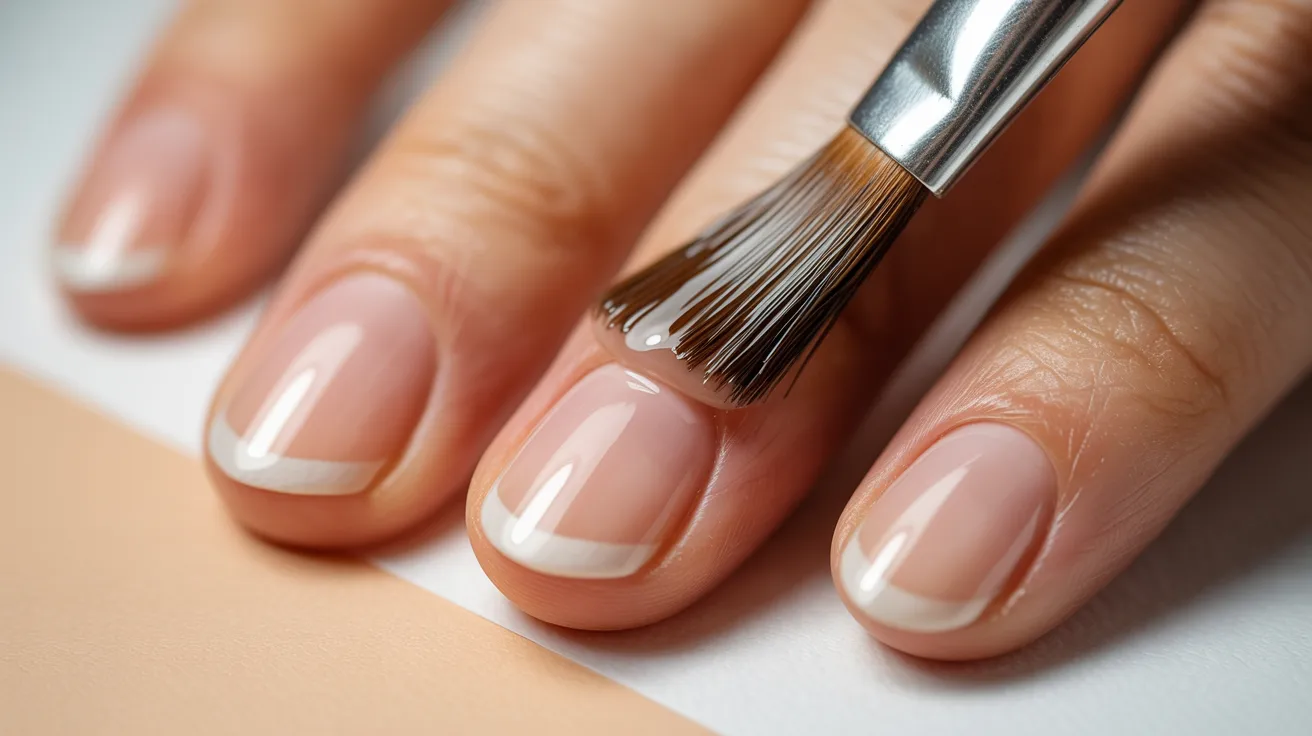
Applying Primer and Slip Layer
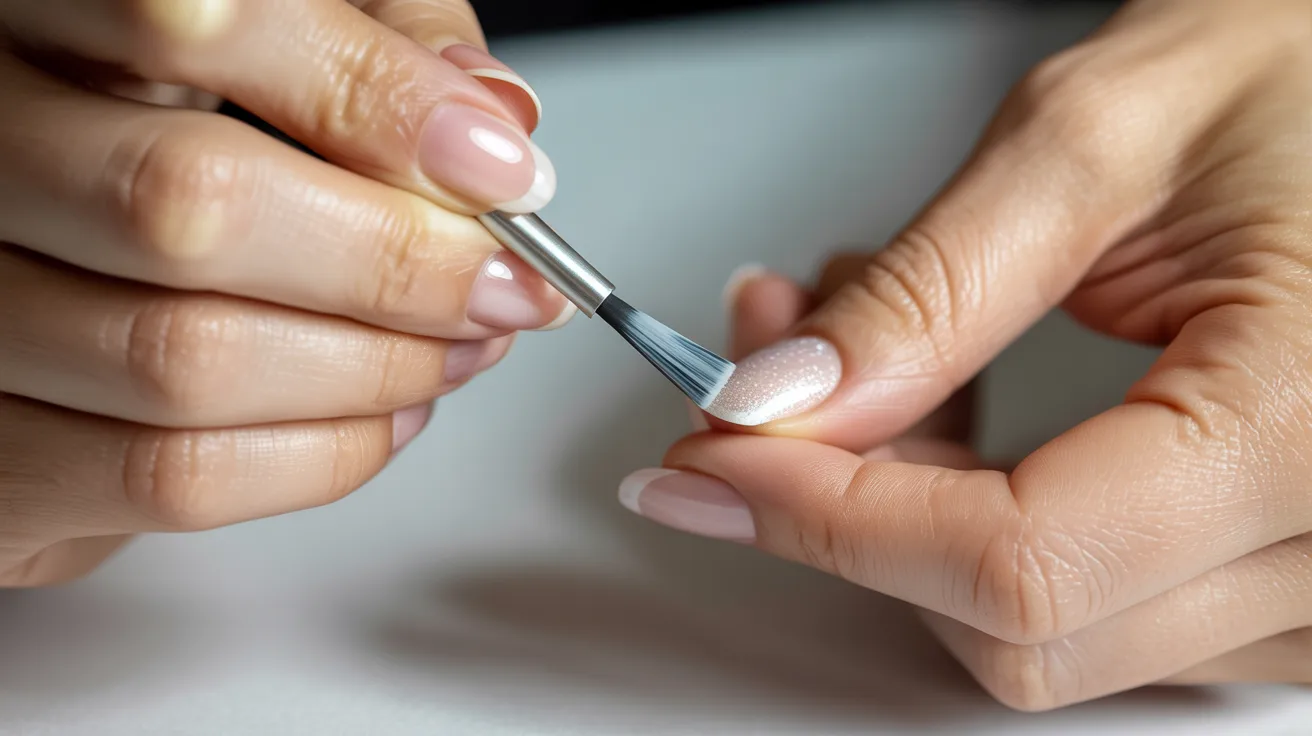
Apply your dehydrator first, then your primer. Let both dry completely before moving on. Then apply a thin slip layer of builder gel to help the product glide smoothly without dragging or pulling across the nail.
Building Structure and Apex
Place a small bead of builder gel at the center of the nail. Use your brush to move it toward the cuticle and the tip. Build the apex, which is the highest point, right in the middle.
This gives the nail its natural-looking shape and strength.
Proper Curing Process
Cure every layer under your lamp after applying it. Always follow the time recommendation from your gel brand. LED lamps usually take 30 to 60 seconds.
UV lamps can take up to 2 minutes per layer.
Removing Inhibition Layer
After curing, you may notice a sticky film left on top of the gel. This is called the inhibition layer. Simply wipe it off using a lint-free wipe soaked in isopropyl alcohol.
Your nail should feel smooth after this step.
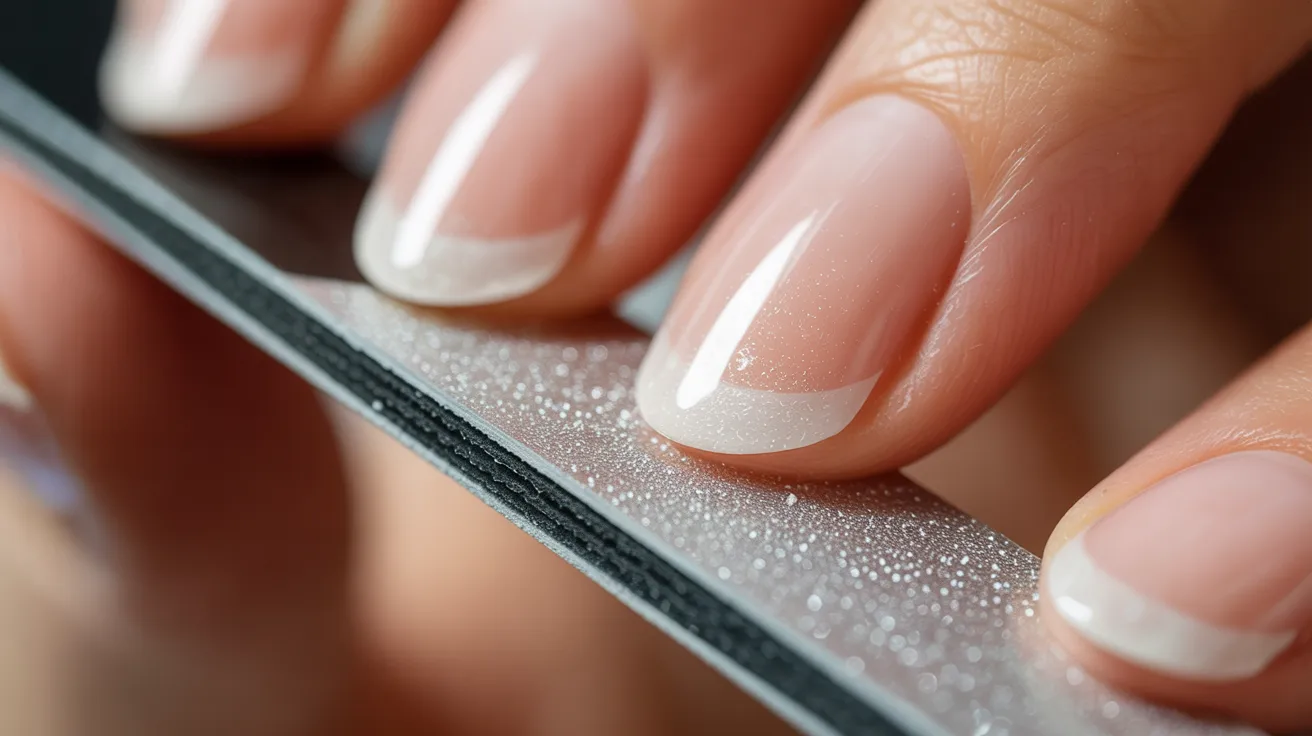
Filing, Shaping, and Finishing
File the edges and top surface into your preferred shape using a nail file. Buff the surface lightly to remove any uneven spots.
Finish with a top coat, cure it under your lamp, and your nails are ready.
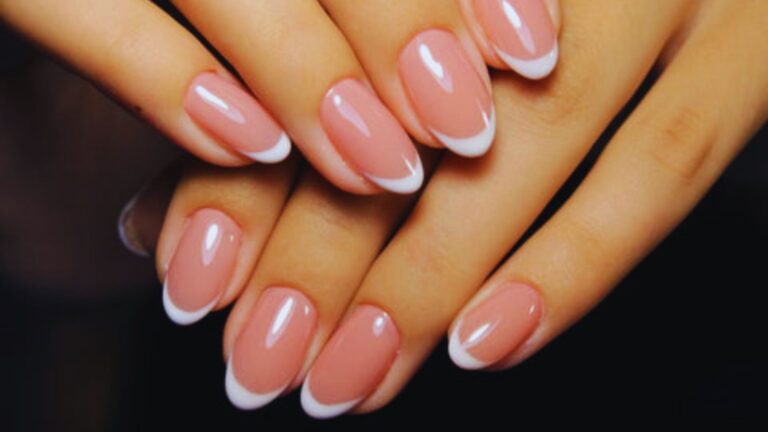
How to Use Builder Gel for Nail Extensions

Building length with builder gel takes practice, but these steps make it much easier to follow.
Using Nail Tips for Extensions
Glue a nail tip to the free edge of the natural nail. Trim it to your desired length. Then apply builder gel over the tip and natural nail to blend them together.
Using Nail Forms for Sculpting
Slide a nail form under the free edge. Apply builder gel over the form to build the extension. This method gives more control over shape and length.
Building Length and Structure
Work in thin layers. Don’t try to build length in one thick coat. Thin layers cure more evenly and reduce the chance of lifting or cracking.
Curing, Shaping, and Final Finish
Cure each layer fully. Remove the nail form after the final layer is cured. File and shape the extension. Buff smooth, then apply a top coat.
Common Mistakes to Avoid
Small errors can ruin a great application. Here’s what to watch out for.
Skipping Nail Prep
Skipping nail prep is the biggest reason builder gel lifts within days. Dirt, oil, and moisture stop the gel from bonding properly. Always clean, buff, dehydrate, and prime before applying anything.
Overloading the Brush with Gel
Too much product on the brush causes gel to flood the cuticle and creates uneven thickness. Always work with small beads and build up gradually. Less product gives you far more control.
Incorrect Curing Time
Under-curing leaves gel soft underneath even when it looks set on top. Always follow the curing time recommended by your lamp and gel brand. Do this for every single layer without skipping.
Over-Filing Natural Nails
Pressing too hard with a file thins out the natural nail and causes damage over time. Use a light hand, especially on thin or weak nails. Let the file do the work instead of forcing it.
Tips for Best Results with Builder Gel
Simple habits that make a big difference in how your builder gel turns out every time.
- Apply thin layers because they self-level better, cure fully, and give you much more control than thick coats.
- Work one nail at a time so the gel does not move or flood the cuticle before you get a chance to cure it.
- Keep gel 1mm away from the cuticle to prevent lifting and keep the finished look neat and clean.
- Always check your lamp and gel instructions because curing time varies by brand and wattage, and every second counts.
- Do not skip practice because each application teaches you something new and your technique improves every single time.
Conclusion
How to use builder gel gets easier every time you try it. I remember my first attempt; it was messy, lumpy, and lifted within a week.
But I kept going, and now it feels second nature. Start with clean nails, thin layers, and proper curing. Don’t rush. The more you practice, the better your results will get.
Got questions or tips of your own? Drop them in the comments below. I’d love to hear how your first builder gel experience goes!
Frequently Asked Questions
How long does builder gel last on natural nails?
Builder gel typically lasts three to four weeks on natural nails. Proper prep and curing help it last longer without lifting.
Can I use builder gel without a UV or LED lamp?
No. Builder gel needs UV or LED light to cure properly. It won’t harden or set without the right lamp.
Is builder gel the same as hard gel?
They are similar but not the same. Builder gel is often softer and more flexible. Hard gel is usually stronger and less flexible.
Can beginners apply builder gel at home?
Yes. Builder gel is beginner-friendly because of its thick, self-leveling texture. With practice and the right tools, home application is very doable.
How do I remove builder gel safely?
Builder gel is usually filed off rather than soaked off. Use a coarse nail file to remove most of the product, then buff the rest gently.