How to Put Clip-In Hair Extensions Step by Step

I’ve been there, staring at a pack of clip-ins with no idea where to start. This guide on how to put clip-in hair extensions step by step walks you through the whole process clearly. No confusion, no guessing.
I’ll cover everything from prepping your hair to blending the extensions so they look natural. You’ll also get tips to help them sit flat and last all day.
I’ve tried these steps myself and they genuinely work. By the end of this post, you’ll feel confident enough to do it on your own.
Overview of Clip-In Extensions
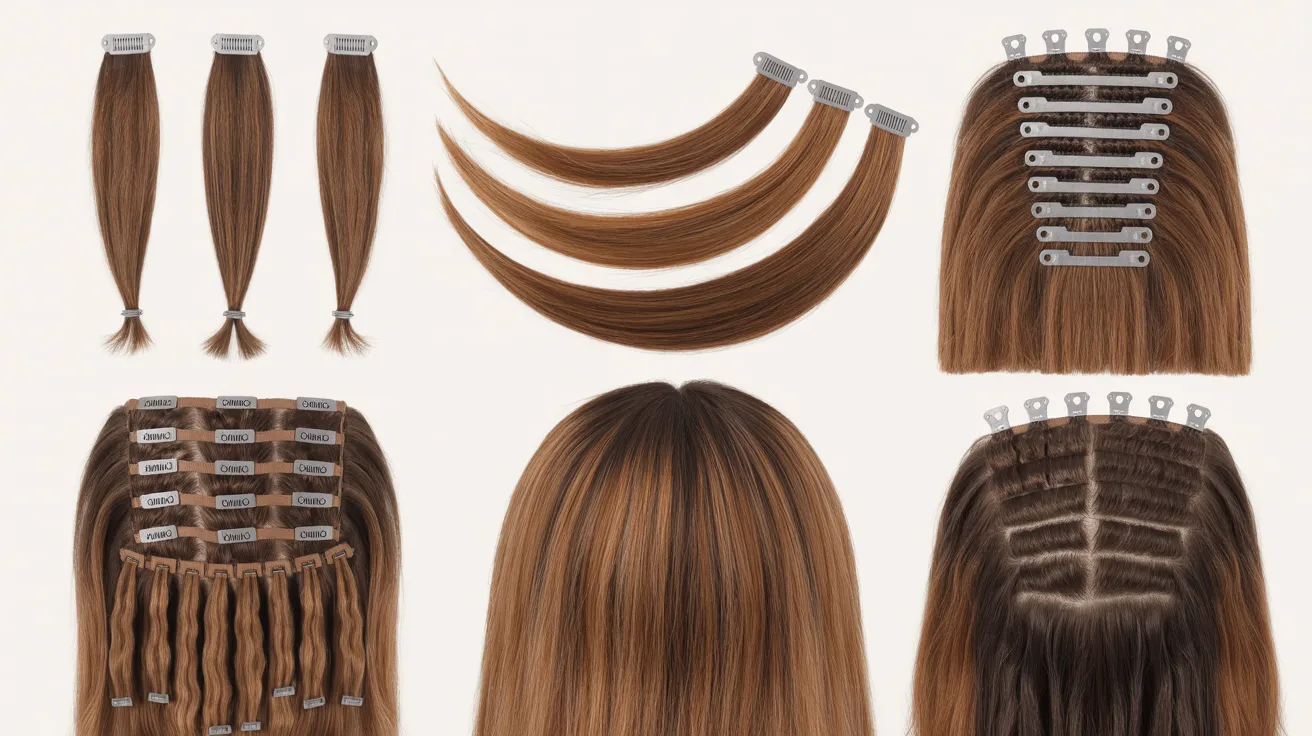
Clip-in hair extensions are a fast, non-permanent way to add volume, length, or thickness to your hair.
They attach using small pressure clips that grip the roots without heat or glue. Most sets come with 3-piece and 2-piece wefts that layer through different sections of your hair.
They work on most hair types and come out in minutes. With the right placement, they blend in well and look very natural.
They are also beginner-friendly, making them a great option if you are new to extensions.
Materials Required

Here’s what you’ll need before you start:
- Clip-in hair extensions (3-piece and 2-piece sets)
- Hair ties or elastics
- Comb or brush
- Teasing comb (optional, for added grip)
- Hair clips for sectioning
- Optional: hairspray or styling tools
Step-by-Step Guide
Follow these steps in order for the best result.
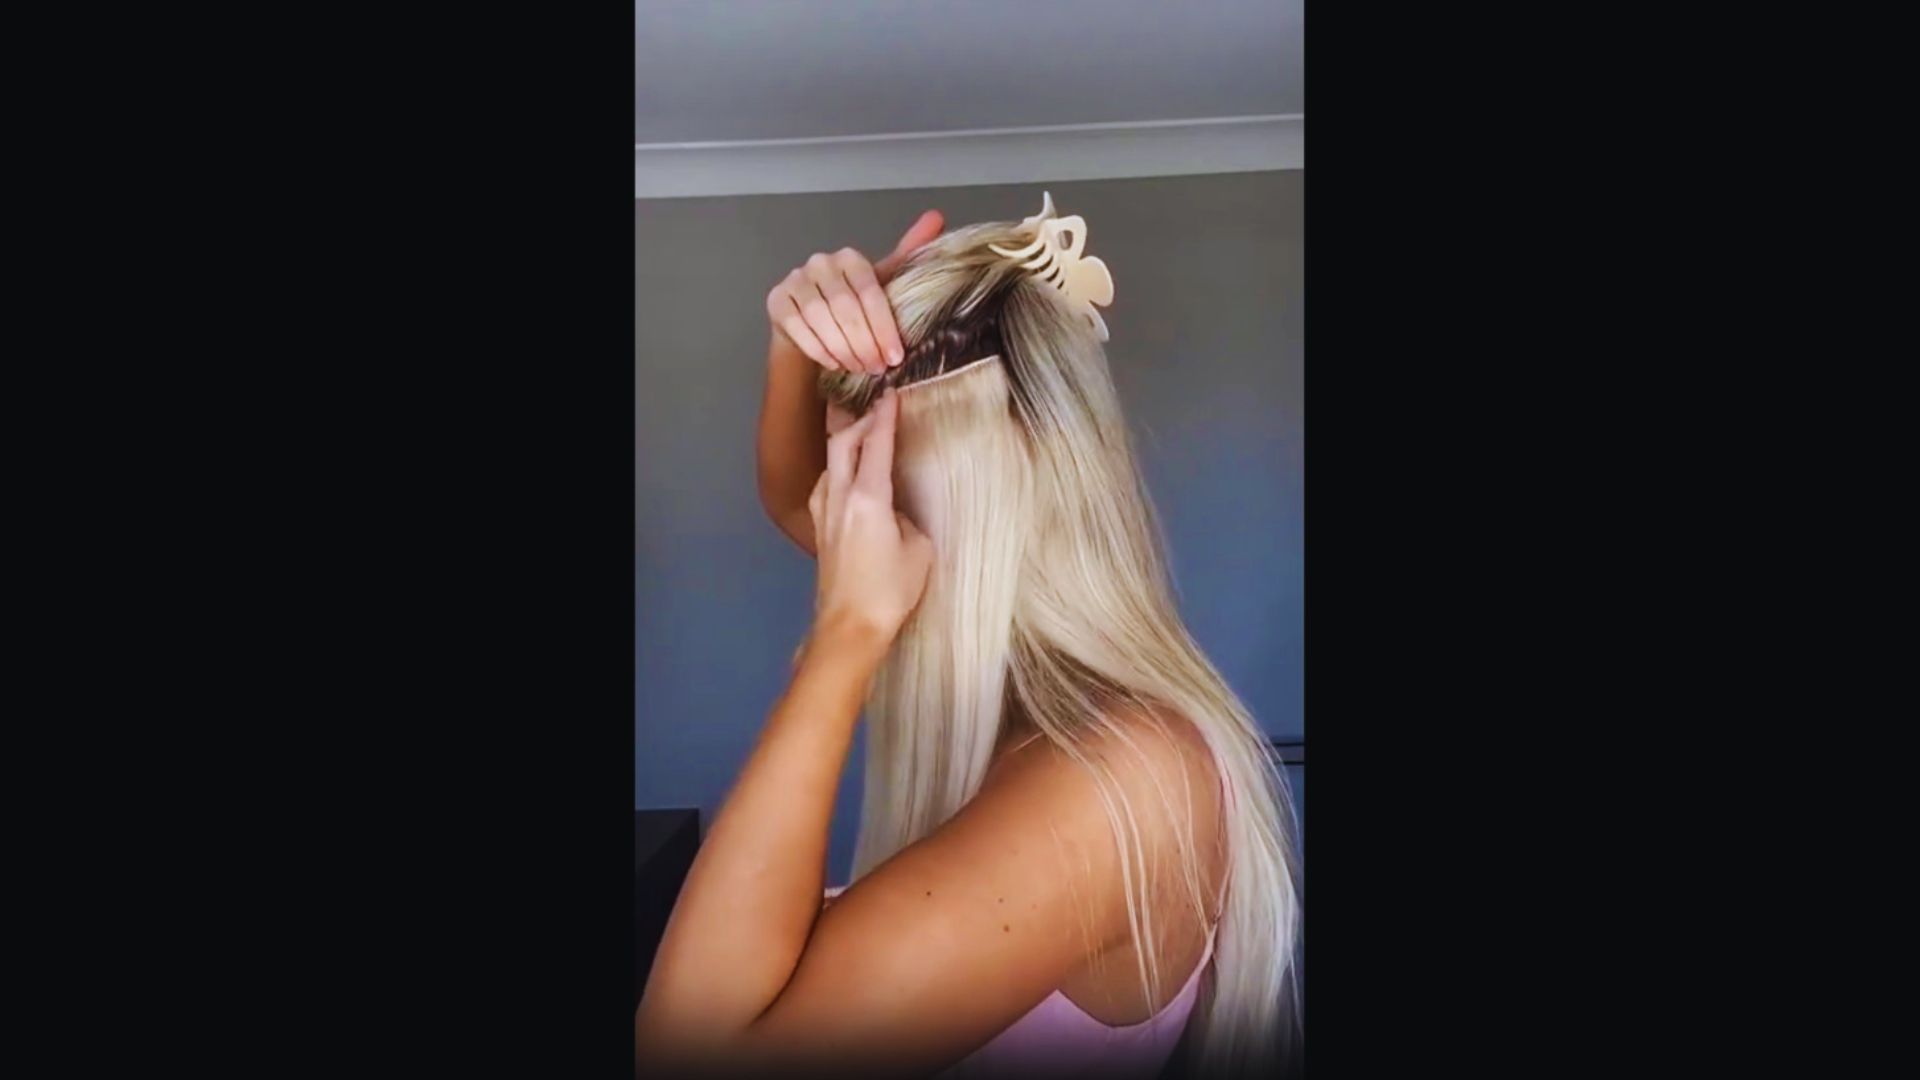
Step 1: Section and Prep the Hair
Start by parting a small section at the crown or wherever you want more volume. Use a teasing comb to gently tease the roots, this gives the clips something to hold onto.
Then press a 3-piece weft clip into the teased area and snap it shut. Make sure it sits flat and blends into your natural hair without any gaps showing.
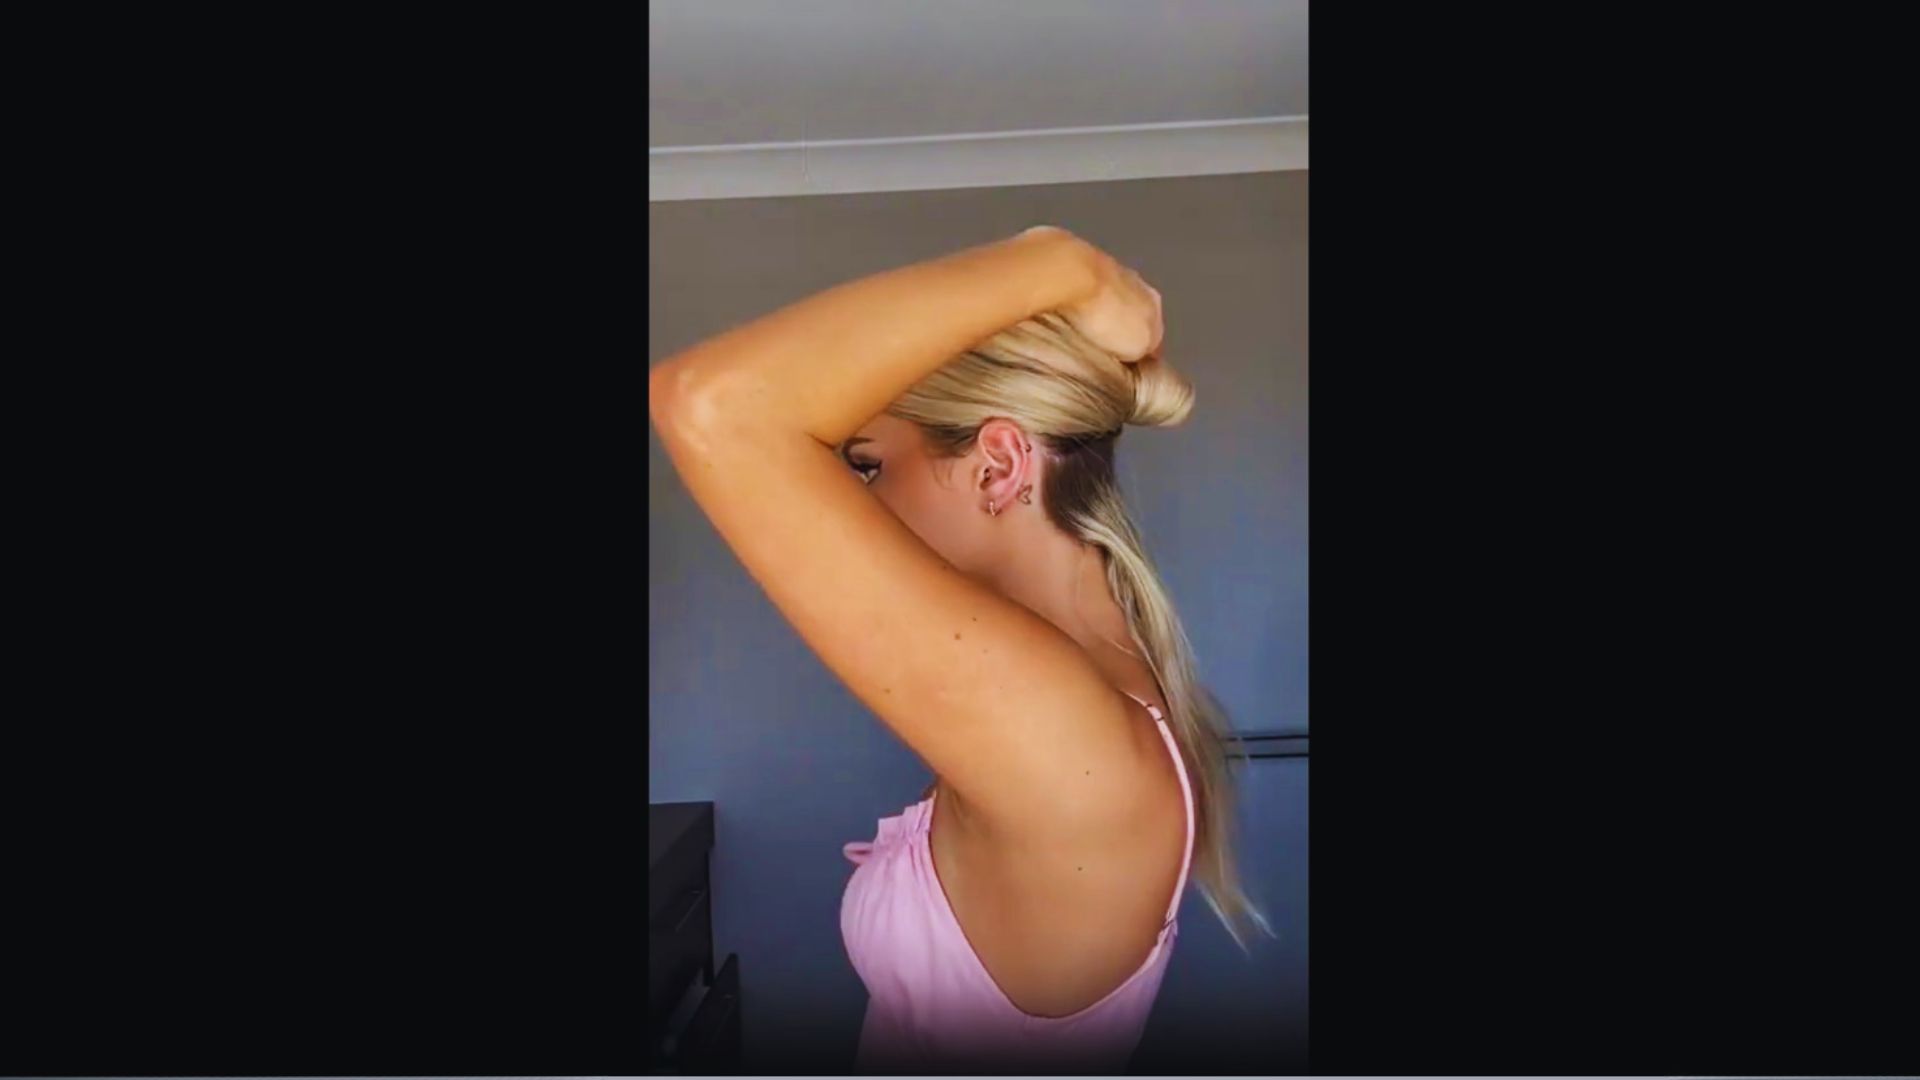
Step 2: Section and Tie the Hair
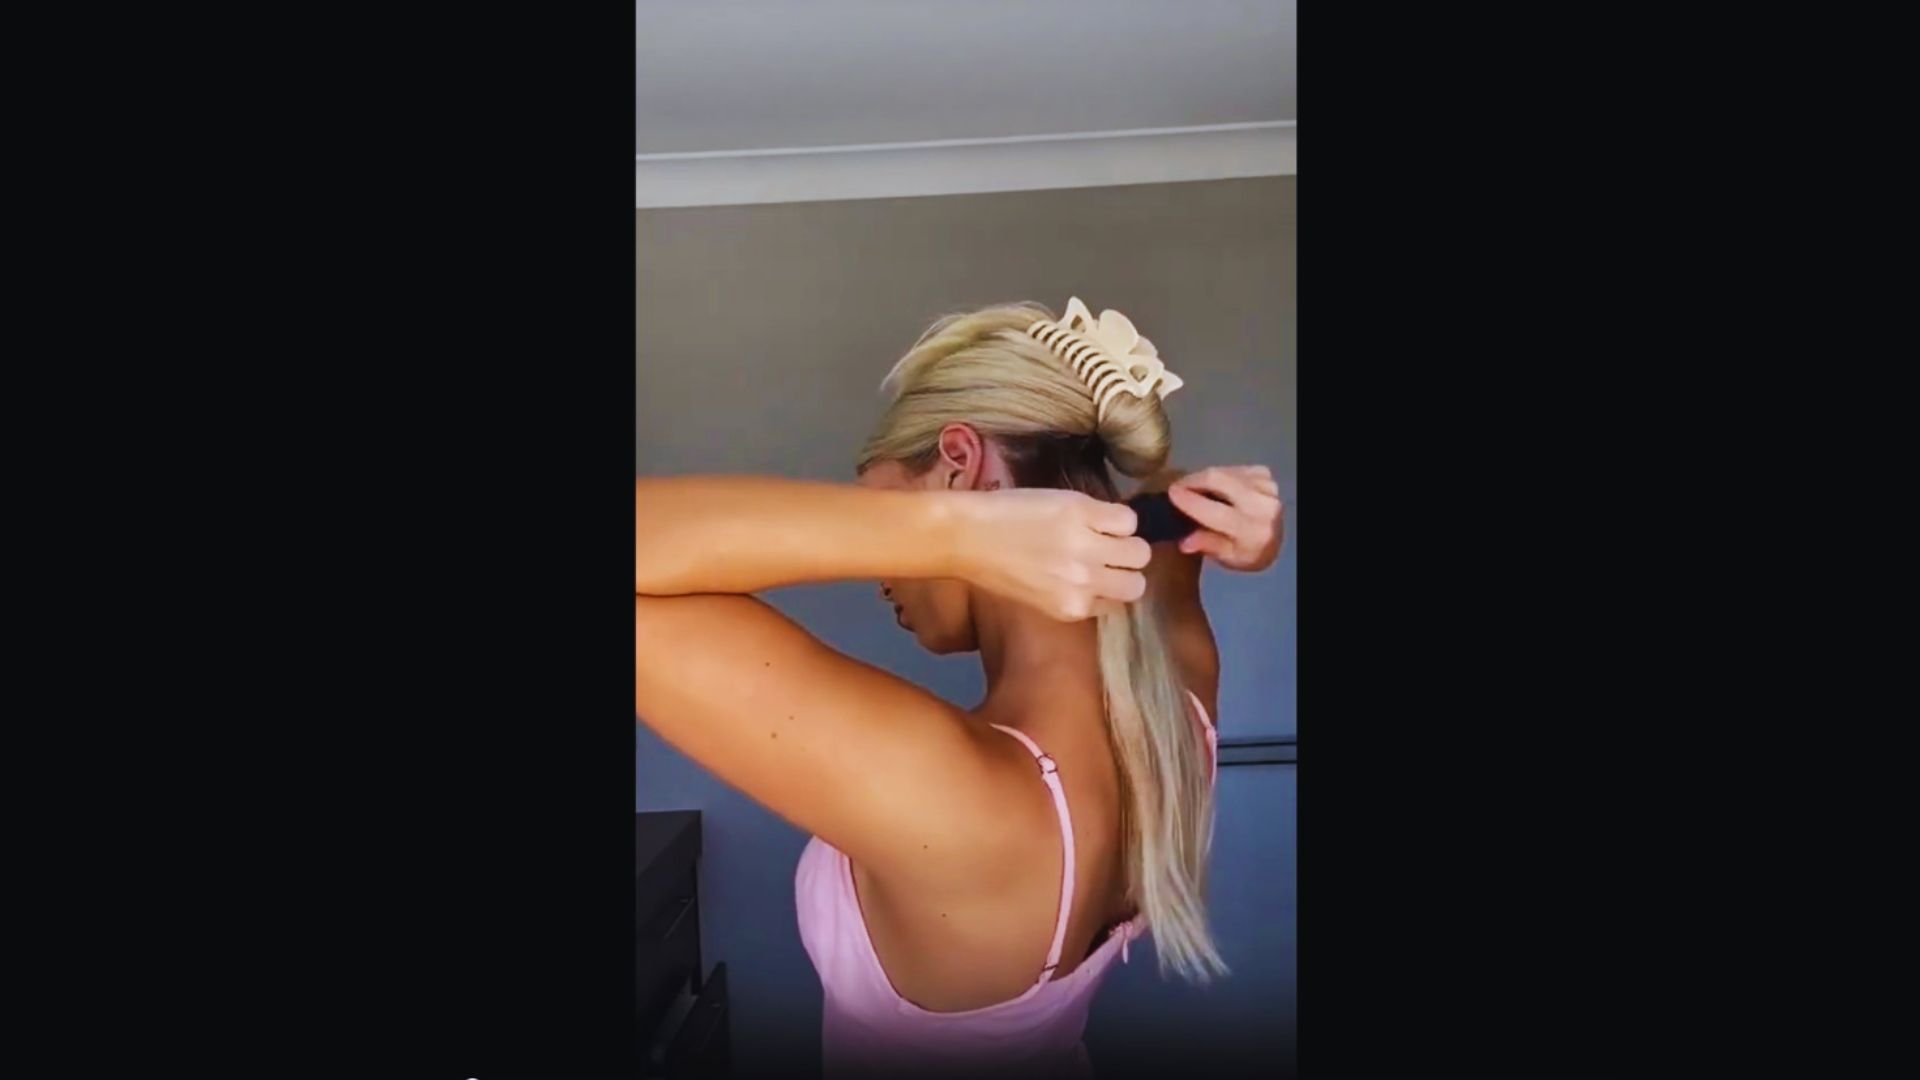
Take the lower section of your hair and pull it into a small, tight ponytail. Keep it as flat against your head as possible.
This creates a firm base for the next extension piece to sit on. A flat base is key, if the ponytail is too loose or high, the extension won’t sit right and may look unnatural.
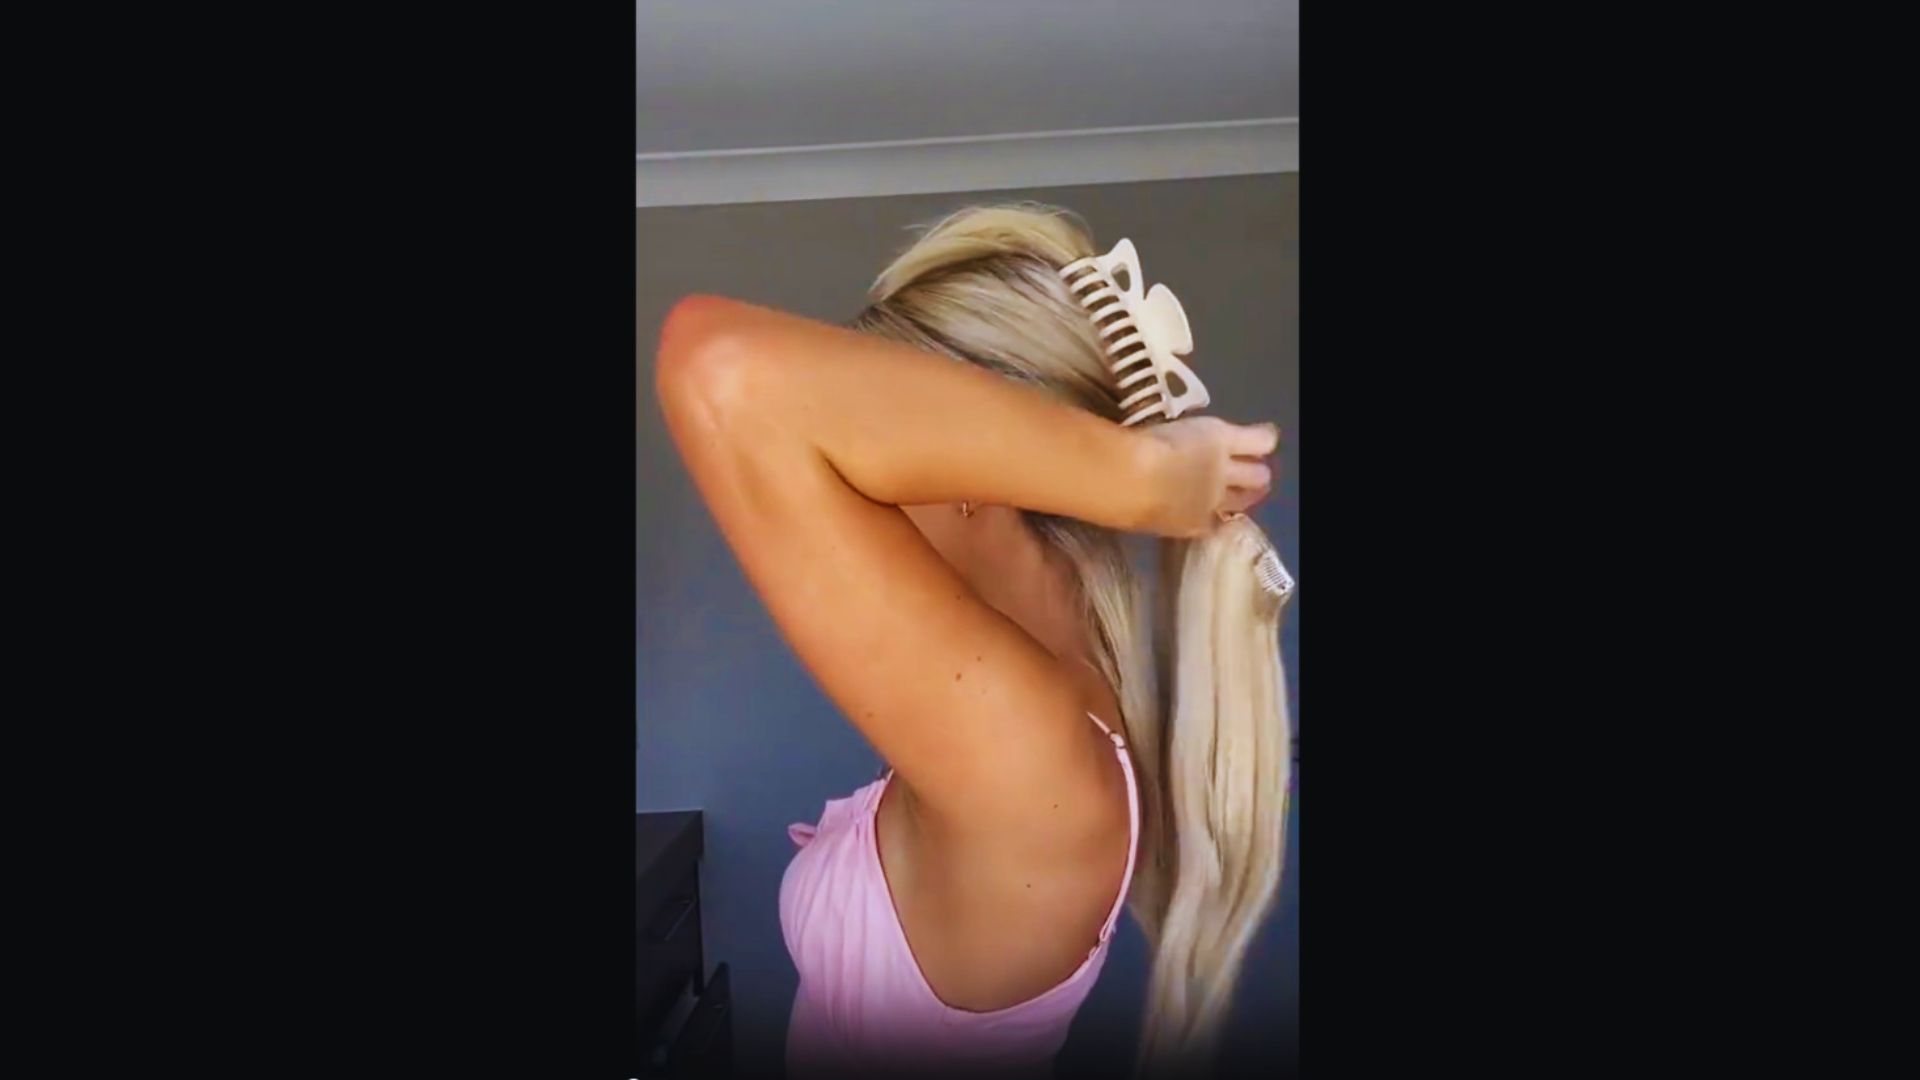
Step 3: Attach the Extension Piece
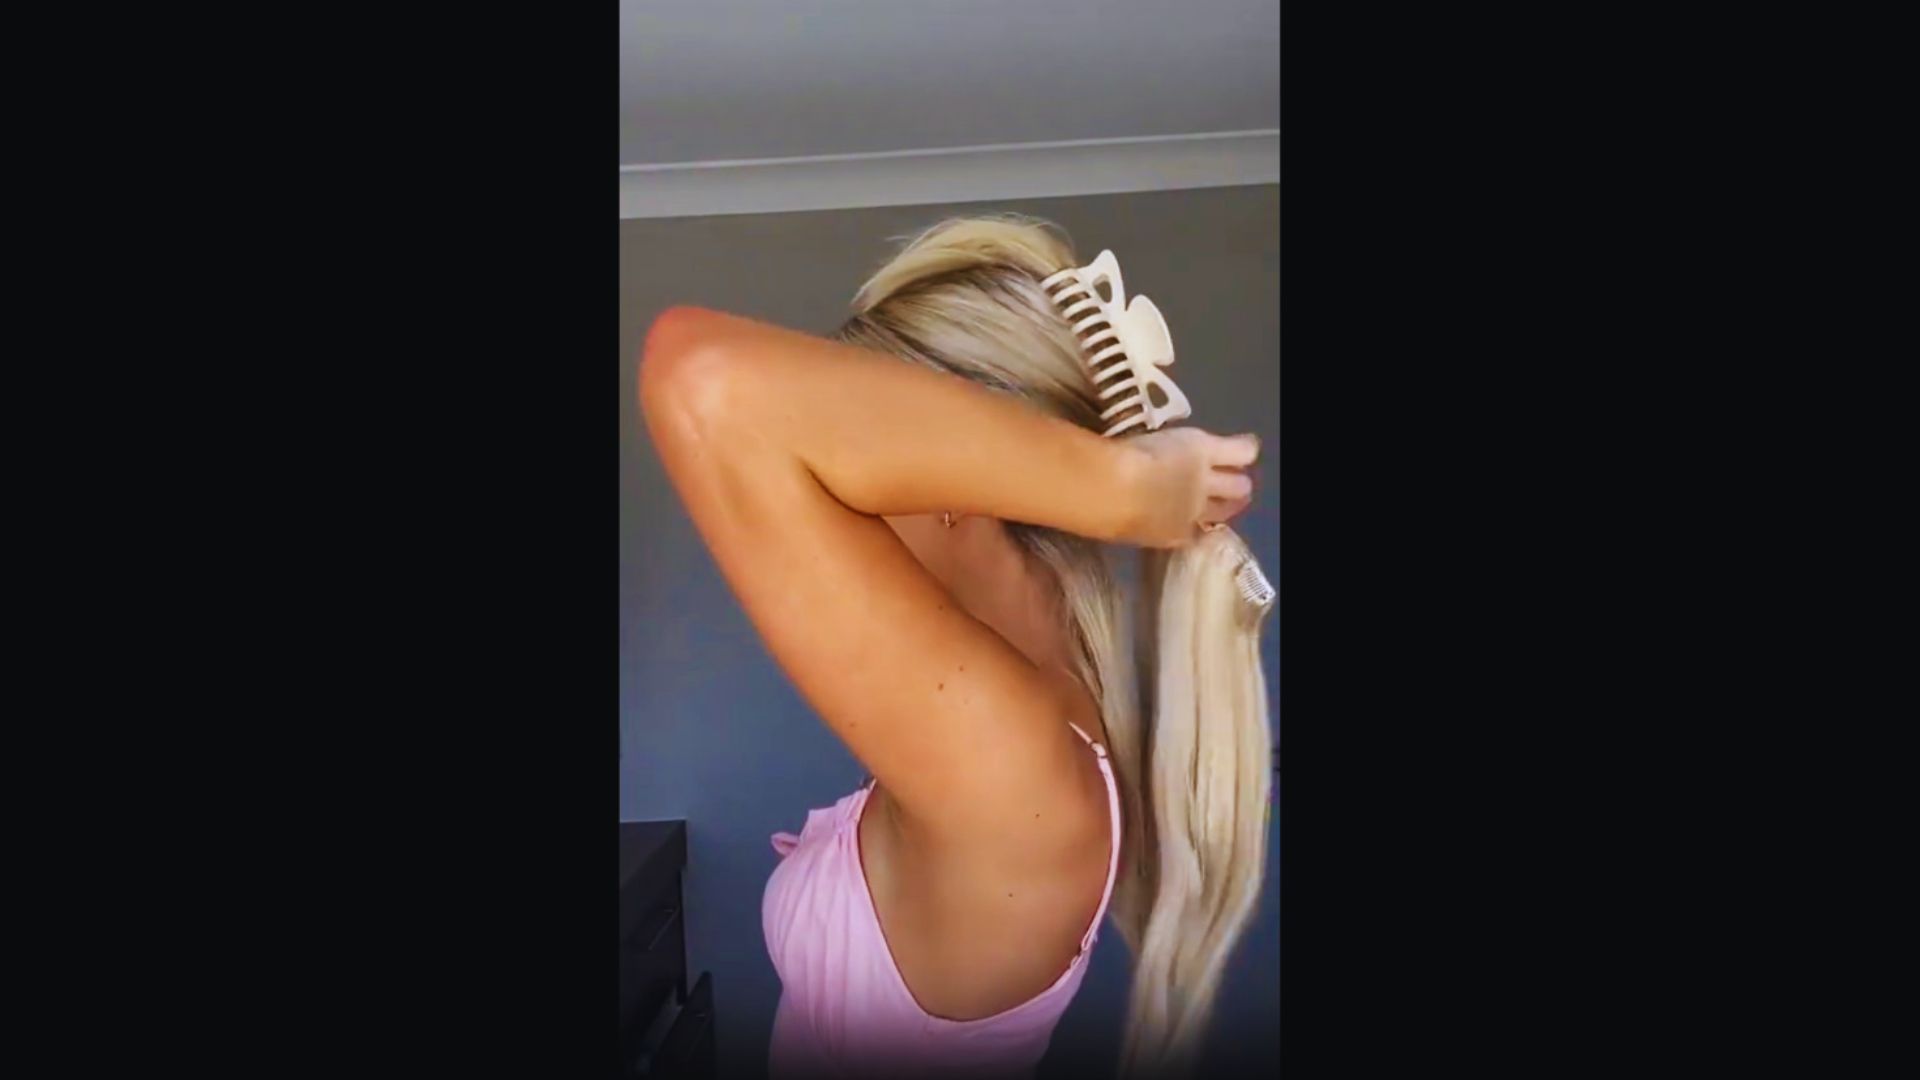
Place the extension weft directly over the ponytail base. Wrap or clip it securely around the base so it feels snug but not tight. Give it a light tug to make sure it holds.
The weft should lie flat and not pull at your scalp. If it feels uncomfortable, loosen it slightly and reposition before moving on.
Step 4: Blend and Smooth the Hair
Let your natural hair fall over the clips and the extension weft. Use your hands or a comb to smooth everything together. This step hides the clips and creates a clean, seamless finish.
Run your fingers through both layers to make sure there are no obvious lines or bulges. Good blending makes a big difference in how natural the result looks.
Step 5: Add Side Sections for Fullness
Part small sections near the front of your head on both sides. Clip a 2-piece weft close to the roots on each side. Press the clip firmly until you hear it snap.
Then pull your natural hair over the clips to cover them. This step adds fullness to the sides and gives your overall look more balance and dimension.
Step 6: Final Adjustments
Check every clip to make sure it’s firmly closed. Run a comb or your fingers through all layers to blend and smooth everything together.
Adjust the volume by gently lifting sections and redistributing them. Once you’re happy with the placement, style your hair however you like, curling, straightening, or leaving it as-is all work well with clip-ins.
Tips for a Flawless Look
Small details make the biggest difference with clip-in extensions.
- Tease your roots lightly before clipping for a stronger, longer-lasting hold.
- Match the extension shade to your mid-lengths and ends, not just the roots.
- Press each weft flat against your head and cover the clips with your natural hair.
- Use a light-hold hairspray from a distance to keep everything in place after styling.
- Remove extensions every night, comb through them, and store them flat to keep them in good shape.
Conclusion
Learning how to apply clip-in hair extensions step by step honestly changed my whole morning routine.
I used to skip extra styling because it felt like too much effort. Now I can add volume and length in under 15 minutes flat.
Once you try it a couple of times, it clicks. The steps get faster, and the results start looking more natural with every wear.
Give it a go this week. You might love what you see. If this guide helped you, drop a comment below or share it with a friend who’s been curious about clip-ins.
I’d really love to hear how it turns out for you.
Frequently Asked Questions
How long does it take to apply clip-in hair extensions?
Most people take 10 to 20 minutes once they’ve practiced a few times. The first attempt may take longer, but the steps get faster with practice.
Can I apply clip-in extensions on thin hair?
Yes, you can. Tease your roots lightly before clipping for a stronger hold. Stick to lighter wefts so the clips don’t pull or put too much weight on fine hair.
How many times can I reuse clip-in hair extensions?
With proper care, good-quality clip-ins can last anywhere from 3 to 12 months. Remove them gently, comb them after each use, and store them flat to extend their life.
Do clip-in extensions cause damage to natural hair?
They don’t cause damage when applied correctly. Avoid placing clips in the same spot every day, and never sleep in them. Rotating placement helps protect your natural hair over time.
Can I wash clip-in extensions while they’re in my hair?
It’s best to remove them before washing. Washing them while attached can loosen the clips and cause tangling. Take them out, wash gently with cool water, and let them air dry flat before storing.