How to Safely Remove Gel Polish Without Damaging Your Nails

Gel polish has become a favorite for anyone who wants a long-lasting manicure with a glossy finish. It resists chips, keeps its shine for weeks, and offers a polished appearance that fits busy lifestyles. However, removing gel polish incorrectly can leave nails thin, brittle, and prone to splitting.
Many people are tempted to peel away lifting polish or rush the removal process when they’re short on time. While this might seem harmless, it often strips away layers of the natural nail. The result is weakened nails that take weeks or even months to recover.
The good news is that safe gel polish removal isn’t complicated. With the right tools, a little patience, and proper aftercare, you can remove gel polish while keeping your natural nails healthy. Here’s what you need to know.
Why Proper Gel Polish Removal Matters
Unlike regular nail polish, gel polish forms a durable coating that bonds firmly to the nail plate after curing under a lamp. That durability is what makes gel manicures so popular, but it also means they require a different removal process.
When gel polish is peeled off, it often takes tiny layers of the natural nail along with it. Even if the damage isn’t immediately visible, repeated peeling can lead to:
- Thin, weakened nails
- Peeling or flaking nail surfaces
- Increased breakage
- Greater sensitivity
- Uneven nail texture
Using the proper removal technique protects the nail’s surface while allowing fresh, healthy growth underneath.
Gather the Right Tools Before You Begin
Preparing everything in advance makes the process smoother and reduces the temptation to rush. You’ll typically need:
- A nail file
- Pure acetone
- Cotton pads or lint-free wipes
- Aluminum foil or reusable nail clips
- A cuticle pusher or orangewood stick
- Cuticle oil
- A nourishing hand cream
Investing in quality equipment can make maintenance easier over time.
Follow the Right Nail Gel Removal Process: Step-by-Step Instructions
Once your supplies are ready, take your time and work through each step carefully. You can use either a hand nail file or an electric nail drill to remove the top layers of gel polish. You do not need to use both, although some people use a drill first to remove bulk, then switch to a hand file for more control.
Step 1: Choose Your Filing Method
Before soaking, the gel needs to be thinned so the acetone can work properly. You have two options:
- Use a hand nail file if you are a beginner or removing gel at home.
- Use an electric nail drill if you are confident using one safely.
- Do not drill or file all the way down to the natural nail.
- Stop once the shiny top coat and most of the color have been removed.
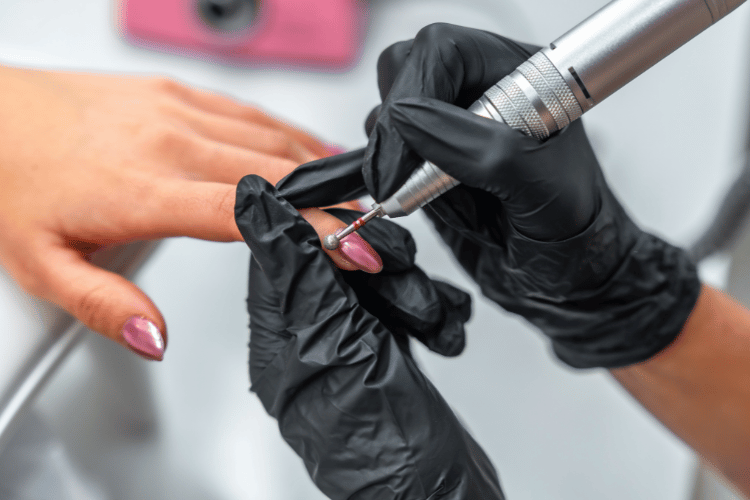
If using a nail drill, keep the bit moving at all times and use light pressure. The goal is to reduce the gel, not force it off. Many professionals rely on nail drills by the Saeyang brand available from F.O.X Nails, because their tools are designed for precision and control during nail services. If the nail feels hot or you see your natural nail showing through, stop immediately.
Step 2: File Away the Top Layer
This is the point where filing happens: before soaking. Gently file the shiny surface of the gel polish. This breaks the seal of the top coat and helps acetone penetrate the product. If using a drill, carefully remove the top coat and color layer, leaving a thin base coat behind. If using a hand file, focus on removing the shine and lightly thinning the polish.
Step 3: Soak the Remaining Gel
After filing or drilling, saturate a cotton pad with acetone and place it directly on the nail. Wrap each fingertip with foil or secure it with nail clips. Leave the wraps on for around 10 to 15 minutes. If you used a drill to remove most of the product, the remaining gel may soften faster.
Step 4: Gently Remove the Softened Product
After soaking, slide off the foil and cotton. The gel should look lifted or flaky. Use an orangewood stick or cuticle pusher to gently lift away the softened product. Never scrape hard. If some gel is still stuck, rewrap the nail and soak it for a few more minutes.
Step 5: Smooth and Hydrate
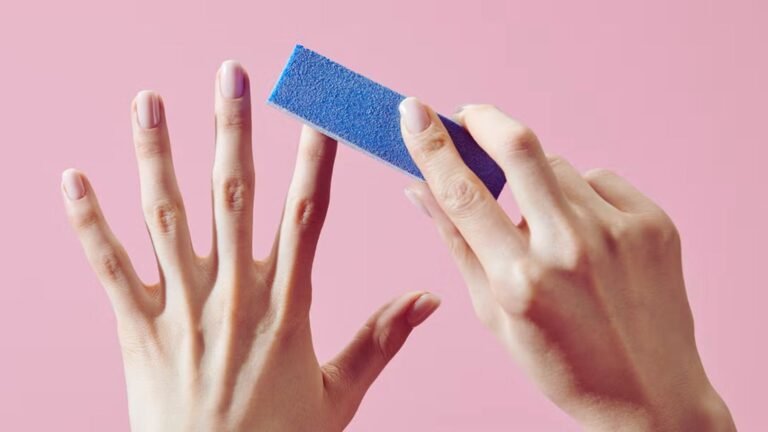
Once the gel is removed, use a soft buffer only if needed to smooth uneven areas. Do not over-buff, as this can thin the nail. Finish by washing your hands, applying cuticle oil, and using hand cream to restore moisture.
Common Mistakes That Can Damage Your Nails
Even with good intentions, a few habits can undo all your efforts. Avoid these common mistakes:
- Peeling or picking off lifting gel polish
- Filing too aggressively into the natural nail
- Scraping hardened gel with excessive force
- Skipping the soaking stage
- Rushing the removal process
These shortcuts may save a few minutes today but often lead to longer recovery times as your nails repair themselves. Developing good habits during every manicure removal helps maintain stronger nails over the long term.
Restore Moisture After Removal
Acetone is highly effective at breaking down gel polish, but it also removes natural oils from the skin and nails. Once all traces of gel are gone:
- Wash your hands thoroughly.
- Apply cuticle oil to every nail.
- Massage the oil into the nail plate and surrounding skin.
- Finish with a rich hand cream.
Hydration plays an important role in maintaining flexibility within the nail. Well-moisturized nails are generally less likely to crack or split during daily activities. If your nails feel especially dry, continue applying cuticle oil once or twice daily for several days after removal.
Give Your Nails Time to Recover
Although it’s possible to apply another gel manicure immediately, occasional breaks can benefit your natural nails. During these rest periods, consider:
- Keeping nails trimmed to reduce breakage
- Wearing gloves while cleaning
- Using a strengthening base coat if applying regular polish
- Moisturizing your hands and cuticles every day
- Avoiding using your nails as tools to open or scrape objects
Small daily habits often have a greater impact on nail health than any single treatment. Healthy nails also create a smoother foundation for future manicures, helping polish apply more evenly and last longer.
Final Thoughts
Removing gel polish safely comes down to patience, proper technique, and consistent nail care. Taking a few extra minutes to soak the polish, gently remove softened product, and restore moisture afterward can make a noticeable difference in the condition of your natural nails.
Rather than viewing removal as the final step of a manicure, think of it as the first step toward maintaining healthy nails for the future. With careful handling and regular aftercare, you can continue enjoying beautiful gel manicures while keeping your natural nails strong, smooth, and ready for your next look.