How to Repair a Split Nail at Home Fast


A split nail is painful, annoying, and can happen at the worst time.
I’ve been there, standing in the bathroom, staring at a cracked nail, wondering what to do next.
Good news: you can fix it at home, fast. This article covers everything you need to know.
You’ll learn what causes split nails, how to repair them using simple methods, and how to stop them from breaking again.
With years of hands-on nail care experience, every tip here is practical and tested. We’ll cover causes, step-by-step repair methods, prevention tips, and when to see a doctor.
Let’s get started.
What Is a Split Nail?
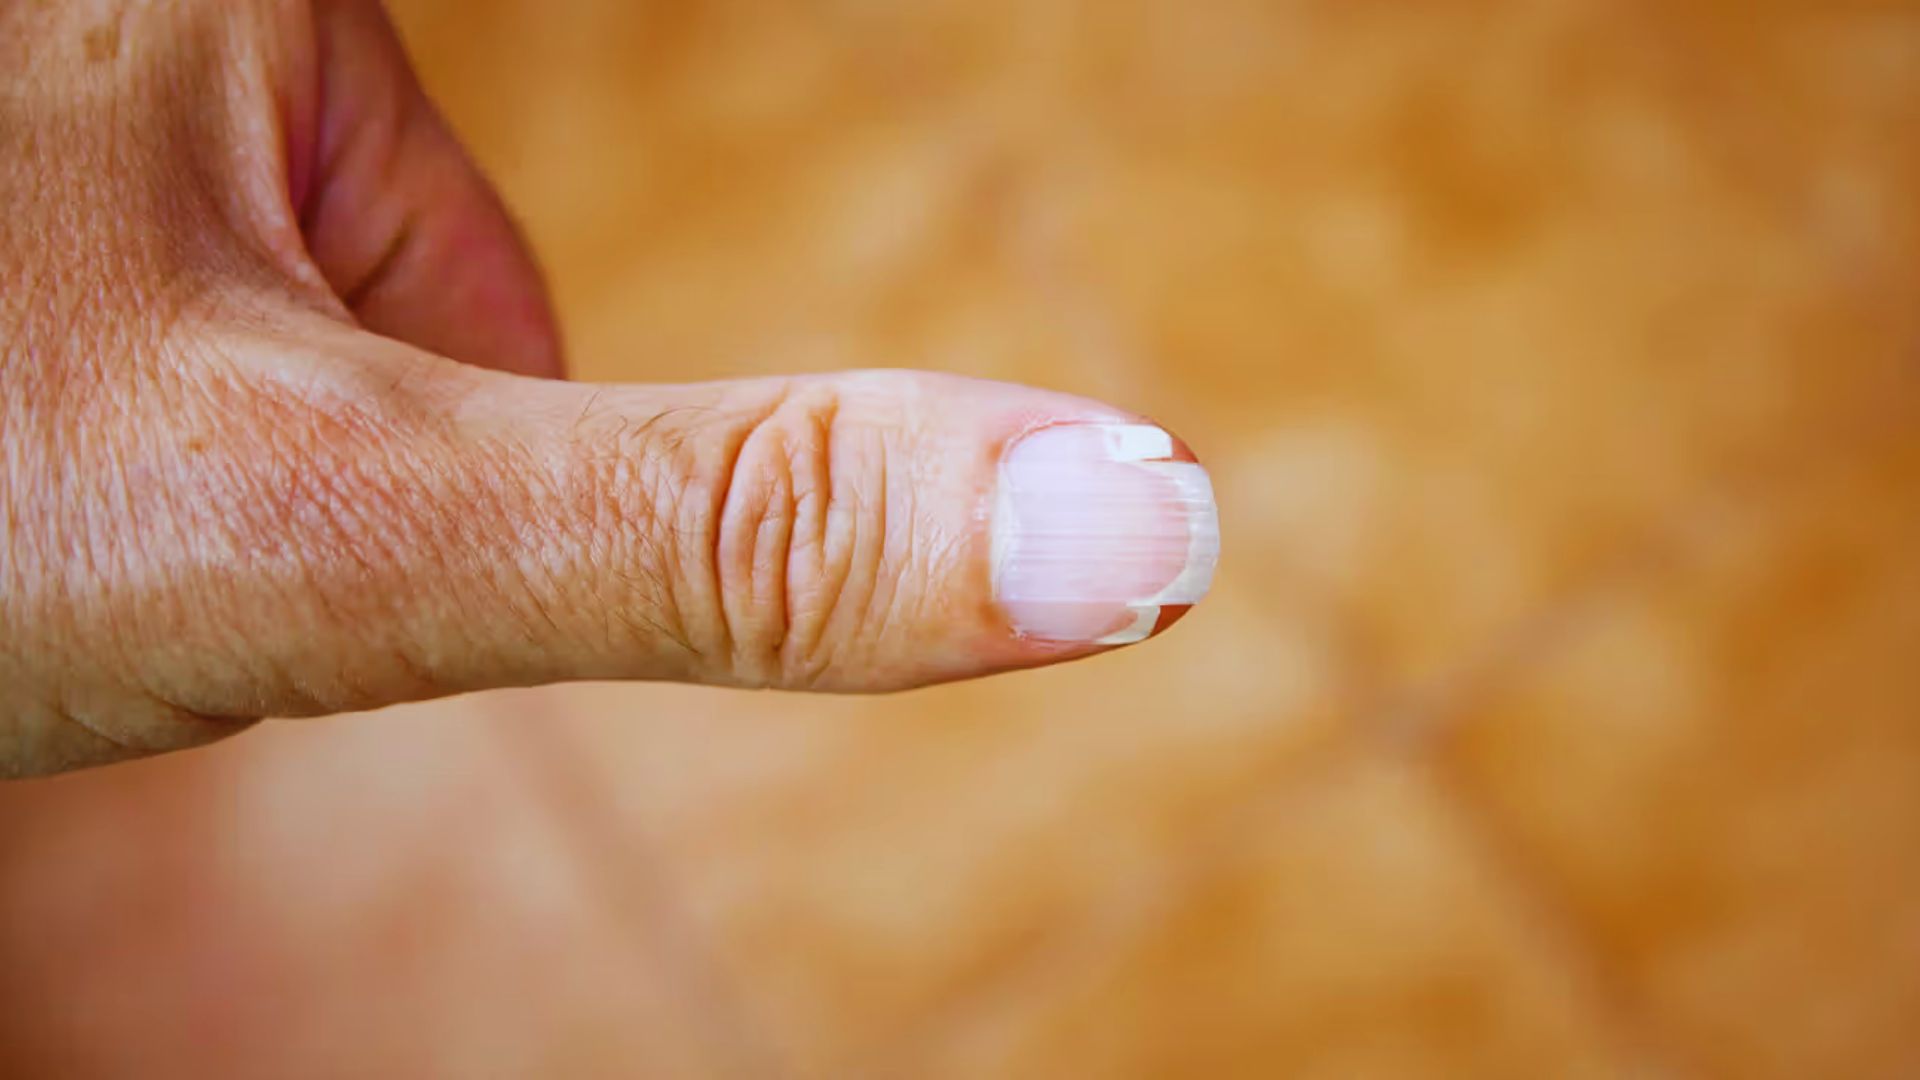
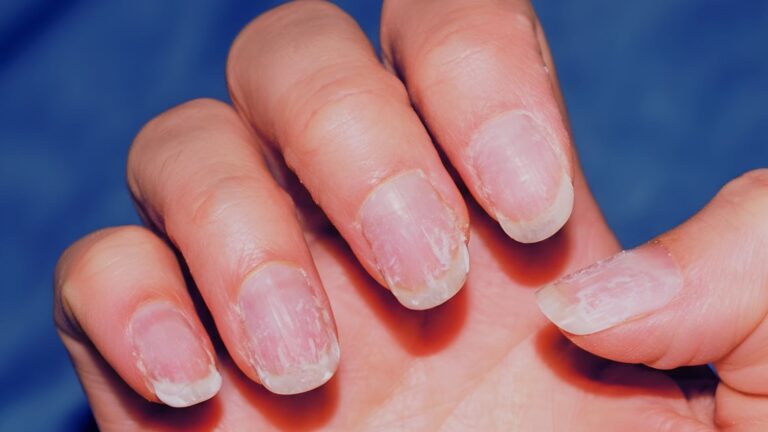
A split nail means the nail plate has cracked, torn, or separated. It can happen on fingers or toes. Some splits are small. Others go deep into the nail bed and cause real pain.
Vertical splits run from the tip down toward the base and are the most common. Horizontal splits go across the nail and can signal a deeper issue like trauma or a health condition.
Knowing which type you have helps you choose the right fix.
Some signs mean you need to act fast. Watch out for sharp edges, pain when pressing the nail, bleeding near the nail bed, the nail lifting from the skin, or redness and swelling.
If you notice any of these, address the split right away.
Common Causes of Split Nails
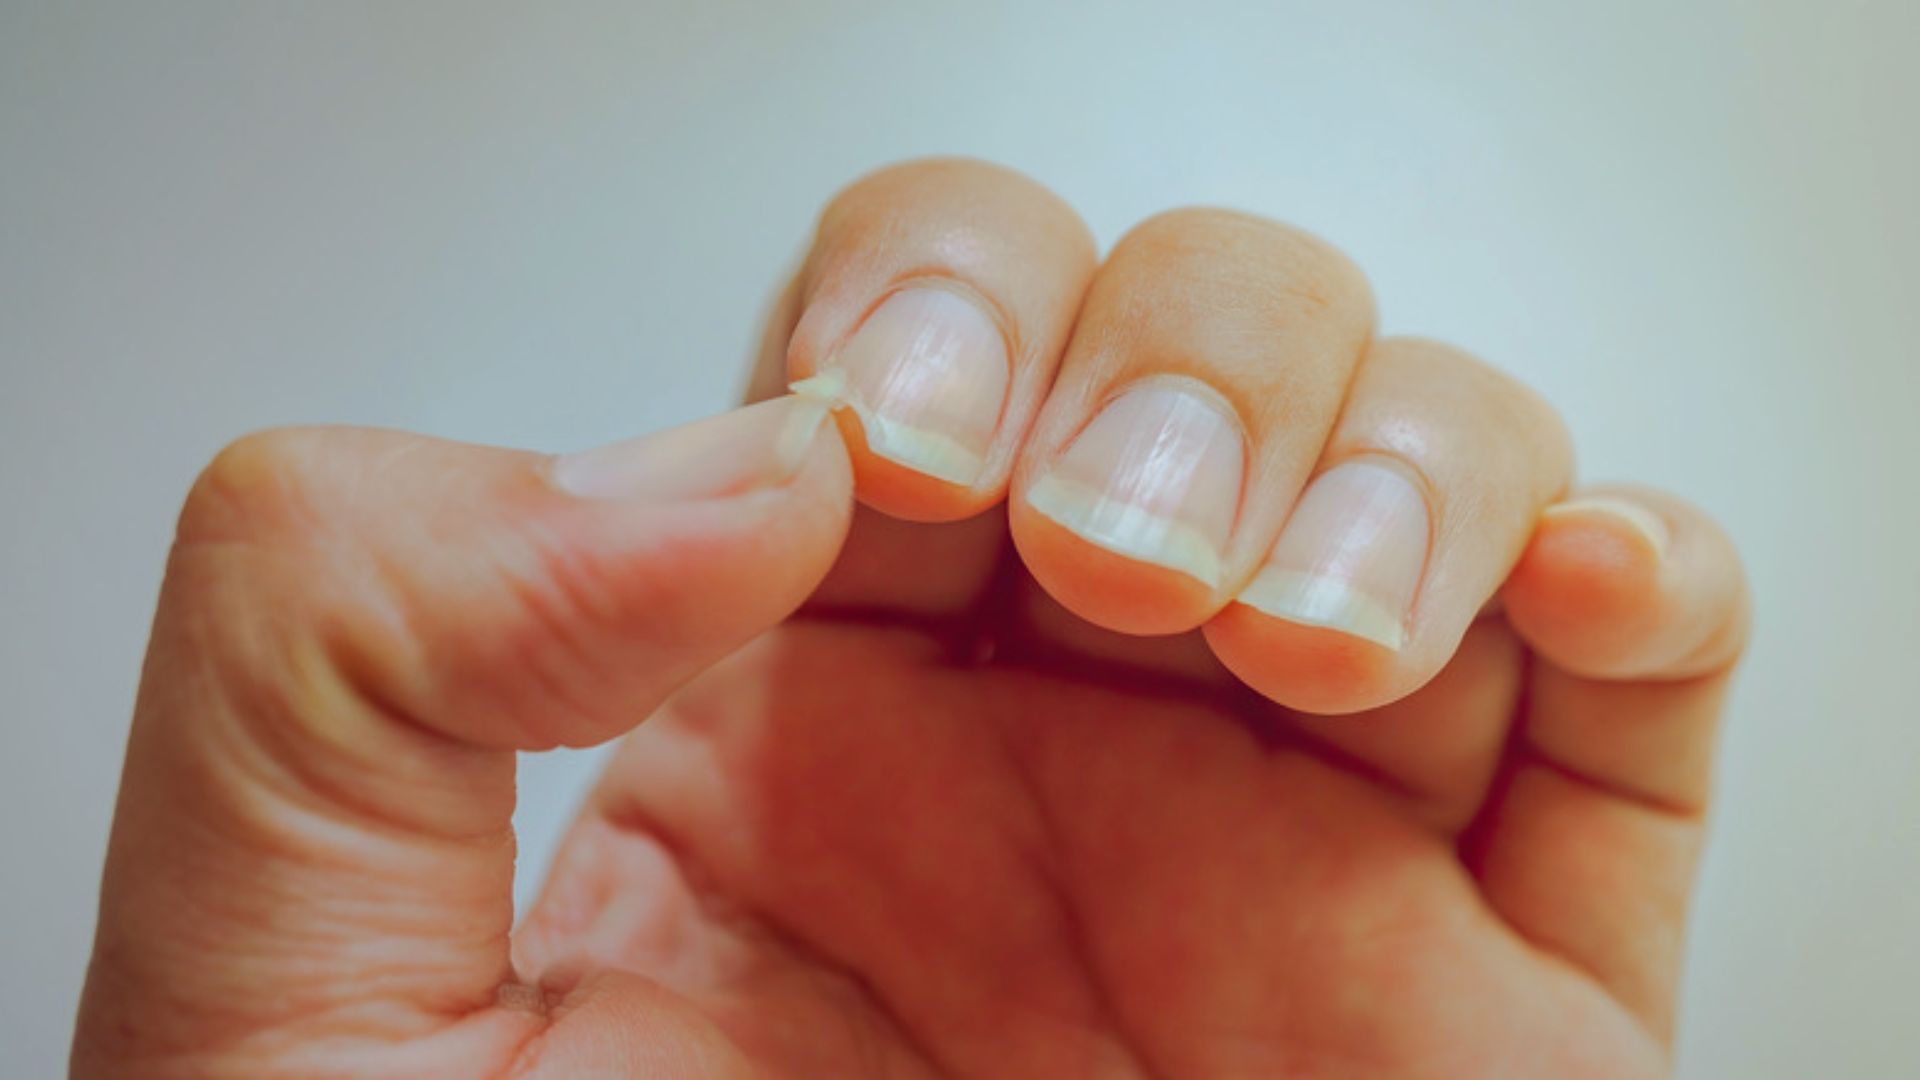
Split nails don’t happen for no reason. Something causes them. Knowing the cause helps you fix the problem at its root.
Physical Trauma or Injury
Slamming your finger in a door. Hitting your nail against a hard surface. These accidents happen every day.
Physical trauma is one of the top reasons nails split. Even small repeated impacts, like typing hard on a keyboard, can weaken the nail over time.
Excessive Water Exposure
Water softens the nail. When the nail softens and then dries out, it becomes brittle. This cycle, repeated many times, leads to splitting.
Washing dishes, long showers, and swimming without protection all contribute. If your hands are in water often, your nails are at risk.
Dryness and Lack of Moisture
Dry nails break. It’s that simple.
When nails don’t get enough moisture, they lose flexibility. They become stiff and crack easily. Cold weather, low humidity, and harsh soaps all strip moisture from your nails.
Nail Biting or Picking Habits
Biting or picking nails creates weak spots. The nail surface becomes uneven and thin in certain areas.
These weak areas are the first to split. If this is a habit you have, the splits will keep coming back until the habit stops.
Underlying Conditions (Psoriasis, Infections)
Some health conditions affect nail strength directly.
Psoriasis can make nails pitted, thick, or prone to splitting. Fungal infections weaken the nail plate over time. Iron deficiency and thyroid issues can also show up in brittle, splitting nails.
If your nails split often without a clear cause, it may be worth talking to a doctor.
How to Repair a Split Nail at Home Fast
There are several ways to fix a split nail at home. Each method works best for different types of splits. Pick the one that fits your situation.
Tea Bag Patch Technique
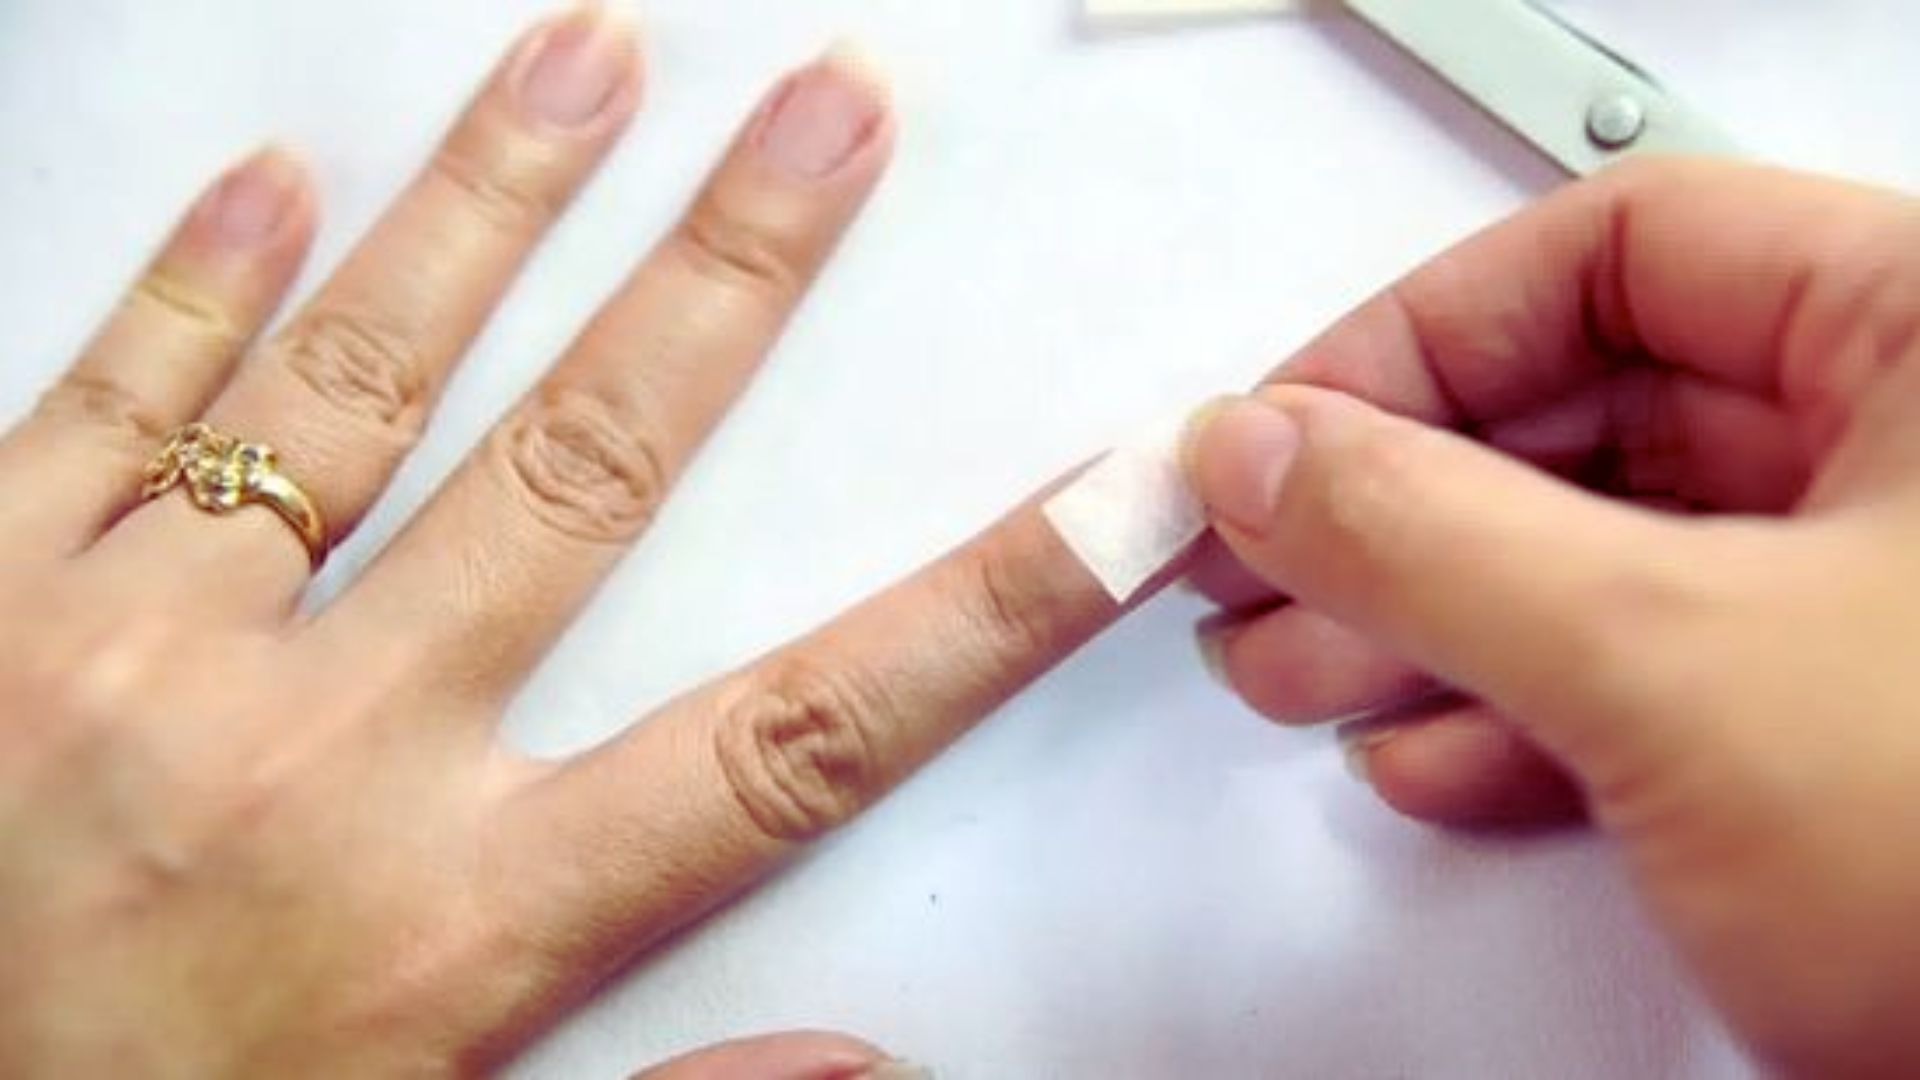
This method uses a small piece of a tea bag to hold the split nail together. The fibrous material acts like a bandage over the crack.
Cut a small piece from a used, dry tea bag. It should be just big enough to cover the split. Apply a thin layer of nail glue or base coat to the nail. Press the tea bag piece over the split. Smooth it down flat. Let it dry completely. Then buff lightly and seal with a top coat.
This is one of the most trusted home repair methods. It holds the nail together while it grows out.
Glue and Seal Technique
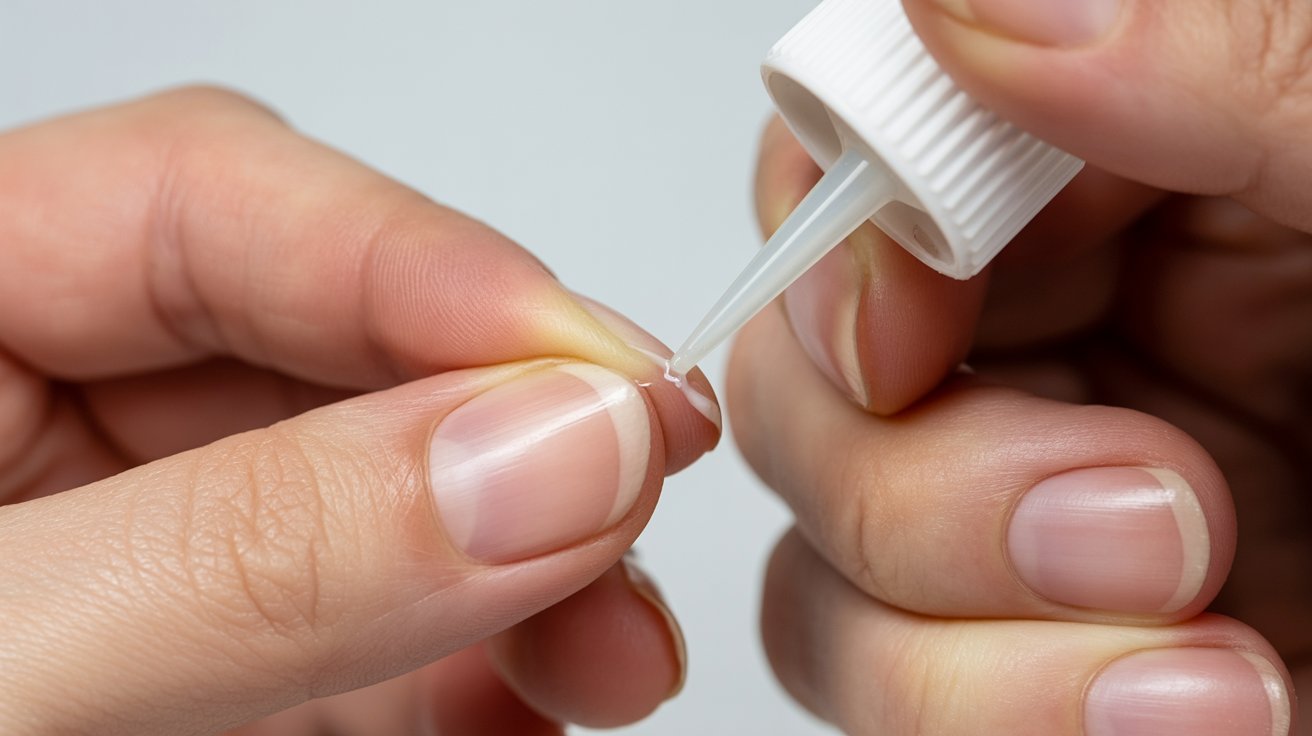
Nail glue can bond the two sides of a split nail back together. This works well for clean vertical cracks.
Apply a tiny drop of nail glue directly into the split. Press the nail together gently. Hold for 30 to 60 seconds. Wipe away any excess glue before it dries. Once set, apply a clear top coat to seal and protect.
Avoid using super glue meant for crafts. Use glue made specifically for nails.
Gel or Clear Polish Reinforcement
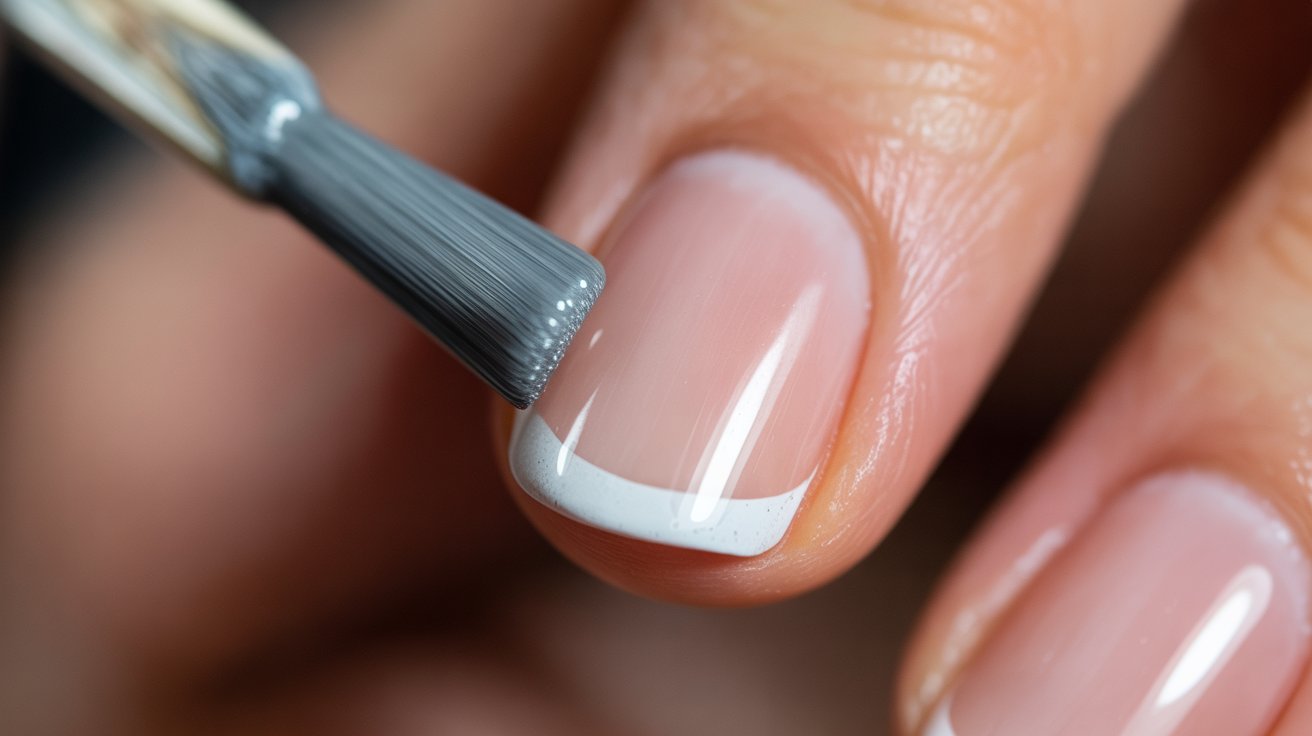
A few layers of clear gel polish or strong base coat can act as a protective shell over a split nail.
This works best for shallow or surface-level splits. Apply two to three thin layers over the entire nail. Let each layer dry before applying the next. The layers build up a barrier that keeps the split from spreading.
This method won’t fix a deep split on its own. But it’s a great way to add strength after using another repair method.
Silk Wrap or Fabric Patch Method
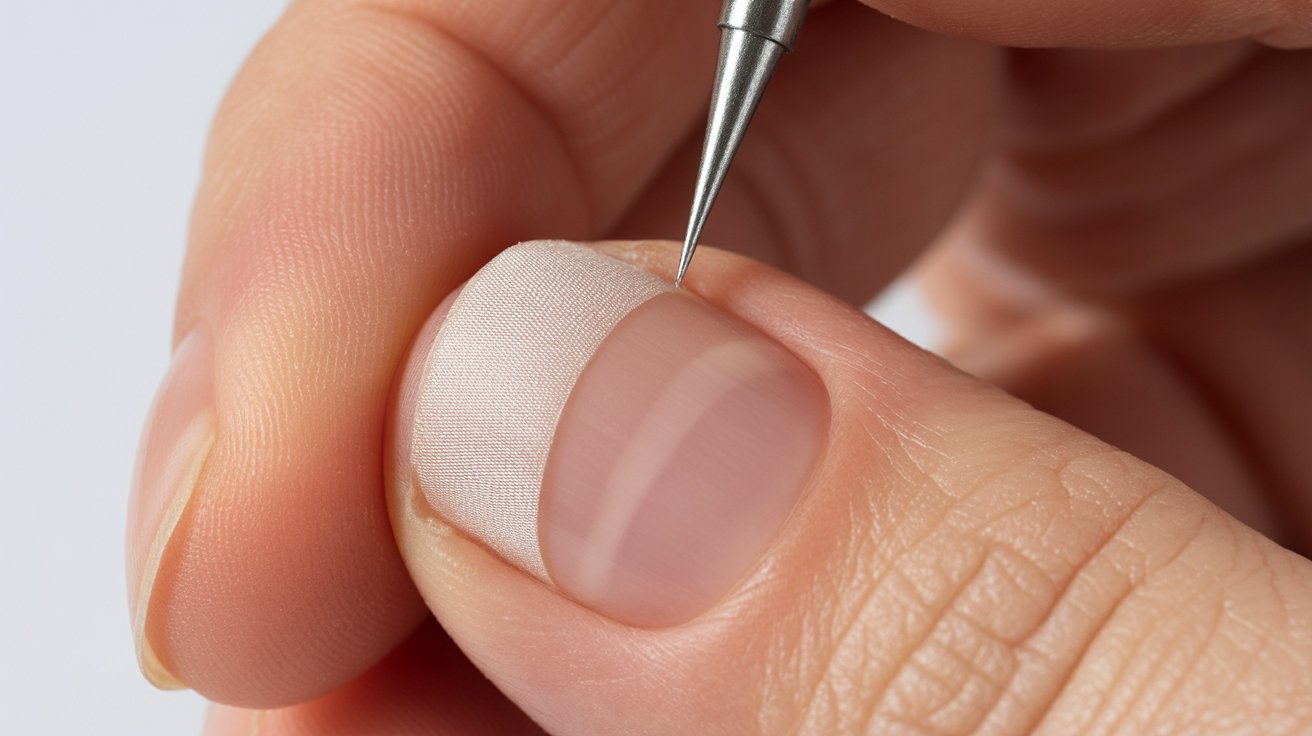
Silk wrap is a thin fabric used in professional nail salons. You can buy it at most beauty supply stores.
Cut a small piece of the wrap to fit your nail. Apply a layer of nail glue or resin to the nail surface. Press the silk wrap over it. Smooth out any air bubbles. Apply another layer of resin on top. Let it dry, then buff and seal.
This method adds real strength to a damaged nail. It’s one of the more durable home repair options.
Quick Cover Technique (Fake Nail)
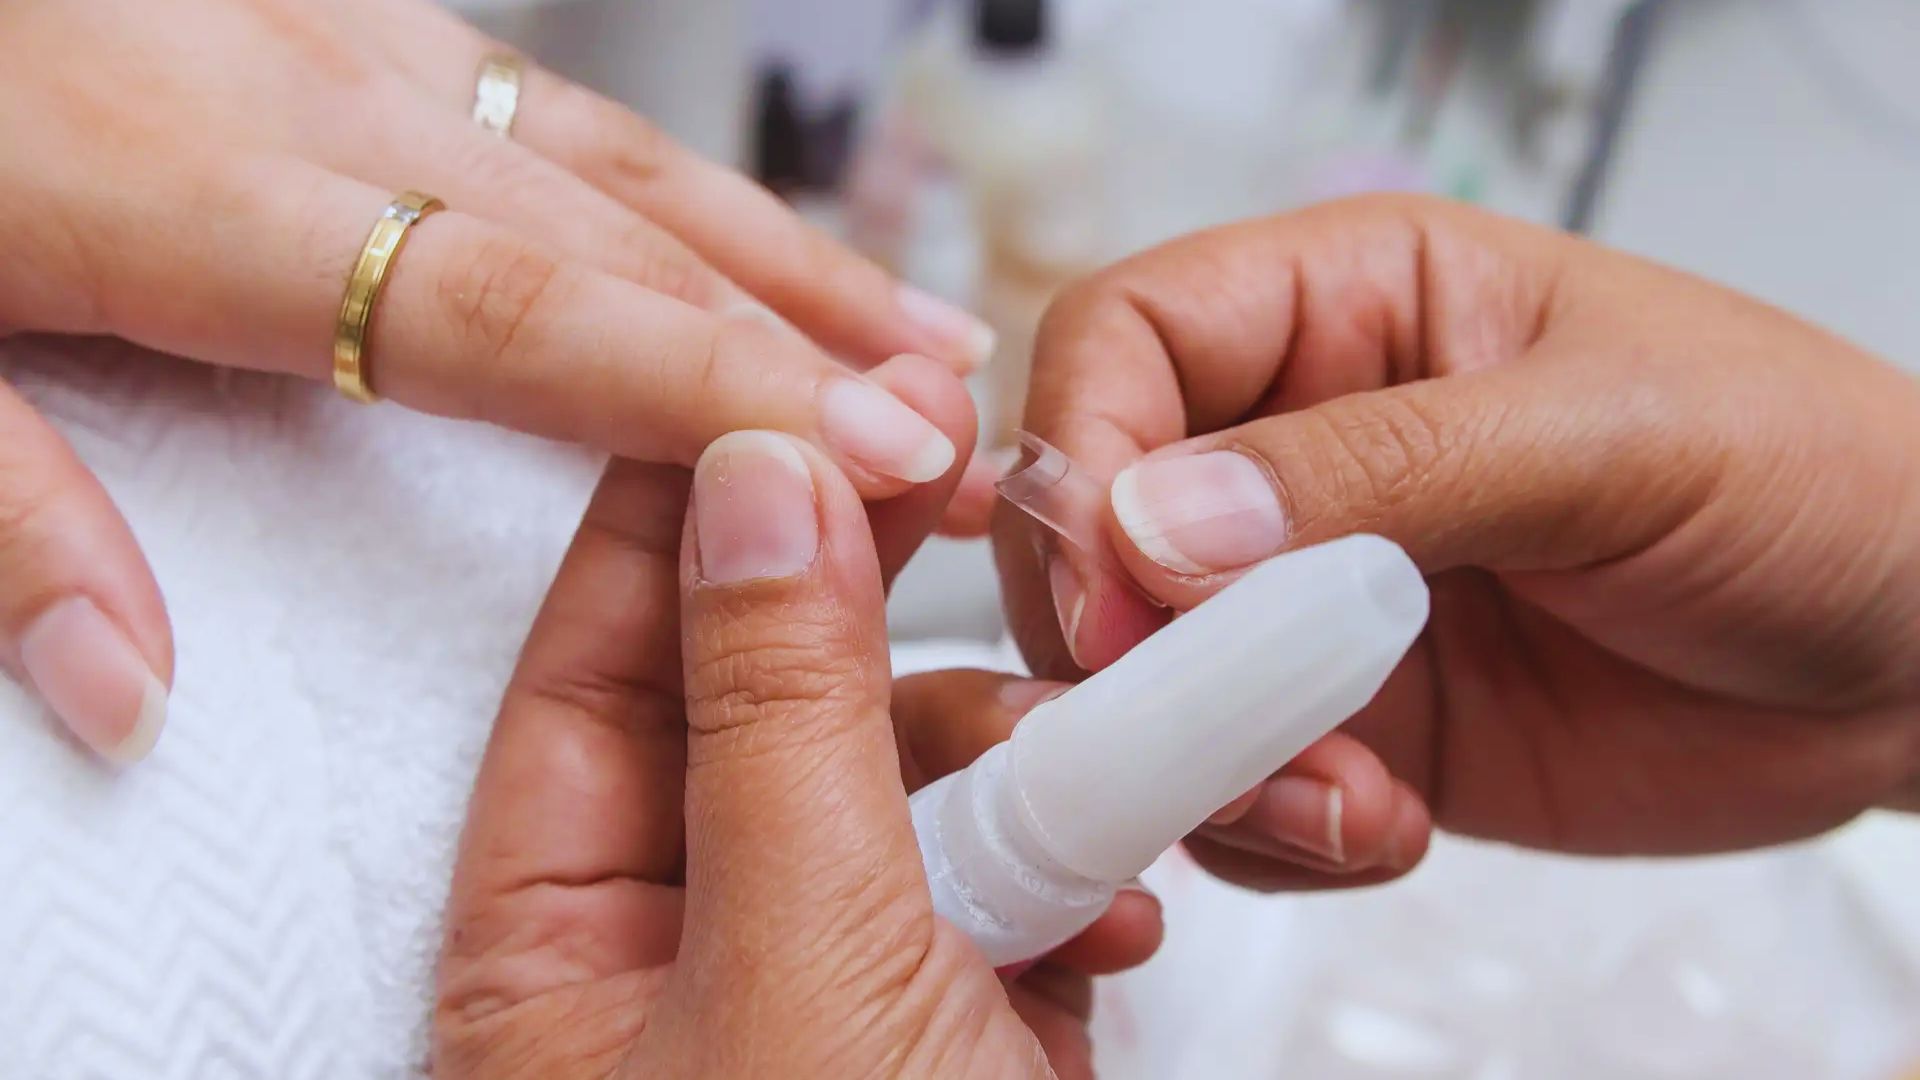
Sometimes you need a fast fix with no fuss. A press-on nail covers the damage instantly.
This won’t heal the nail. But it protects the split from catching on things and making it worse. It also looks neat while the nail grows out underneath.
Use press-on nails with adhesive tabs instead of glue if you want an easy removal later.
Step-by-Step Guide to Fix a Split Nail
Here is a simple process you can follow at home. This works with most of the methods listed above.
Step 1: Trim and File the Nail
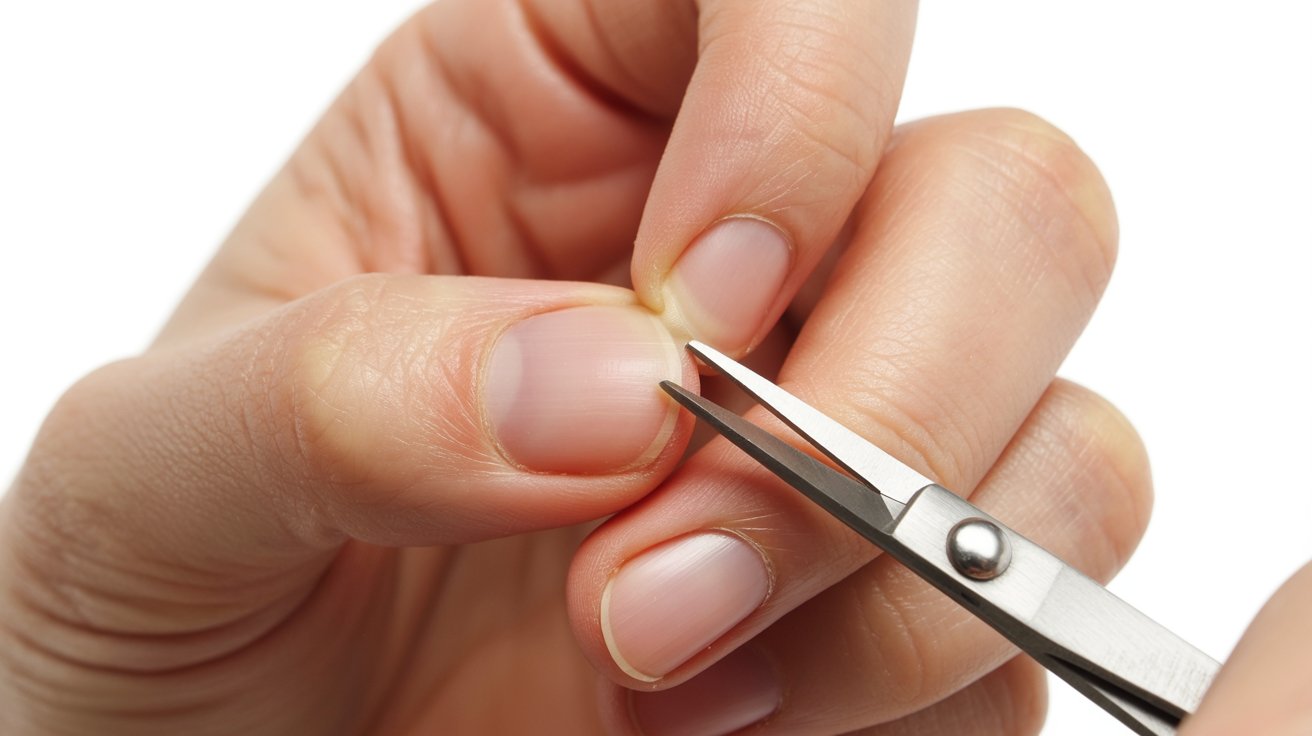
If the split has a jagged edge, carefully trim it down. Use nail scissors or clippers. Don’t try to pull or tear the nail.
After trimming, file the edges smooth. File in one direction only. Back-and-forth filing weakens the nail more.
Step 2: Clean and Prep the Surface
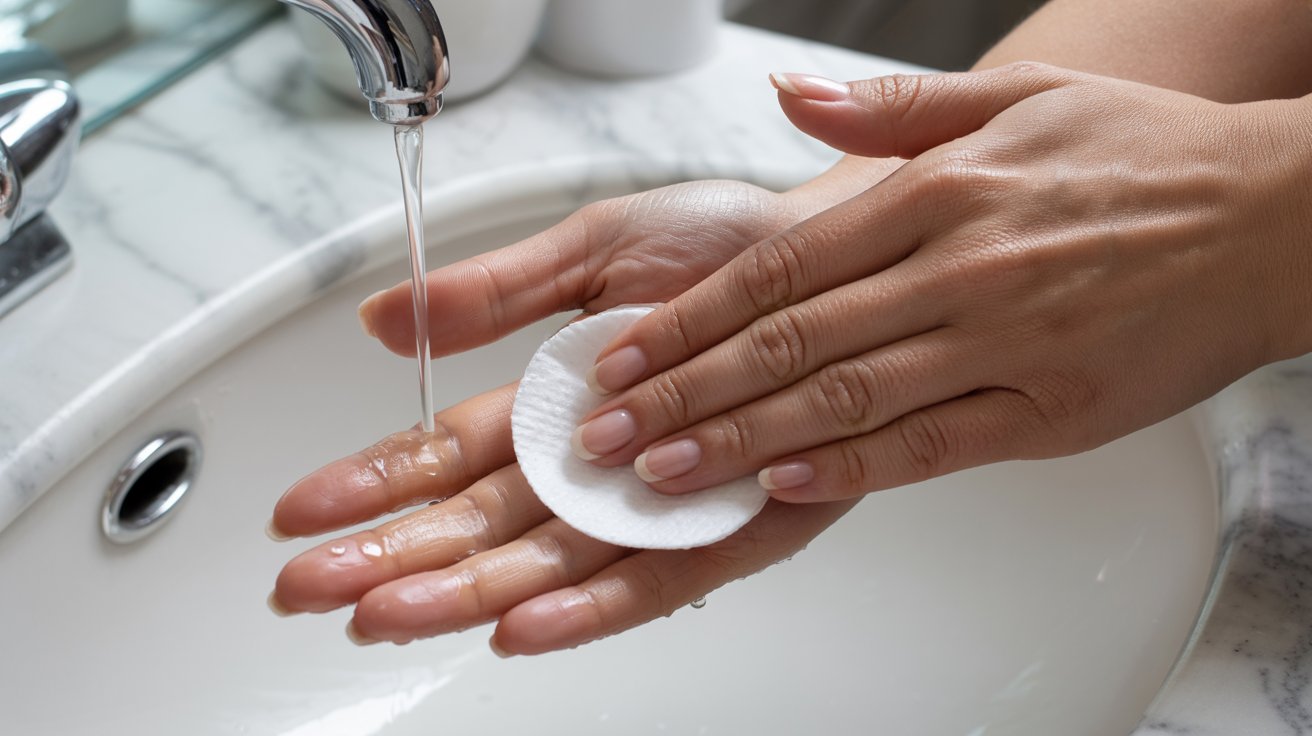
Wash your hands and dry them fully. Remove any old polish with an acetone-free remover.
The nail surface needs to be clean and dry before applying any glue or patch. Oil and moisture will prevent the repair from sticking properly.
Step 3: Apply Repair Method (Tea Bag/Glue)
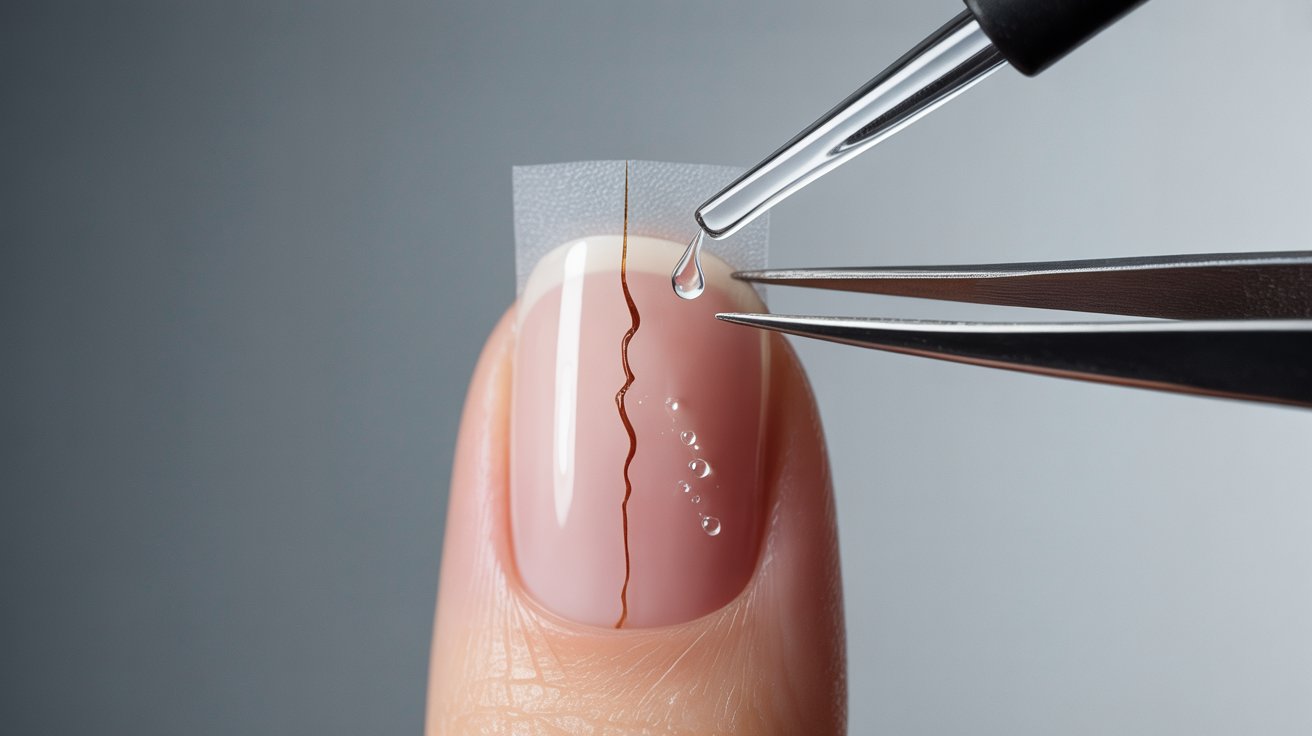
Choose your repair method from the options above. Apply it carefully, following the steps for that method.
Take your time here. A rushed repair won’t last. Make sure the patch or glue is flat and smooth before it dries.
Step 4: Buff and Smooth the Nail
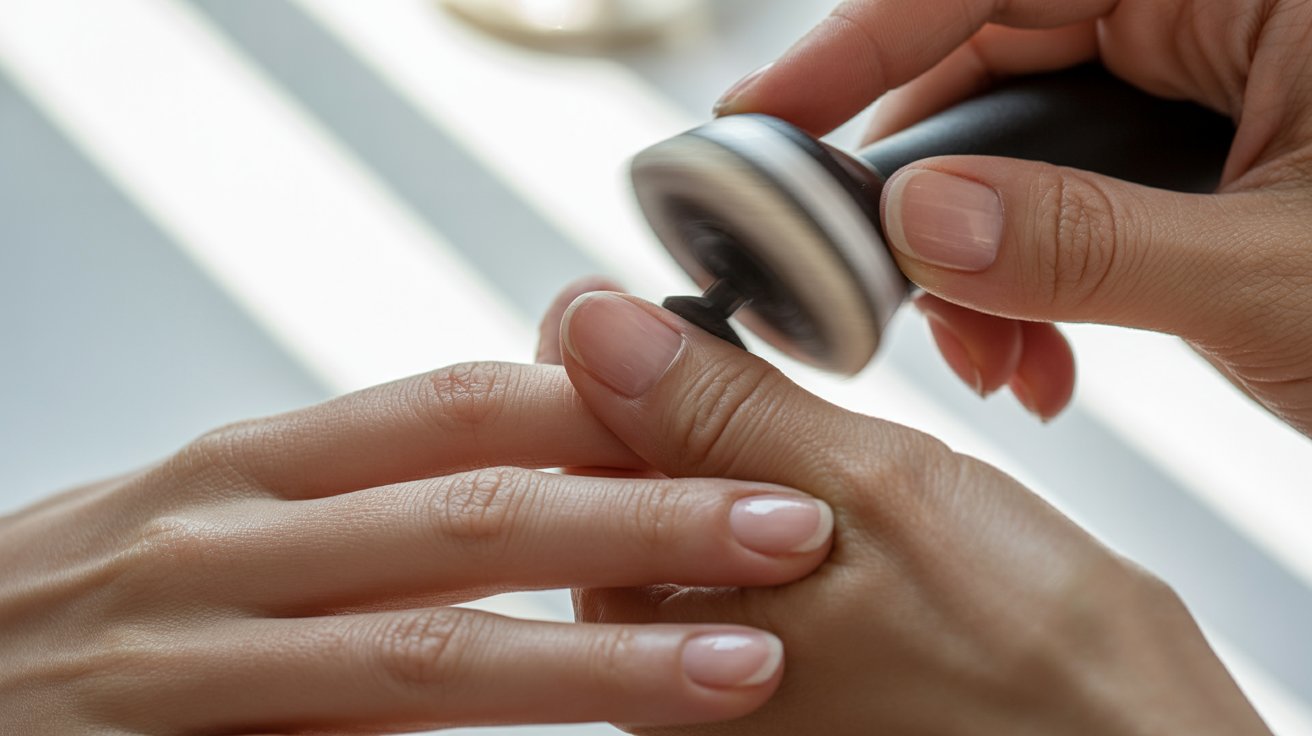
Once the repair is fully dry, use a fine-grit nail buffer to smooth the surface.
Buff gently. You don’t want to sand away the repair. The goal is just to make the surface even so polish goes on smoothly.
Step 5: Seal with Top Coat
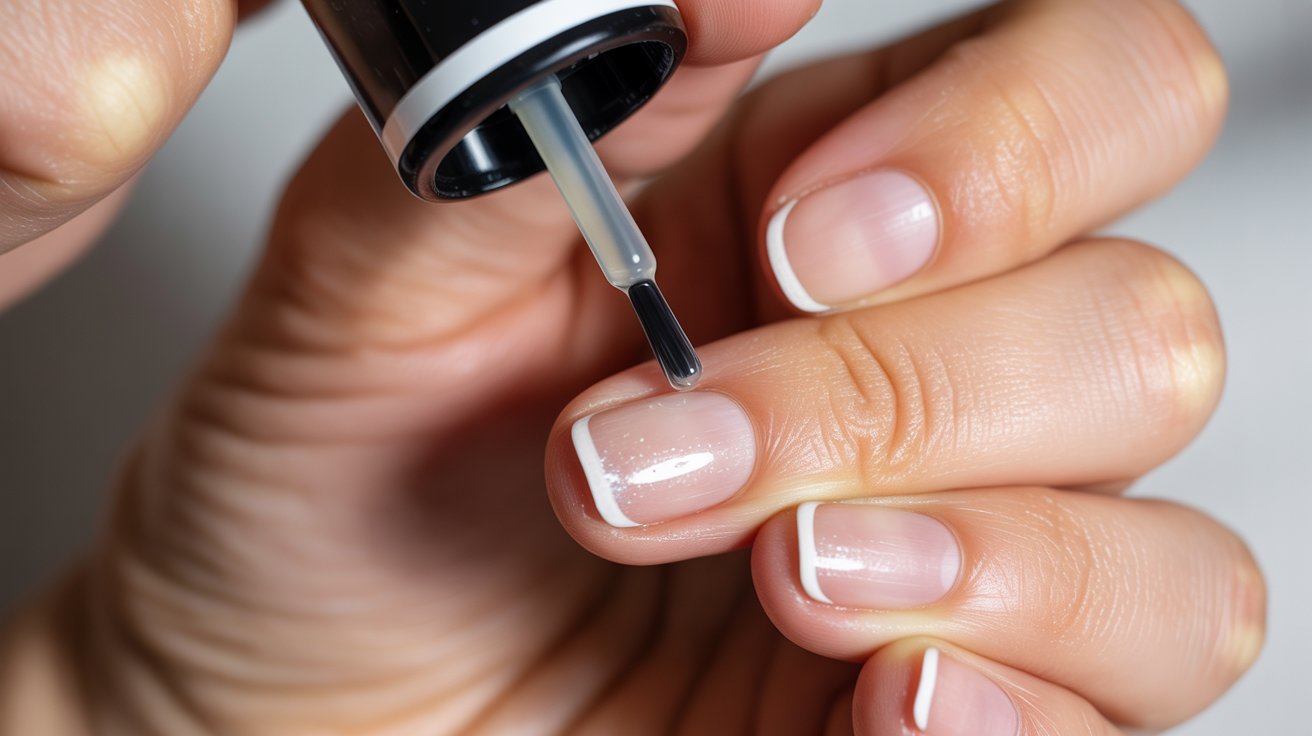
Apply a clear top coat over the entire nail. This seals the repair and adds a layer of protection.
Reapply the top coat every two to three days. This keeps the repair strong as the nail grows out.
Can You Apply Nail Polish After Repair?
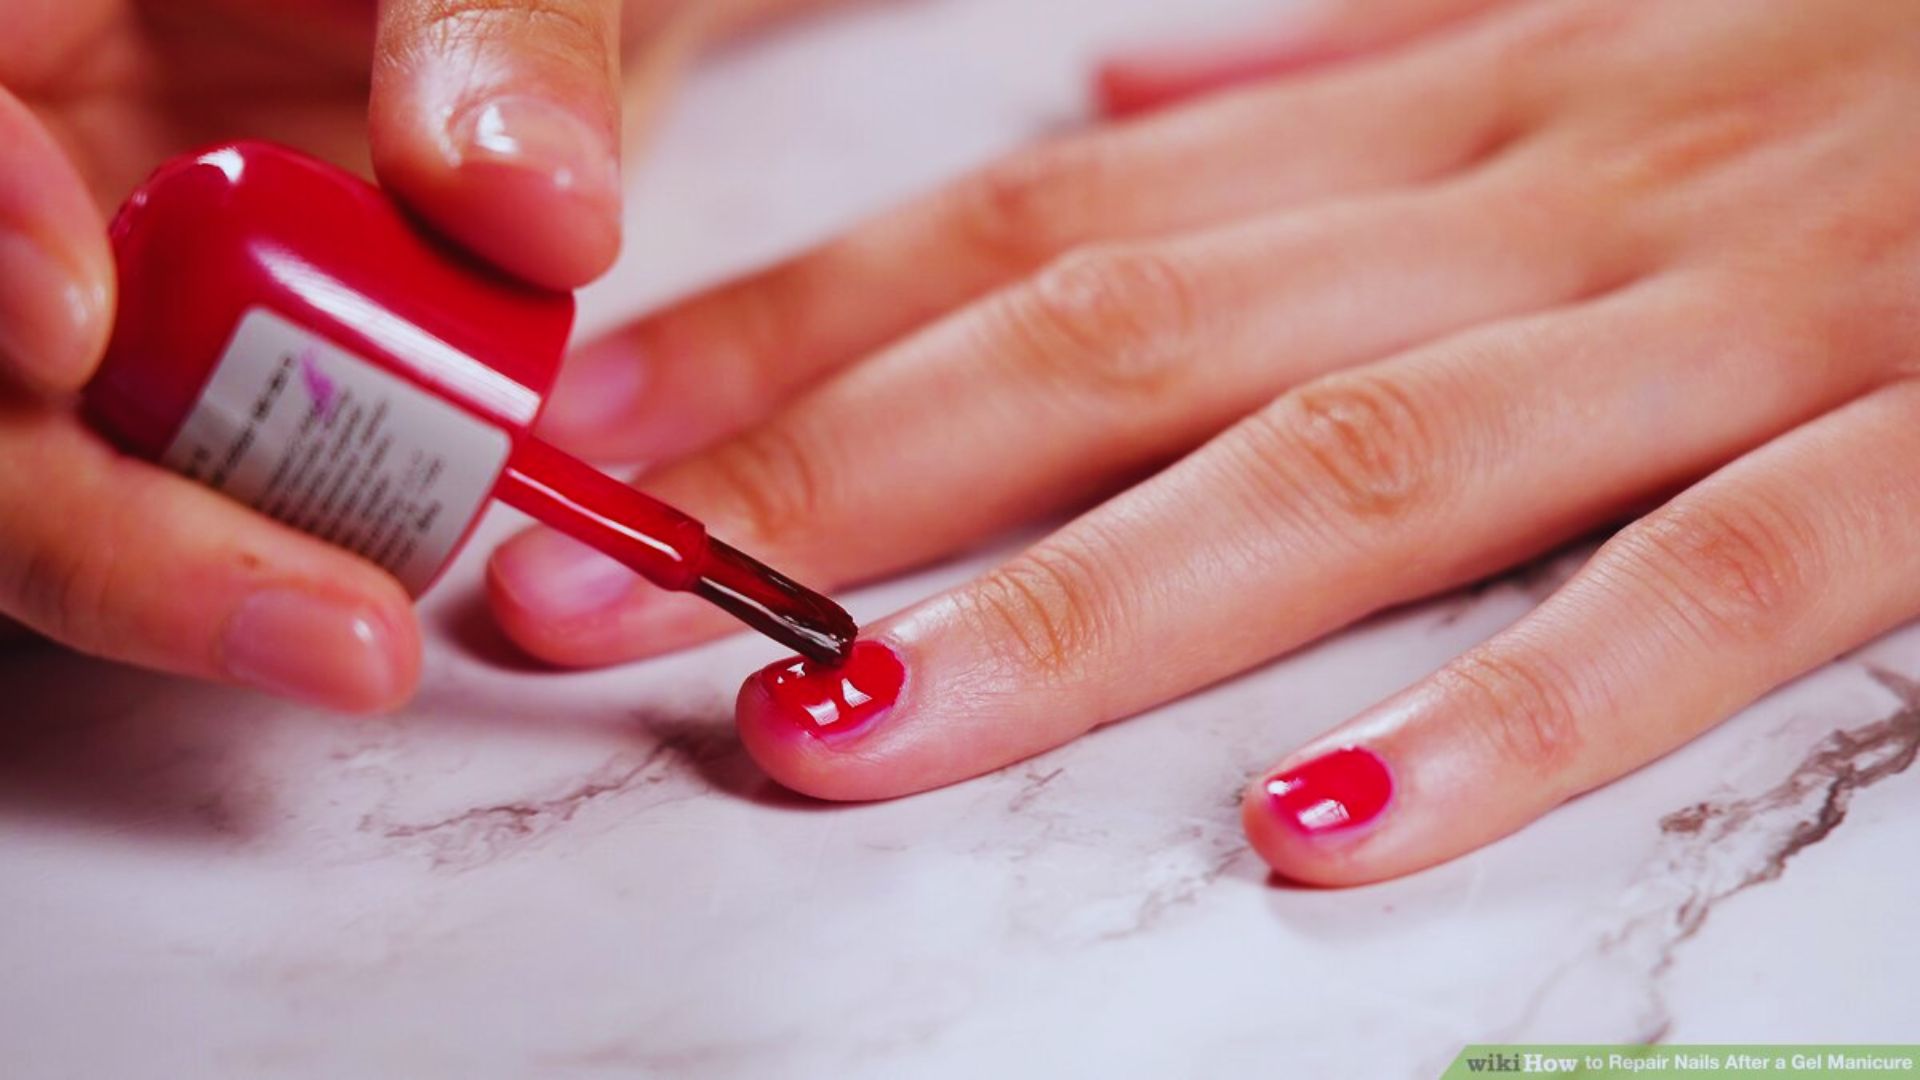
Yes, you can wear polish after fixing a split nail. But be careful about what you use. Stick with regular nail polish or a breathable formula. A clear top coat is always a safe choice.
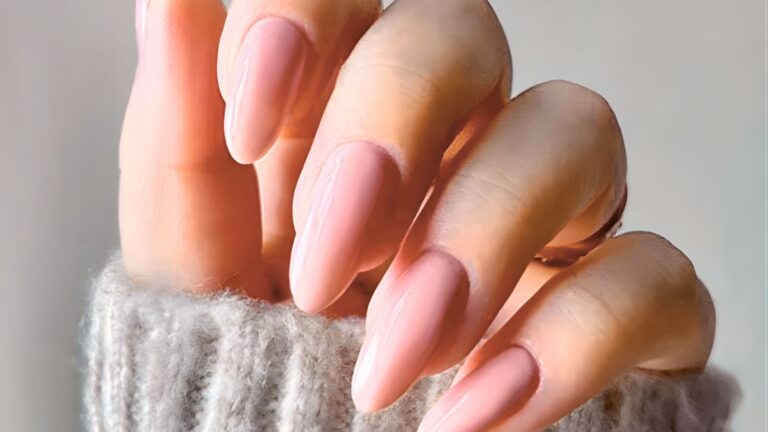
Neutral and light colors work well since they don’t require thick layers, which reduces stress on the repaired nail.
Avoid hard gel systems that require UV curing right after a repair as they can put pressure on the split.
Also avoid peeling-type polishes since they can catch on the repaired area and pull the patch off. Don’t pick or peel your polish as this is one of the fastest ways to undo a repair.
When to See a Doctor
Most split nails are simple to handle at home. But some situations need professional care.
If you notice redness, swelling, warmth, or pus around the nail, that’s a sign of infection. Don’t try to treat this at home.
A doctor can prescribe the right treatment and make sure the nail bed isn’t damaged. Nail bed injuries can affect how the nail grows back.
If the split goes all the way down to the base of the nail, or if touching it causes sharp pain, see a doctor right away.
Severe splits sometimes require professional repair or removal of part of the nail. Trying to fix these at home can make things worse.
How Long Does a Split Nail Take to Heal?
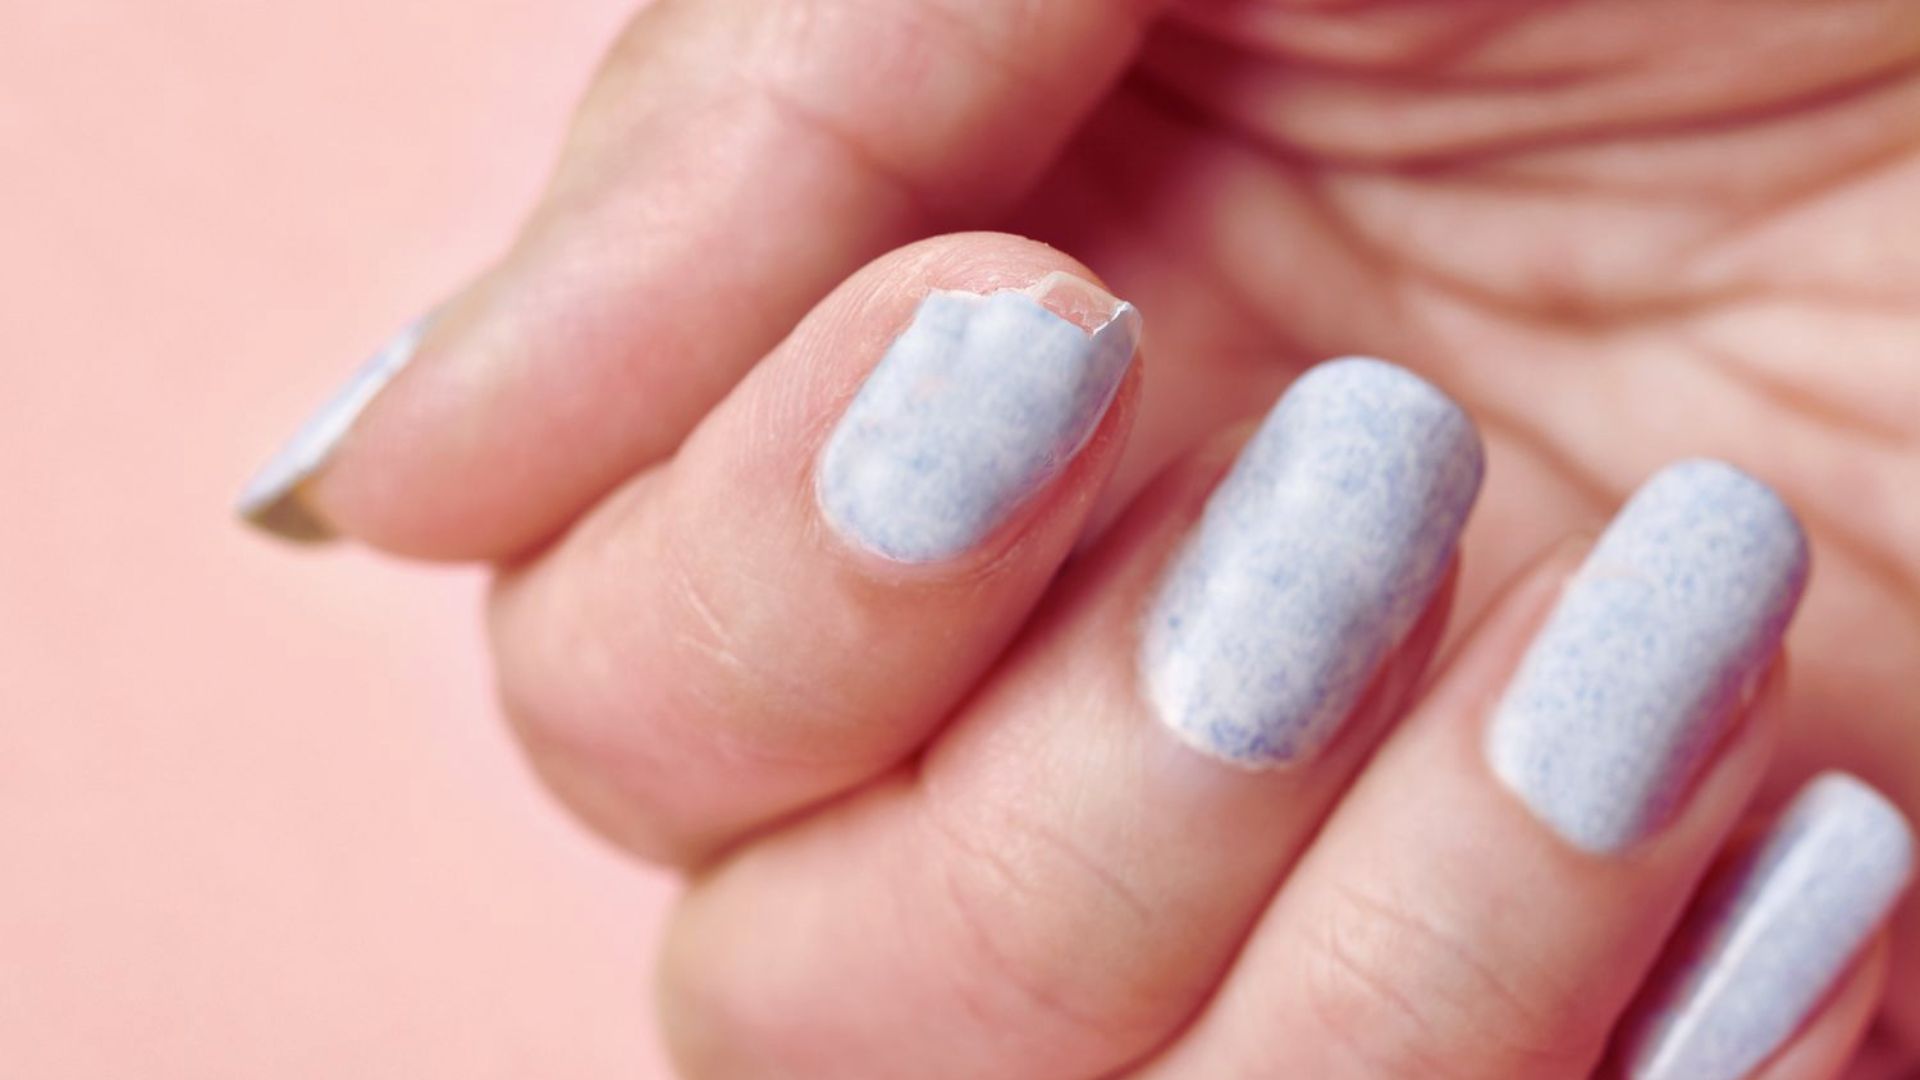
Healing time depends on where the split is and how deep it goes. Fingernails grow about 3 millimeters per month.
A split near the tip may grow out in four to six weeks while a split near the base can take three to six months. Toenails grow even slower so be patient with toenail repairs.
To make repairs last longer, keep the repaired nail dry when possible, wear gloves during wet tasks, and reapply top coat every few days.
Avoid putting pressure on the nail and be gentle with it until the split has grown out fully.
Tips to Prevent Split Nails in the Future
Small daily habits make a big difference in keeping your nails strong and split-free.
- Apply cuticle oil or hand cream daily. Hydrated nails stay flexible and are far less likely to crack or break.
- Wear rubber gloves when washing dishes or cleaning. After water exposure, pat your nails dry right away and apply a moisturizer.
- Always file in one direction using a fine-grit file. Don’t file too short, as a little length protects the nail tip from splitting.
- Household chores expose your nails to chemicals, rough surfaces, and water. Gloves are a simple habit that protects your nails without any extra effort.
- Your nails reflect what you eat. Include eggs, nuts, leafy greens, and lean meats in your meals. If your nails stay weak, ask your doctor about a biotin supplement.
Conclusion
I know how frustrating a split nail can be, especially when it snags on everything. I’ve fixed plenty of my own at home using these exact methods, and they really do work.
You don’t need a salon visit to get through this. A little glue, a tea bag, or a clear coat can take care of most splits.
Try one method today and see how your nail feels. If this helped, share it with a friend or drop a comment below. Your nails will thank you.
Frequently Asked Questions
Can I fix a split nail without nail glue?
Yes, you can use a tea bag patch with a base coat instead of glue. Clear nail polish or a press-on nail also works as a quick fix.
Is it safe to put nail polish on a split nail?
Yes, as long as the split is cleaned and sealed first. Use regular polish and avoid peeling formulas that could pull the repair off.
How do I stop a split nail from getting worse?
File the sharp edges smoothly and cover it with a top coat right away. Avoid water and pressure on the nail until it heals.
What foods help nails grow stronger?
Foods rich in biotin, protein, and iron support nail health. Eggs, almonds, spinach, and chicken are all good options to add to your diet.
How often should I reapply the top coat after a nail repair?
Reapply every two to three days to keep the repair sealed and protected. This helps the fix last until the nail grows out fully.