How to Use a Nail Drill Without Damaging Your Natural Nails
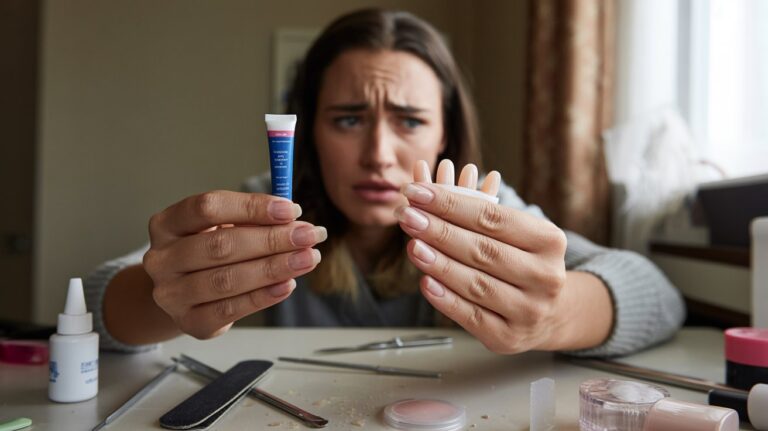
I’ll be honest with you. The first time I picked up a nail drill, my hands were shaking.
What if I hurt myself? What if I ruined my nails completely?
But here’s what I learned after months of practice.
Using a nail drill isn’t scary when you know the right steps. It’s actually way faster than manual filing and gives you salon-quality results at home.
In this guide, I’m walking you through everything you need to know. From charging your drill correctly to avoiding the mistakes that damage nails.
By the end, you’ll feel confident enough to start your first session.
Let’s get into it.
Getting Your Nail Drill Ready Before You Start
Setting up your drill properly makes all the difference. Trust me on this one.
Charge It Up the Right Way
Always fully charge your drill before using it the first time. This helps the battery last longer and work better.
Here’s a mistake I made early on. I tried using my drill while it was still plugged into the charger. Don’t do this. It’s a safety risk and can damage the motor.
Most drills take 2-3 hours to charge fully. Plan ahead so you’re not rushing.
Check your battery level before each session. A dying battery means inconsistent speed, and that’s when accidents happen.
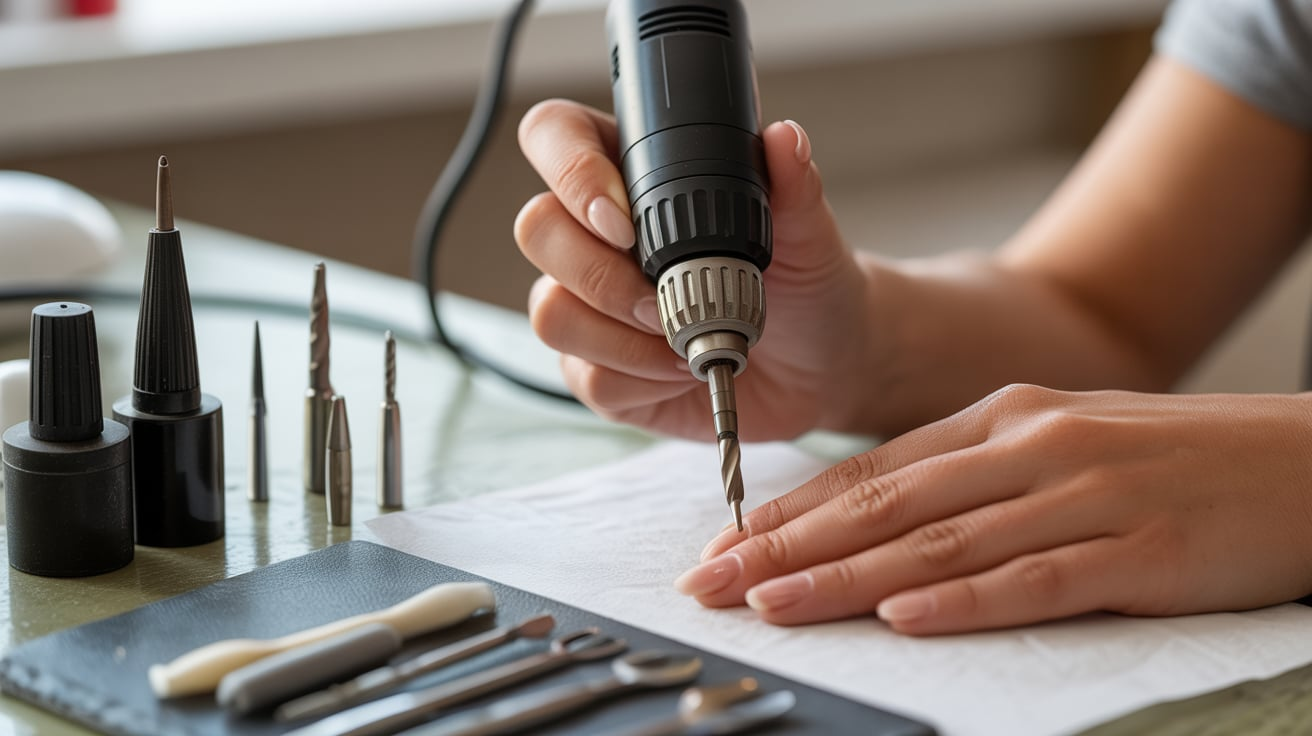
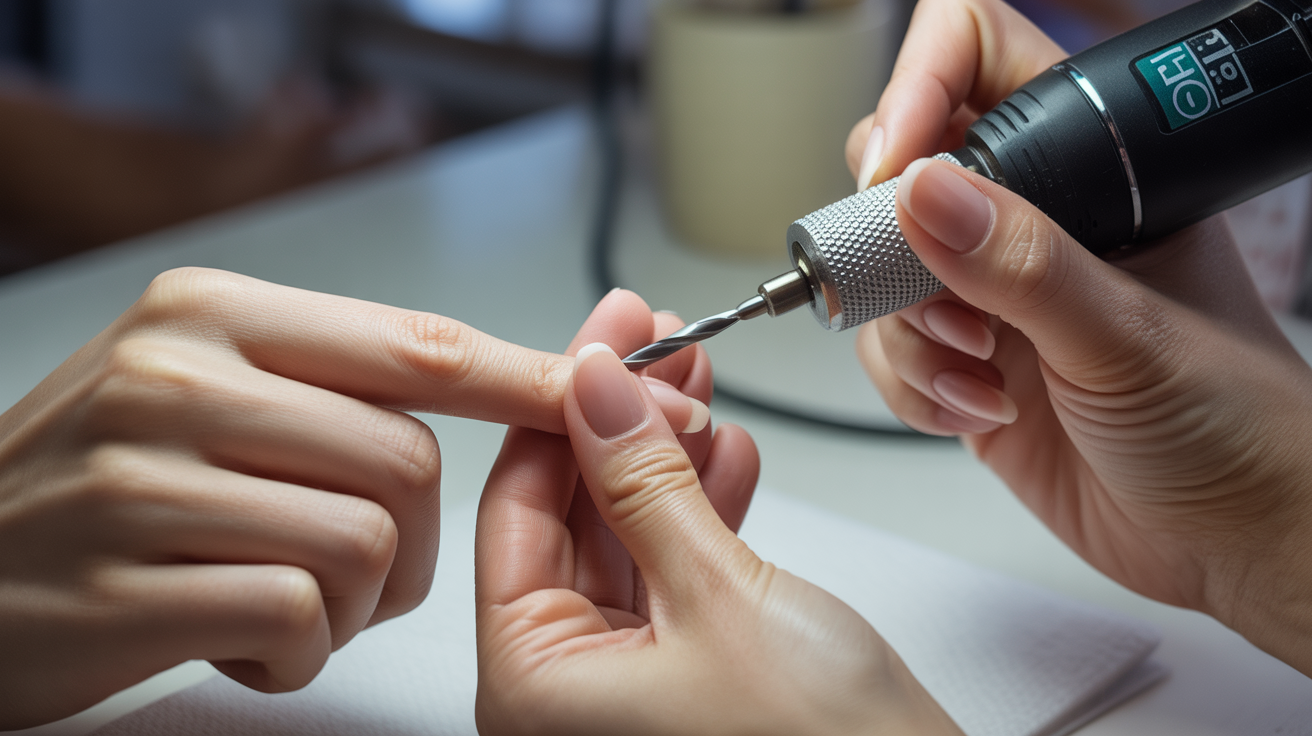
Pick the Right Bit for Your Nails
Natural nails need gentle bits. I use fine or medium-grit bits because they’re less aggressive on real nails.
Never use metal bits on natural nails. They’re way too harsh and will thin out your nail plate fast.
Different bit shapes do different jobs. Cone bits work great for cuticle areas. Barrel bits are perfect for shaping the nail surface.
Start with a basic set of three or four bits. You don’t need 20 different options when you’re learning how to use a nail drill.
Safety First: What to Do Before You Turn It On
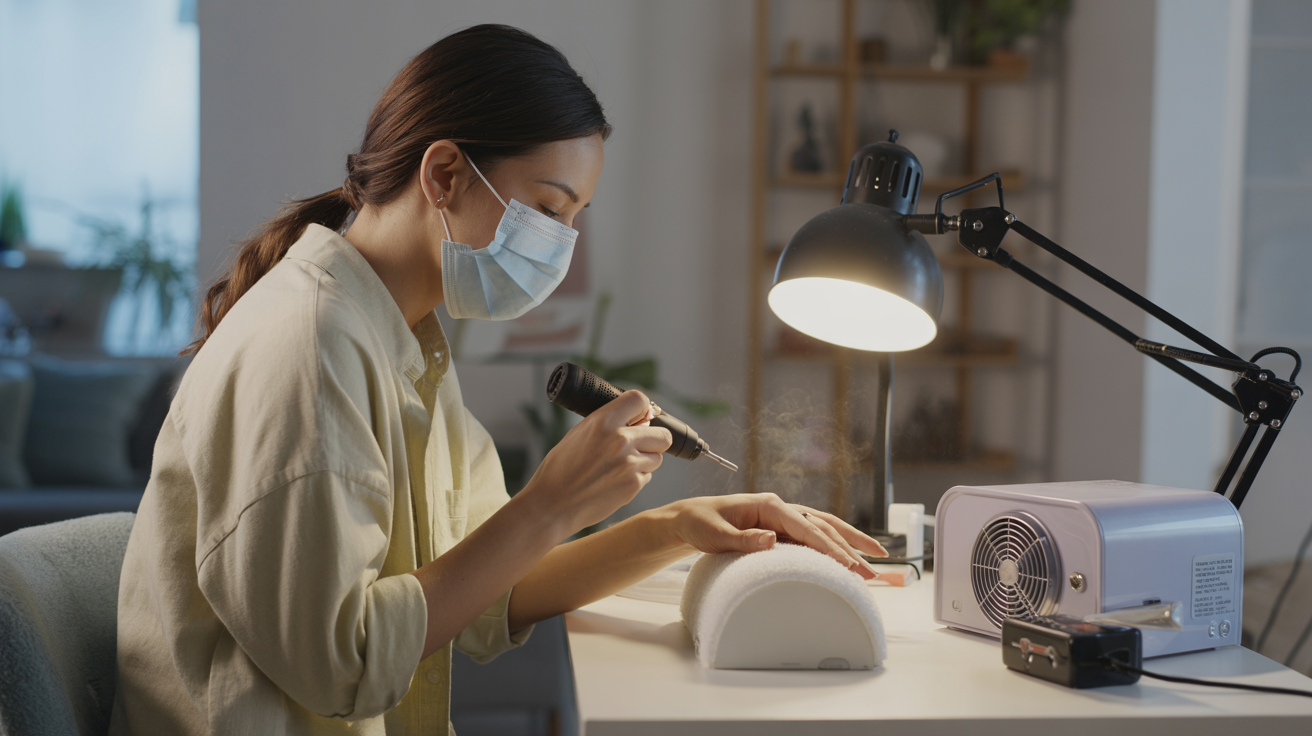
I set up my workspace the same way every single time. It keeps me safe and focused.
Tie your hair back if it’s long. Loose hair can get caught in the spinning bit. That’s not a fun experience.
Roll up your sleeves or wear short sleeves. Loose fabric near a rotating tool is asking for trouble.
Set up some kind of dust collection system. I use a small fan or just work near an open window. Nail dust shouldn’t be floating around your breathing space.
Wear a mask if you’re sensitive to dust. Your lungs will thank you later.
Keep your work area clean and organized. You need good lighting and enough space to move comfortably.
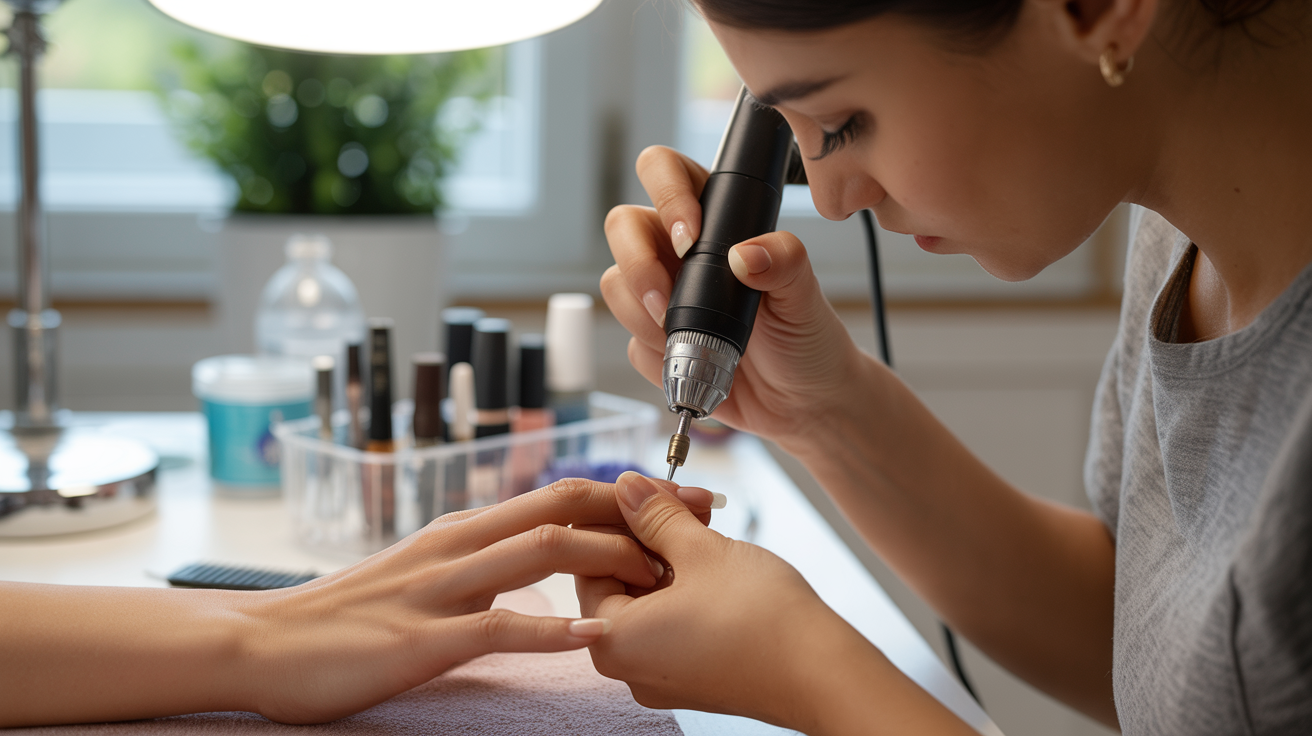
The Basics of Holding and Moving Your Nail Drill
Grip and control matter more than you think. This is where beginners mess up most often.
Find Your Anchor Point
Rest your pinky or ring finger on the hand you’re working on. This creates a stable anchor point.
I can’t stress this enough. Anchoring prevents those scary mistakes where the bit slips.
It also reduces hand shaking. When your hand has support, you have way more control over tiny movements.
Practice holding the drill with your anchor finger down. It feels weird at first, but becomes natural fast.
Start Slow with Your Speed Settings
Begin at the lowest speed setting your drill has. Seriously. Even if you’re just working on your nail edges.
I started too fast and paid for it with heat burns. Not worth it.
Gradually increase speed as you get more comfortable with how the drill feels and moves.
High speeds cause two big problems. First, they generate heat super quickly. Second, they remove product or nail way faster than you can react.
Low and slow wins the race when you’re learning how to use a nail drill safely.
Using the Right Pressure and Angle

Pressure control is everything. Too much pressure equals damaged nails.
Use a light touch. Let the drill do the work. You’re guiding it, not pushing it into your nail.
Hold the drill at a slight angle to your nail surface. Not completely flat, not completely vertical. Somewhere in between works best.
Move in gentle, sweeping motions. Don’t press down hard and expect better results. That’s not how it works.
Here’s a practice tip that saved me. Use quail eggs or practice hands before touching real nails. Quail eggs have a similar texture to nails.
Never practice on a friend or family member while you’re still learning. One wrong move can cause real damage.
Avoiding Common Mistakes That Damage Nails
I’ve made every mistake in the book. Learn from my errors instead of repeating them.
Don’t Stay in One Spot Too Long
Keeping the bit in one place builds up heat fast. That burning smell? That’s your nail getting damaged.
Take frequent breaks. Lift the bit off the nail every few seconds.
Check the temperature by touching the nail with your finger. If it feels warm, you’ve been in that spot too long.
I set a mental timer now. Three seconds max in one area, then move.
Watch Your Filing Direction
Move around the entire nail surface. Don’t just focus on one section.
Use circular motions instead of dragging the bit back and forth. Circular movements are gentler and more controlled.
Signs you’re over-filing include thin, flexible nails and visible heat marks. If you see these, stop immediately.
Your nail should never feel hot during the process. Warm is okay. Hot means you need to slow down or take a break.
Cleaning Your Nail Drill After Each Use
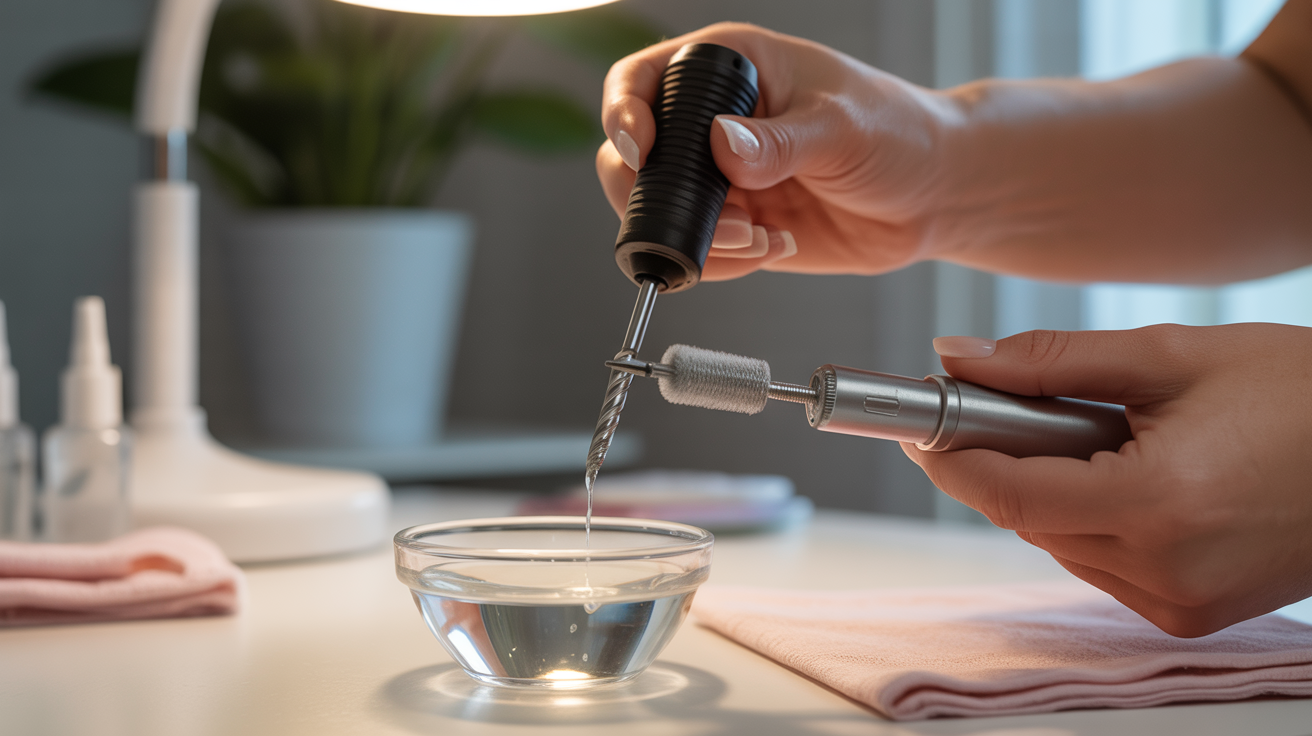
Cleaning your drill keeps it working smoothly. Plus, it’s more hygienic.
Brush off dust and debris first using a soft-bristled brush. This gets rid of the loose stuff.
Clean your bits with warm soapy water after every use. Scrub them gently with a nail brush.
You can soak bits in acetone for 5-10 minutes if they have product buildup. Don’t go longer than that.
Never soak the handpiece itself. Water and electronics don’t mix well. Just wipe it down with a damp cloth.
Store your bits in a clean container or organizer. Keeping them dust-free means they’ll last longer.
Conclusion
Learning how to use a nail drill takes patience and practice. But you’ve got this.
Remember the main safety points. Start slow, use light pressure, and keep moving around the nail. Don’t rush the process.
Your first few sessions might feel awkward. That’s completely normal. I still remember how shaky I felt during my first attempts.
Practice builds confidence faster than you think. Within a few weeks, you’ll handle that drill like a pro.
The best part? You’ll save money and time by doing your nails at home. Salon-quality results are totally possible when you follow these steps.
Now grab your drill and give it a try. Start with one hand today. You’re going to do great.
Frequently Asked Questions
Can I Use a Nail Drill on My Natural Nails Without Damage?
Yes, you can safely use a nail drill on natural nails. Just use fine-grit bits, low speeds, and light pressure. The key is going slow and not over-filing. Natural nails are more delicate than acrylics or gels, so treat them gently.
What Speed Should Beginners Start With?
Start at the lowest speed setting on your drill. Usually around 5,000-10,000 RPM works well for beginners. You can gradually increase speed as you get comfortable. Low speeds give you more control and reduce the risk of mistakes or heat damage.
How Often Should I Replace My Drill Bits?
Replace bits when they become dull or damaged. For regular home use, bits typically last 3-6 months. If you notice the bit isn’t filing smoothly or takes longer to work, it’s time for a replacement. Keep spare bits handy.
Is It Normal to Feel Heat While Using a Nail Drill?
Slight warmth is normal, but heat is not. If your nail feels hot, you’re either using too much pressure, staying in one spot too long, or your speed is too high. Stop immediately if you feel heat and let your nail cool down completely.
What Should I Do If My Nail Drill Stops Working Suddenly?
First, check if the battery is charged. If it’s charged but not working, the bit might be stuck. Try cleaning debris from the chuck. Still not working? Check if you accidentally hit the lock button. Contact the manufacturer if these steps don’t help.