Apex of Nail Placement Guide for Strong, Long-Lasting Nails
Have you ever wondered why some nail enhancements chip and lift within days while others last for weeks? I used to struggle with this too.
My nails would break at the worst times, and I couldn’t figure out what I was doing wrong.
The answer lies in something called the apex of nail placement. It’s the highest point on your nail enhancement, and getting it right makes all the difference.
When you position it correctly, your nails stay strong and look natural.
I’ll show you exactly where to place the apex and why it matters so much. Once you understand this, your nails will last longer and look better than ever before.
What Is the Apex of a Nail?
The apex of nail is the highest point on any nail enhancement. Think of it as the peak of a small hill running down the length of your nail.
This point sits right over your nail’s weakest spot. That’s not by accident. Placing extra strength exactly where your nail needs it most creates better balance.
You should be able to see the apex from every angle. The side view shows it best. It looks like a gentle curve that rises and then slopes back down.
The apex is one central point, not a line going across your nail. Many people get this wrong. When you create it properly, your whole nail structure becomes stronger and more stable.
Why Apex Placement Matters for Nail Health

Getting the apex of nail position right affects everything about how your enhancements perform.
Here’s what proper placement does for you:
- Stops stress from building up on your natural nail
- Prevents lifting and cracking during normal wear
- Creates a thinner look while keeping your nails strong
- Makes your manicure last much longer between fills
- Protects your nail as it grows over the next few weeks
I’ve seen nails break after just a few days because the apex was wrong. The nail couldn’t handle normal pressure from typing or daily tasks.
When you get it right, your nails feel comfortable and stay intact through everything you do.
Where to Position the Apex on Your Nails
Finding the right spot for your apex of nail takes some practice. But once you know the rules, it becomes second nature.
General Placement Rules
The apex typically sits in the back third of your nail enhancement. This isn’t random. This position gives you the best combination of strength and natural appearance.
Keep these guidelines in mind:
- Nail length changes where your apex should go
- Longer nails need the apex higher and further back
- Never place it too far back or you’ll create a visible hump
- Putting it too far forward makes the free edge weak and droopy
- The position shifts slightly based on the shape you’re creating
The key is finding that sweet spot. Too far in either direction causes problems. You want strength without an unnatural look.
Finding the Center Point
Your apex of nail must sit perfectly centered. If it shifts to either side, your whole nail structure becomes unstable.
Here’s a technique that works every time. Hold your nail against something black. Close one eye and look straight down the barrel of the nail.
You’ll see the highest point clearly. It should be right in the middle, not leaning left or right. This ensures your nail has symmetry and proper support on both sides.
Apex Placement for Different Nail Shapes
Each nail shape needs the apex of nail in a slightly different spot. Getting this right makes your chosen shape look its best while staying strong.
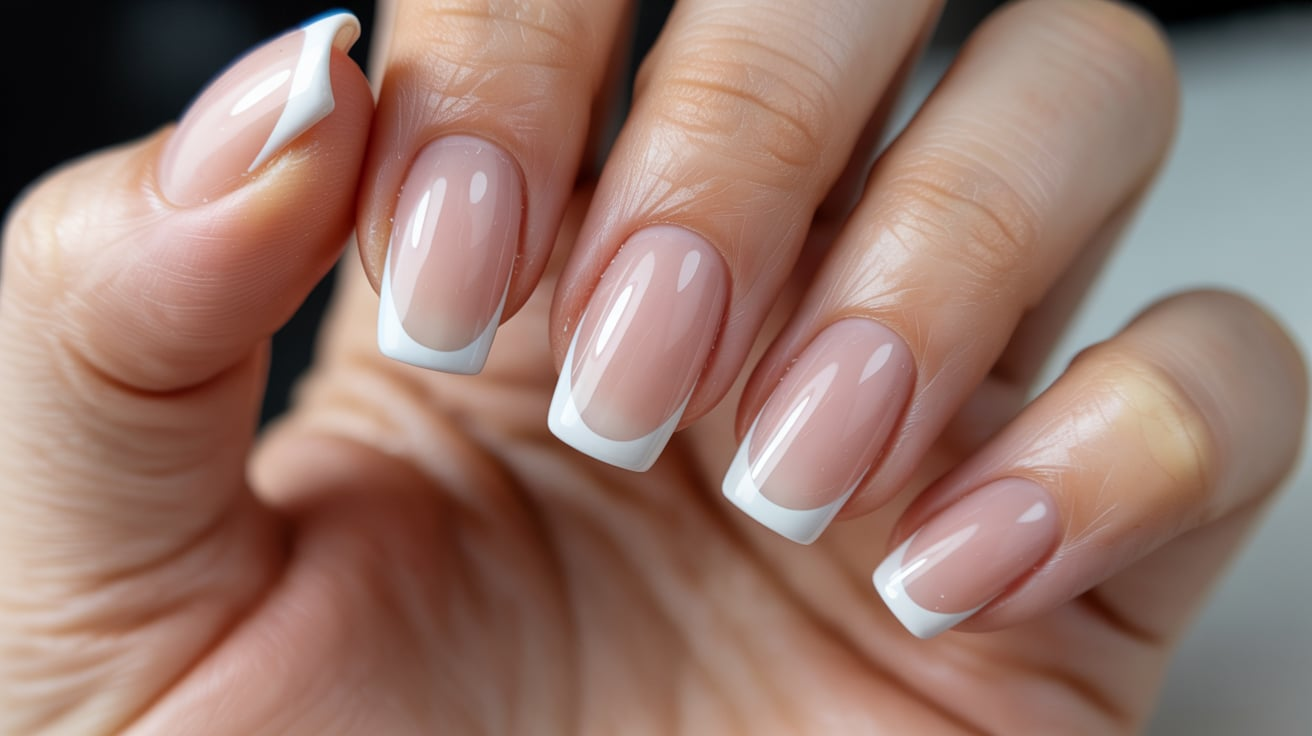
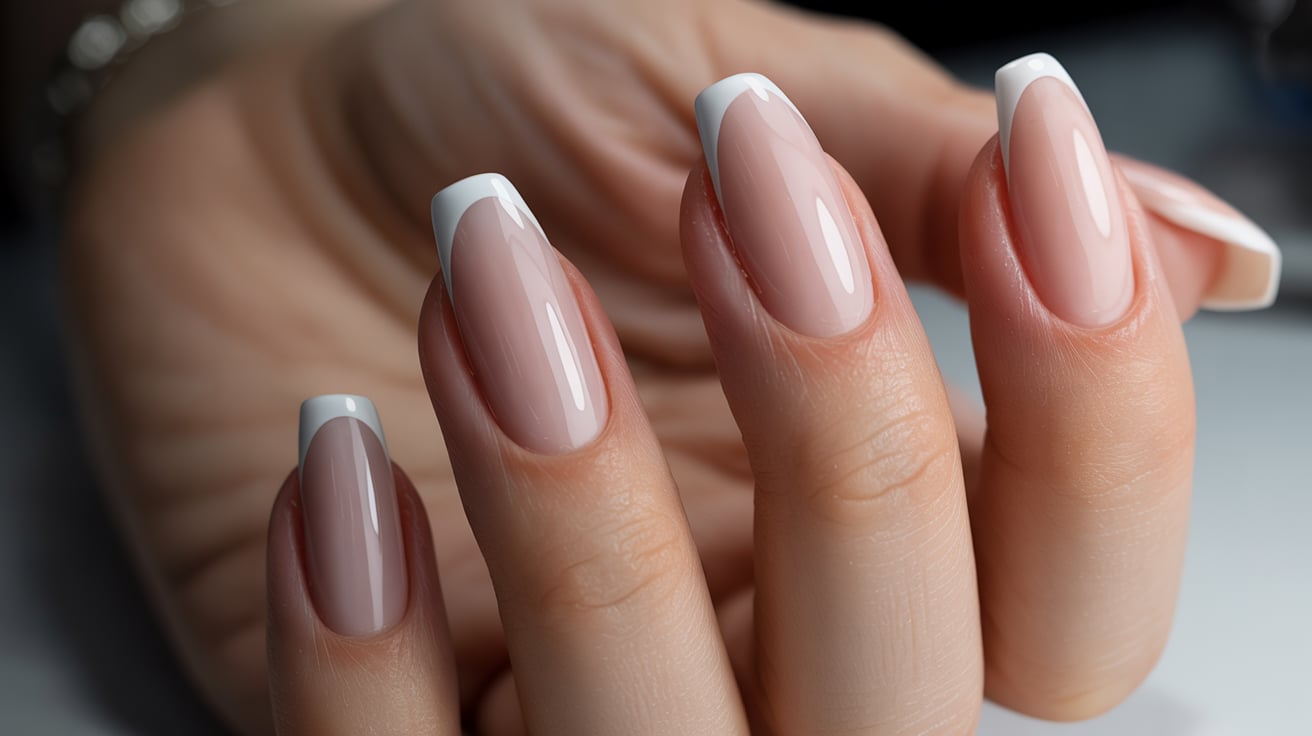
Square Shape Nails

Square nails have their apex at the center of the extended nail bed. This creates that clean, straight look you’re going for.
The upper arch runs straight from the apex to your free edge. No curves here. Just a smooth, even line that maintains the square profile.
For longer square enhancements, move the apex further back toward your cuticle. This keeps the proportions right and prevents that droopy look some long square nails get.
Almond and Stiletto Nails
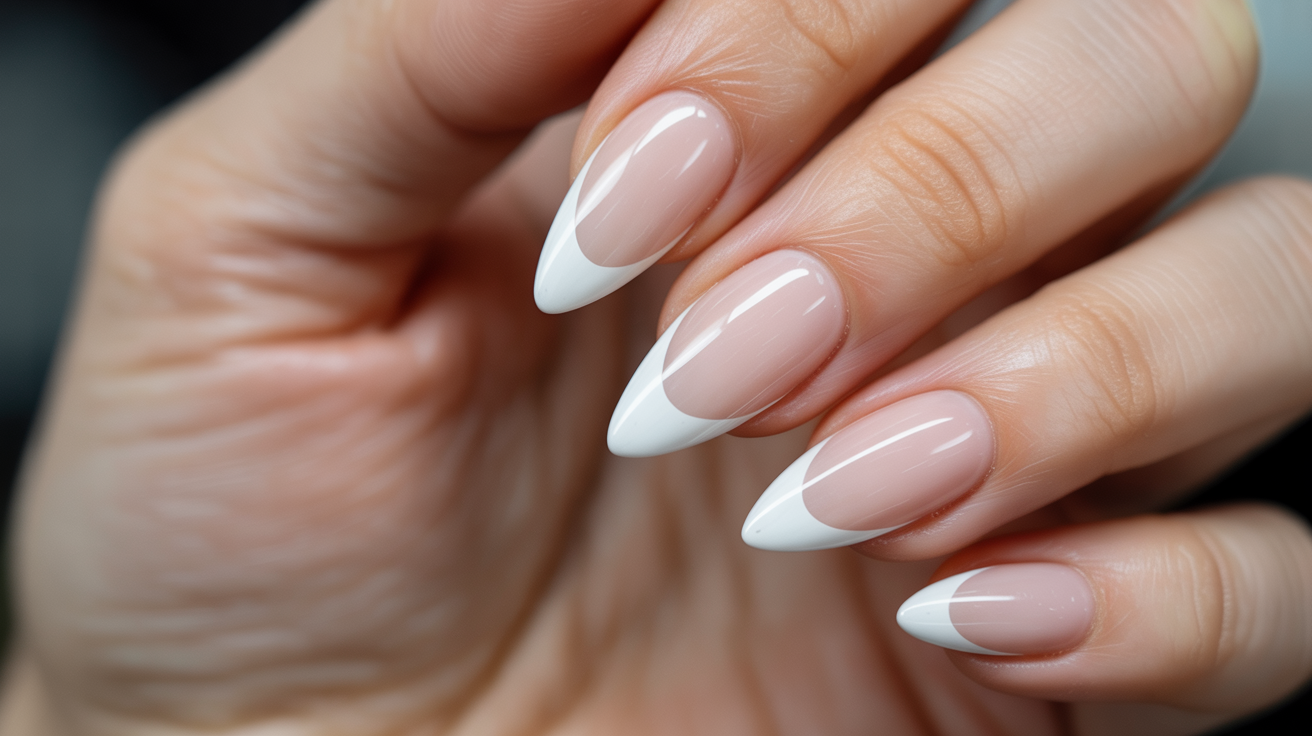
These pointed shapes need the apex of nail at one third of the enhancement. Nail techs call this the balance point, and the name makes sense once you see it.
The upper arch goes straight down from the apex to your tip. This creates that elegant taper these shapes are known for.
Getting this placement right is crucial for pointed nails. Too far forward and they’ll feel weak. Too far back and they look bulky instead of sleek.
Ballerina and Tapered Square
Ballerina nails combine elements of square and almond shapes. The apex sits at one third of your enhancement, just like almond nails.
But the upper arch runs straight out to the free edge. This is different from the downward angle of almond nails. The result is that flat, squared-off tip with angled sides.
This apex of nail placement gives you the strength of square nails with a more tapered, flattering look. It’s become really popular because it works well on different hand shapes.
Russian Almond, Edge, and Gothic Shapes
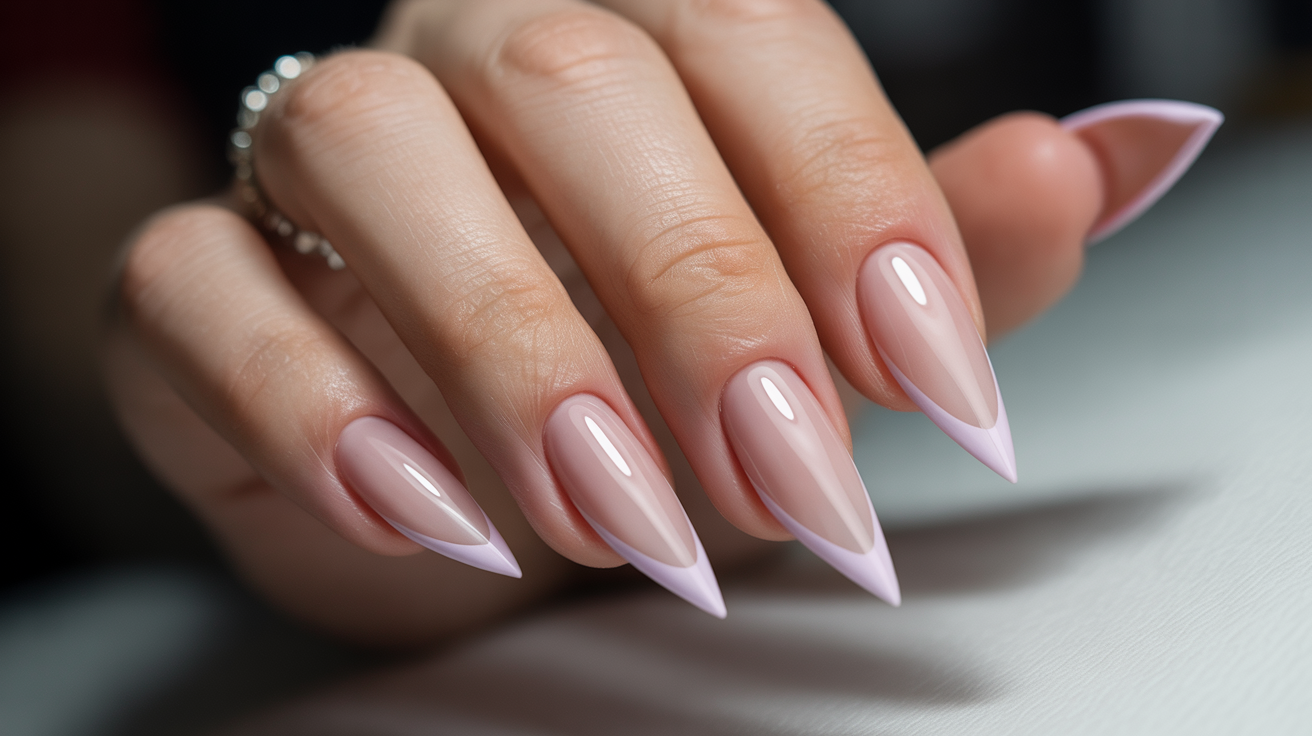
These dramatic shapes also use the one third placement for the apex of nail. They need serious structural support because of their extreme length.
The upper arch extends straight from the apex to the free edge. This maintains strength all the way to those sharp, pointed tips.
Even though these shapes look delicate, proper apex placement makes them surprisingly durable. I’ve seen Russian almond nails last weeks without breaking when done correctly.
Creating the Apex on Short Nails
Short nails need different treatment. I’m talking about nails with less than half the maximum free edge length.
The apex of nail placement changes when you’re working with limited length. You can actually position it closer to the cuticle area. This might seem wrong at first, but there’s good reason for it.
You’re planning for growth over the next 10 to 21 days. As the nail grows out, that apex will move into the perfect position naturally.
For short square nails, keep the apex near the cuticle. For other shapes, shift it slightly forward. Less free edge means the structural needs are completely different from long nails.
Understanding the Upper Arch
The upper arch and apex of nail work together as a team. You can’t think about one without considering the other.
Your apex is the highest point, and that’s where the upper arch begins. Think of the apex as the peak of a mountain, and the upper arch as the slope going down the other side.
You want an even, gradual rise from your cuticle to the apex. Nothing sudden or bumpy. Just a smooth curve that builds strength naturally.
From the apex, the upper arch behaves differently based on your shape. Square nails have a straight line to the free edge.
Almond and stiletto nails angle downward to the tip. This combination of apex and arch creates both strength and the look you want.
Common Apex Mistakes to Avoid
I’ve made plenty of mistakes with apex placement over the years. Learning what not to do helps just as much as knowing what to do right.
Watch out for these common errors:
- Thinking the apex of nail runs sidewall to sidewall instead of being one point
- Placing it too far forward and causing downward pull
- Creating too much bulk that stresses your natural nail
- Making the whole enhancement too thick
- Not filing the sides properly, which causes fanning and extra bulk
- Off-center placement that ruins your nail’s structure
- Building a hump that adds weight but no real strength
The biggest mistake I see is treating the apex like a line instead of a point. This creates thickness where you don’t need it.
Your nails feel heavy and look unnatural. Focus on that single highest point, and everything else falls into place.
Conclusion
Mastering the apex of nail placement changed everything about my manicures. My enhancements stopped breaking, lasted weeks longer, and looked so much more natural.
Remember that the right position changes based on your nail shape and length. There’s no one-size-fits-all rule.
Practice checking your apex from the side view. That’s where you’ll really see if you’ve got it right.
The apex is about both strength and beauty working together. Get this right, and you’ll have healthier nails that look professional and last until your next appointment.
Frequently Asked Questions
How Thick Should My Nail Enhancements Be?
Your enhancement should feel thin and natural. The apex of nail creates the only intentional thickness you need. Aim for just enough product to build strength without adding bulk. You shouldn’t feel weight on your fingers.
Can I File Down the Apex After Application?
Yes, but be careful. You can refine the apex of nail with gentle filing. Use light pressure and check from multiple angles. Over-filing removes the structural support you just created, so work slowly and check your progress often.
Does Natural Nail Shape Affect Apex Placement?
Not as much as you’d think. The apex of nail position depends more on your enhancement shape and length. However, very curved natural nails might need slight adjustments. Start with standard placement rules and modify if needed for your specific nail bed.
How Do I Know If My Apex Is Too Far Back?
Look at your nail from the side. If you see a noticeable hump near your cuticle, the apex of nail is too far back. It should create a smooth, gradual arch. That hump adds weight without adding strength, and it looks unnatural from every angle.
What Products Work Best for Creating a Strong Apex?
Builder gel and hard gel work great for apex of nail creation. Acrylic also builds a strong apex when applied correctly. The product matters less than your technique. Focus on placing the right amount at the highest point for maximum strength.