How to Make Your Own Press On Nails Step by Step
Making your own press on nails is easier than most people think. You do not need a salon or fancy equipment. With the right tools and a little practice, you can create a set that looks great and fits your style perfectly.
In this guide, I’ll walk you through everything, from tools and materials to step-by-step application and design ideas.
I’ve tested these steps myself, so what you’re getting here is practical and proven. No confusing steps. No wasted money. Just a clear process that works.
What Are Press On Nails?
Press on nails are pre-shaped nail tips that you apply directly over your natural nails using glue or adhesive tabs. They come in many shapes and sizes and can be fully customized at home. Making your own gives you more control over fit, color, and design than buying a ready-made set.
Press on nails work by bonding to the surface of your natural nail. The bond is strong enough to last days or even weeks with proper prep and care. They pop off cleanly when you are ready to remove them, which makes them a great low-commitment option.
DIY press on nails have become popular because they save money and time. You get salon-style nails without the appointment, the wait, or the high cost. Many people also love being able to swap designs whenever they want.
Tools and Materials You Need
You do not need much to get started. Here is what to have on hand.
Basic supplies: Nail tips, nail file and buffer, dehydrator, base coat, gel polish, top coat, UV or LED lamp, nail glue or adhesive tabs, cuticle pusher, and nail stands.
Optional for nail art: Stamping plates, striping tape, nail foils, dotting tools, nail art brushes, and rhinestones.
How to Make Your Own Press On Nails Step by Step
This is the core process. Take your time with each step, especially the prep and curing stages.
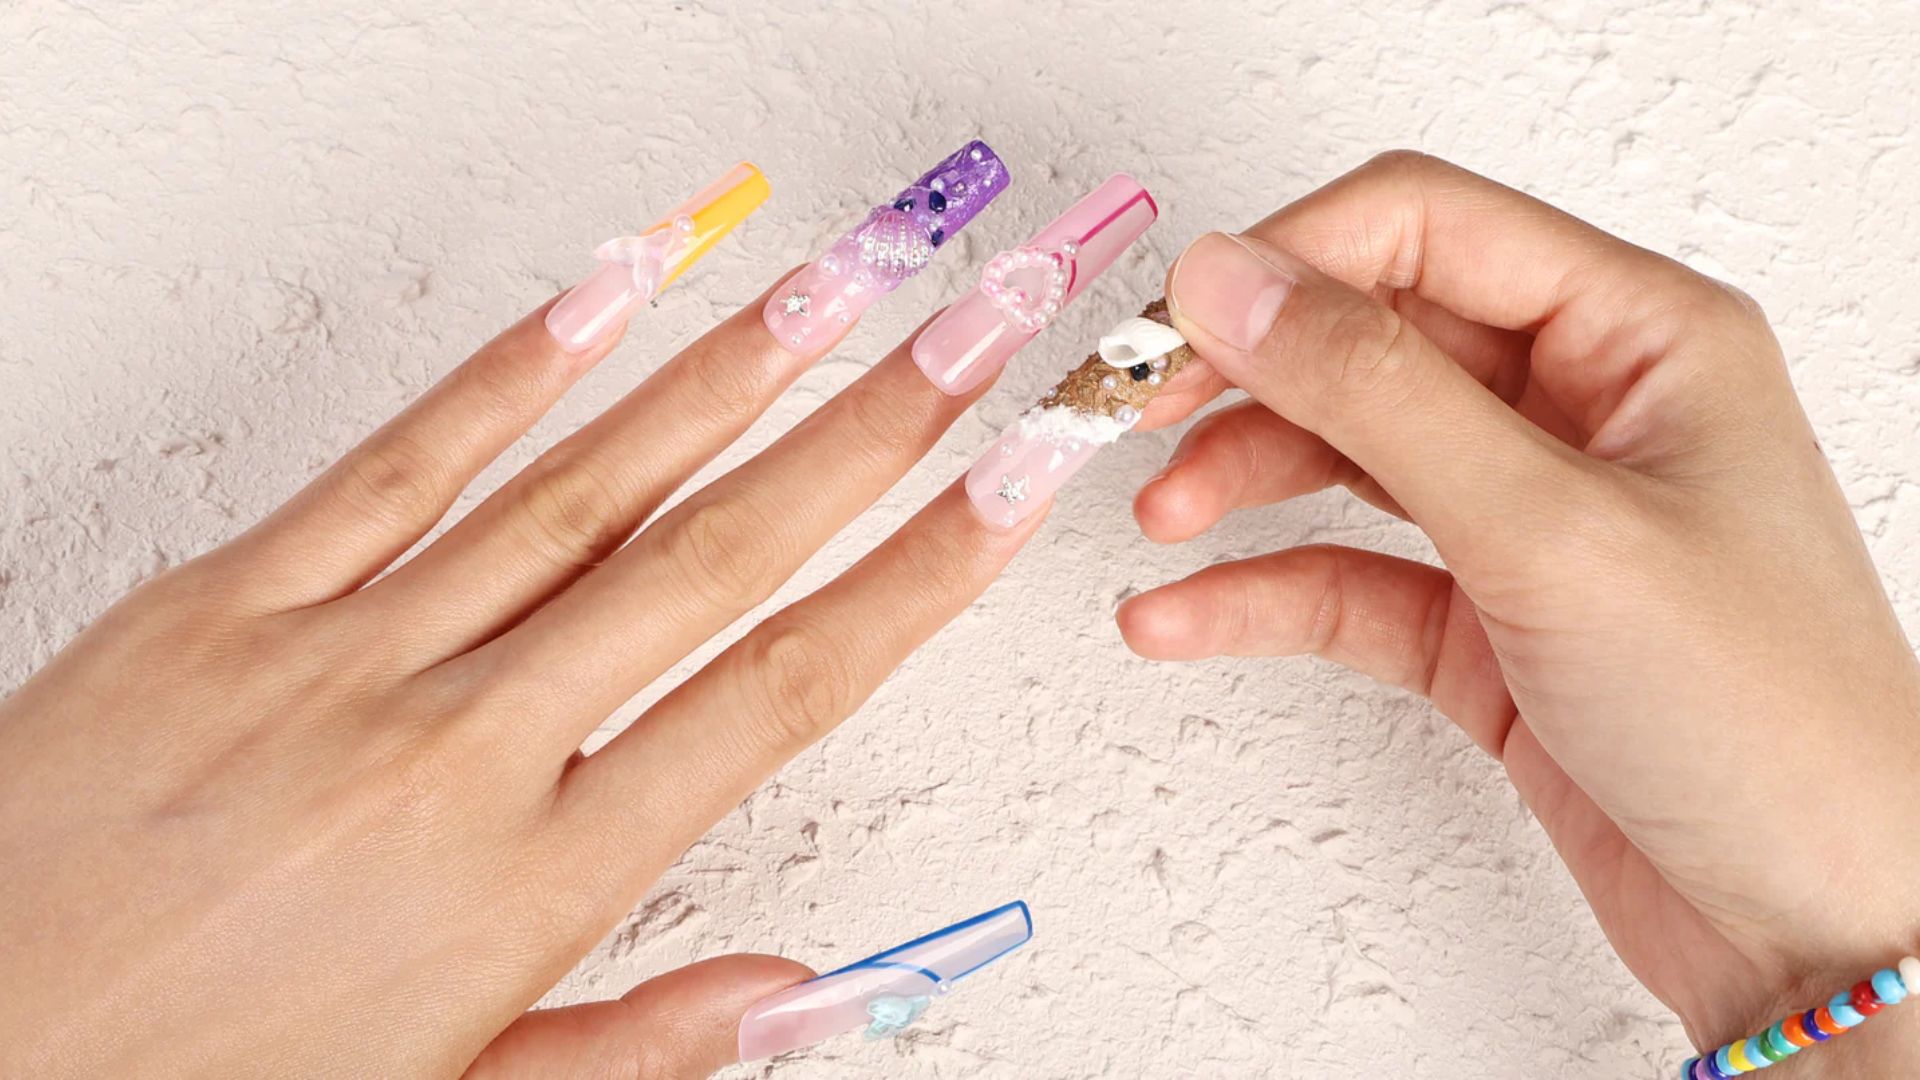
Step 1: Choose and Size Your Nail Tips
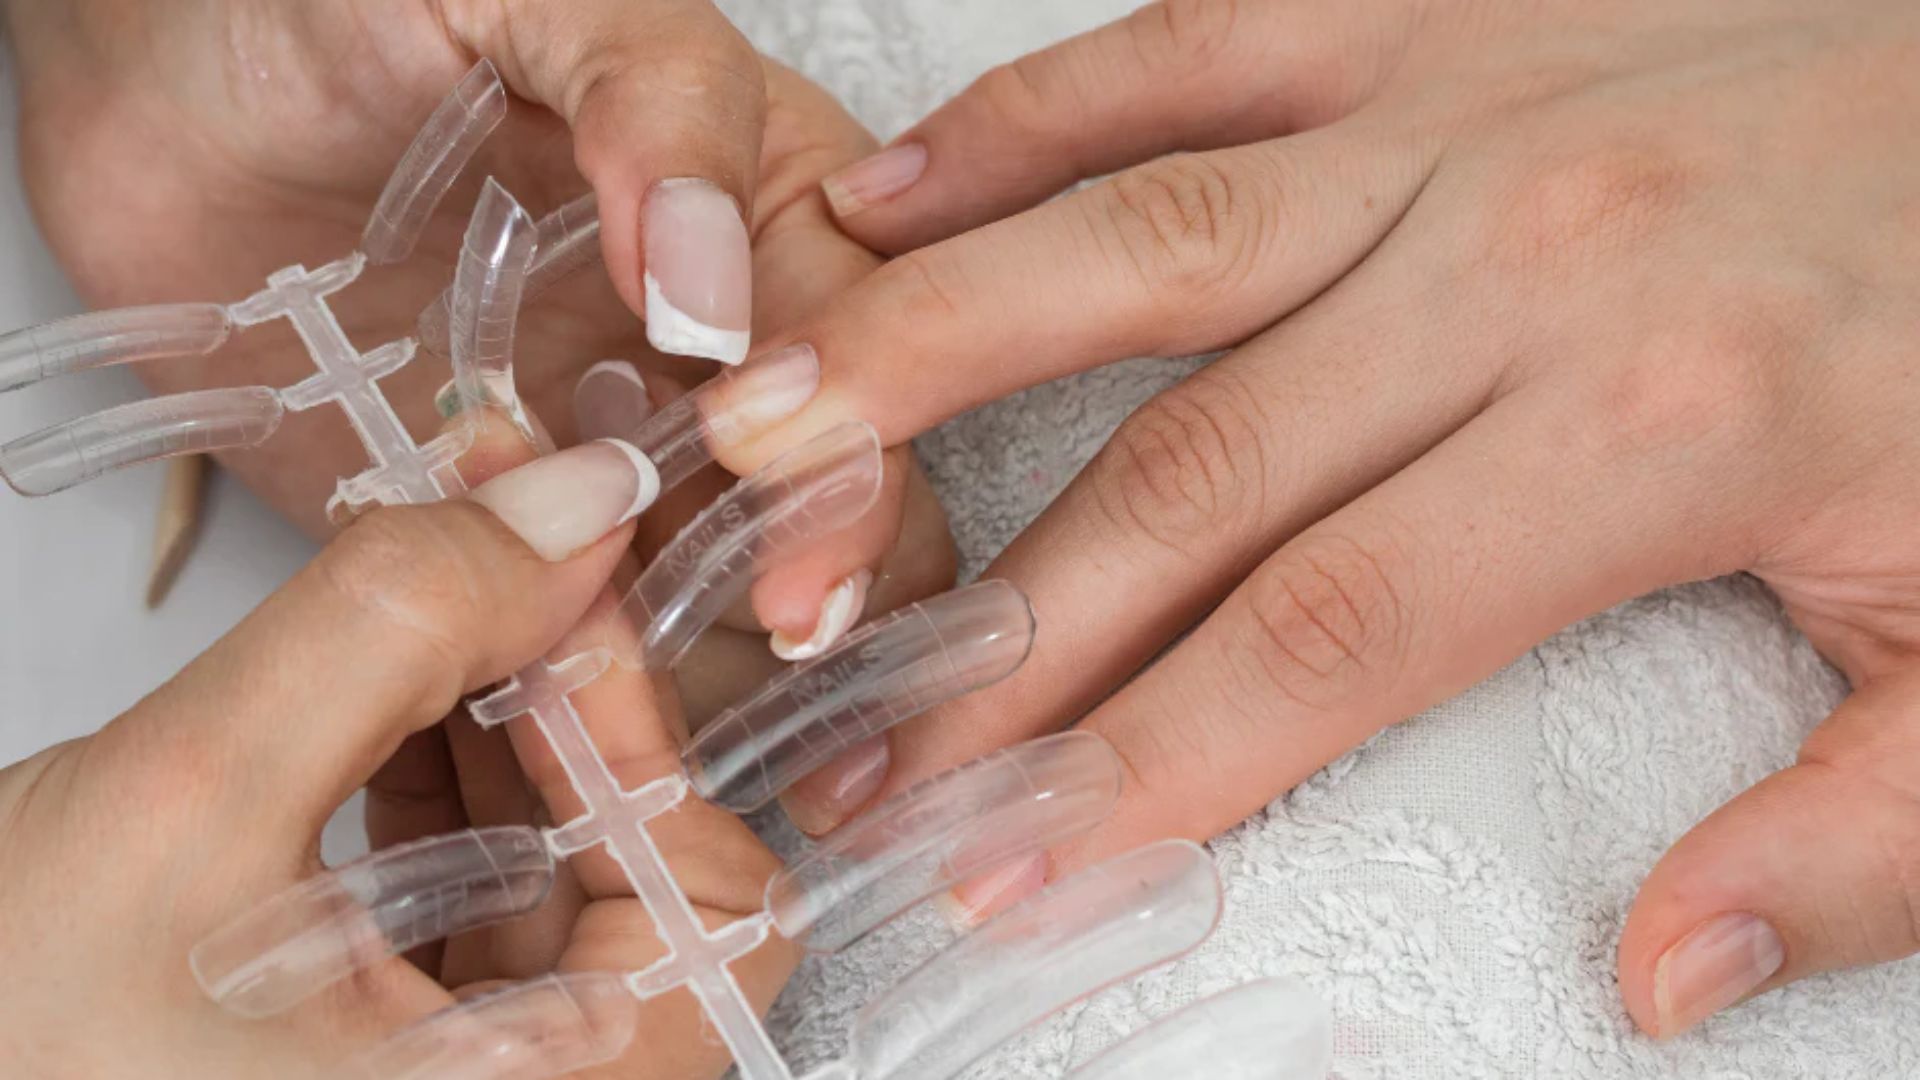
Lay out your nail tips and match each one to the correct finger size. They should cover the nail bed fully without touching the skin on the sides.
Sizing correctly from the start prevents lifting and discomfort later. If a tip is slightly too wide, file the sides gently until it fits well.
Step 2: Set Up Nail Stands for Easy Application

Place each sized nail tip onto a nail stand or press them into a foam block. This keeps them steady while you apply products and lets you work on multiple nails at once without smudging.
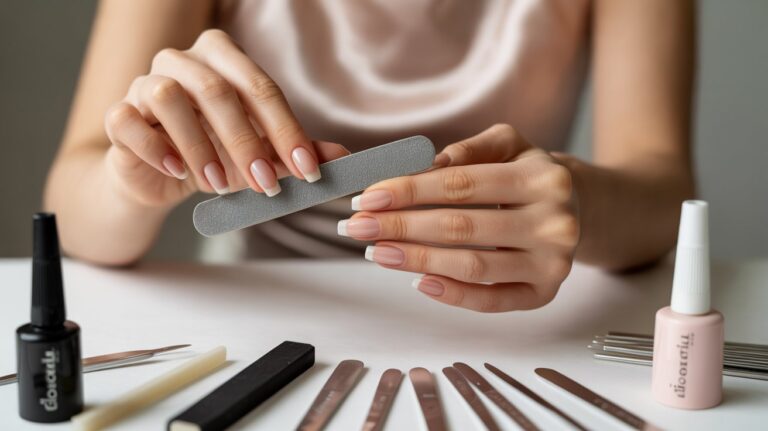
Step 3: Prep and Buff the Nail Tips
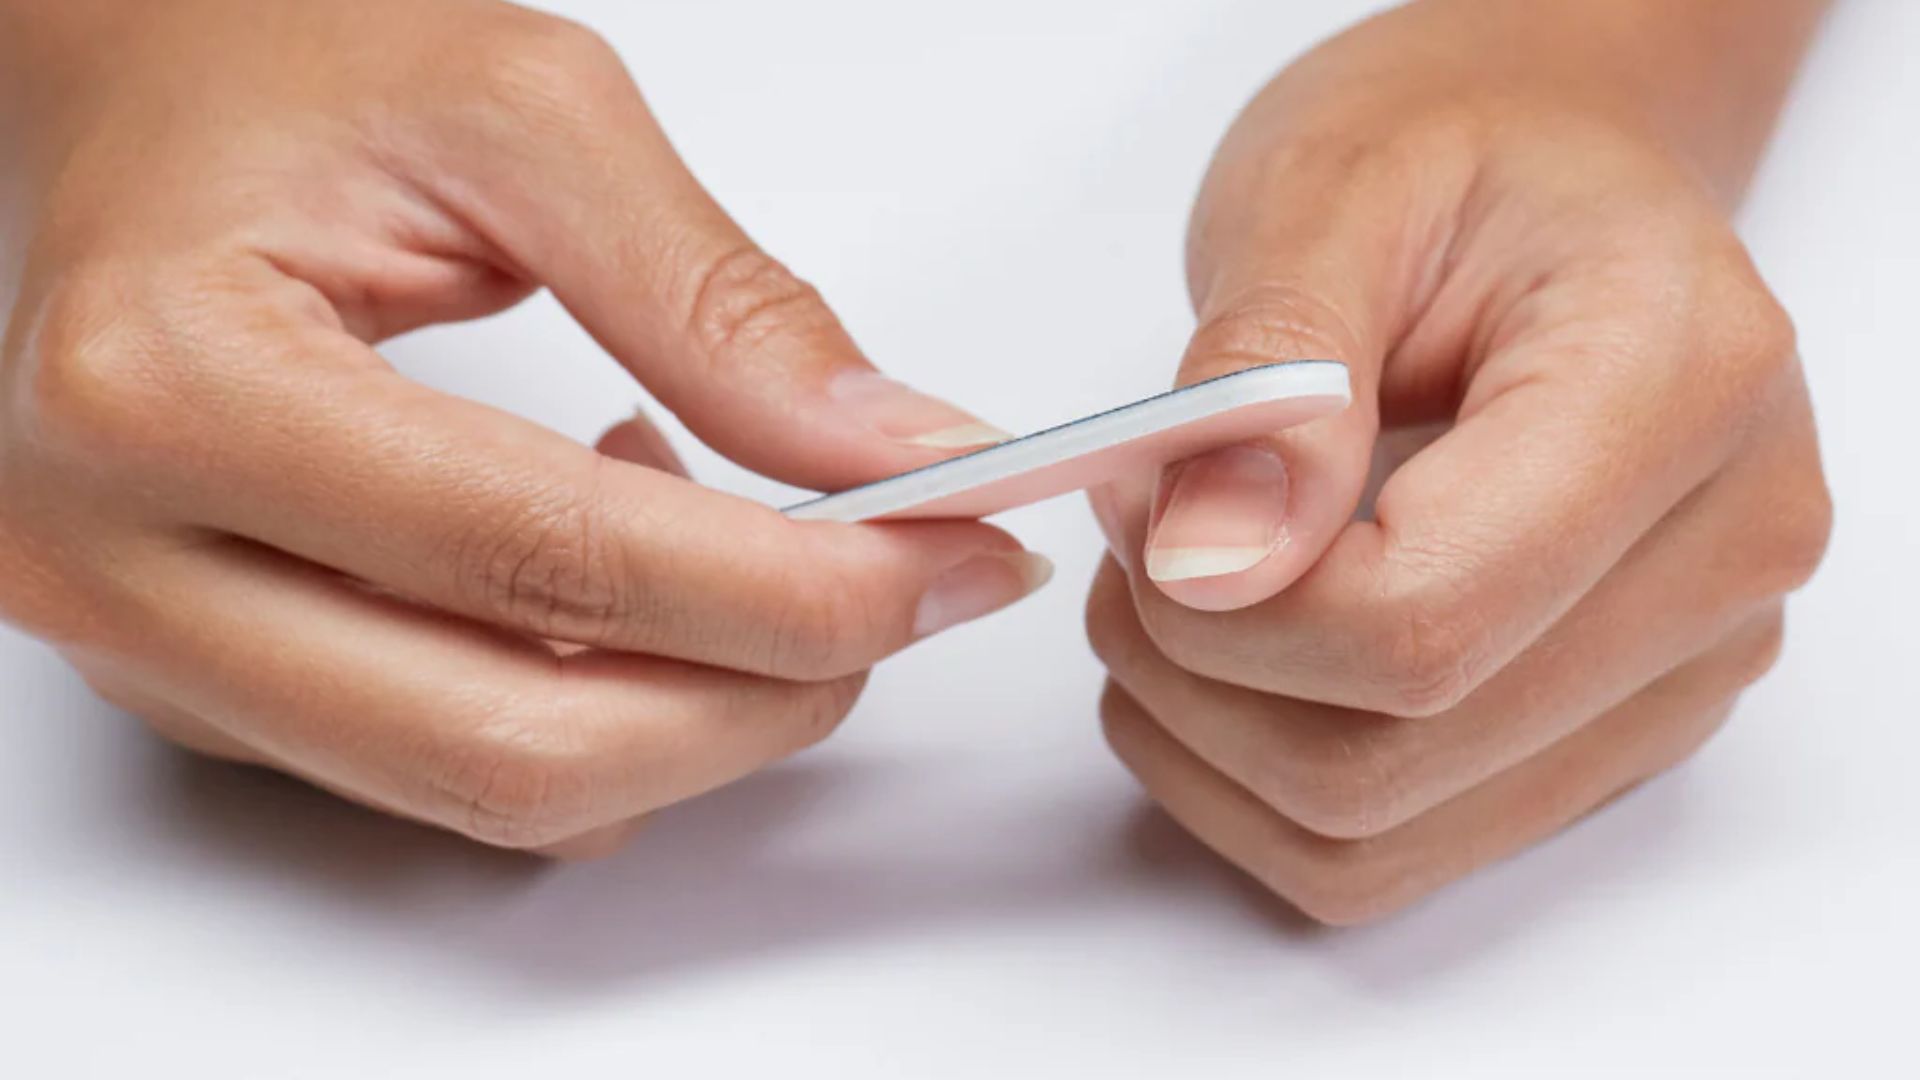
Lightly buff the surface of each tip to remove the shine. This gives the base coat something to grip. Wipe away any dust with a lint-free wipe.
A clean, slightly rough surface bonds much better than a smooth one.
Step 4: Apply Base Coat and Cure
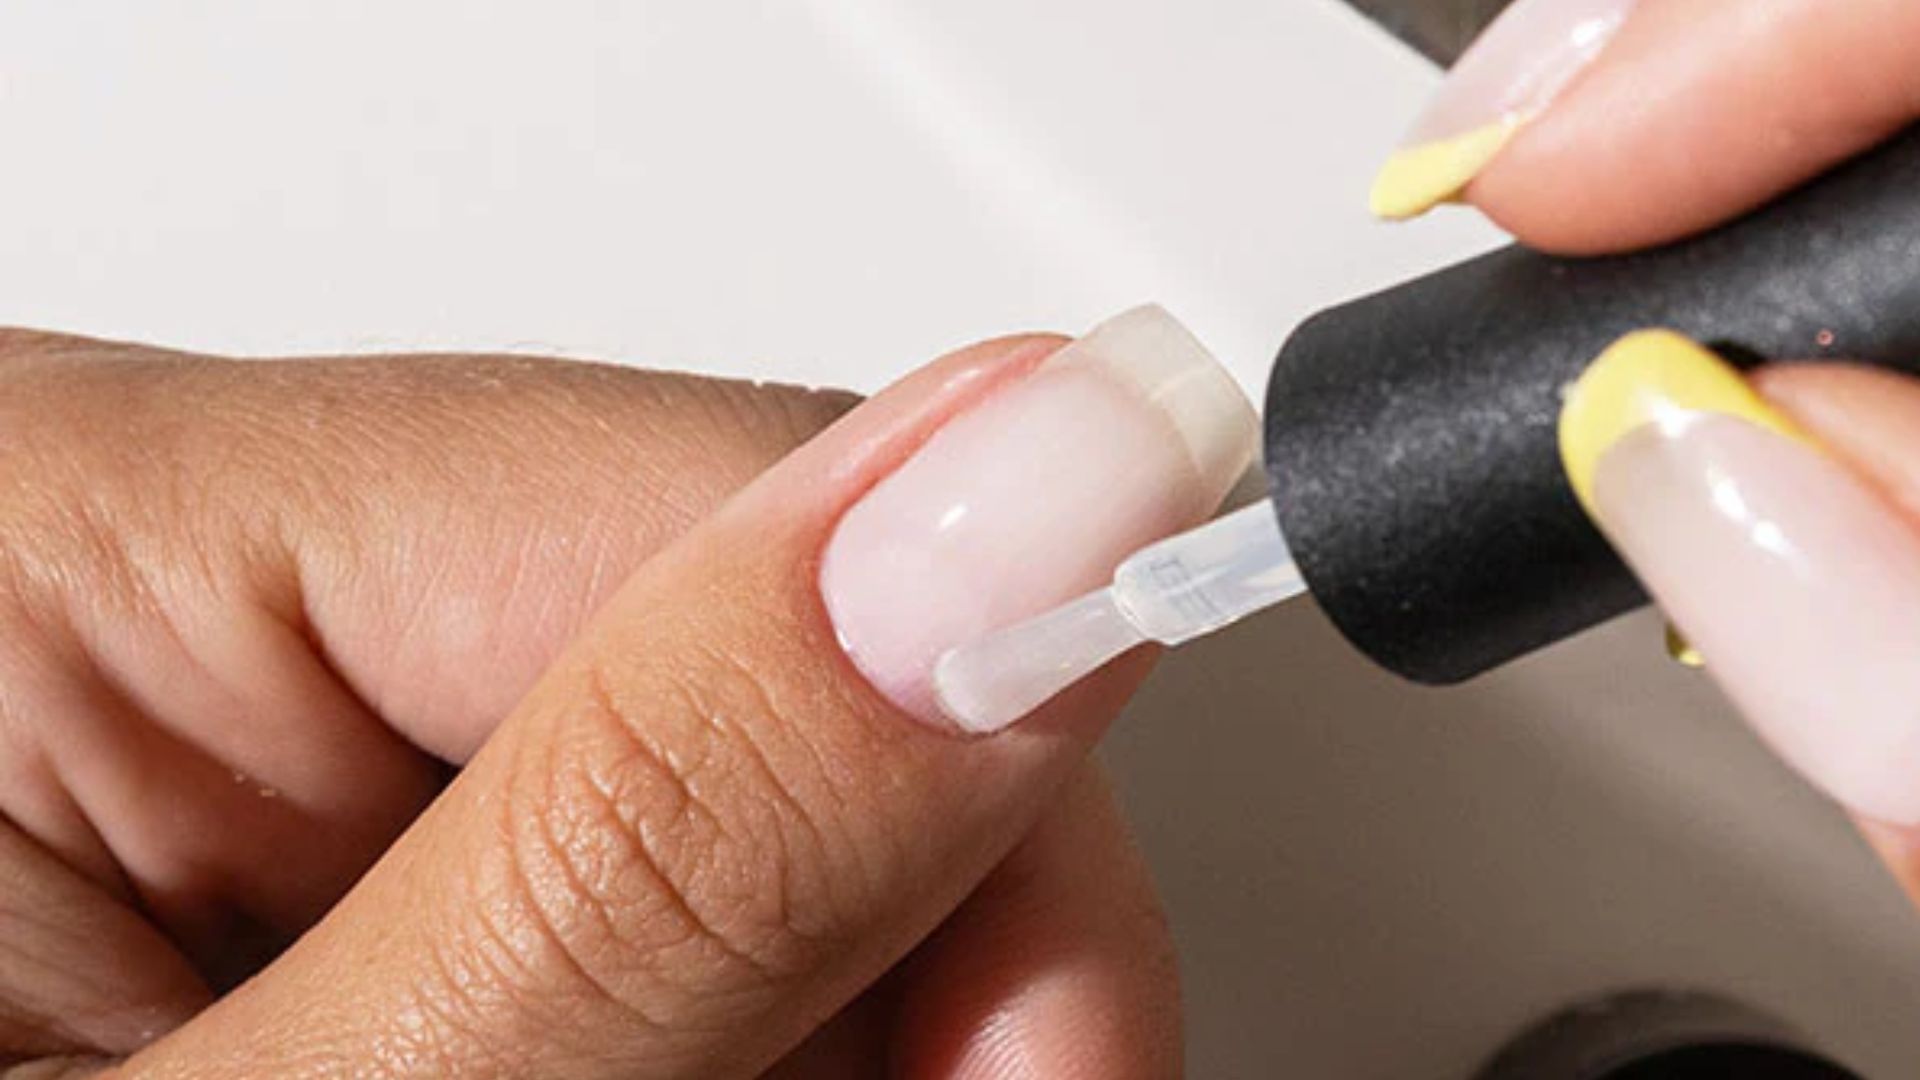
Apply a thin, even layer of base coat to each tip. Cure under your UV or LED lamp according to the product instructions.
A properly cured base coat creates a strong foundation for the color and art layers that follow.
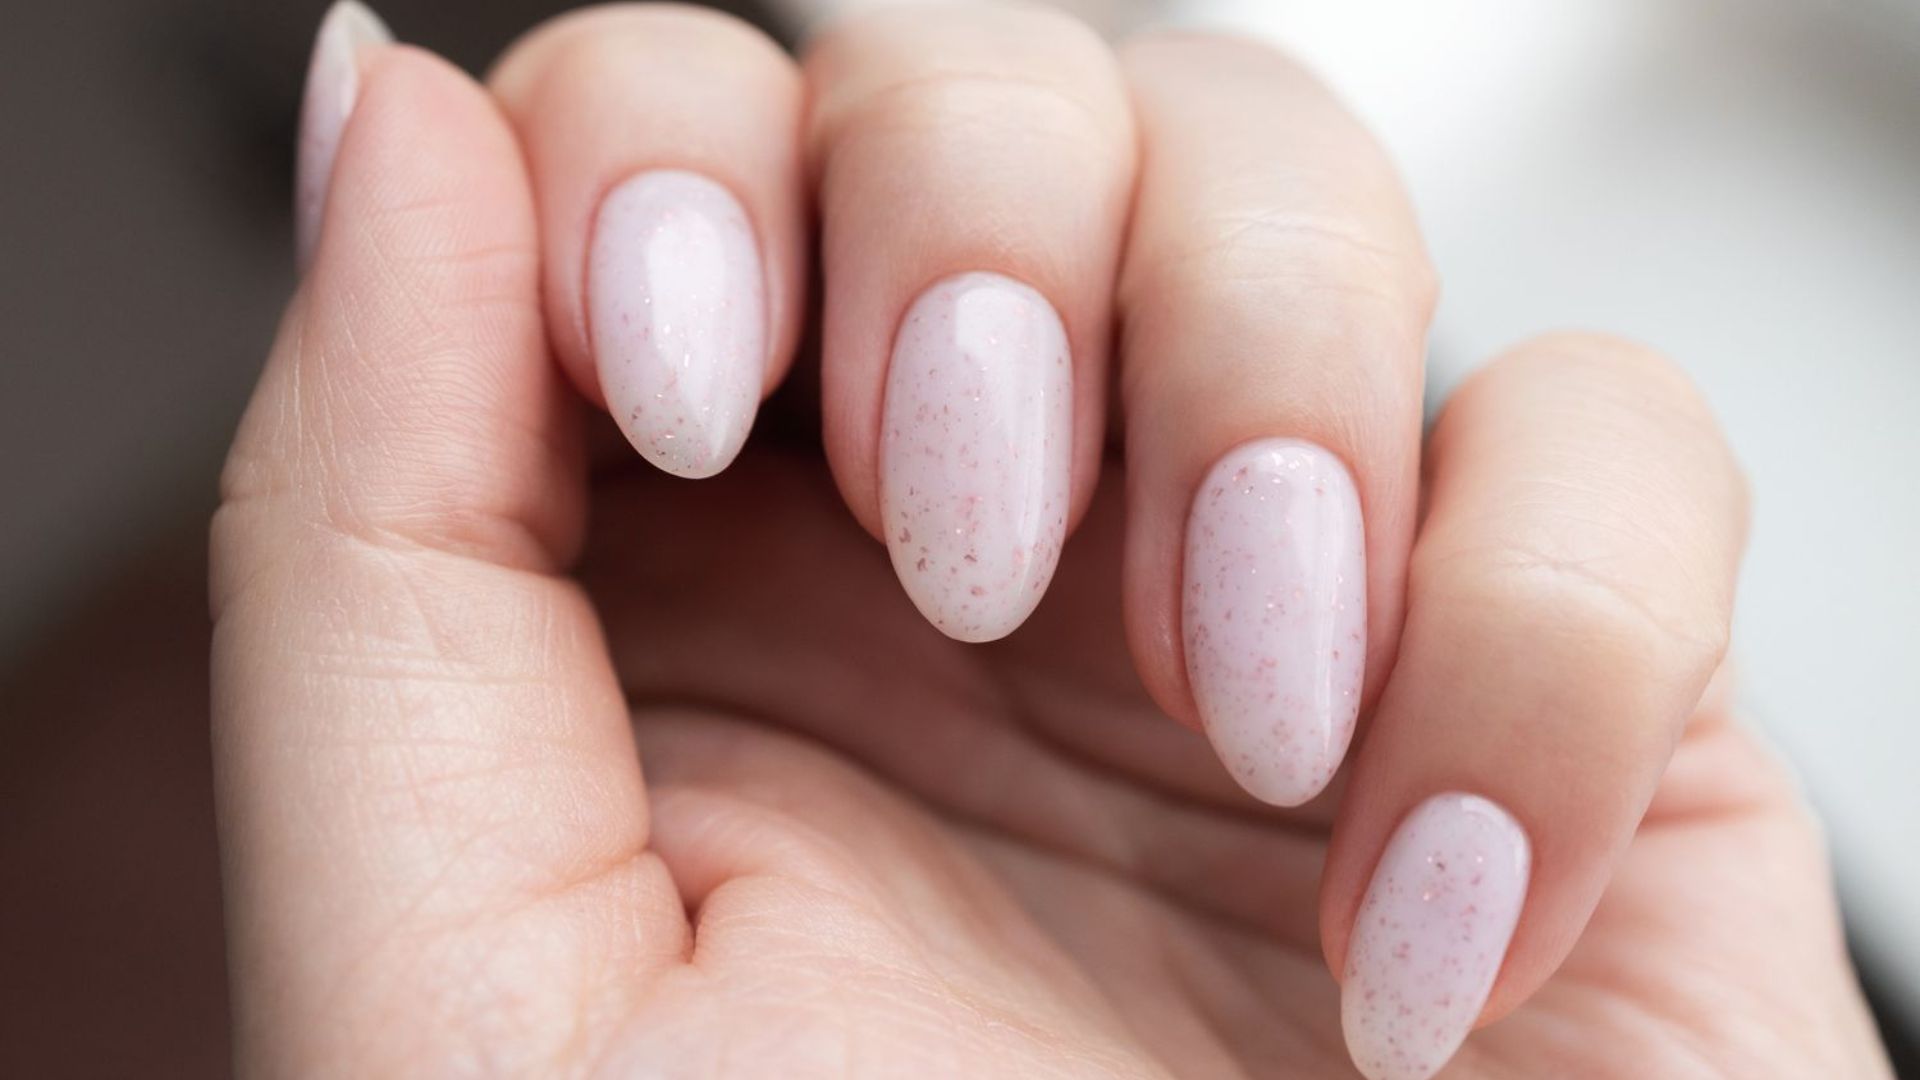
Step 5: Add Gel Color and Nail Art Designs
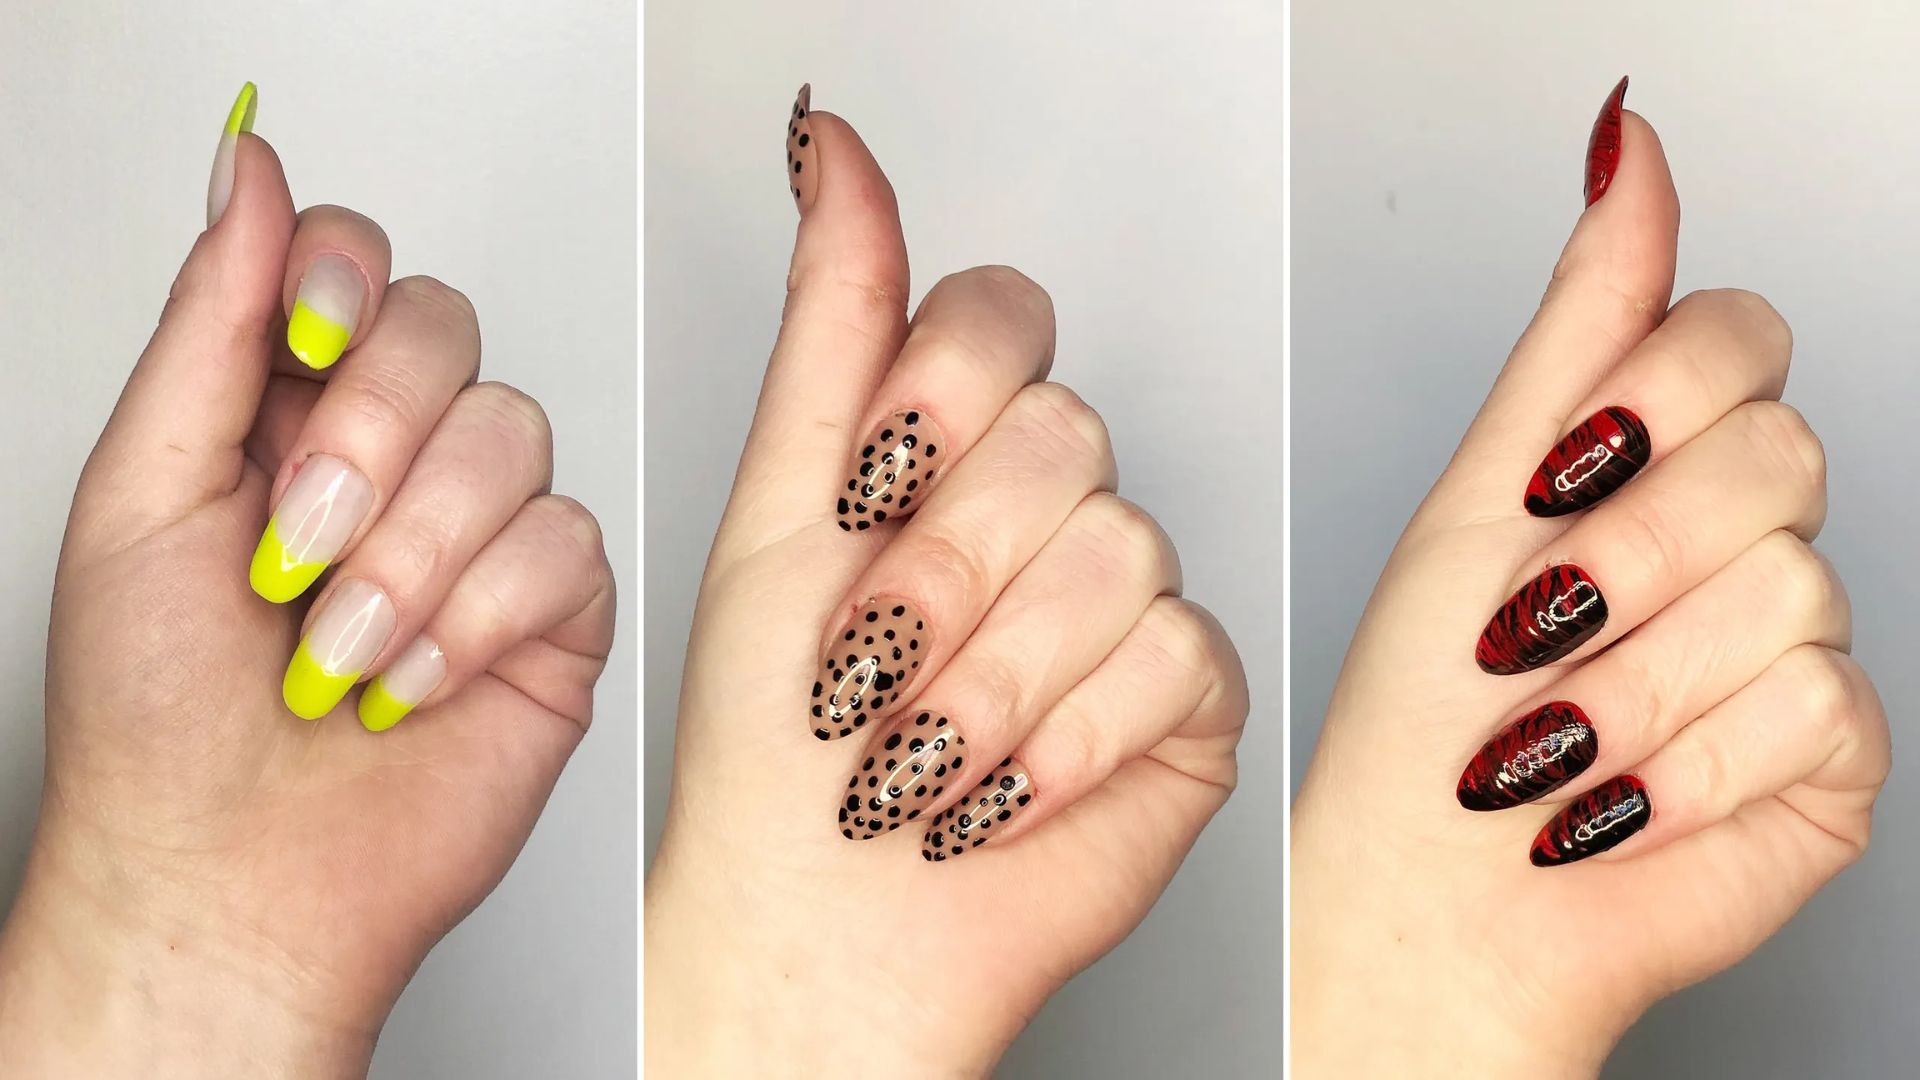
Apply your gel color in thin layers, curing between each one. Thin coats cure more evenly and last longer than thick ones.
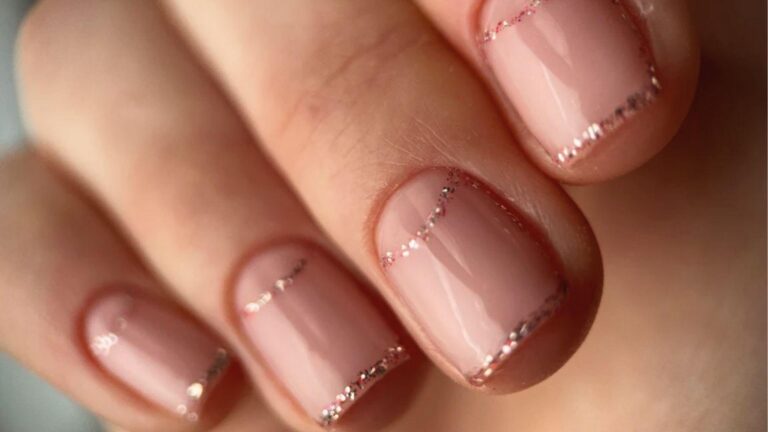
Once your color is done, add any nail art you want using brushes, stamps, foils, or charms. Cure again after each added element.
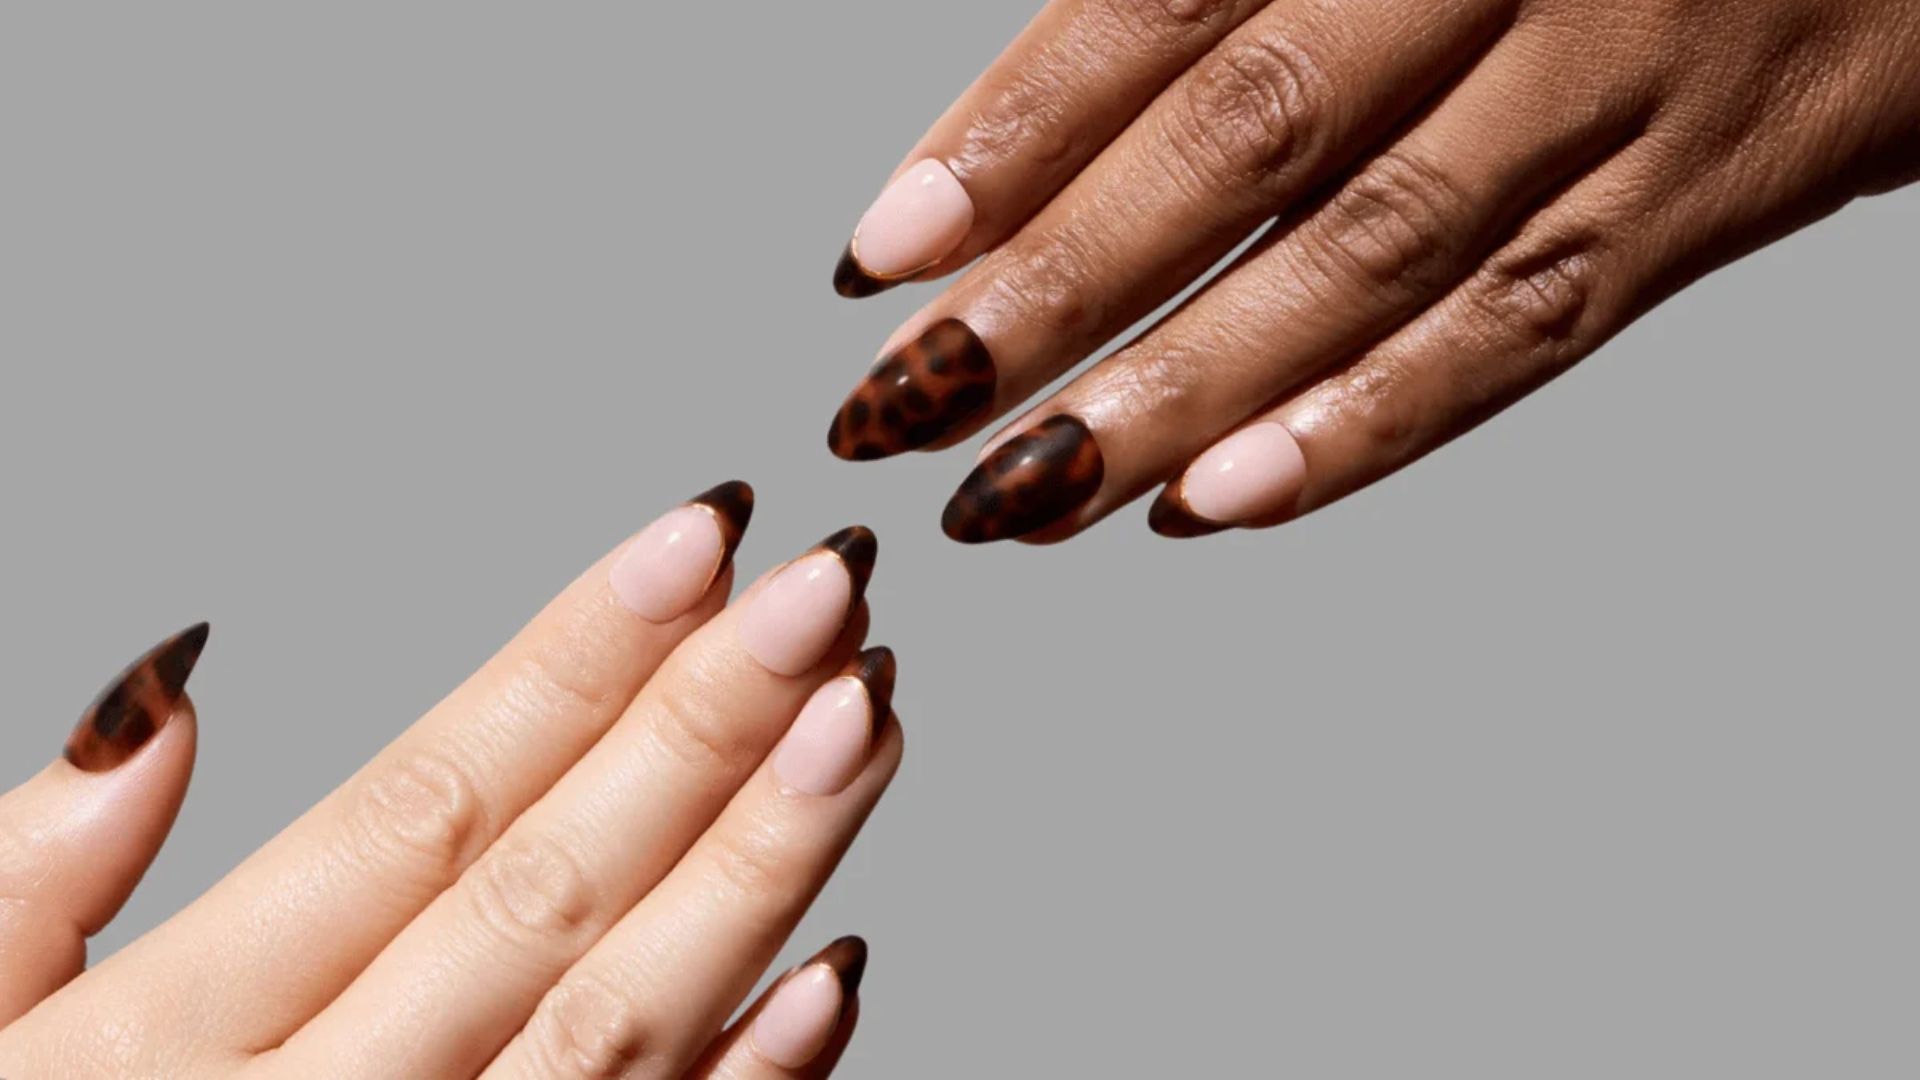
Step 6: Apply Top Coat for Shine and Protection
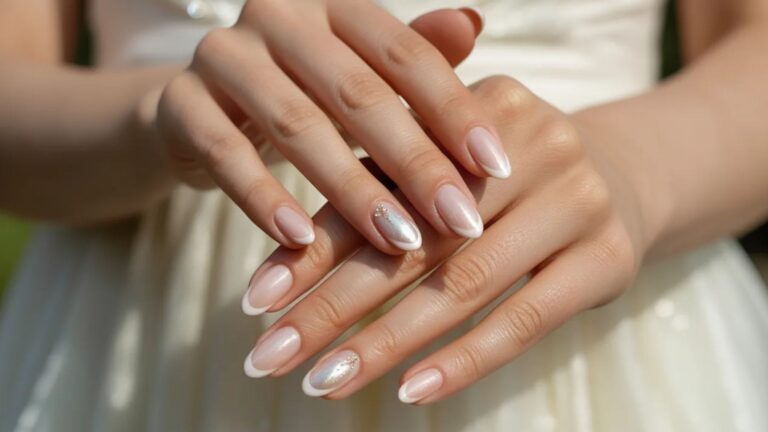
Apply a generous layer of top coat over the entire nail, making sure to cap the free edge. This seals everything in and adds a glossy or matte finish depending on your preference.
Capping the edge helps prevent chipping.
Step 7: Cure Nails Properly
Do a final cure under the lamp. Once done, wipe each nail with a cleanser pad to remove any sticky residue. Your press on nails are now ready to apply.
Tips to Make Your Press On Nails Last Longer
Here are five simple habits that can add days to your wear time.
- Avoid water for the first hour or two after applying so the glue bond sets fully.
- Wear gloves while cleaning and limit long soaks to protect the hold.
- Be gentle with your hands and avoid gripping heavy objects or opening packages with your nails.
- Apply cuticle oil away from the nail edges to prevent lifting at the sides.
- Take your time with sizing. A nail that is too narrow or too wide will not hold well.
Common Mistakes to Avoid
A few common mistakes can cut your wear time short or ruin the look of your set.
Skipping Nail Prep
If your natural nails are oily or smooth, the press on will not bond properly. Always dehydrate and buff before applying.
Using Too Much or Too Little Glue
Too much glue creates a messy overflow that can irritate the skin. Too little means a weak hold. A small drop in the center is usually enough.
Incorrect Nail Sizing
Many people choose tips that are slightly too large because they look more full. This causes faster lifting. Always size for the best fit, not the biggest look.
Not Curing Gel Properly
Not curing properly leads to soft, sticky layers that chip quickly. Follow the lamp manufacturer’s recommended cure times for each product you use.
How to Remove and Reuse Press On Nails
Removing press on nails safely protects both your natural nail and the press on for future use.
Safe Removal Methods at Home
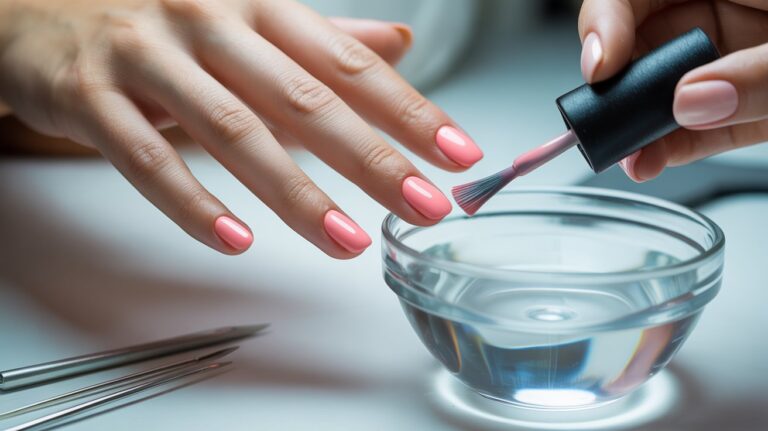
Soak your fingertips in warm soapy water for 10 to 15 minutes to soften the glue. You can also hold a small acetone-soaked cotton pad against the nail for a few minutes. Never force or peel the nails off. This damages both your natural nail and the press on.
Cleaning and Storing for Reuse
Once removed, clean off any leftover glue using a soft buffer or a little acetone on a cotton pad. Let them dry fully, then store in a labeled container or the original packaging. Proper storage keeps them in good shape for next time.
Final Thoughts
Making your own press on nails is one of those things that feels hard until you actually try it. The first set might not be perfect, and that is completely fine. Mine were not either. But with each set, you get faster and more confident.
What I love most is freedom. You choose the shape, the color, the design, and the finish. No compromises.
Give it a try and see how it goes. Drop a comment below with your first set experience or share this post with a friend who loves nails. You might also enjoy our guide on the best gel polishes for press on nails.
Frequently Asked Questions
How long do homemade press on nails last?
With proper prep and nail glue, homemade press on nails can last 1 to 2 weeks. Adhesive tabs give a shorter hold of 3 to 5 days depending on your daily habits.
Do I need a UV lamp to make press on nails?
If you are using gel polish on your press on nails, yes. A UV or LED lamp is needed to cure the gel properly. Regular nail polish does not require a lamp.
Can I reuse the press on nails multiple times?
Yes, if you remove them carefully and clean off the old glue, press on nails can be reused several times. Store them properly between uses to keep them in good condition.
What is the best glue for press on nails?
Nail-specific super glue or brush-on nail glue works best for a strong hold. Avoid craft glue or general-purpose adhesives as they do not bond well to nails and can cause irritation.
How do I stop press on nails from lifting at the sides?
Lifting at the sides is usually a sizing issue or a prep issue. Make sure the tip fits your nail without touching the skin, and always dehydrate your natural nails before applying. Pressing firmly from cuticle to tip during application also helps seal the edges.