Can You File Press On Nails? Step-by-Step Guide

Press-on nails are a quick, affordable way to get a great manicure at home. But sometimes, the fit isn’t quite right. Or the shape isn’t exactly what you wanted.
That’s where filing comes in. Can you file press-on nails? Yes, and it’s easier than you think.
In this guide, I’ll walk you through everything, from the tools you need to a full step-by-step process.
You’ll also learn how to get a natural, salon-quality look without damaging your nails. Let’s get into it.
Why You Might Need to File Press-On Nails

Filing helps you get the best fit, feel, and finish from your press-ons.
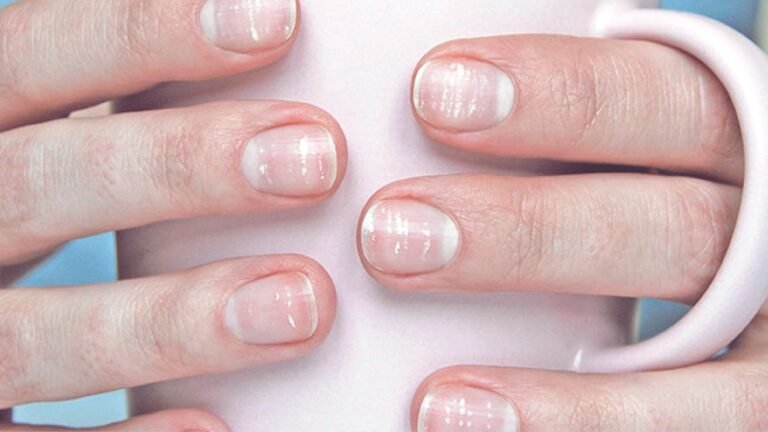
Press-on nails come in standard sizes, but your nail beds are yours alone. So filing isn’t just about looks. It’s about comfort too.
You might need to file for a perfect fit, so the nail sits flush against your natural nail bed.
Sometimes you need the right length because shorter nails feel more comfortable for daily tasks.
Other times it’s about smooth edges with no rough or sharp ridges. And sometimes you just want a custom shape, going from round to square or almond based on your preference.
Tools You’ll Need to File Press-On Nails
Having the right tools makes the whole process faster and cleaner.
Nail File
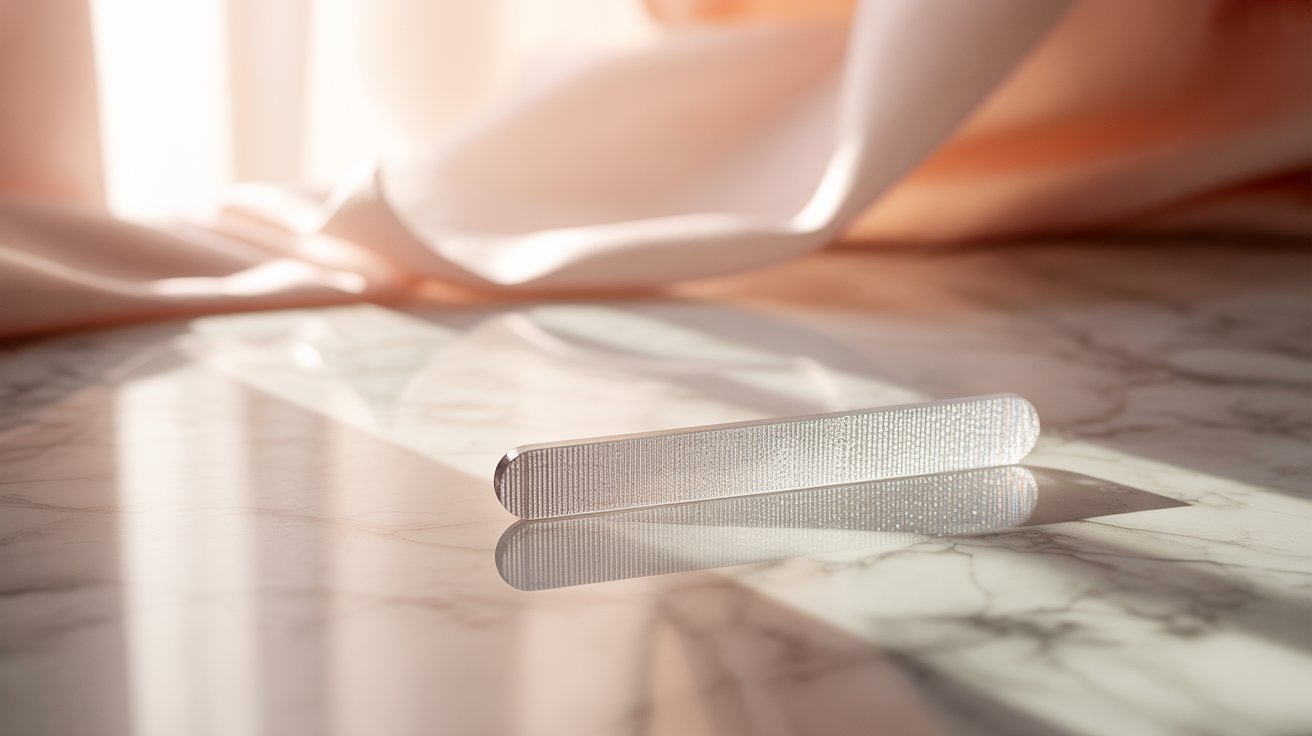
A glass or fine-grit nail file is the main tool you’ll use. It gives you control and creates a smooth edge without cracking the nail.
Buffer
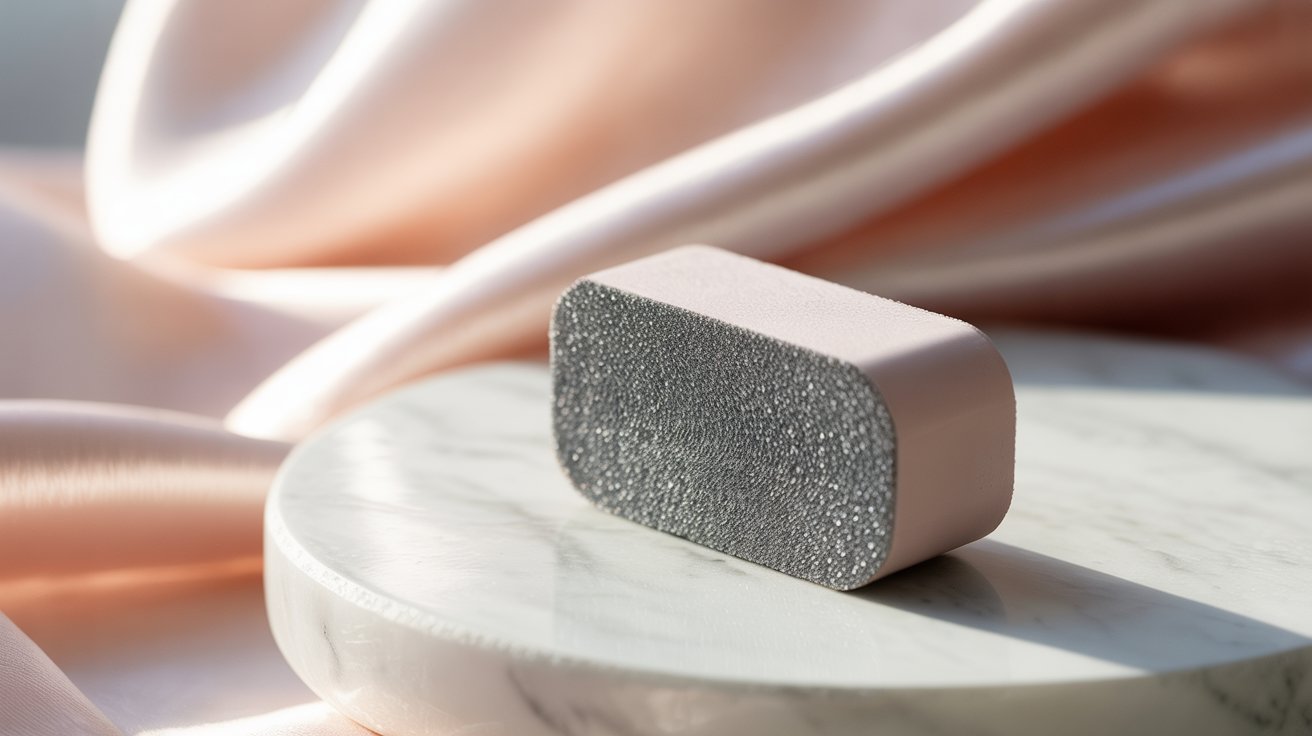
A buffer helps smooth out any rough spots or ridges after filing. It gives the nail a clean, finished look.
Cuticle Stick

You’ll use this to gently push back your cuticles before you start. It gives you a clearer view of your nail bed.
Nail Clipper

This is optional but useful. If you need to take off a larger amount before filing, a clipper makes that faster and easier.
Best Shape for Press-On Nails
The right shape can make your nails look like they were done at a salon.
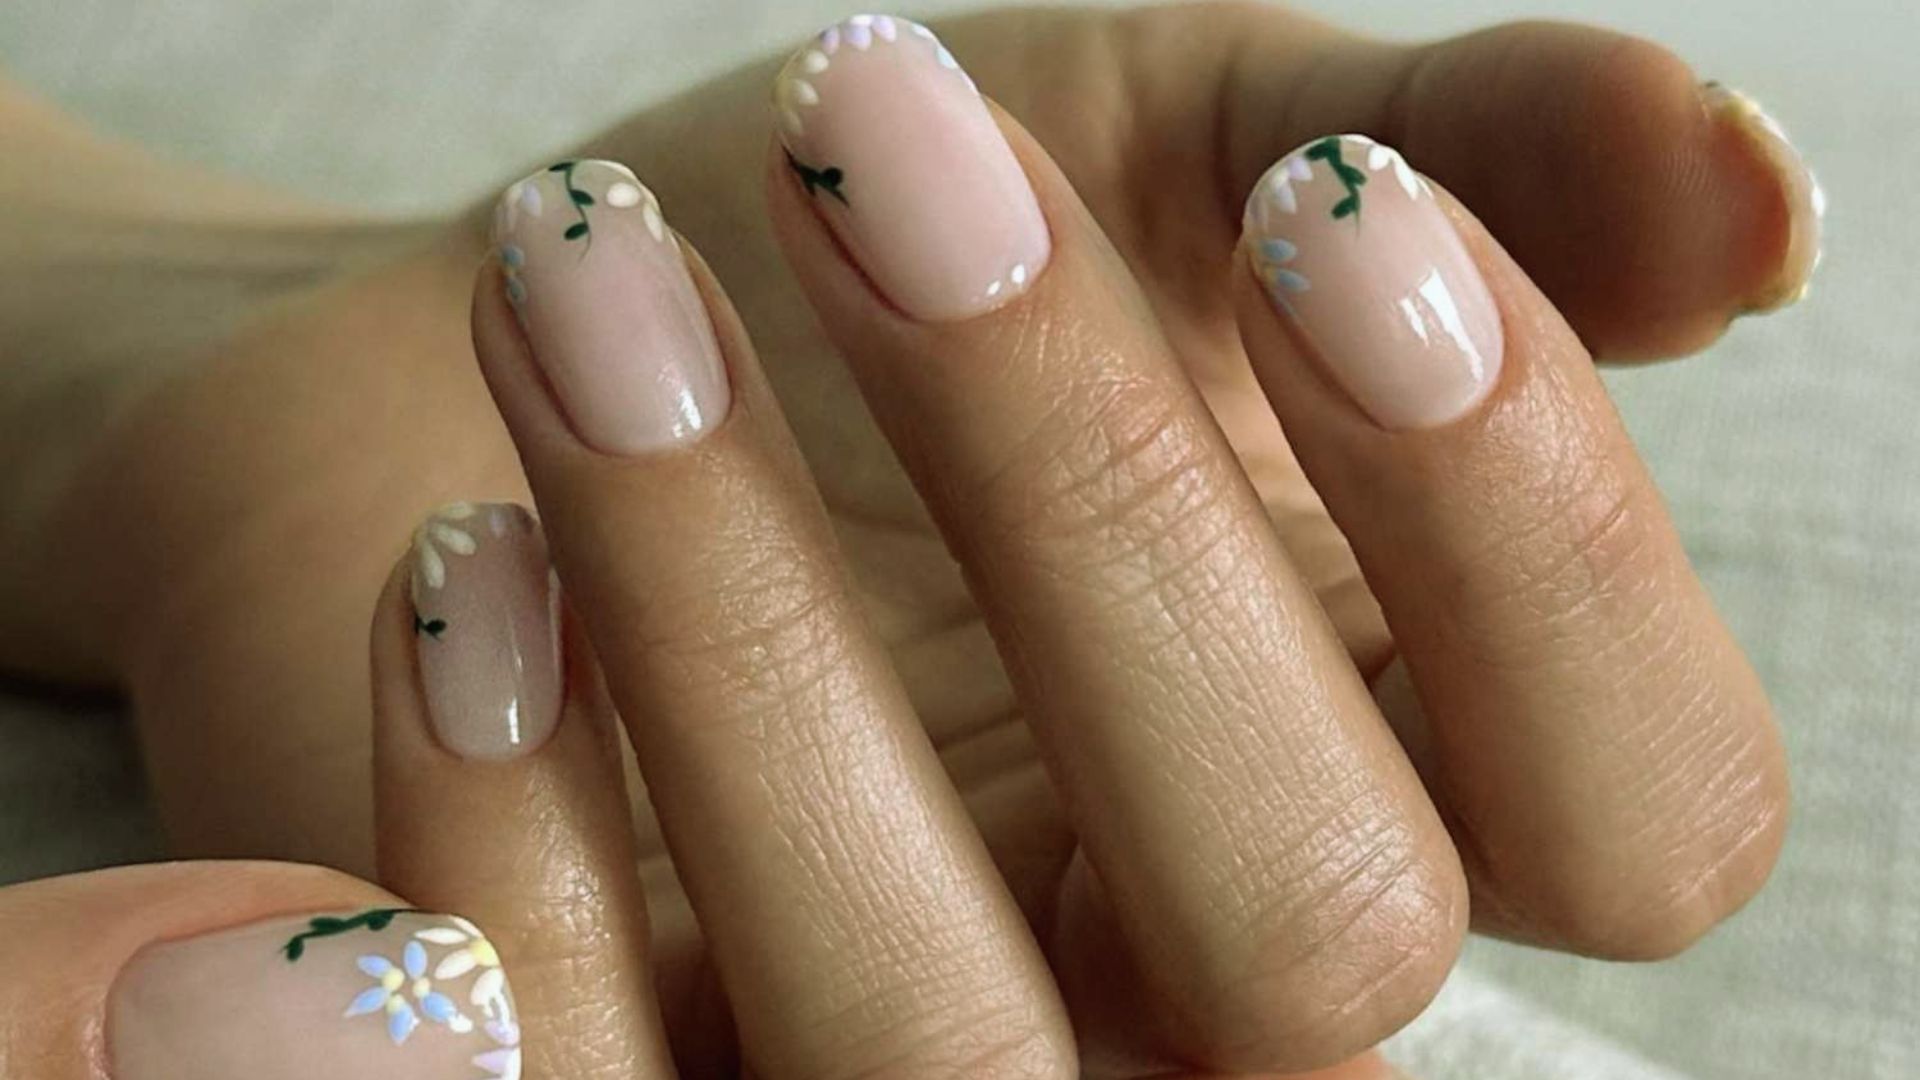
Round
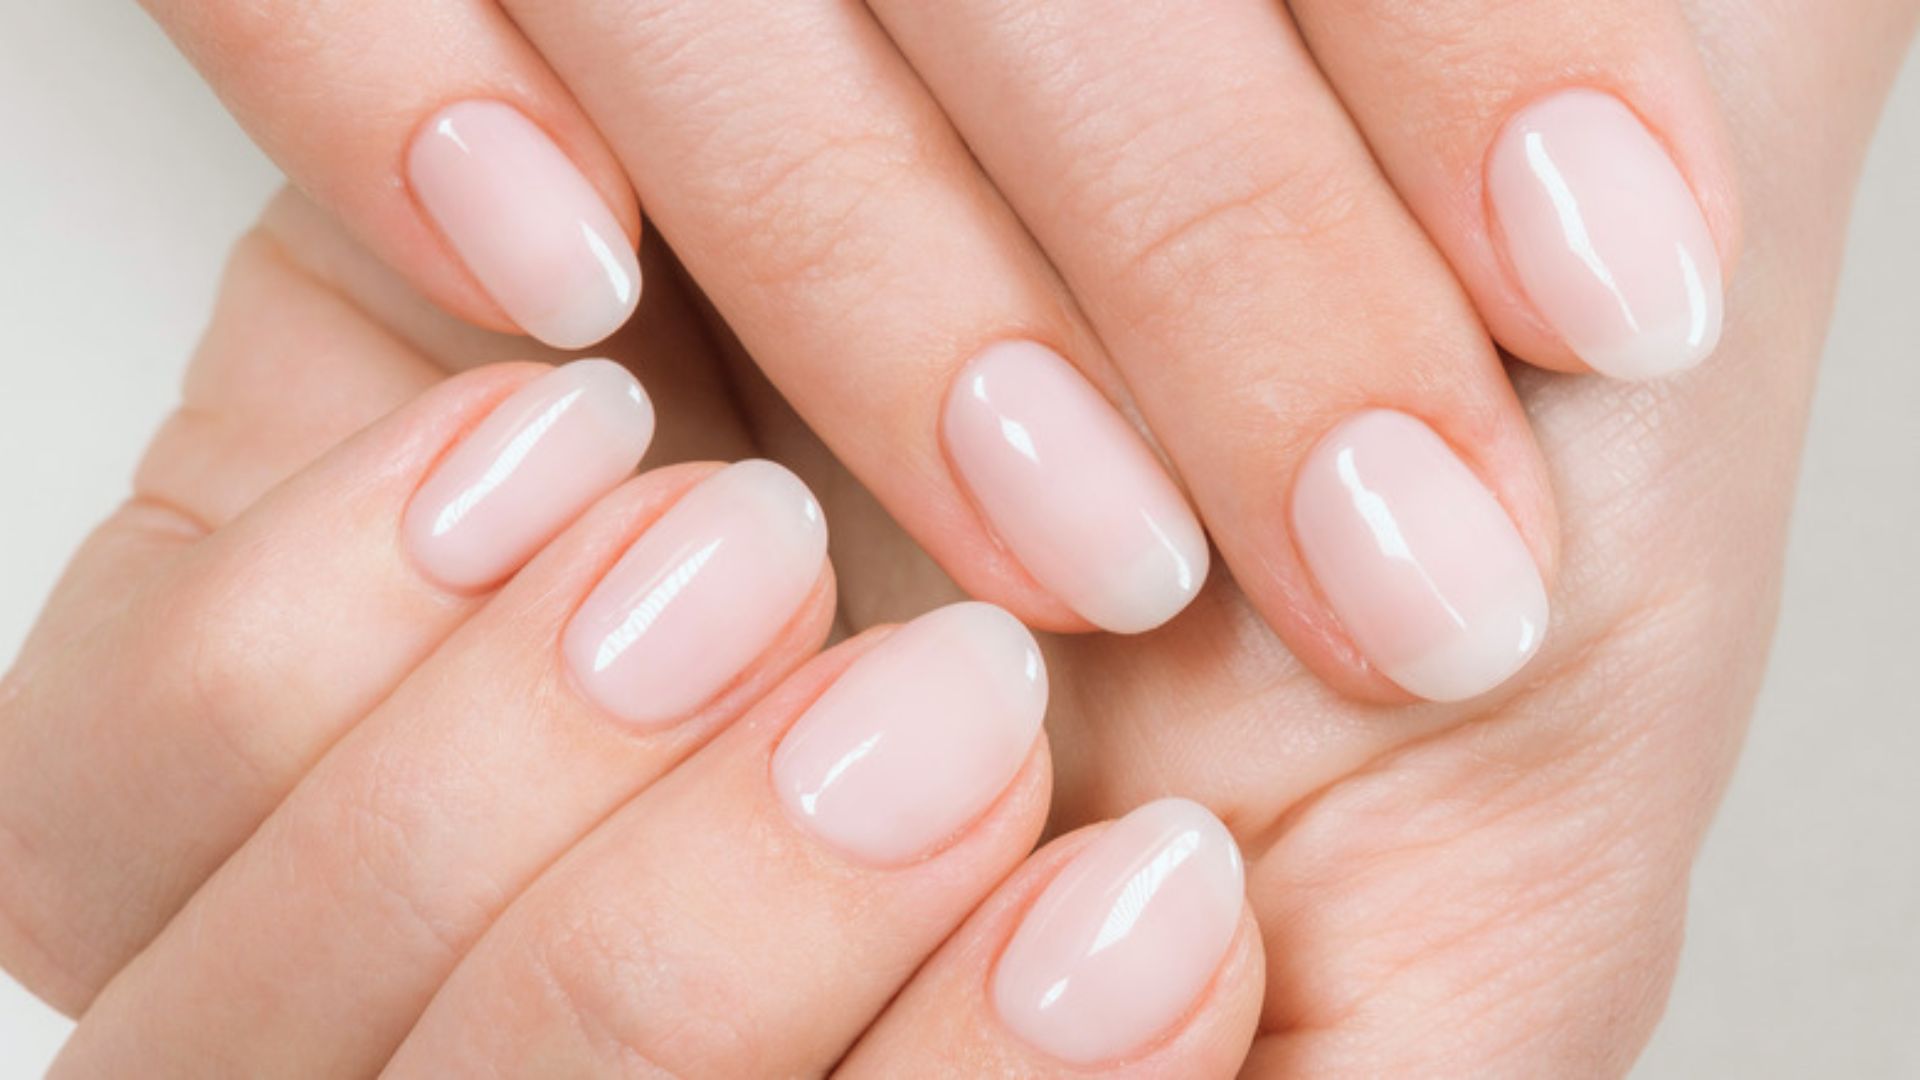
Round nails are soft and natural. They work great for shorter nails and are a solid pick for everyday wear.
Square
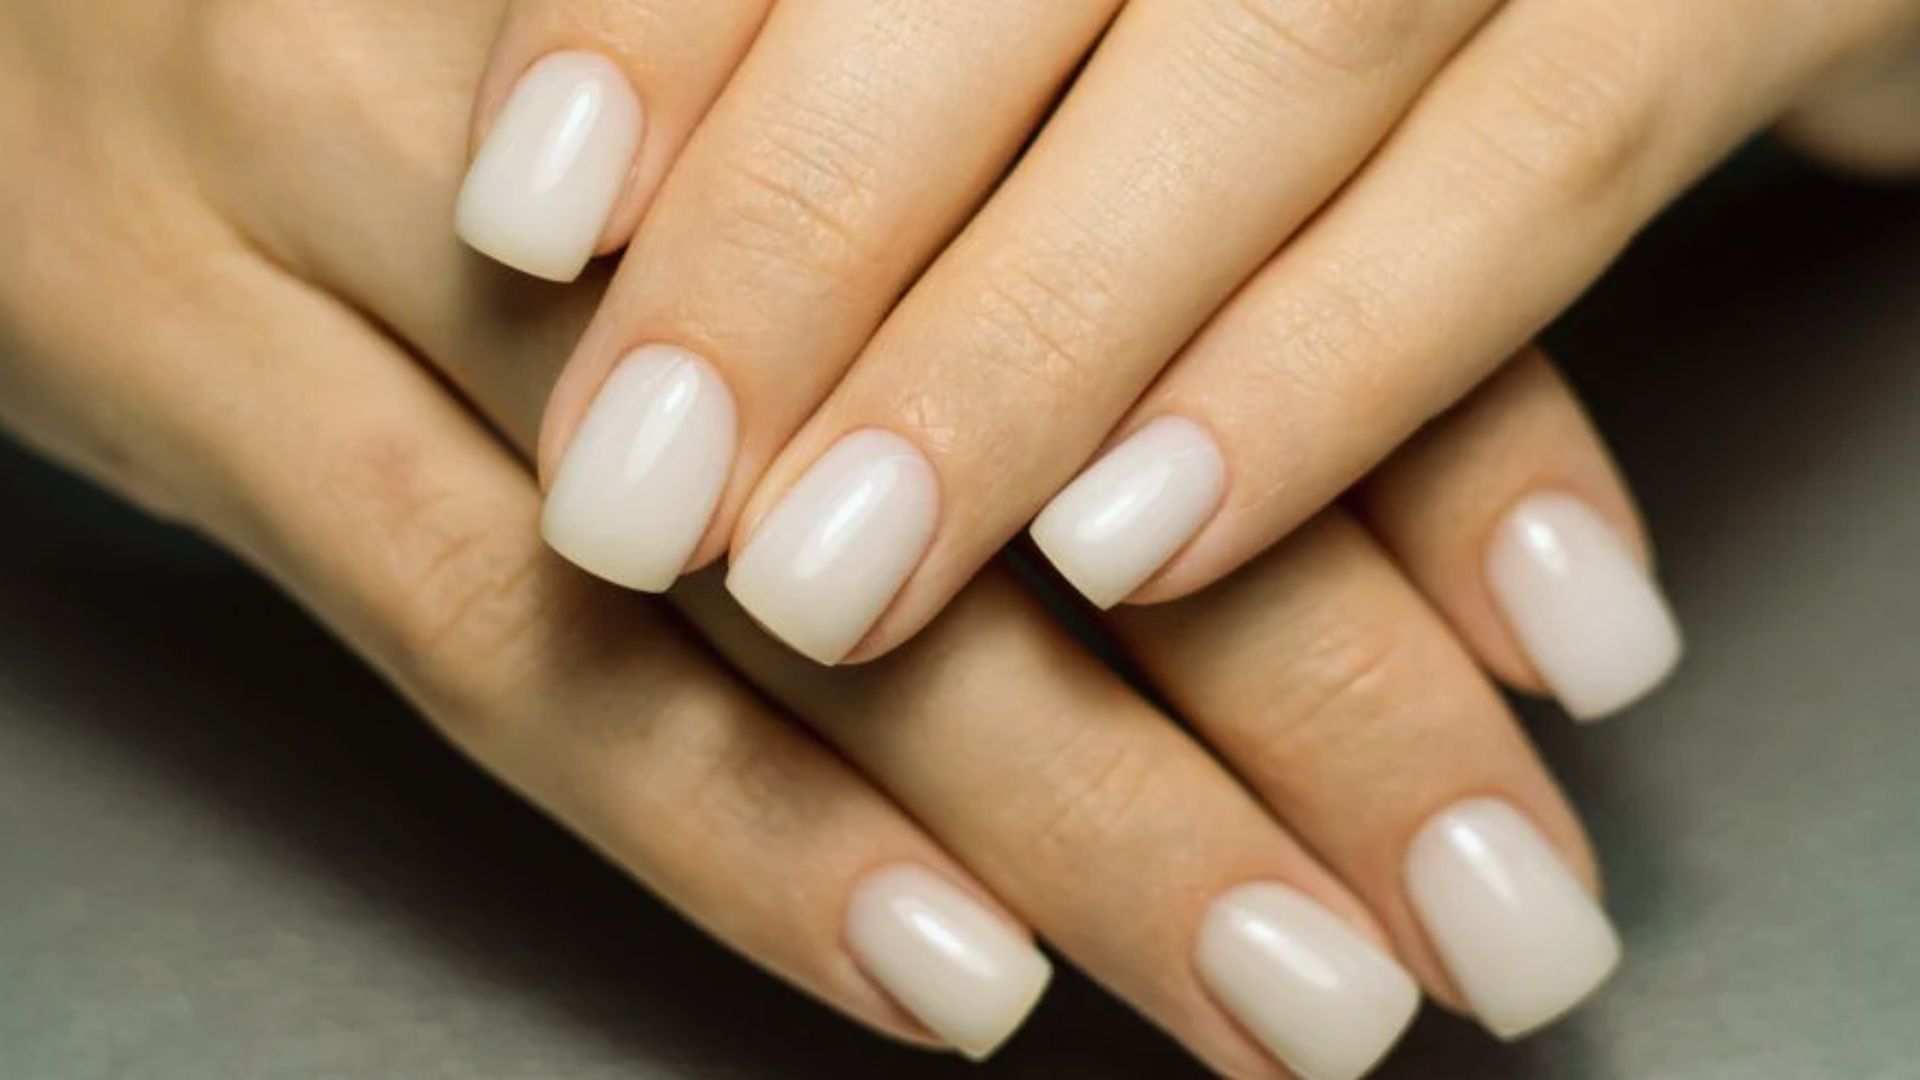
Square nails are bold and modern. They look best on medium-length nails and give a clean, sharp finish.
Squoval
Squoval is a mix of square and oval. It’s durable, flattering on most hand shapes, and a great middle-ground option.
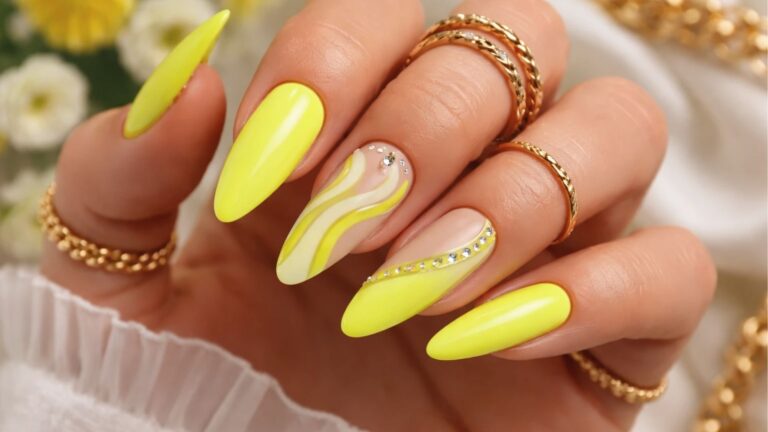
Almond
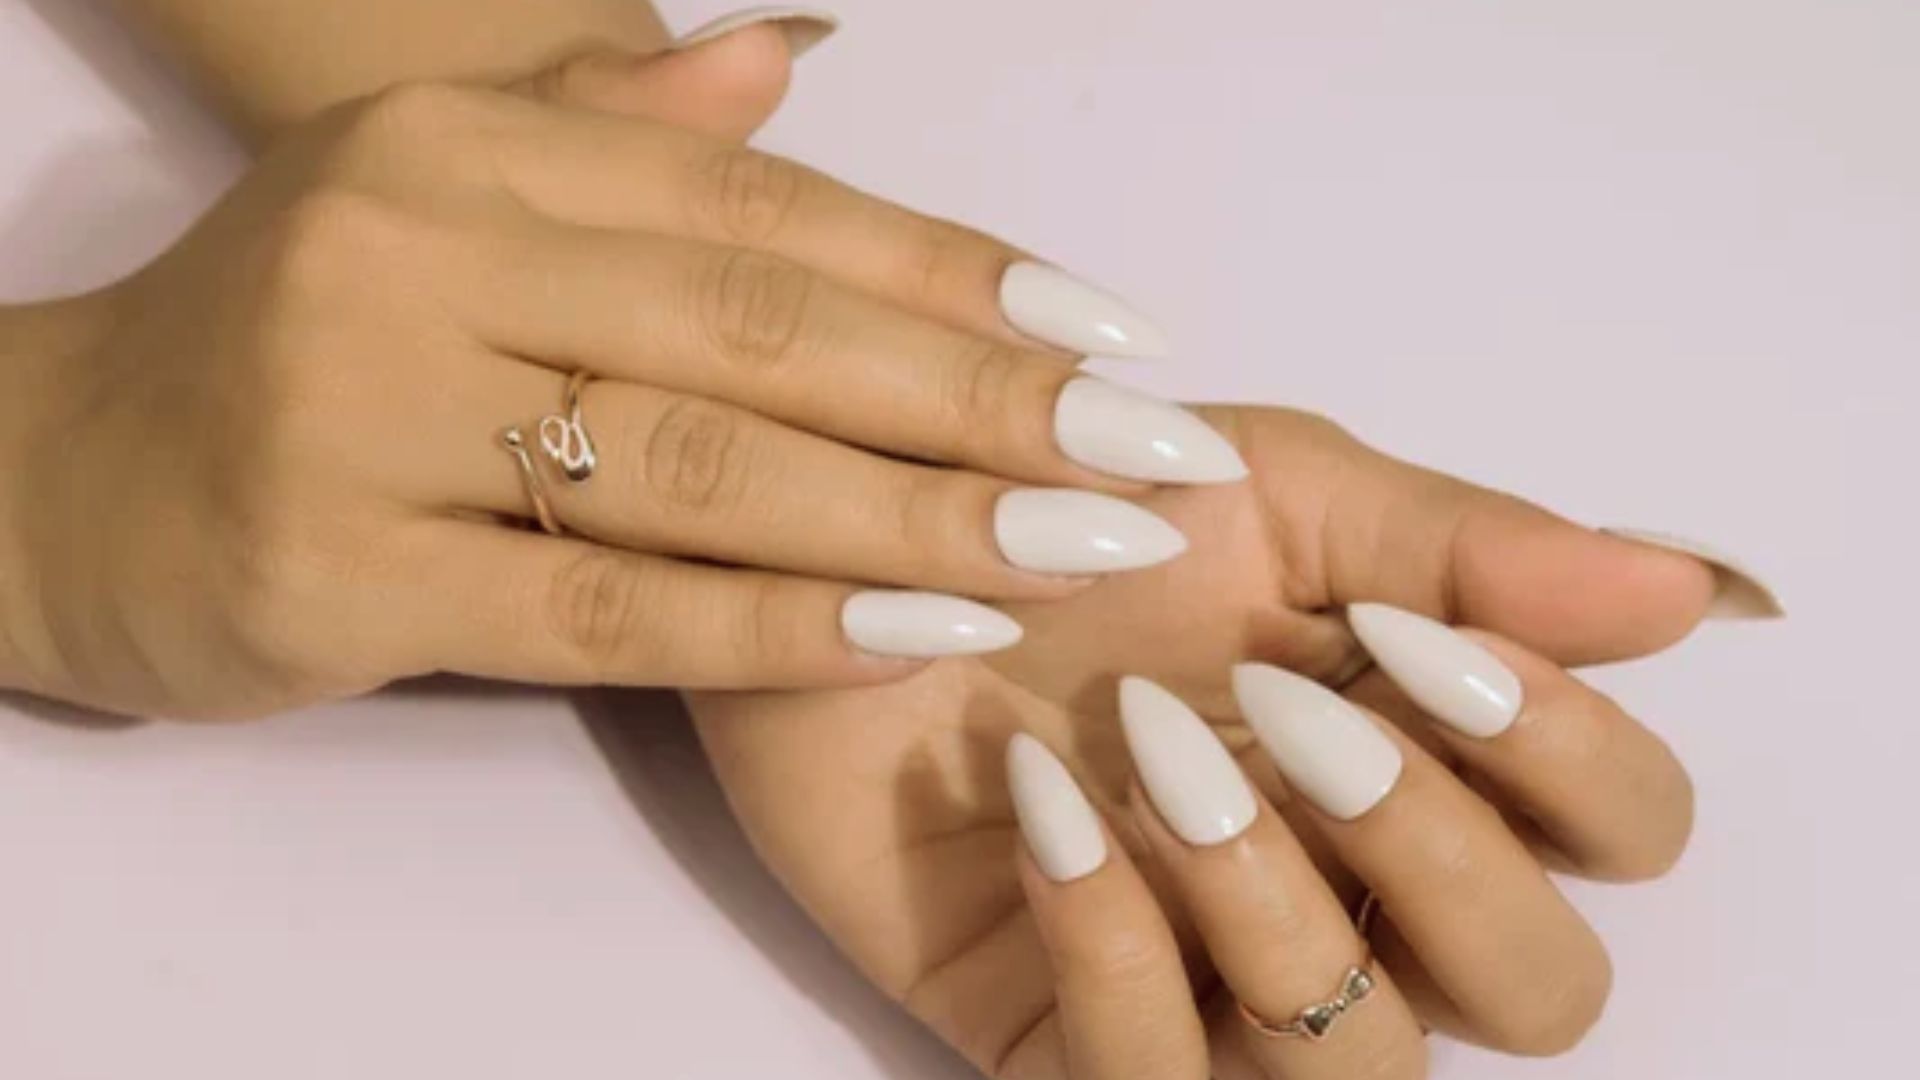
Almond nails are long and tapered. They give fingers a slimmer appearance and work best on longer nail lengths.
Coffin/Ballerina

Coffin or ballerina nails are dramatic and trendy. They look best on longer nails and make a real statement.
Think about what fits your lifestyle before picking a shape. If you work with your hands a lot, shorter and rounder is usually the smarter pick.
Step-by-Step Guide to Filing Press-On Nails
Follow these steps carefully and you’ll get a clean, polished result every time.
Step 1: Prep Your Nails Before Filing
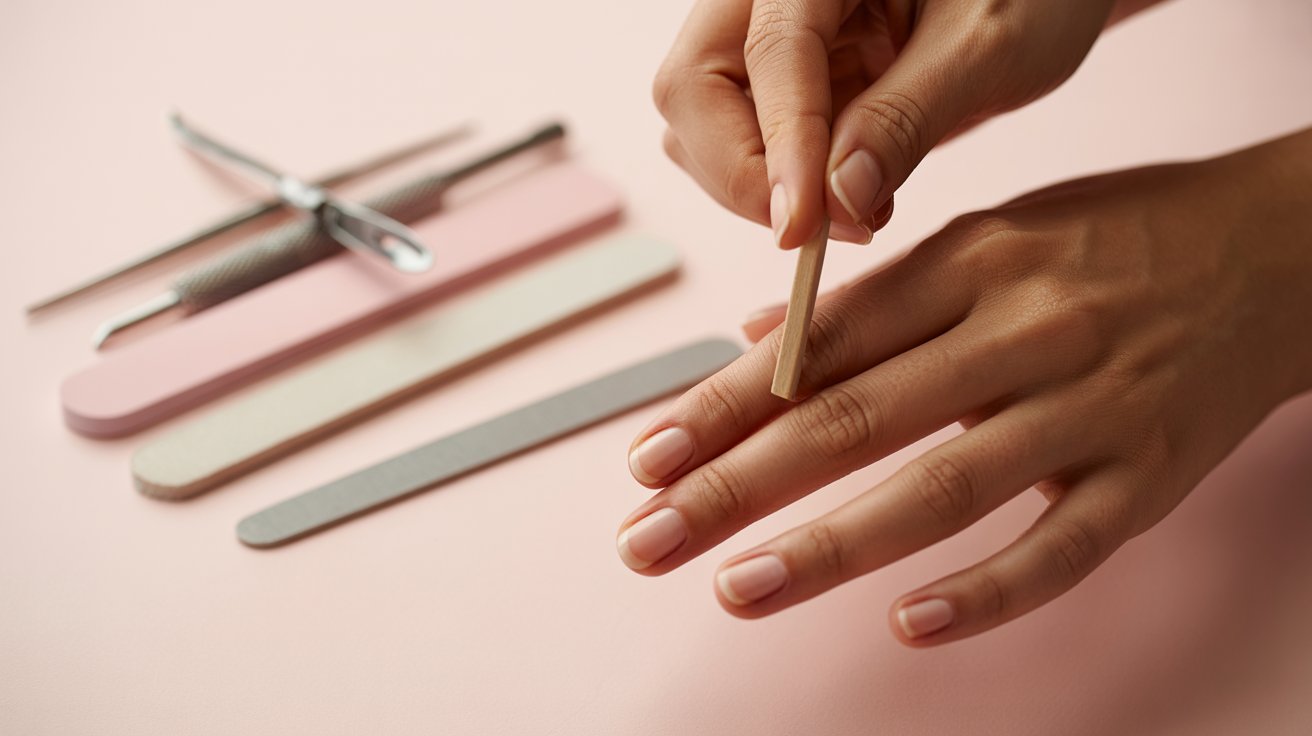
Start clean for better results and longer-lasting hold.
Wash your hands and remove any oils from your nails. Push back your cuticles gently using a cuticle stick. This gives you a clear view of your nail bed so you can size things up properly.
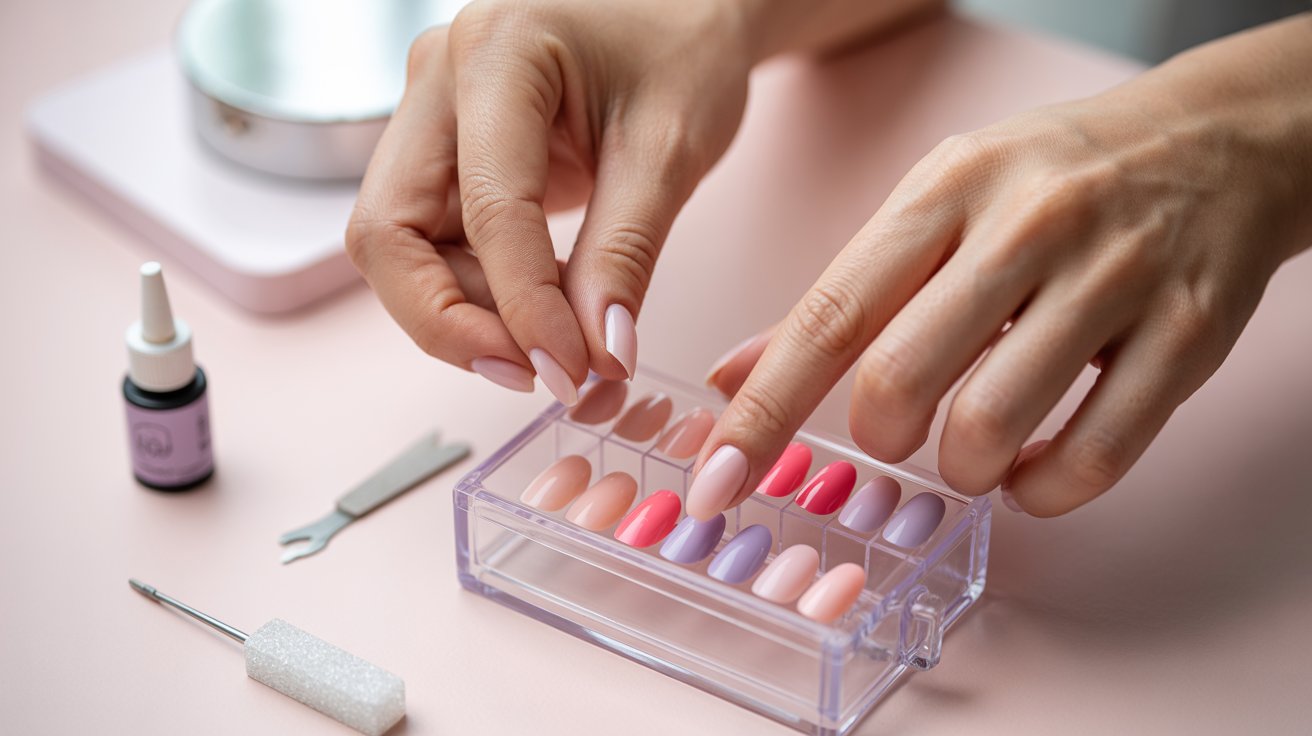
Step 2: Decide on the Shape and Length

Knowing what you want before you start saves time and prevents mistakes.
Hold the press-on nail up to your finger. Check the fit. If you need to make them shorter, note how much needs to come off. You can lightly mark the edges if that helps you stay on track.
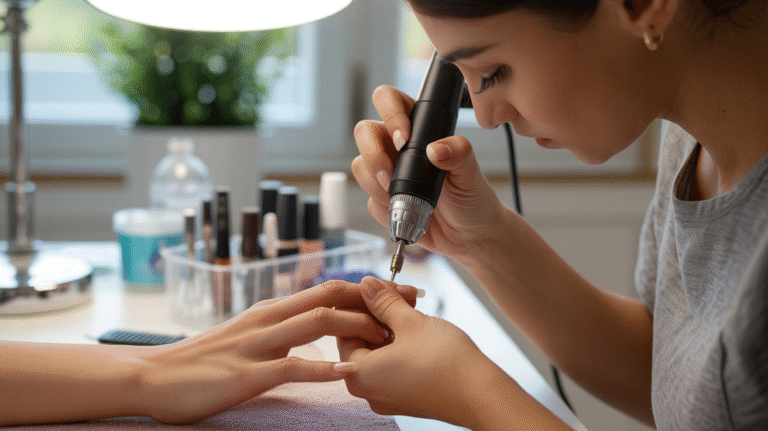
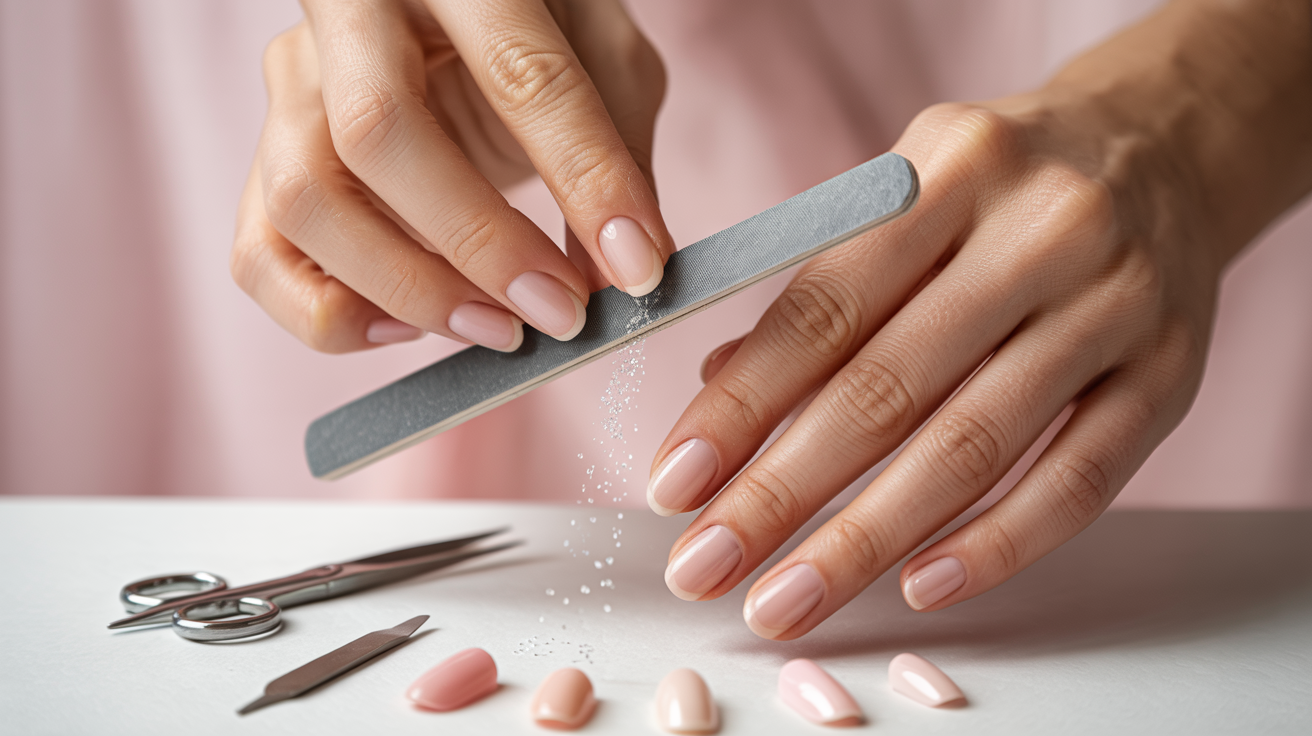
Step 3: File the Free Edge
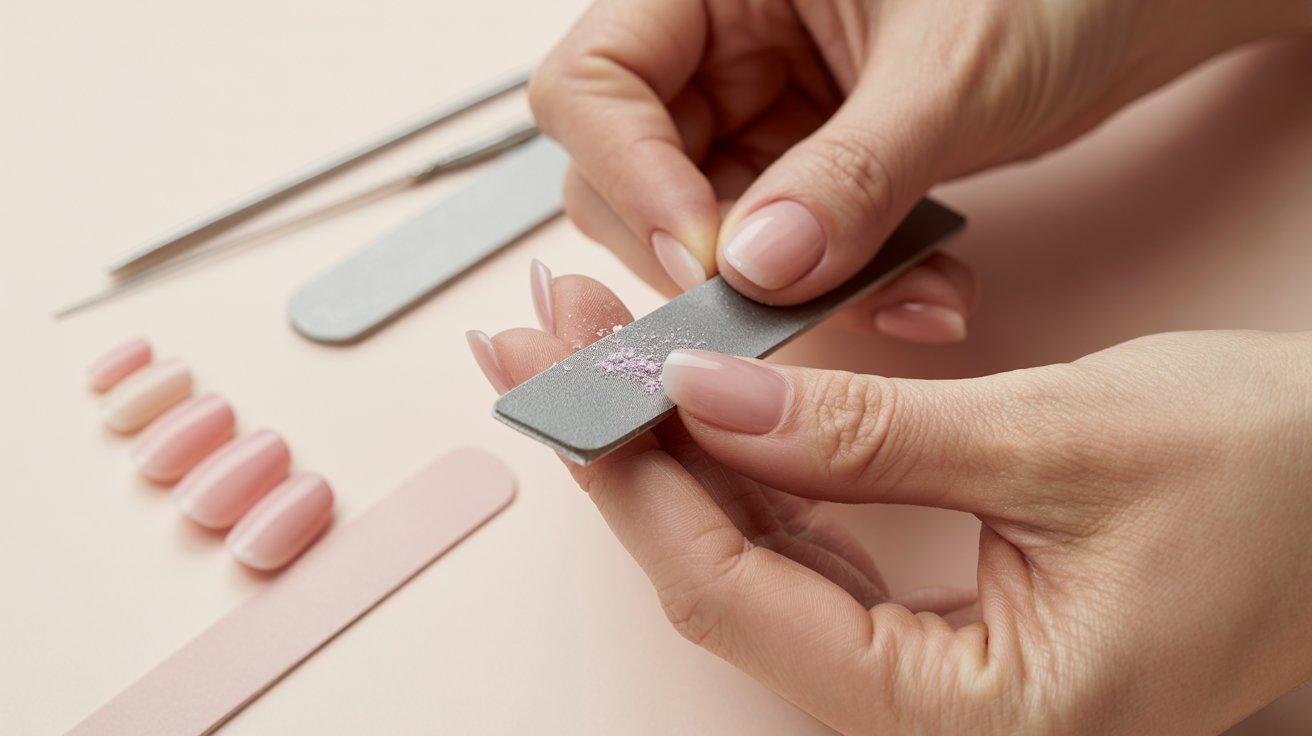
This is where you actually shape the nail tip.
Always file in one direction. Back-and-forth filing can cause the nail to crack or split. Keep your strokes smooth and steady. Focus on getting a clean, even edge across the tip.
Step 4: Adjust the Sides for a Perfect Fit
Side filing helps the press-on sit naturally on your finger.
File gently along the sides so the nail matches your natural nail width. Keep checking it against your actual finger. It’s easy to over-file, so take it slow and stop often.
Step 5: Smooth and Buff the Surface
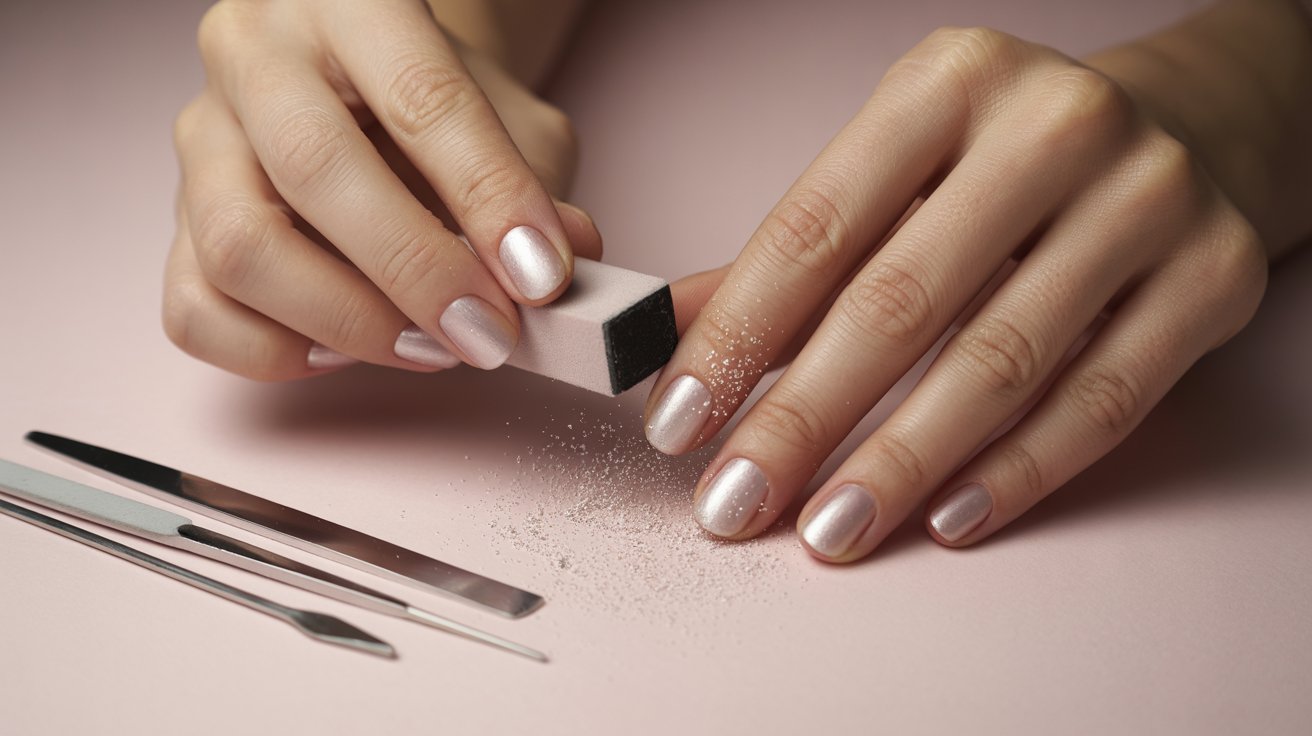
A quick buff gives you that smooth, finished look.
Run the buffer lightly over any rough spots or ridges. If you’re planning to glue the nail on, you can lightly buff the inside surface too. This helps the glue grip better.
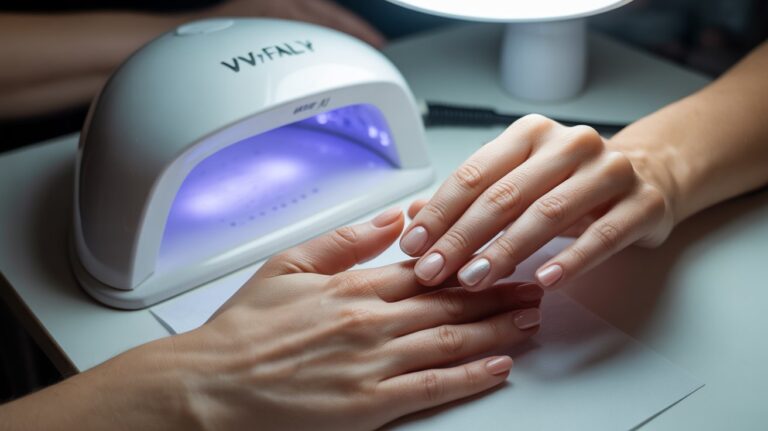
Step 6: After Filing Press-On Nails

The last step matters just as much as the rest.
Wipe your nails with a little alcohol to remove any dust or residue. Then apply your glue or adhesive tabs as usual.
After applying, try not to use your nails too aggressively for a few hours. Let everything set properly.
Can You Reuse Press-On Nails After Filing Them?
Yes, you can reuse press-on nails after filing them, but a few things matter.
Remove them carefully the first time. Soak your nails in warm water or use a nail glue remover to lift them off without damage. Forcing them off can crack or warp the nail.
Once removed, clean the leftover glue from the back and let them dry fully before storing.
Just remember that field press-ons are slightly smaller than before. Check the fit again before reapplying. Store them in a small container and label by finger to save time next round.
Common Mistakes to Avoid When Filing Press-On Nails
A few small mistakes can ruin an otherwise great set of press-ons.
- Filing back and forth creates heat and friction that cracks the nail. Always move in one direction only.
- A coarse file removes too much too fast and leaves jagged edges. Use fine-grit or glass instead.
- Over-filing the sides weakens the nail and makes it too narrow. Check the fit often and stop when it matches your nail bed.
- Skipping the buffer leaves rough edges after filing. A quick buff gives a much cleaner finish.
- Filing aggressively after applying can lift or pop the nail off. Be gentle and stick to the tip and edges only.
Tips for Filing Press-On Nails
Small habits make a big difference when filing press-ons.
- File gradually, a little at a time, to avoid removing too much
- A glass file gives smoother results than a regular emery board
- Always move the file in one direction only, never back and forth
- Hold the nail up to your finger often to check the fit as you go
- Take extra time with longer nails to keep the shape even on both sides
Conclusion
Filing press-on nails honestly changed how I use them. Before I started doing this, I’d just slap them on and hope for the best. Now I take five extra minutes to file and shape, and the difference is huge.
If your press-ons never feel quite right, try filing them before applying. You’ll be surprised how much better they look and feel.
Give it a go and let me know how it turns out in the comments. And if you found this helpful, share it with a friend who loves press-ons too.
Frequently Asked Questions
Can you file press-on nails after applying them?
Yes, you can file press-on nails after applying, but be careful around the base. Stick to the edges and tip to avoid loosening the glue.
Can you file press-on nails to make them shorter?
You can file them shorter, but do it gradually. Check the length against your finger often so you don’t remove too much at once.
Can you file press-on nails to fit your nail bed better?
Filing the sides is one of the best ways to get a snug, natural fit. Just go slow and check the fit frequently as you file.
What type of nail file works best for press-on nails?
A glass nail file or a fine-grit file works best. These give you more control and create a smoother edge without cracking the nail.
Is it safe to file press-on nails without breaking them?
Yes, as long as you file in one direction and avoid using too much pressure. Filing back and forth is what usually causes cracking or splitting.