How to Prep Nails for Polish for Long-Lasting Wear

Ever painted your nails and watched the polish chip by the next day? I’ve been there, and it’s frustrating. The secret isn’t the polish. It’s the prep.
In this guide, you’ll learn exactly how to prep nails for polish the right way. I’ll walk you through the tools, steps, and mistakes to avoid.
Whether you’re a beginner or just want better results, this is for you.
With years of at-home manicure experience, I’m sharing what actually works.
Why Nail Prep Matters Before Applying Polish
Most people skip nail prep and go straight to painting. That’s the biggest reason polish doesn’t last.
When nails are clean and dry, polish grips better. No oil, moisture, or dust means color holds for 7 to 10 days or more.
Skipping prep leads to bubbles, peeling, and chipping. A clean, buffed surface gives polish something solid to stick to.
Good prep takes minutes. The results last all week.
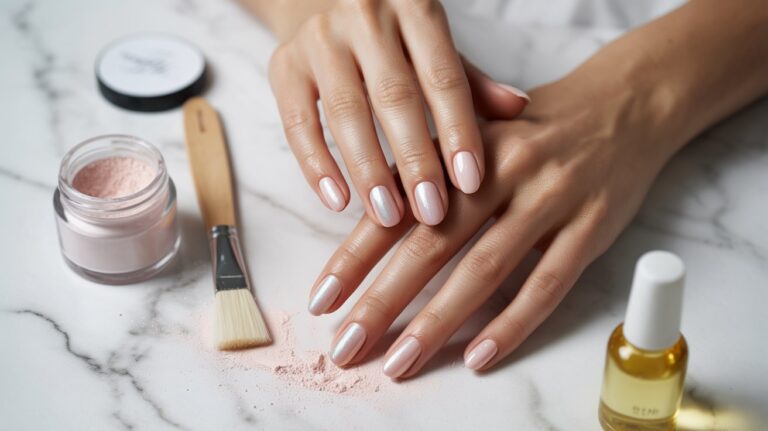
Essential Tools Needed to Prep Nails for Polish
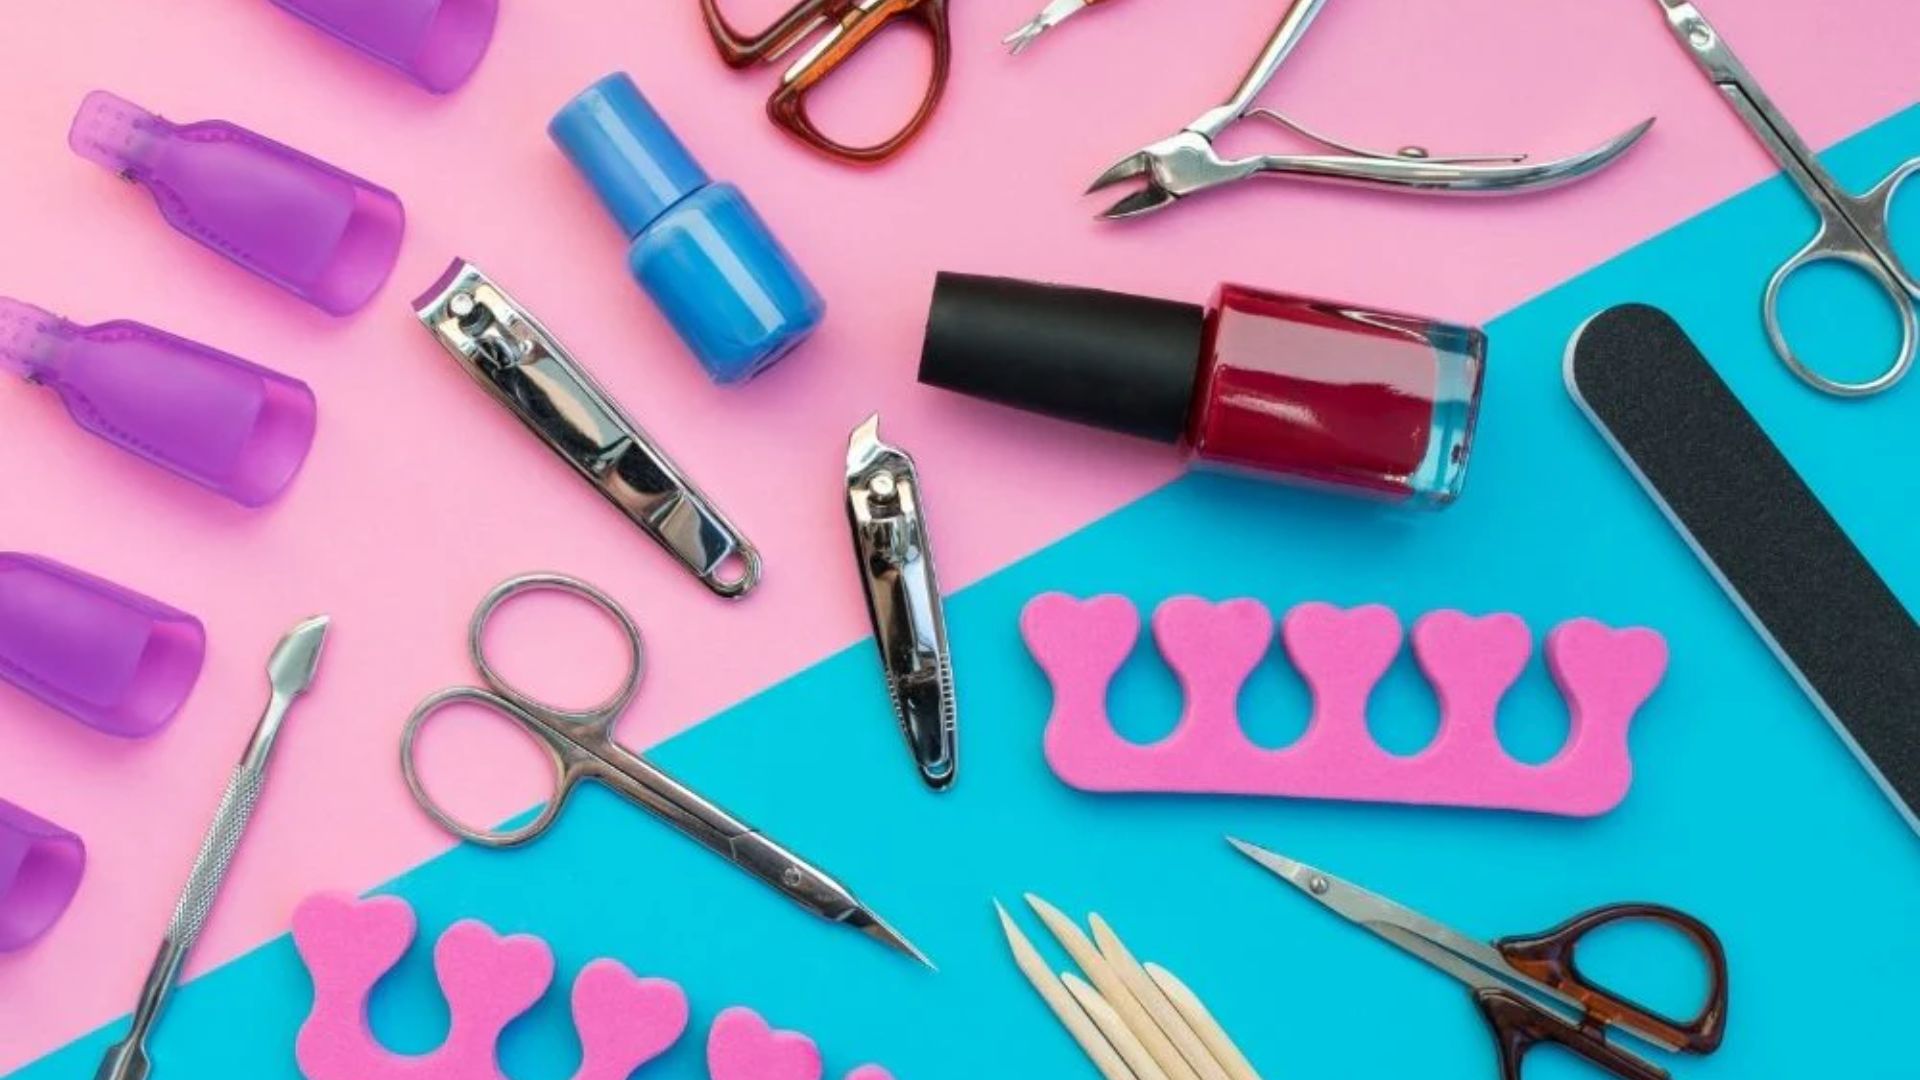
You don’t need a full salon kit. Just a few good tools make a real difference.
A nail file, buffer block, and clippers handle shaping and smoothing. A cuticle pusher and nipper keep cuticles neat. Cotton pads and nail polish remover give you a clean start.
For products, keep cuticle oil and softener nearby. Use rubbing alcohol or nail cleanser to degrease. Finish with a good base coat. A nail primer is optional but helps with extra hold.
That’s all you need to get started.
Step-by-Step Guide on How to Prep Nails for Polish
Follow these steps every time and you’ll notice a clear difference in how long your polish stays on.
Step 1: Remove Old Nail Polish Completely
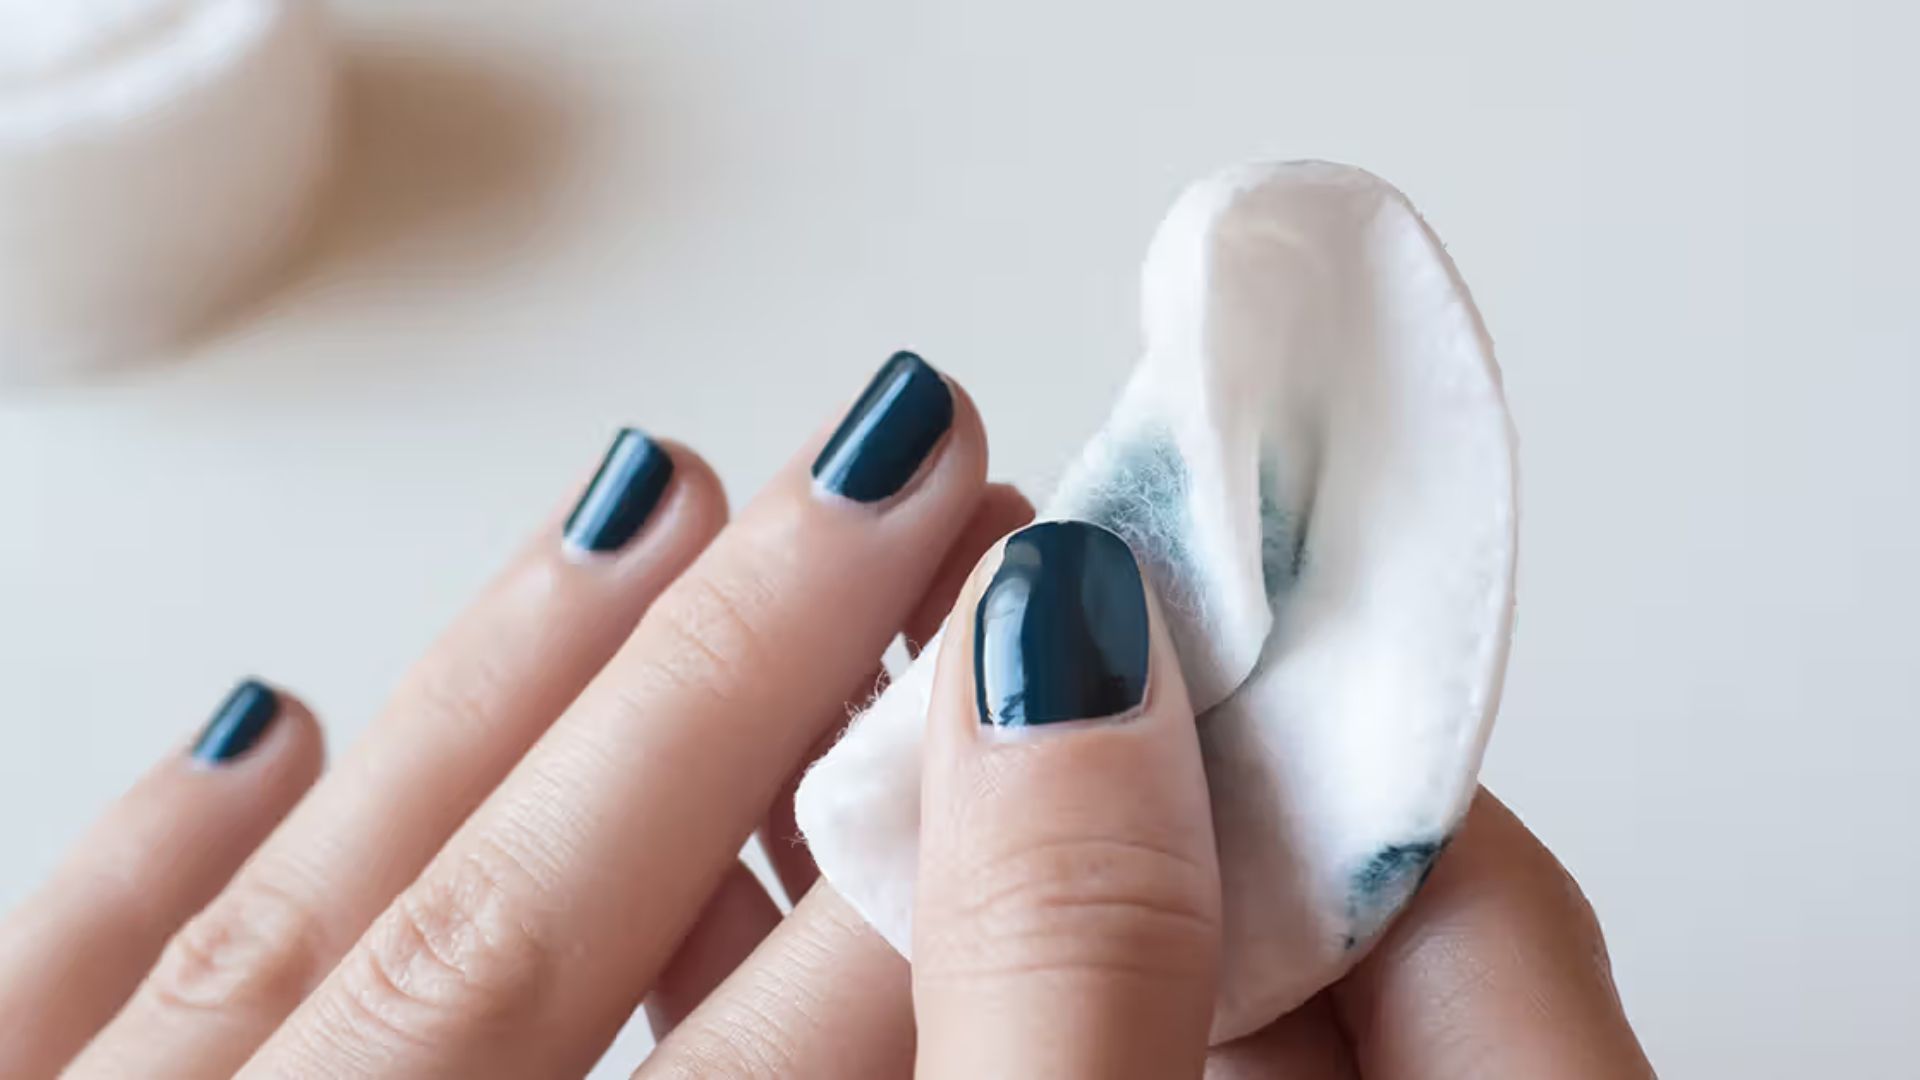
Start fresh. Use a gentle, acetone-free remover if your nails are dry or weak. Soak a cotton pad and press it on each nail for a few seconds before wiping.
Don’t rush this step. Clean the edges and corners too. Old polish left in those areas causes lifting later.
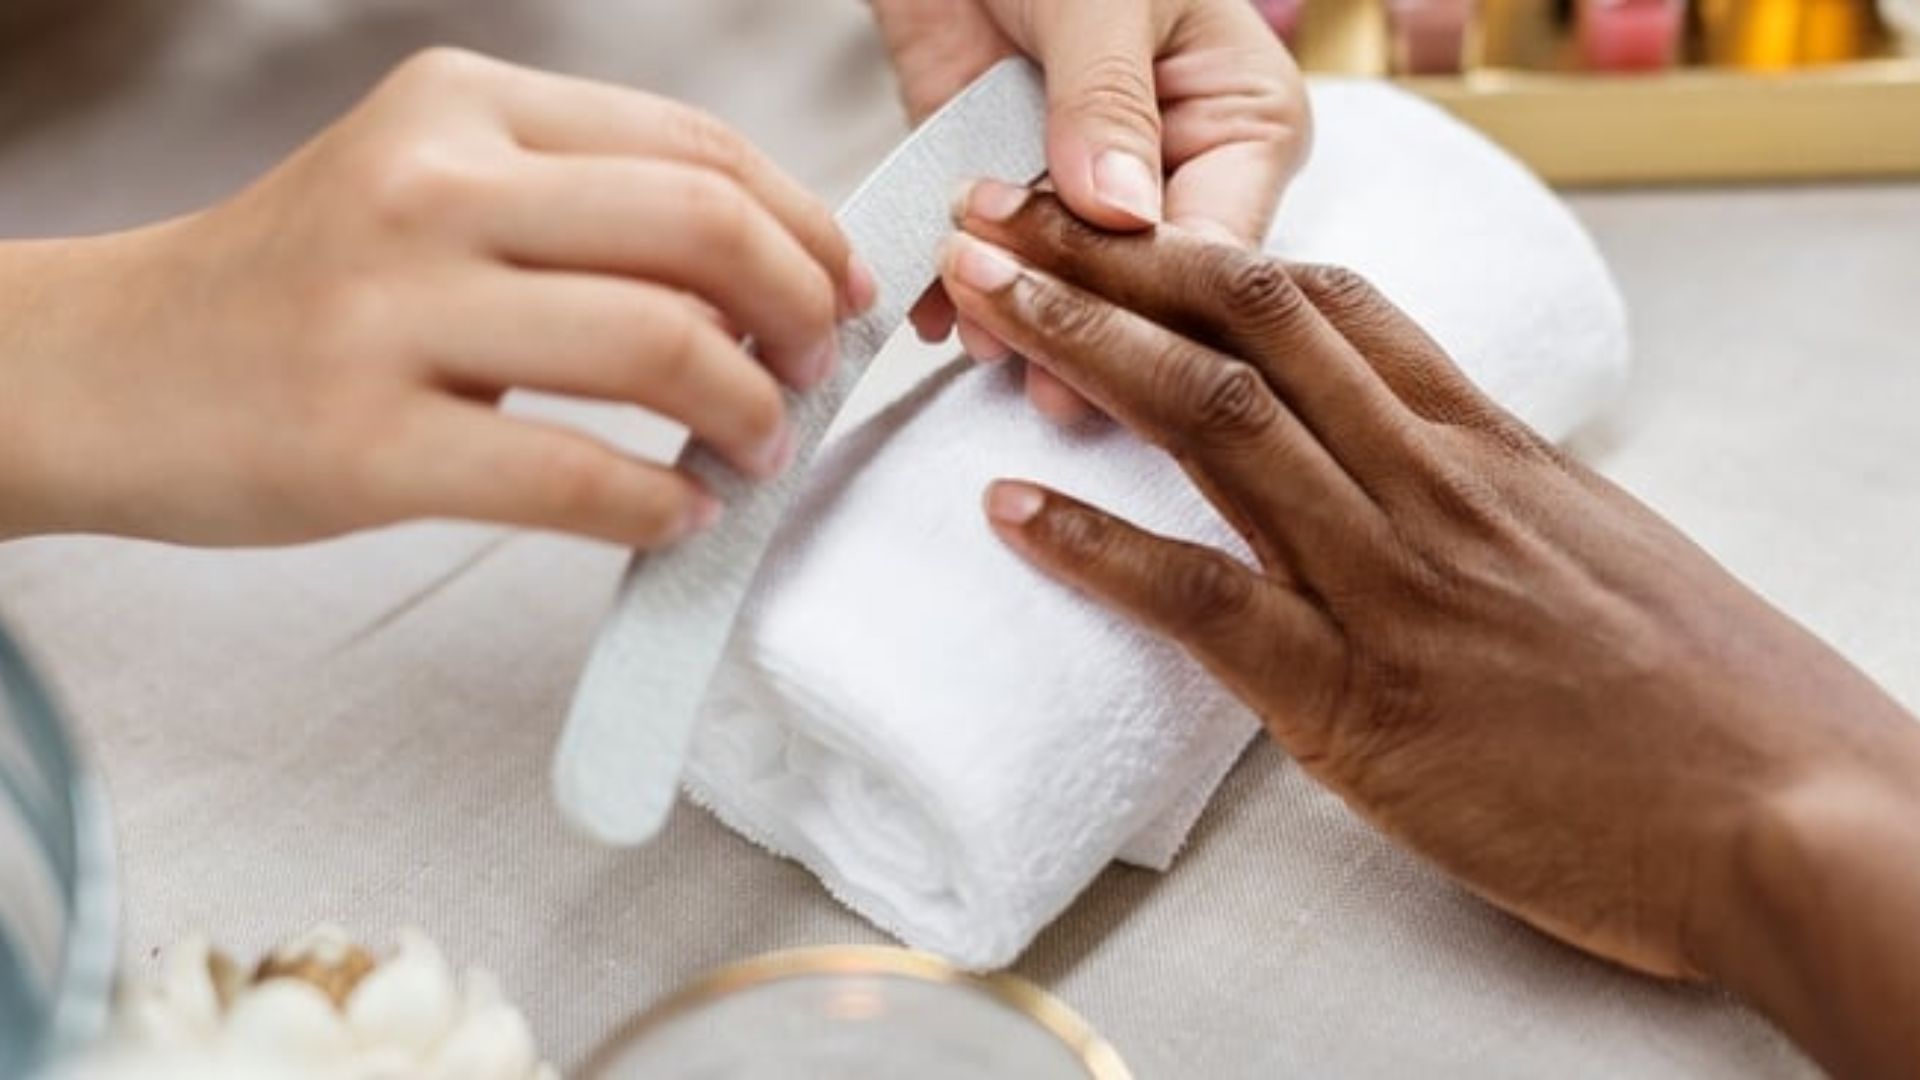
Step 2: Trim and Shape Your Nails
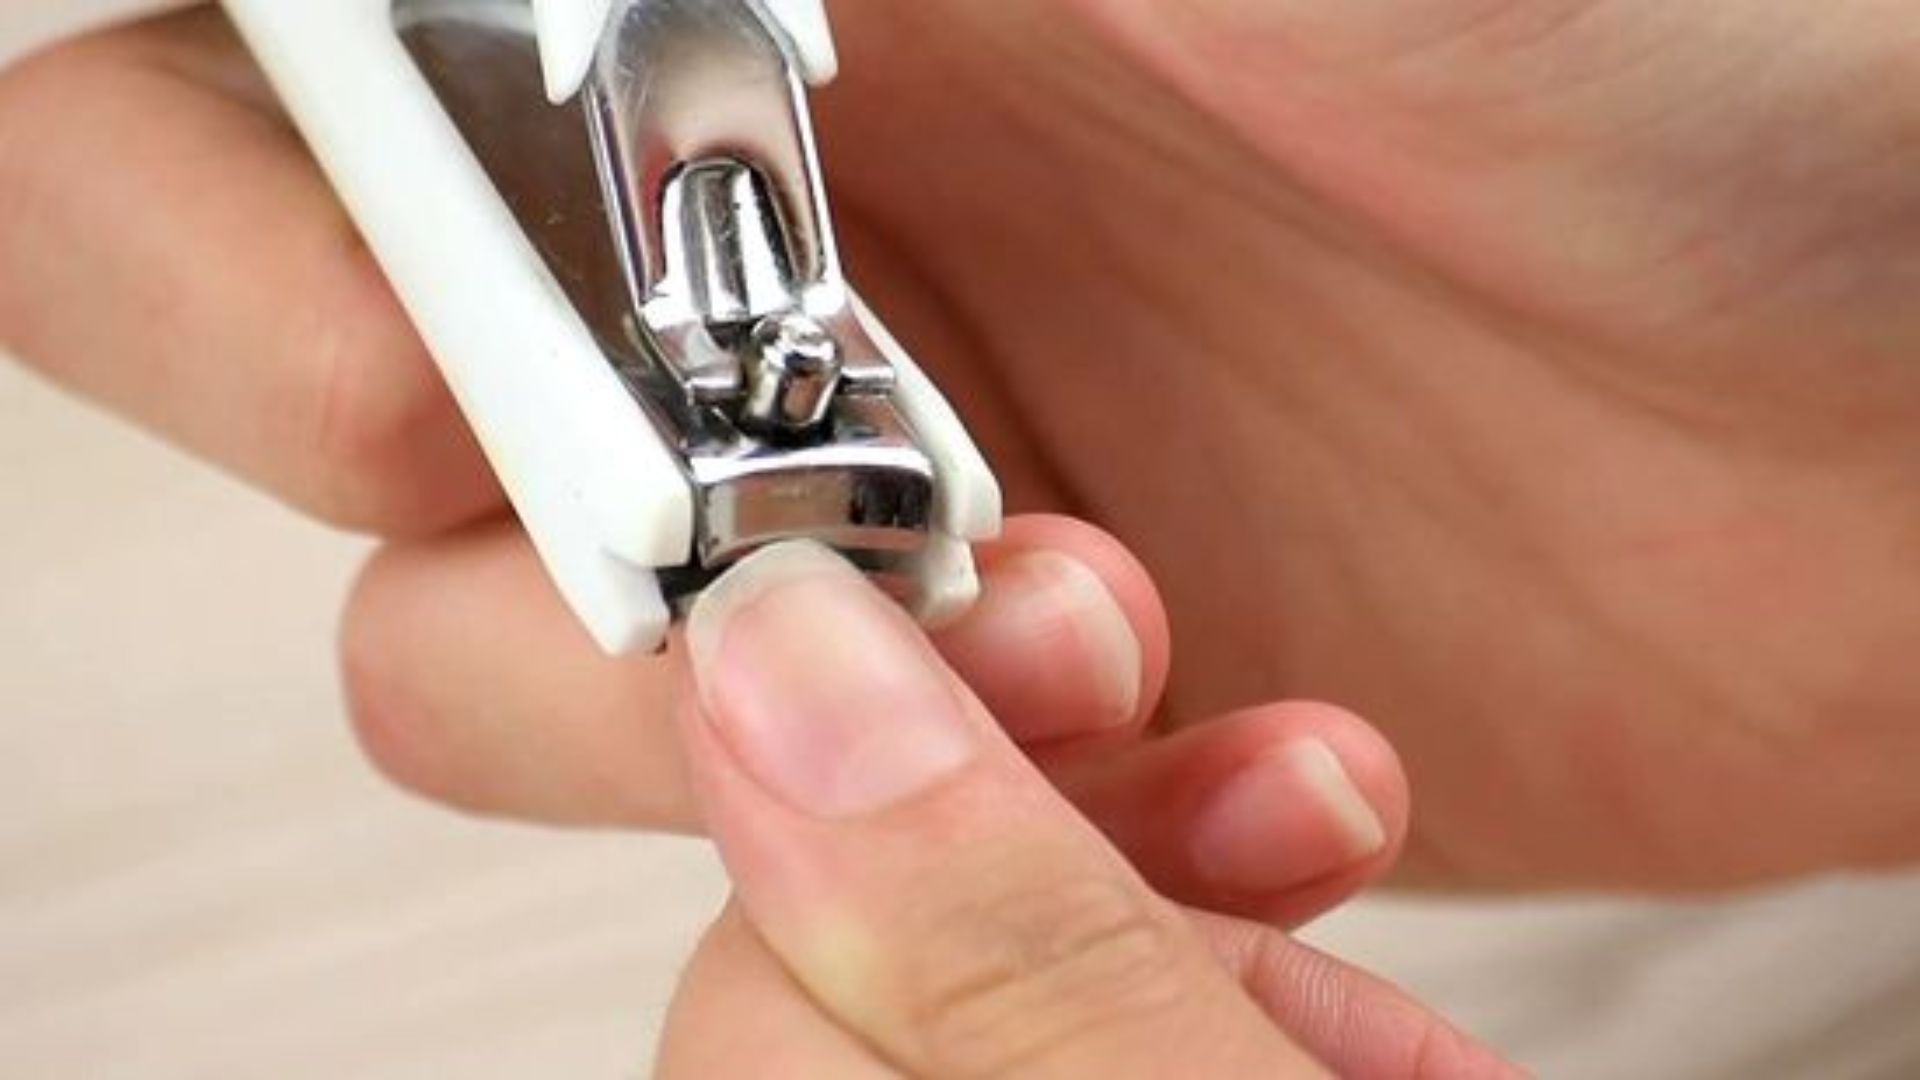
Cut your nails to your preferred length using nail clippers. Then use a file to shape them. Always file in one direction. Going back and forth weakens the nail and causes splits.
Choose a shape that suits your hand:
Square, oval, round, or squoval all work well depending on your nail length and finger shape.
Step 3: Soften and Push Back Cuticles
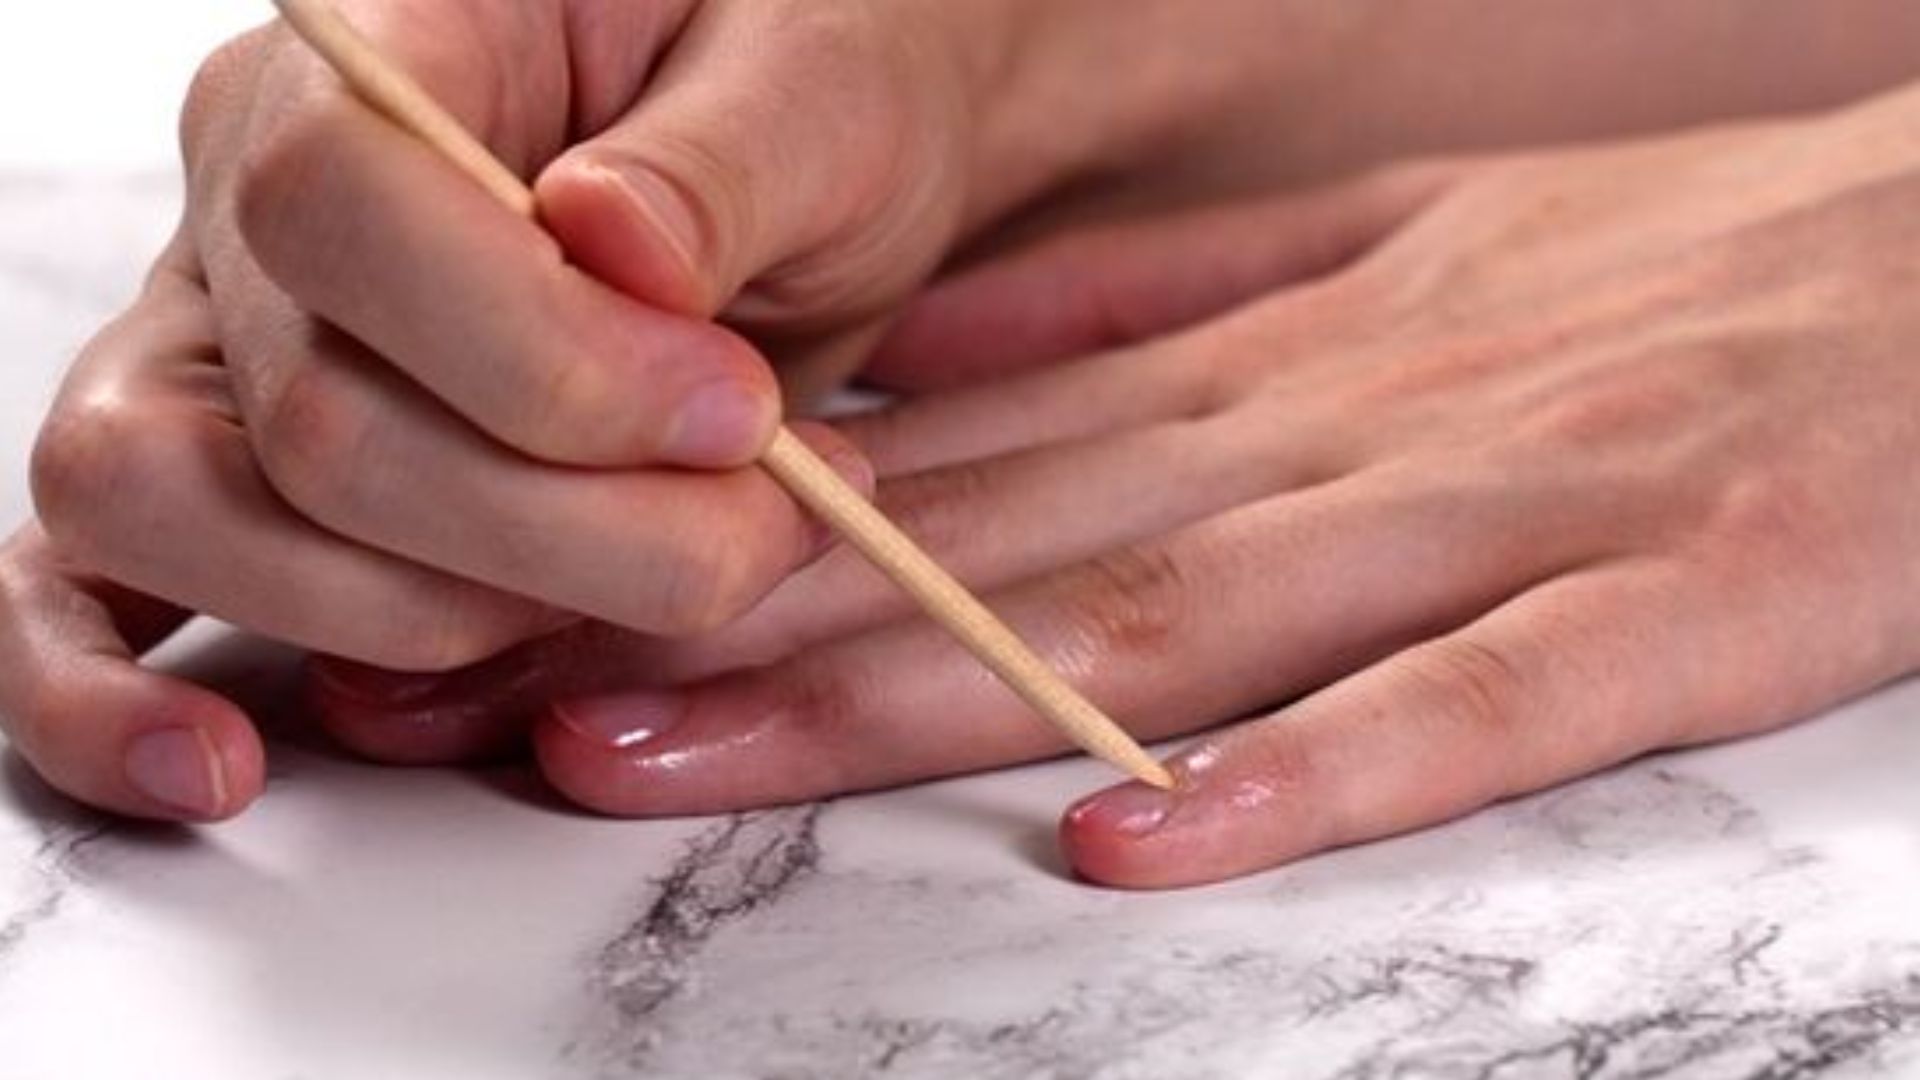
Apply a cuticle softener or soak your fingertips in warm water for a few minutes. Then use a cuticle pusher to gently move the skin back.
Only remove dead skin. Do not cut live cuticle tissue. Cutting too deep causes pain, bleeding, and infection risk.
Step 4: Lightly Buff the Nail Surface
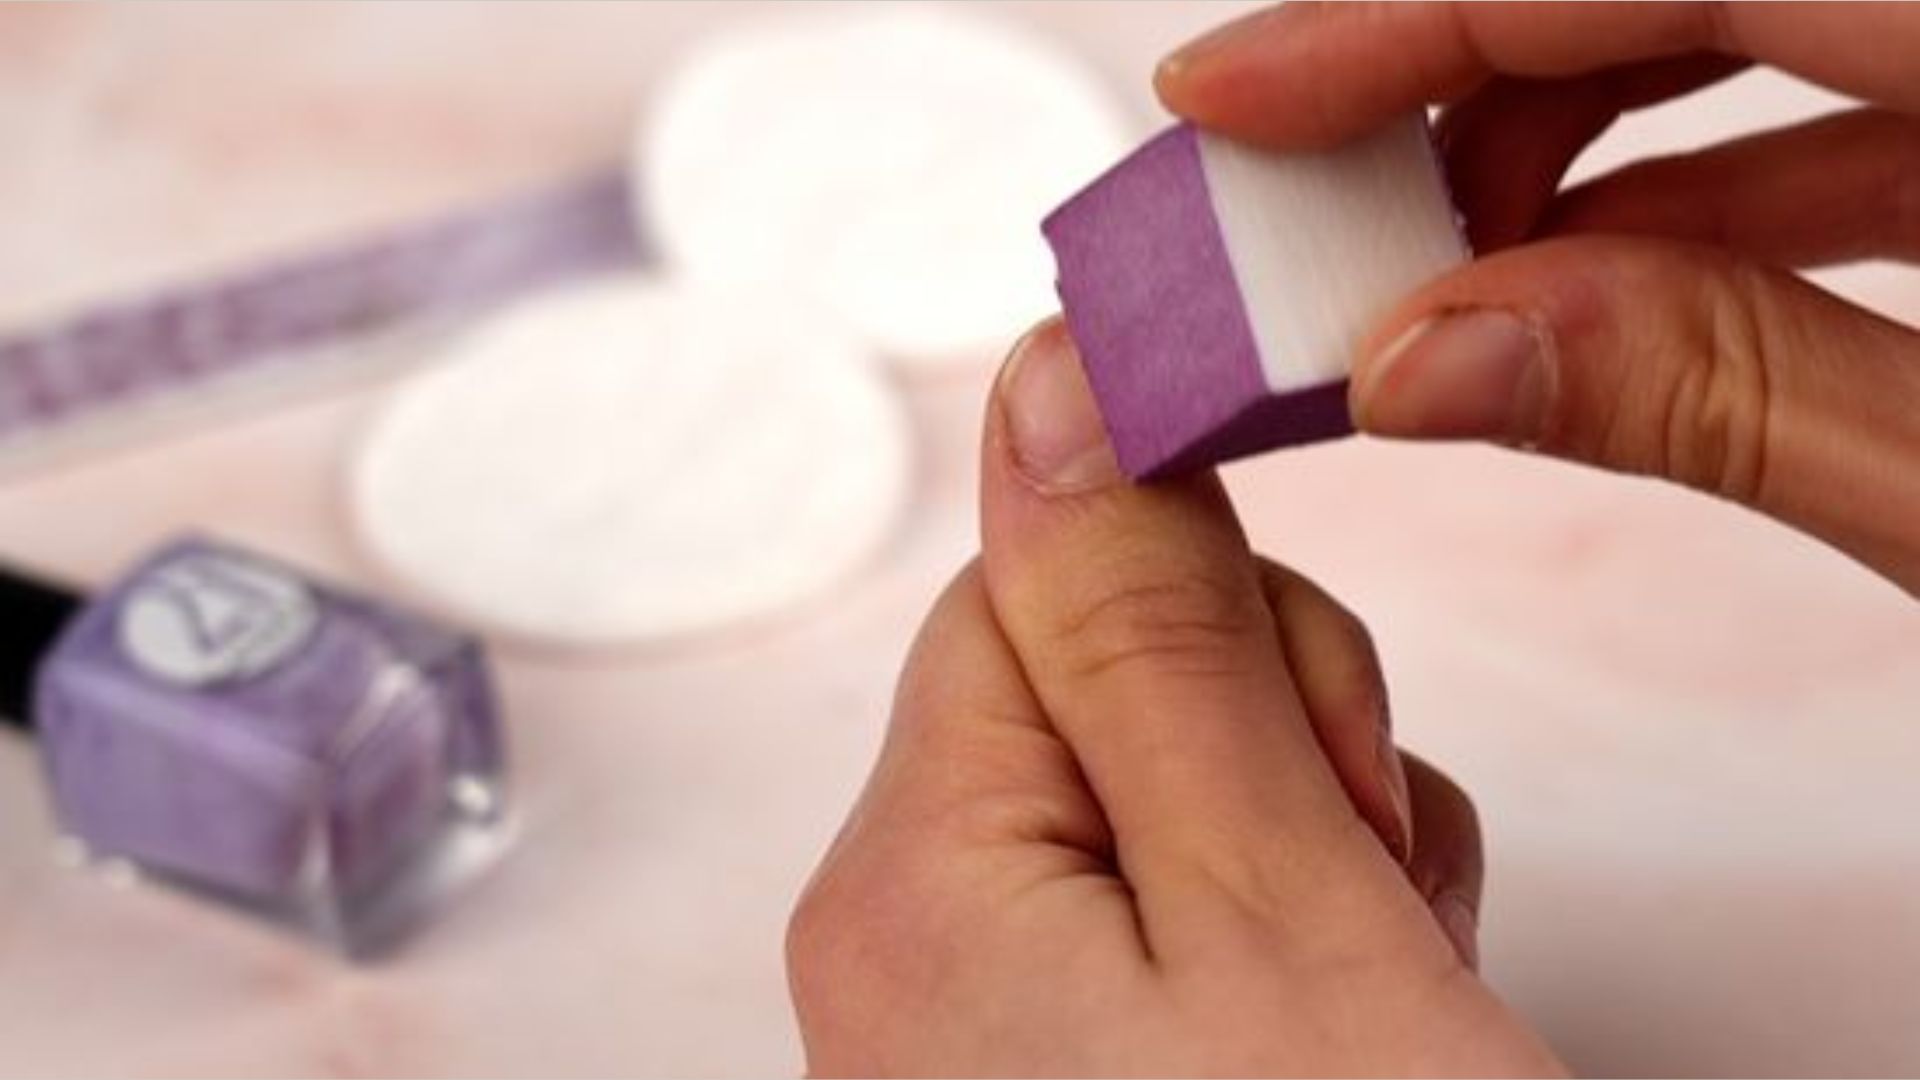
Use the smooth side of a buffer block to gently go over each nail. This removes shine and evens out small ridges.
Do this lightly. One or two passes is enough. Over-buffing thins the nail plate and weakens your nails over time.
Step 5: Clean and Wash Your Nails
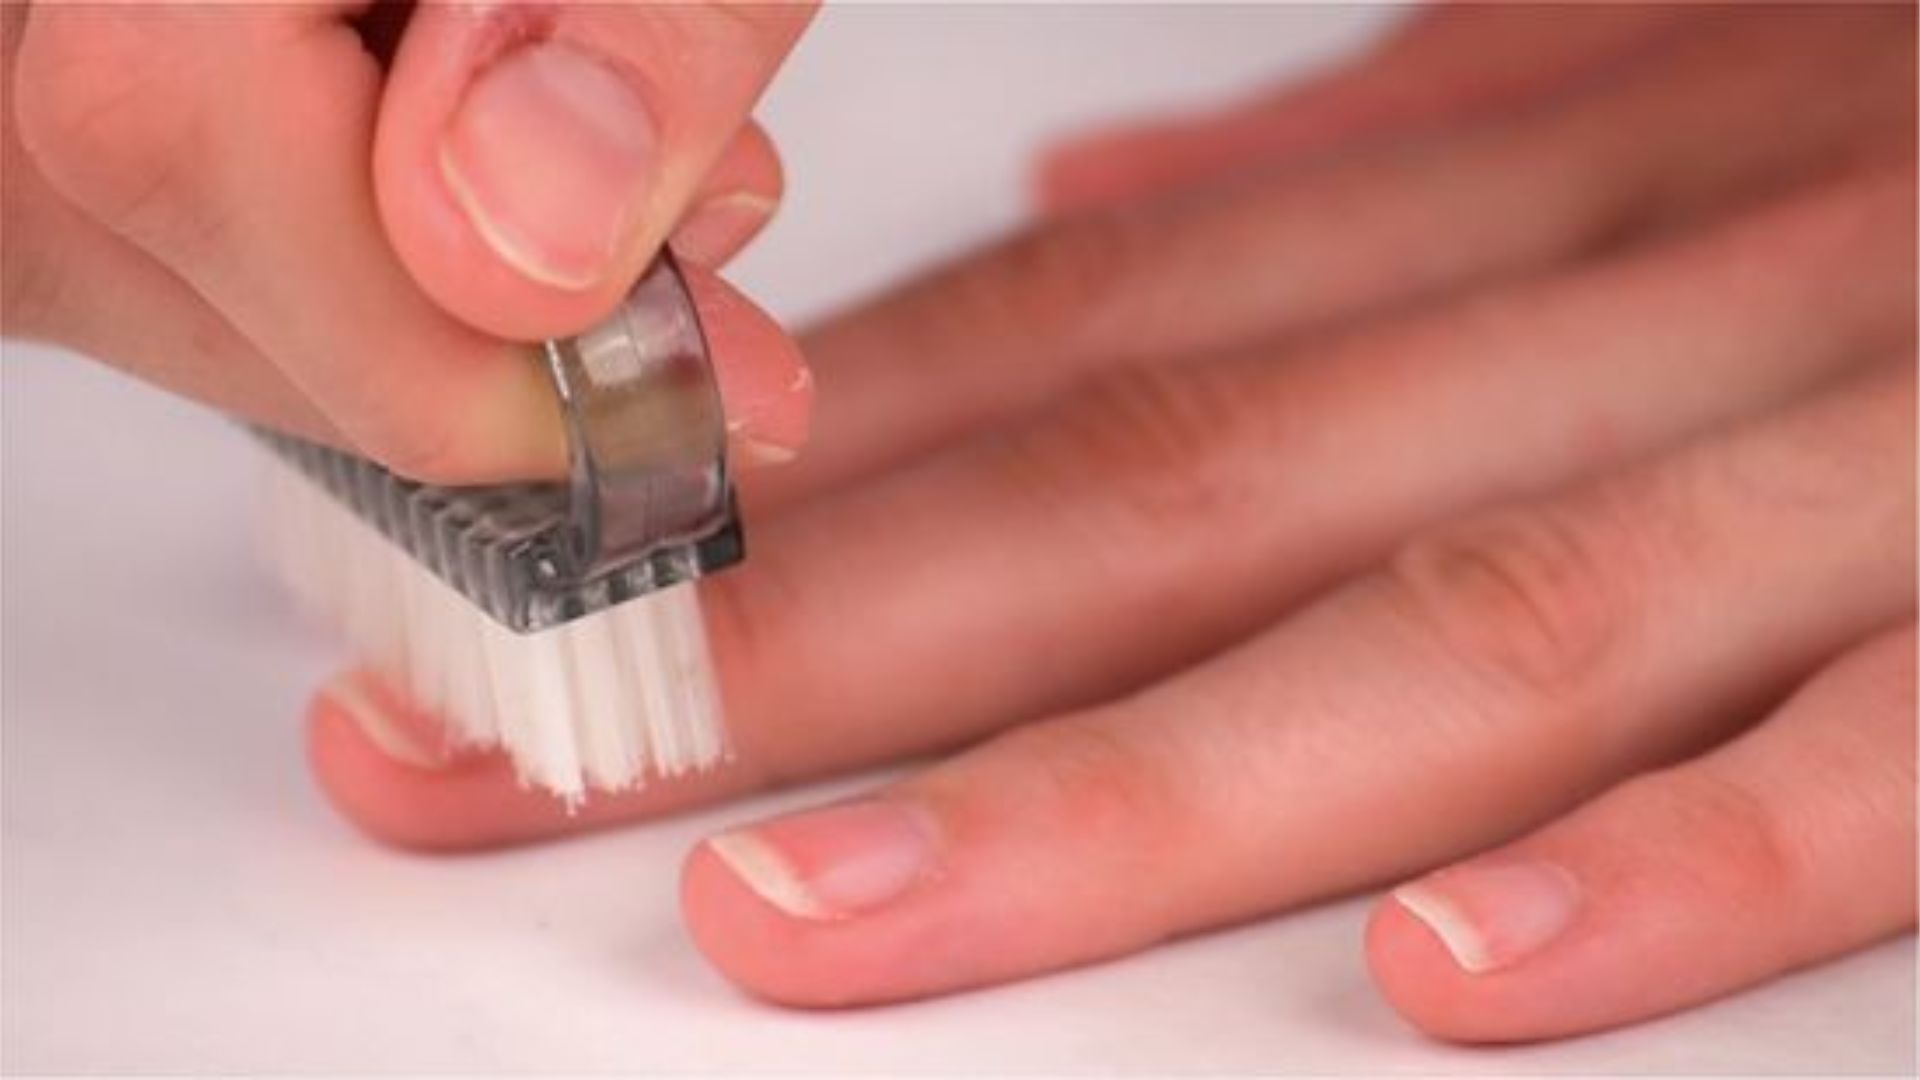
After buffing, dust and debris sit on your nails. Wash your hands with soap and water. Make sure you rinse thoroughly and dry completely.
Wait until your nails are fully dry before moving on. Any moisture at this stage will ruin your polish.
Step 6: Dehydrate and Degrease Nails
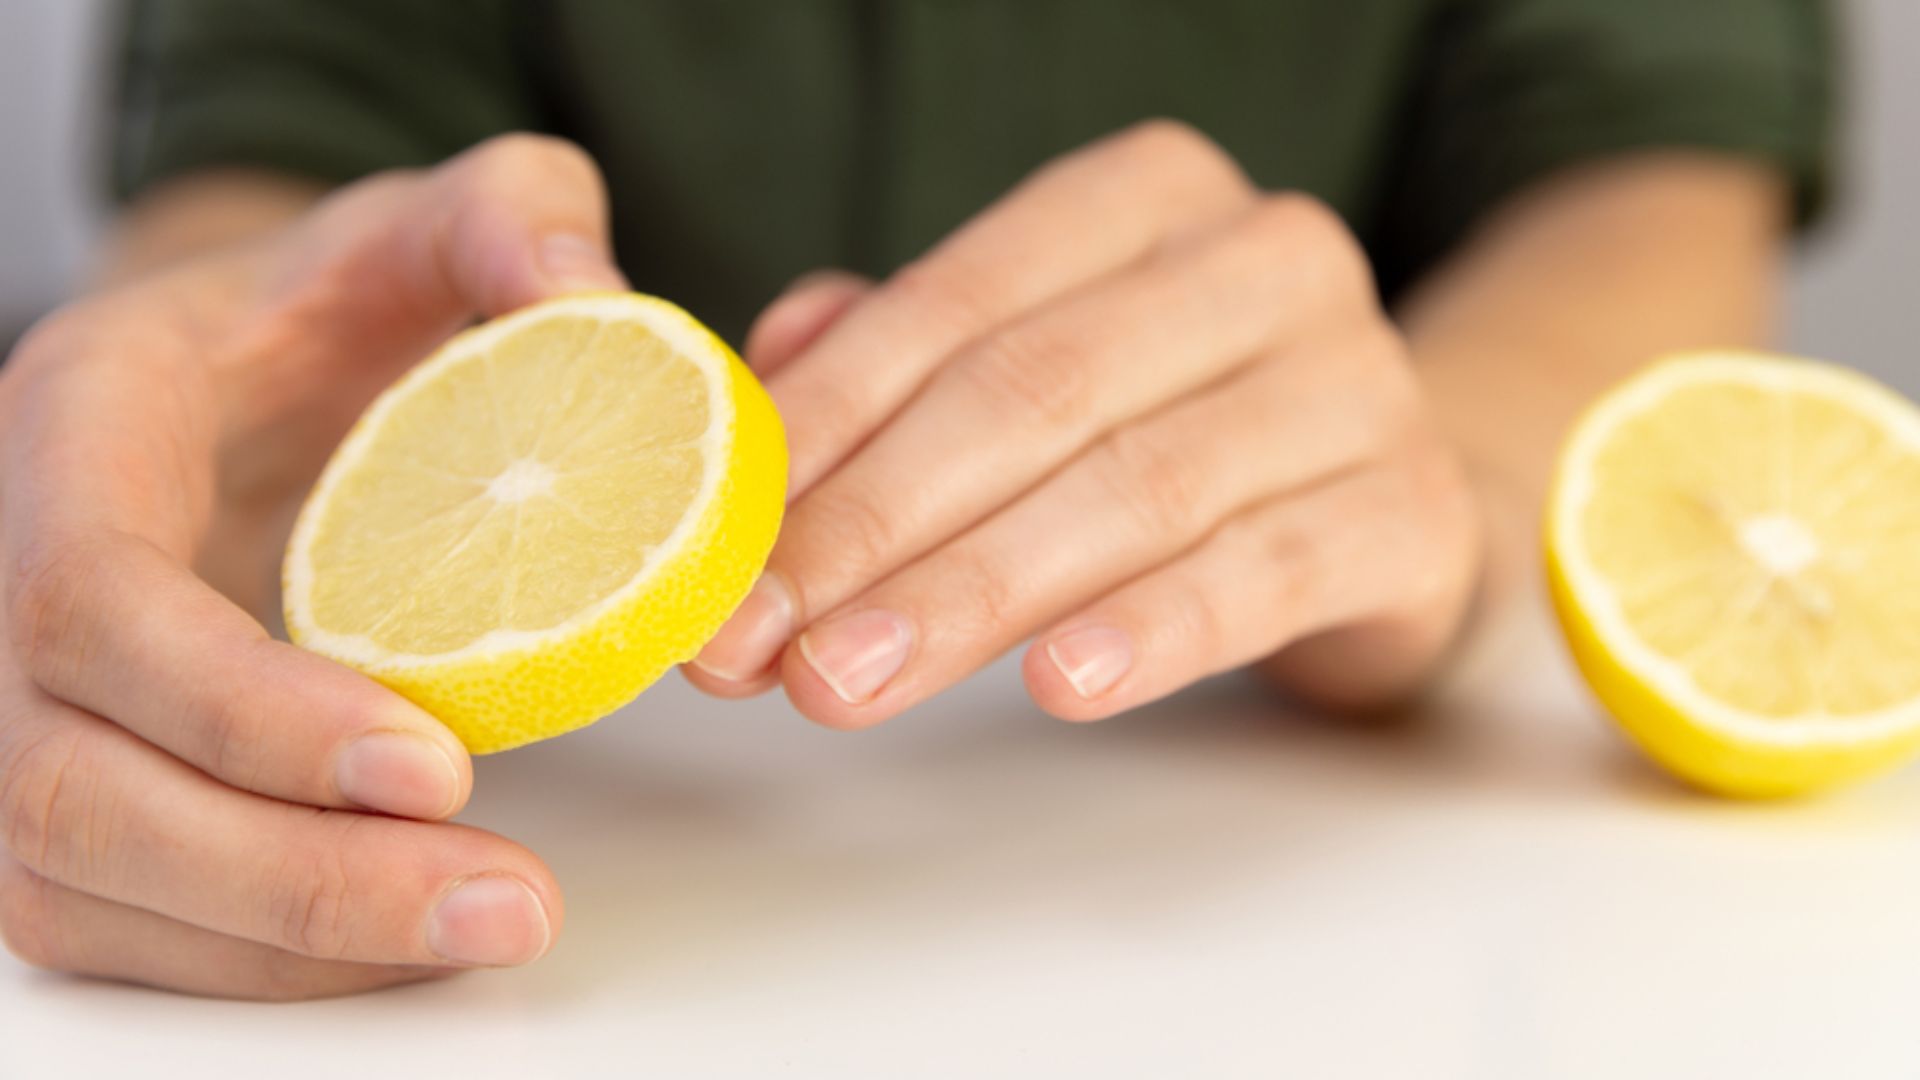
This is the step most people skip, and it matters a lot. Pour a small amount of rubbing alcohol or nail cleanser onto a cotton pad. Wipe each nail carefully.
This removes any leftover oil, lotion, or moisture. Your nails should look matte and feel slightly dry. That’s exactly right.
Step 7: Apply Base Coat for Better Grip
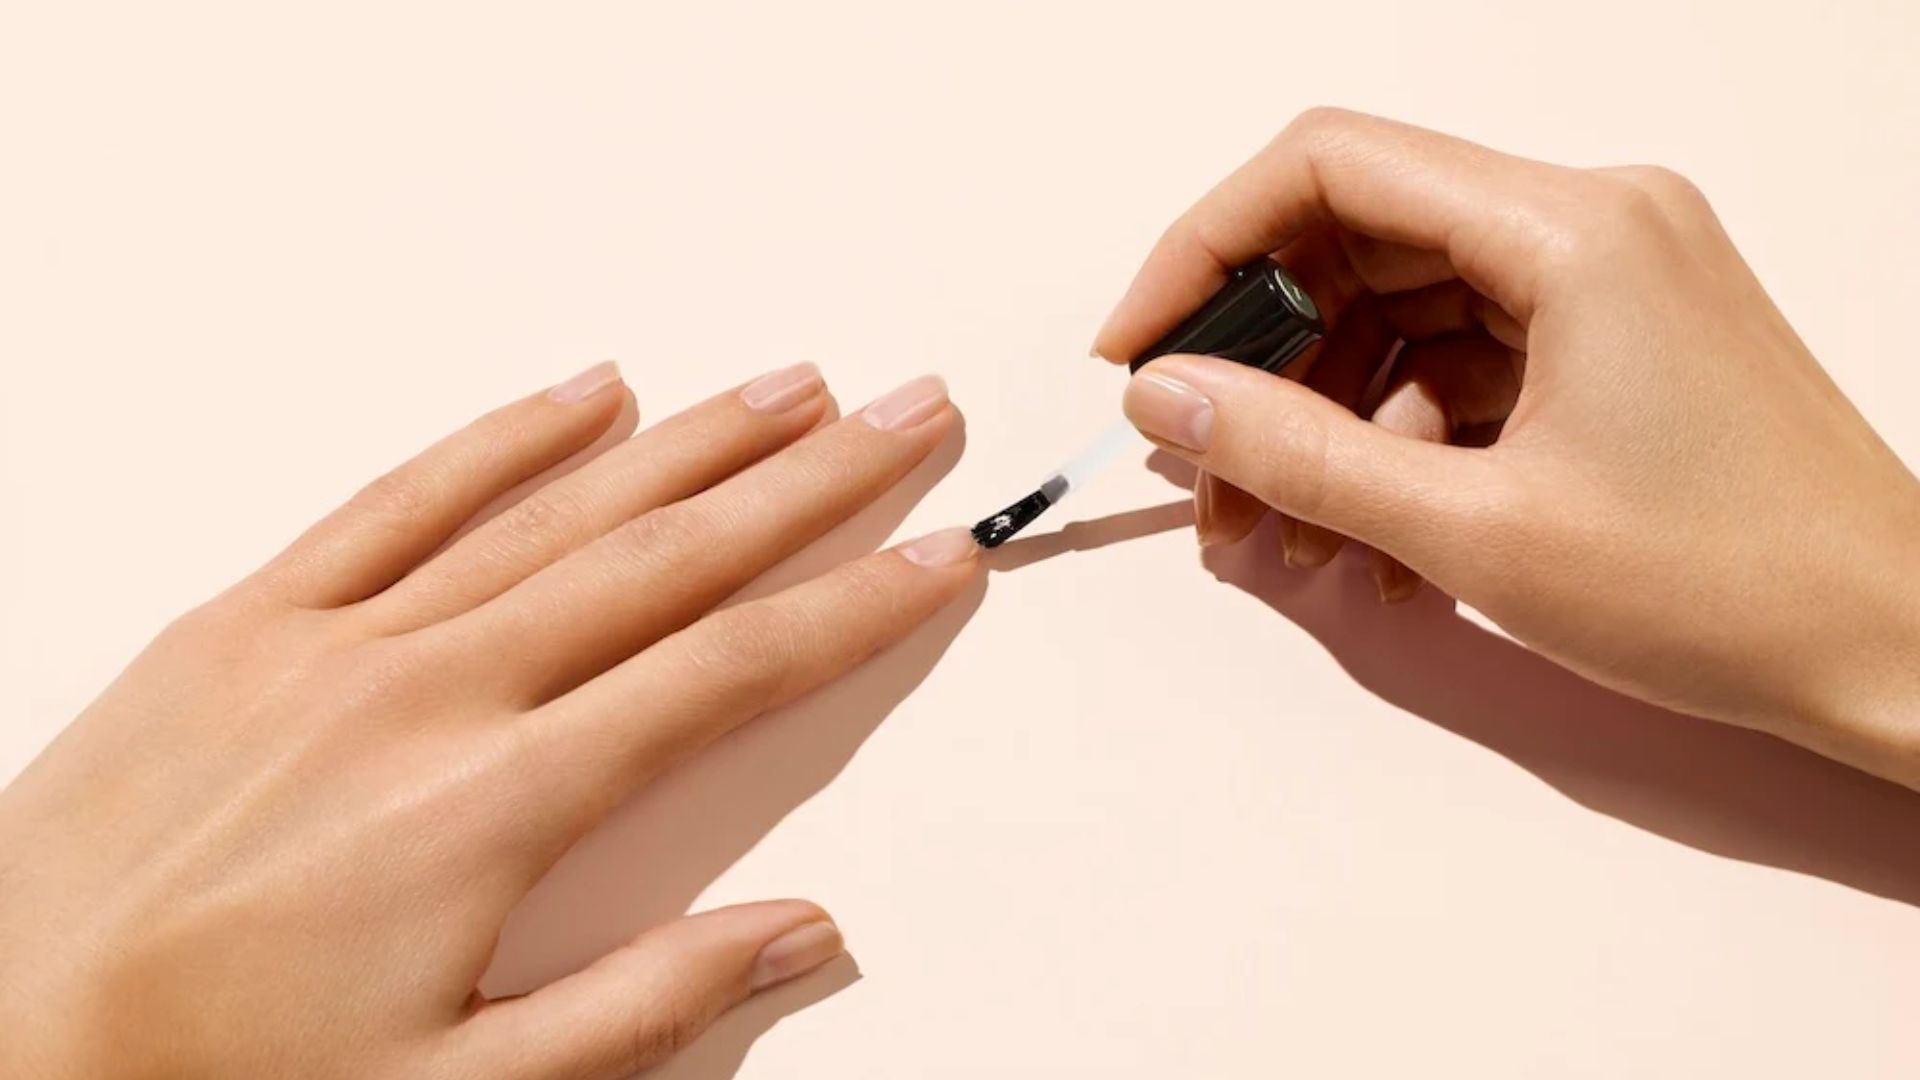
A base coat is not optional if you want your polish to last. Apply a thin, even layer to each nail and let it dry fully before adding color.
The base coat does two things:
It protects your natural nail from staining. It gives the polish something to grip onto so it holds longer.
Common Mistakes to Avoid When Prepping Nails
Small errors in prep can cause big problems later. Here’s what to watch out for.
Skipping the Cleaning Step
Many people buff and shape their nails but forget to clean them afterward. Dust from buffing and natural oils from your fingers stay on the nail. Polish applied over that won’t stick well and will lift quickly.
Always wipe with alcohol before applying anything.
Over-Buffing the Nail Plate
Buffing once in a while is fine. Doing it too often or pressing too hard thins your nail plate. Thin nails break easily and don’t hold polish as well.
Use a light hand and stop at one or two passes.
Cutting Cuticles Too Deep
Cutting cuticles too aggressively removes healthy skin that protects your nail bed. This can lead to soreness, infections, and slow nail growth.
Push back gently. Remove only what is clearly dead or loose.
Applying Polish on Oily Nails
Oil and polish do not mix. Even a tiny amount of moisture or oil on your nail will stop the polish from bonding. This causes peeling and bubbling within hours.
Degrease every time. No exceptions.
Pro Tips for Long-Lasting Nail Polish
Good habits between manicures matter just as much as the prep itself.
- Moisturize your hands daily but avoid lotion right before painting.
- Push back cuticles and apply cuticle oil once a week.
- Always use a quality base coat and finish with a top coat.
- Wait one to two hours before getting your nails wet.
- Wear gloves when washing dishes to protect your polish.
How Often Should You Prep Your Nails?
You don’t need a full prep every day. But staying consistent keeps your nails healthy and your polish looking fresh.
Before every manicure, go through the full routine. Remove old polish, shape, push back cuticles, buff, clean, degrease, and apply base coat. Each step only takes a few minutes but adds days to your wear time.
On no-polish days, a quick weekly check is enough. Apply cuticle oil, push back cuticles after a shower, file any rough edges, and check for early chipping.
Small habits done regularly make a big difference.
Conclusion
Learning how to prep nails for polish properly changed the way my manicures look and last. I used to wonder why my polish always chipped so fast. Then I started following each step, and the difference was clear within the first week.
You don’t need expensive products or a salon visit. You just need the right steps done in the right order. Try this routine once, and I think you’ll stick with it.
Drop a comment below and let me know how it goes. Or share this post with a friend who always complains about chipped nails. You might just save their next manicure.
Frequently Asked Questions
How long does nail prep take before applying polish?
A full prep routine takes about 10 to 15 minutes. It’s a small time investment that helps your polish last much longer without chipping or peeling.
Can I skip the base coat if I’m in a hurry?
Skipping the base coat means your polish has less to grip onto. It will chip faster and may stain your natural nail. Even a thin layer makes a noticeable difference.
How do I know if my nails are degreased enough?
Your nails should look matte and feel dry after wiping with alcohol or nail cleanser. If they still look slightly shiny, wipe them once more before applying base coat.
Is it okay to push back cuticles every week?
Yes, gently pushing back cuticles once a week is healthy and keeps them from growing over the nail plate. Just be gentle and always soften them first with warm water or cuticle softener.
Why does my nail polish bubble even after prep?
Bubbles usually happen when polish is applied too thick or when nails are not fully dry after washing. Apply thin coats and always wait for each layer to dry before adding the next one.