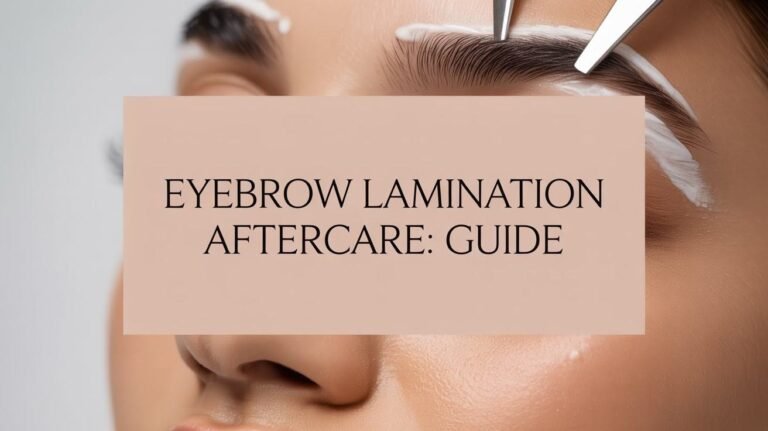
How to Use Dermaplane Razor Safely at Home?
I’ve been dermaplaning at home for over two years now, and I’m here to show you exactly how to use a dermaplane razor without damaging your skin.
This guide covers everything from choosing the right tools to avoiding common mistakes that could leave you with cuts or irritation.
You’ll learn the proper technique, what products to use before and after, and who should skip this treatment altogether.
I’ve made plenty of mistakes along the way, so you don’t have to.
By the end of this post, you’ll know how to safely remove peach fuzz and dead skin at home for smoother, brighter skin.
Let’s get started with the basics.
What Is a Dermaplane Razor?
A dermaplane razor is a small handheld tool with a super sharp blade designed specifically for facial exfoliation. It looks similar to a regular razor but has a different blade angle and design.
The blade sits at a precise angle to safely scrape away dead skin cells and fine facial hair.
According to the American Academy of Dermatology, dermaplaning is a safe exfoliation method when done correctly.
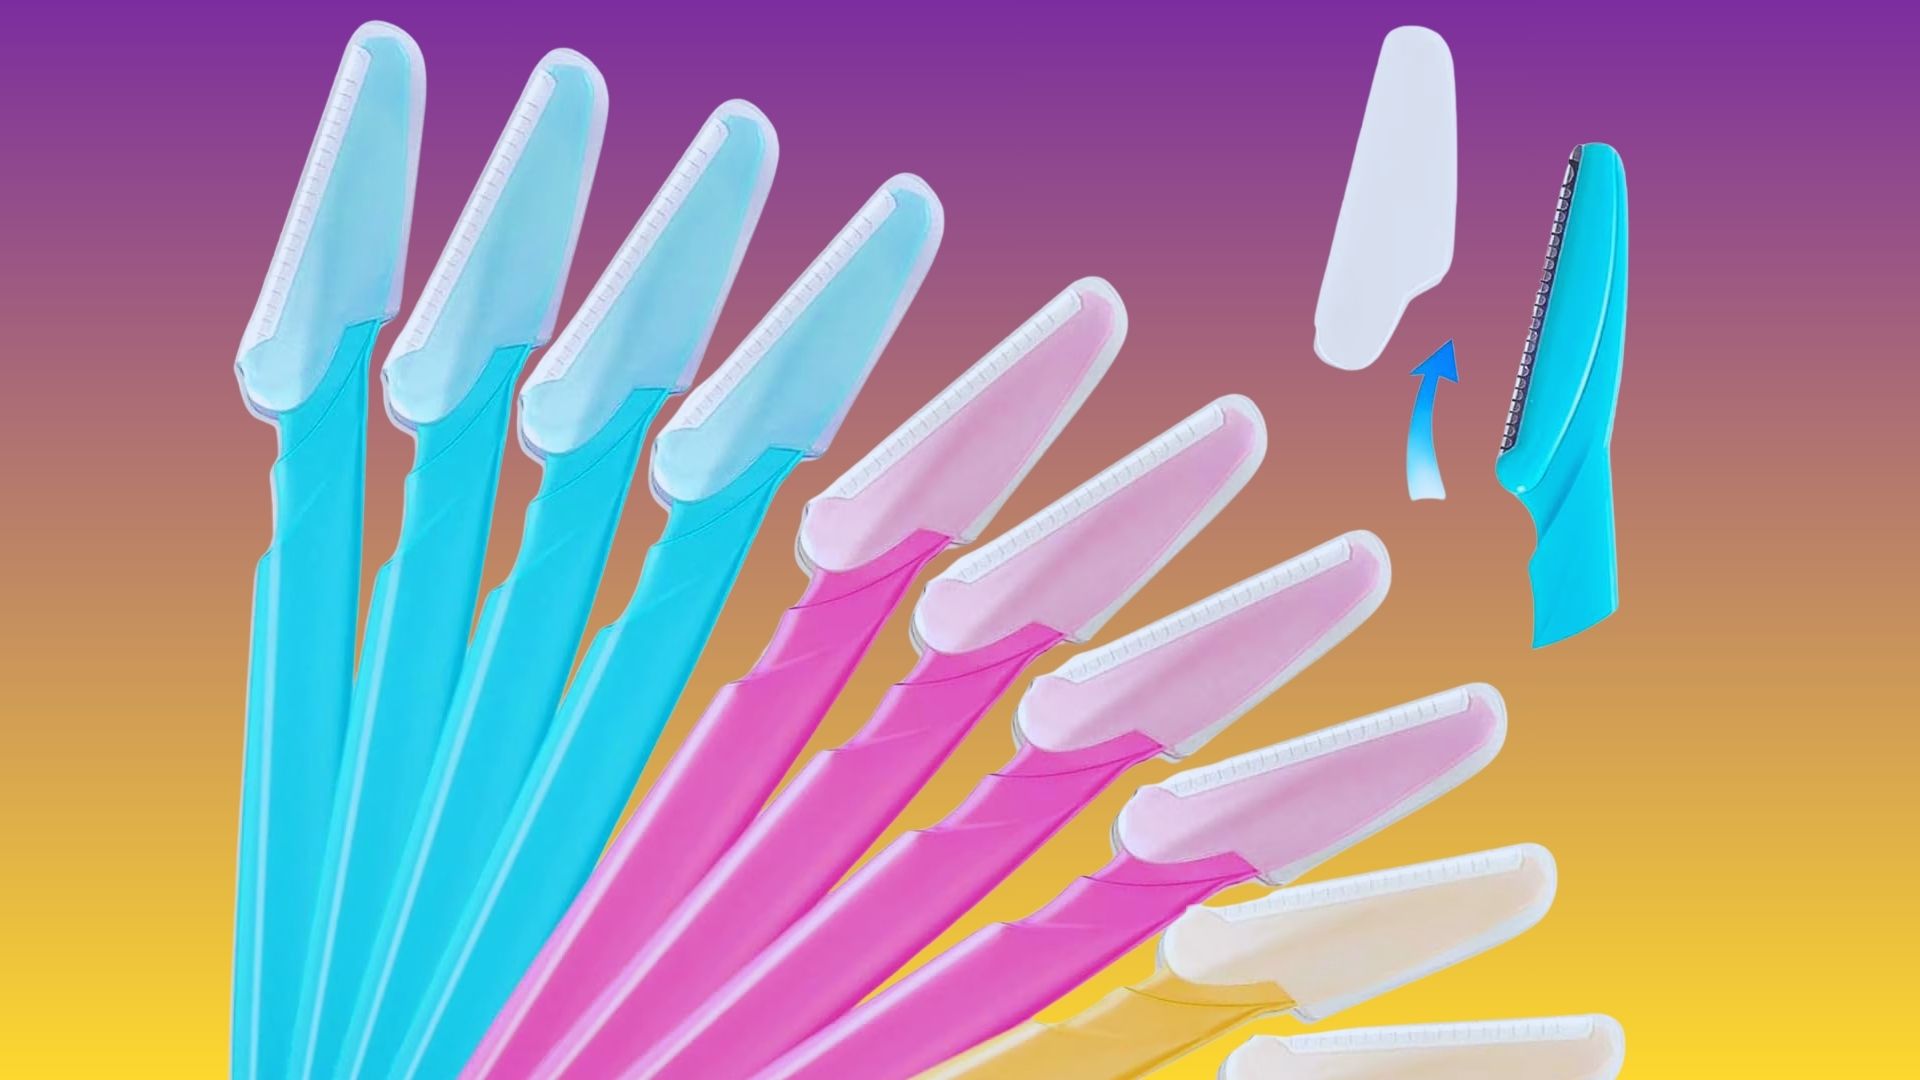
Most dermaplaning razors come in two types: single-blade disposable ones or reusable handles with replaceable blades.
The blade is typically made from surgical-grade stainless steel. You can find these razors at drugstores, beauty supply stores, or online.
Tools for How to Use Dermaplane Razor
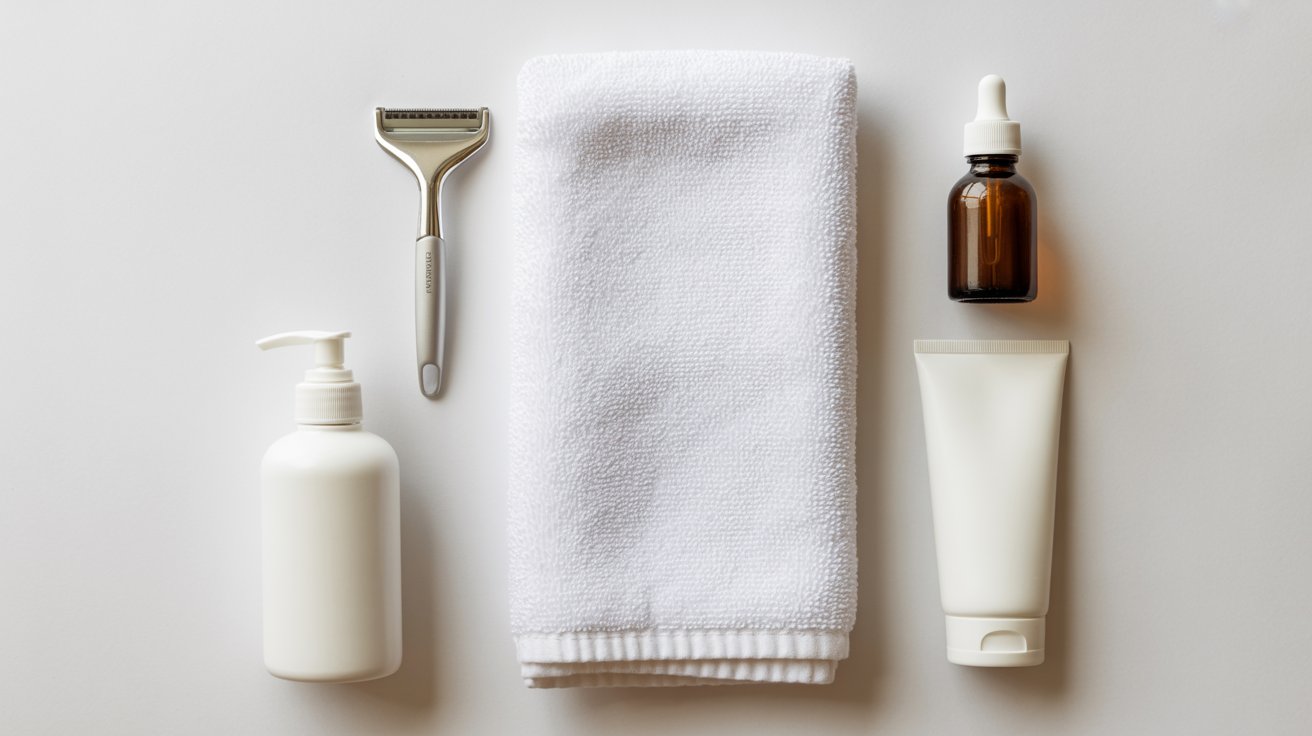
Gather these items before you begin your dermaplaning session.
- Clean dermaplane razor with fresh blade
- Gentle facial cleanser
- Clean towel
- Good lighting source
- Hydrating serum or moisturizer
- Broad-spectrum SPF 30+ sunscreen
How to Use Dermaplane Razor: Step-by-Step Guide
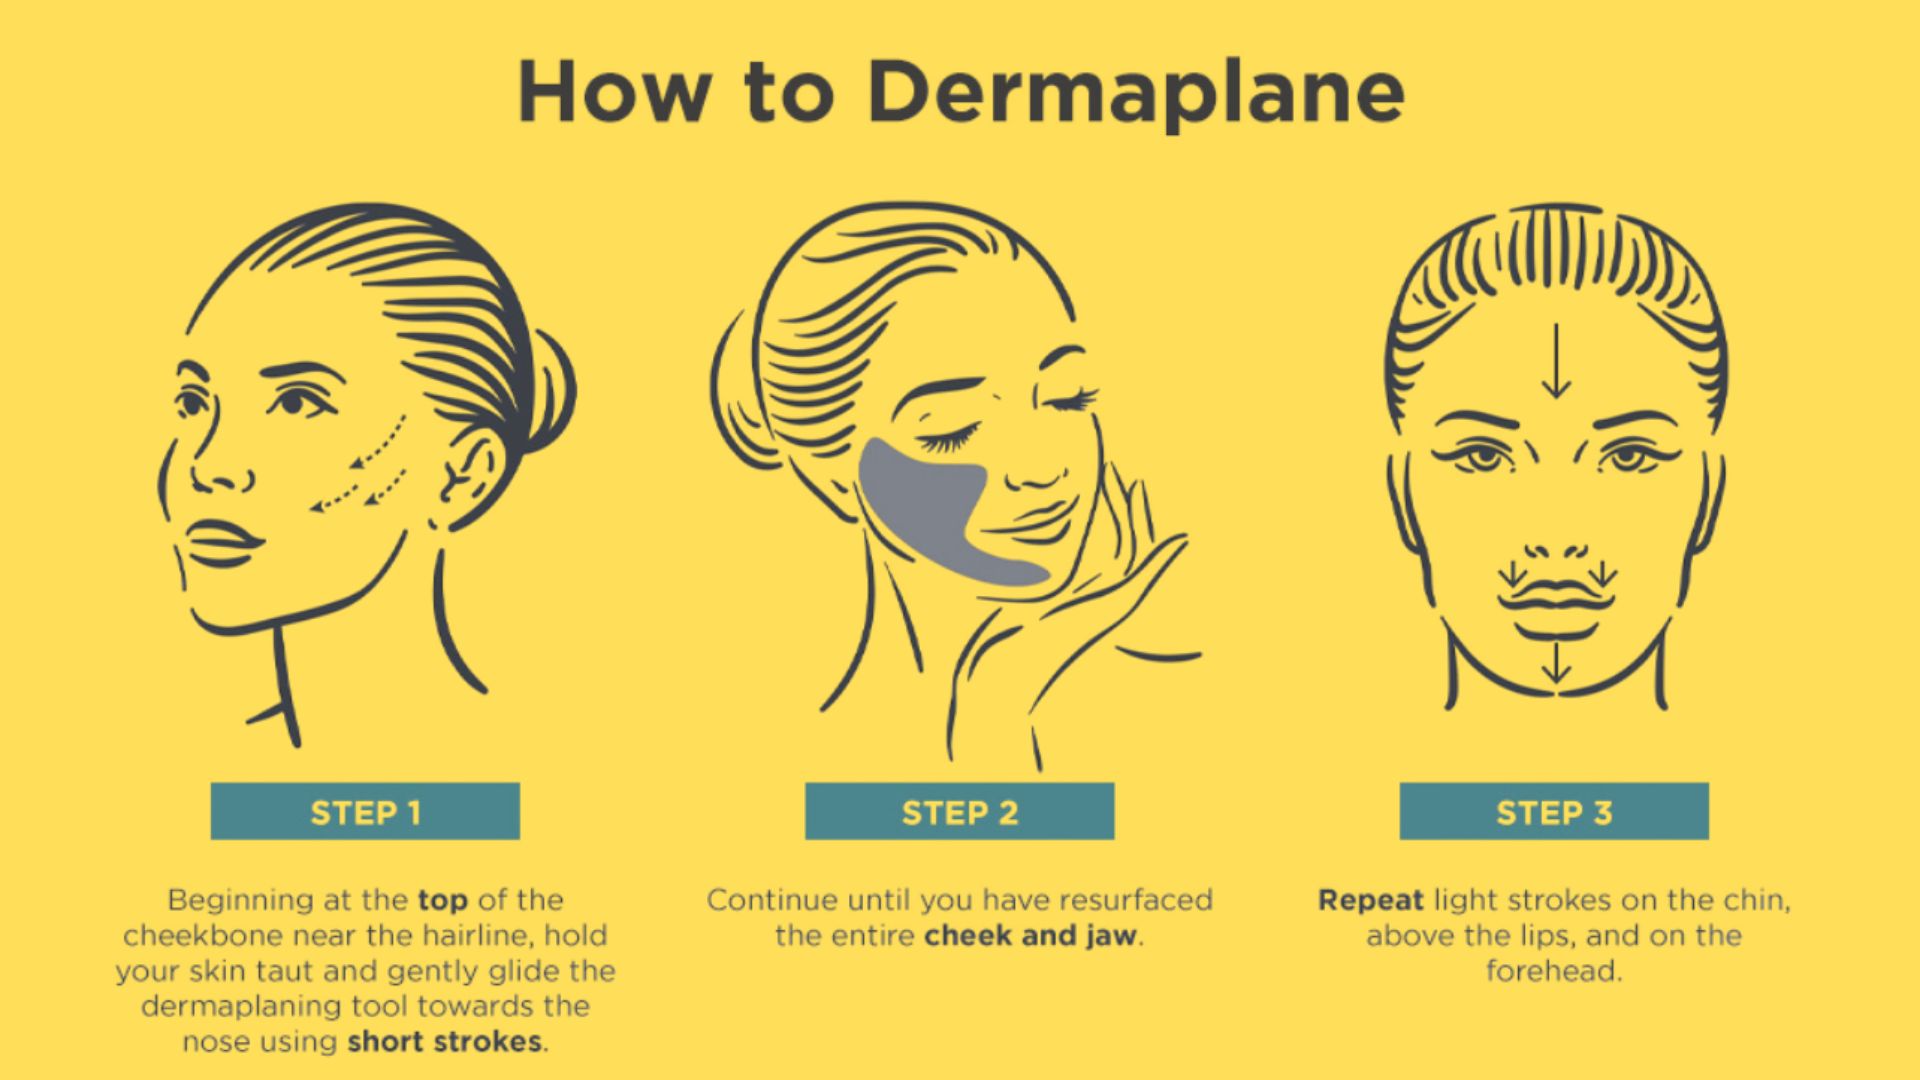
Learning how to use a dermaplane razor properly prevents irritation and gives you smooth results.
Step 1: Cleanse Your Face Properly
Start with a clean canvas. I wash my face twice to make sure all makeup, oil, and dirt are gone.
Use lukewarm water and a gentle cleanser. Rinse thoroughly and pat your face completely dry with a clean towel.
Step 2: Start With Dry, Tight Skin
Your skin must be totally dry before you start. Wet skin can lead to nicks and uneven results.
Pull your skin taut with your free hand. This creates a smooth, flat surface for the razor.
I usually start on my cheeks because they’re the easiest area. Make sure you’re in good lighting.
Step 3: Hold Razor at 45° Angle
This angle is crucial for safe, effective dermaplaning. Too flat and you won’t remove anything. Too steep and you risk cutting yourself.
Hold the razor like a pencil for better control. I angle the blade so it’s almost lying against my skin but still making contact.
Test the angle on a small area first. You should feel a gentle scraping sensation, not pulling.
Step 4: Use Short, Downward Strokes
Work in small sections using short strokes. I do about 1-2 inches at a time.
Always go with the direction of hair growth, which is downward on most of your face. Use light pressure.
After each stroke, wipe the blade on a clean tissue. You’ll see dead skin and hair collecting on the razor.
Go over each area only once or twice.
Step 5: Avoid Sensitive Areas
Stay away from your eyelids and the area right under your eyes. The skin there is too thin and delicate.
I skip over any active pimples, cuts, or irritated spots. Be extra careful around your nose and mouth where the skin curves.
Step 6: Apply Hydrating Skincare After
Your skin will feel tight and might look slightly pink. That’s normal.
Apply a soothing, hydrating serum immediately. I use one with hyaluronic acid because it calms and moisturizes.
Follow up with your regular moisturizer. Avoid any harsh active ingredients like retinol or AHAs for 24-48 hours.
Step 7: Always Use Sunscreen
This step is absolutely critical. Dermaplaning removes the top layer of dead skin cells that provided some protection.
I apply SPF 30 or higher every single morning after dermaplaning. Even if I’m staying inside.
Dermatologists emphasize that sun protection is crucial after any exfoliation treatment.
Benefits of Learning How to Use Dermaplane Razor
Your skin will thank you for these immediate results.
- Gives you seriously smooth skin right away
- Removes peach fuzz that makes makeup look cakey
- Clears away dead skin cells for better product absorption
- Reduces appearance of fine lines
- Helps skincare products penetrate deeper
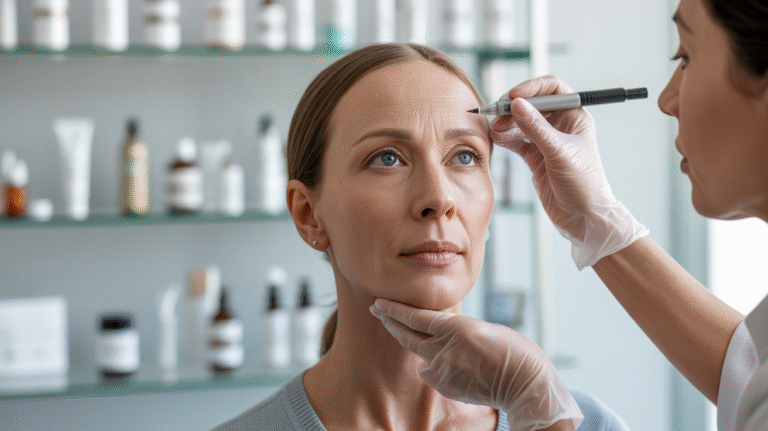
Who Should (and Should NOT) Use a Dermaplane Razor
|
Can Use |
Should Avoid Dermaplaning |
|
Normal skin types |
Active acne or breakouts |
|
Dry or combination skin |
Open wounds or cold sores |
|
Fine vellus hair (peach fuzz) |
Severe rosacea |
|
Pregnant women |
Using Accutane or retinoids |
|
Dull, textured skin |
Thick, coarse facial hair |
Always consider your skin type and current skin condition before you start dermaplaning.
If you have active acne, skip dermaplaning. The blade can spread bacteria and make breakouts worse.
Risks and Side Effects of Using a Dermaplane Razor
Understanding potential risks helps you dermaplane safely.
Cuts and Nicks: Using too much pressure or a wrong angle can cut your skin. Always use light pressure and hold the blade at 45 degrees.
Skin Barrier Damage: Over-dermaplaning strips your skin’s protective barrier. Stick to once every 3-4 weeks maximum. Signs of barrier damage include tightness, flaking, and increased sensitivity.
Breakouts: Some people experience purging as pores release trapped sebum. This should clear within 3-5 days. If breakouts worsen or last longer, stop dermaplaning.
Hyperpigmentation Risk: Dermaplaning without proper sun protection can cause dark spots. Always wear SPF 30+ for at least two weeks after treatment.
Irritation and Redness: Mild redness for 1-2 hours is normal. Prolonged redness beyond 4 hours indicates your skin is too sensitive for this treatment.
When to Stop Dermaplaning Immediately
Know these warning signs.
Stop if you see:
Bleeding that doesn’t stop within 30 seconds, severe redness lasting beyond 6 hours, raised welts or hives, burning sensation that intensifies, or swelling around the treated area.
Temporary discomfort is normal. Slight tightness and mild pinkness for 1-2 hours is expected.
Signs you’re doing it wrong:
Skin feels raw or scraped, you see scratch marks, pain during the process, or skin peels excessively in the following days.
If you experience any severe reactions, apply a cold compress and contact a dermatologist. Don’t attempt to dermaplane again until your skin fully heals.
Dermaplaning Myths You Should Stop Believing
Separating fact from fiction about how to use a dermaplane razor.
- Myth: Hair grows back thicker and darker
Fact: Dermaplaning only removes vellus hair at the surface. It doesn’t change the hair follicle, so hair grows back the same texture and color. - Myth: You can dermaplane every week
Fact: Your skin needs 3-4 weeks between sessions. Over-dermaplaning damages your skin barrier. - Myth: Dermaplaning causes scarring
Fact: When done correctly, dermaplaning doesn’t scar. Only aggressive pressure or dermaplaning over active acne causes damage.
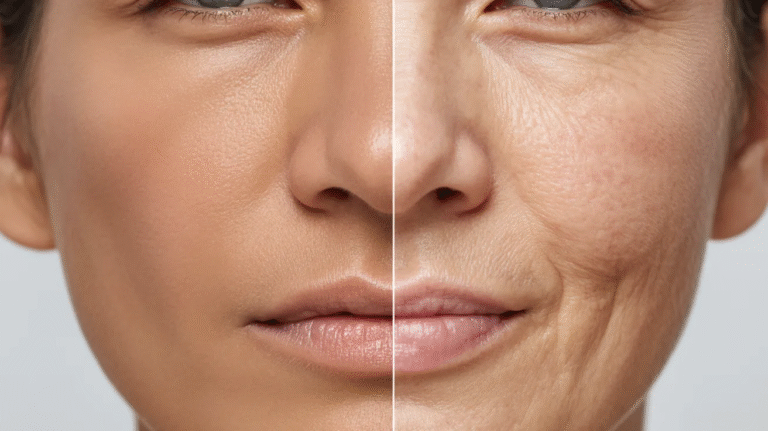
Before and After Dermaplaning: What to Expect
Here’s what changes you’ll notice immediately and over time.
|
Before Dermaplaning |
After Dermaplaning |
|
Dull, textured skin |
Smooth, bright complexion |
|
Visible peach fuzz |
Hair-free surface |
|
Products sit on surface |
Better product absorption |
|
Makeup looks cakey |
Foundation melts in seamlessly |
Right after, there’s some redness that fades within an hour or two. My skin feels incredibly smooth.
Some people experience minor breakouts a few days later as your skin purges. Within a week, my skin always looks more radiant.
Common Mistakes When Learning How to Use Dermaplane Razor
Skip these errors to protect your skin.
- Using a dull blade is the biggest mistake. It won’t cut properly and you’ll end up pressing too hard.
- Never dermaplane over active breakouts. Going too fast leads to uneven results and potential cuts.
- Dermaplaning too frequently irritates your skin.
- Skipping sunscreen after dermaplaning is asking for sun damage.
- Using harsh exfoliants immediately after dermaplaning over-strips your skin.
Dermaplaning Aftercare Routine
Proper care after learning how to use a dermaplane razor keeps your skin healthy.
Keep your skincare simple for the first 24 hours. I stick to gentle cleanser, hydrating serum, moisturizer, and sunscreen.
Avoid makeup if possible on the first day. Stay away from hot showers, saunas, or intense workouts for at least 24 hours.
I wait 2-3 days before using any active ingredients again. This includes retinol, AHAs, BHAs, or vitamin C.
Moisturize more than usual. Your skin is absorbing products better now.
Dermaplaning vs Other Hair Removal Methods
Understanding how to use a dermaplane razor compared to alternatives.
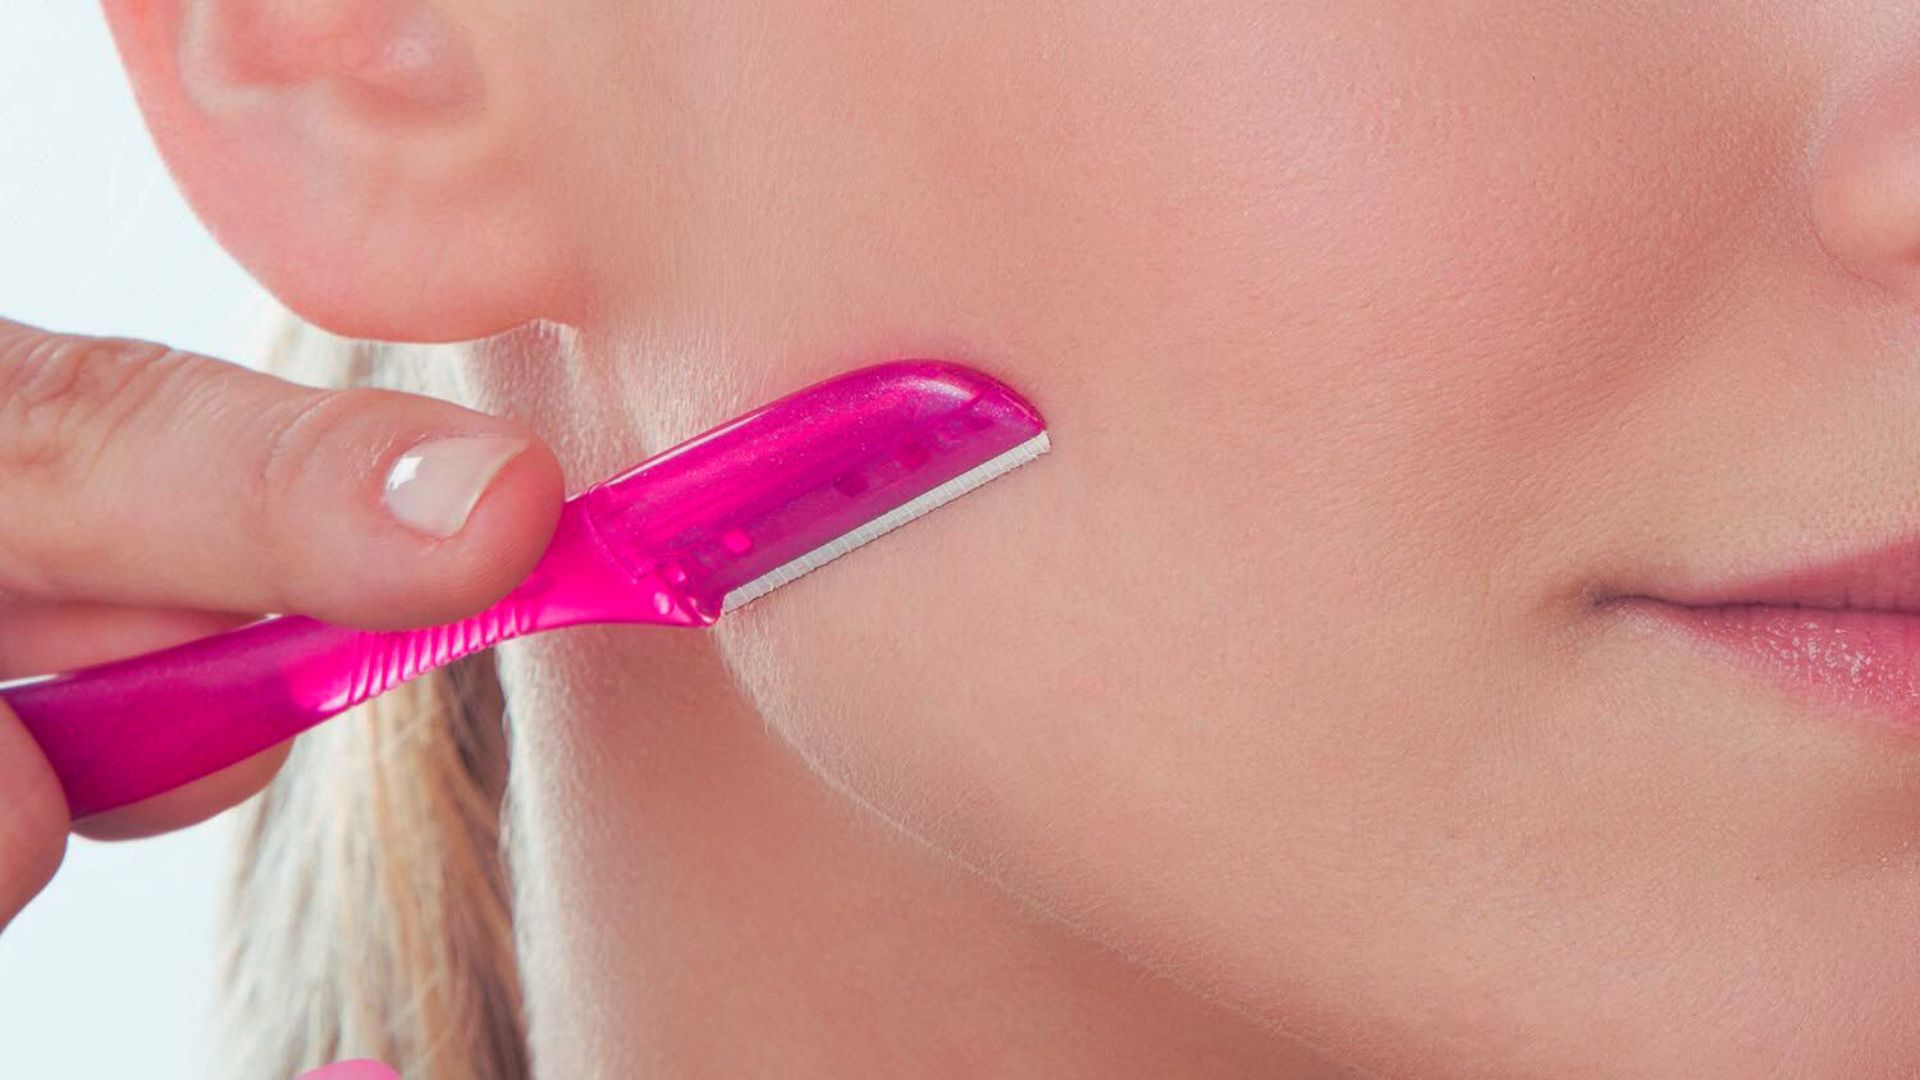
Dermaplaning vs Face Shaving: Dermaplaning uses a surgical scalpel at a specific angle for exfoliation. Face shaving uses regular razors primarily for hair removal without the exfoliation benefits.
Dermaplaning vs Chemical Exfoliation: Dermaplaning is physical exfoliation that also removes hair. Chemical exfoliants like AHAs dissolve dead skin but don’t remove peach fuzz.
At-Home vs Professional Dermaplaning
Here’s how the two options compare in cost, results, and convenience.
|
At-Home Dermaplaning |
Professional Dermaplaning |
|
Costs $5-$30 per pack of razors |
Costs $75-$200 per session |
|
Dermaplane on your schedule |
Requires booking appointments |
|
Learn proper technique yourself |
Trained esthetician performs treatment |
|
Similar results with practice |
Immediate professional results |
|
Full control over pressure and angle |
Expert handles facial anatomy knowledge |
The results are honestly very similar if you’re careful with your technique and follow proper steps for how to use a dermaplane razor.
Expert Tips for Best Dermaplaning Results
These tricks will help you master how to use a dermaplane razor.
Replace your blade after 3-4 uses. A sharp blade is safer than a dull one because it requires less pressure.
Dermaplane in natural daylight when possible. You’ll see fine hairs and texture better.
I always do a patch test with new razors on my jawline first.
Conclusion
Learning how to use a dermaplane razor at home has completely changed my skincare routine.
Here’s what to remember: cleanse and dry your face completely, hold the razor at 45 degrees, use short downward strokes with light pressure, moisturize immediately after, and always wear sunscreen.
The technique takes practice, but you’ll get better with each session. I dermaplane every 3-4 weeks and couldn’t be happier with my results.
Your makeup will apply better, your skin will look brighter, and you’ll save money compared to professional treatments.
Watch for warning signs like prolonged redness or irritation, and adjust your routine based on your skin type.
Ready to try dermaplaning? What’s holding you back from getting started?
Frequently Asked Questions
Does dermaplaning make hair grow back thicker?
No, dermaplaning only removes surface hair without changing the follicle, so hair grows back the same texture and color.
How often should I dermaplane my face?
Dermaplane every 3-4 weeks to allow your skin’s natural cell turnover cycle and prevent over-exfoliation damage.
Can I dermaplane if I have acne-prone skin?
You can dermaplane when your skin is clear, but avoid it during active breakouts to prevent spreading bacteria.
Is it normal for my skin to break out after dermaplaning?
Minor purging for 3-5 days is normal as pores release trapped sebum, but prolonged breakouts mean your skin is too sensitive.
Can I wear makeup immediately after dermaplaning?
Wait at least 24 hours before applying makeup to let your skin barrier recover and prevent clogged pores.