Nail Polish Cracking: Causes and Fixes That Work
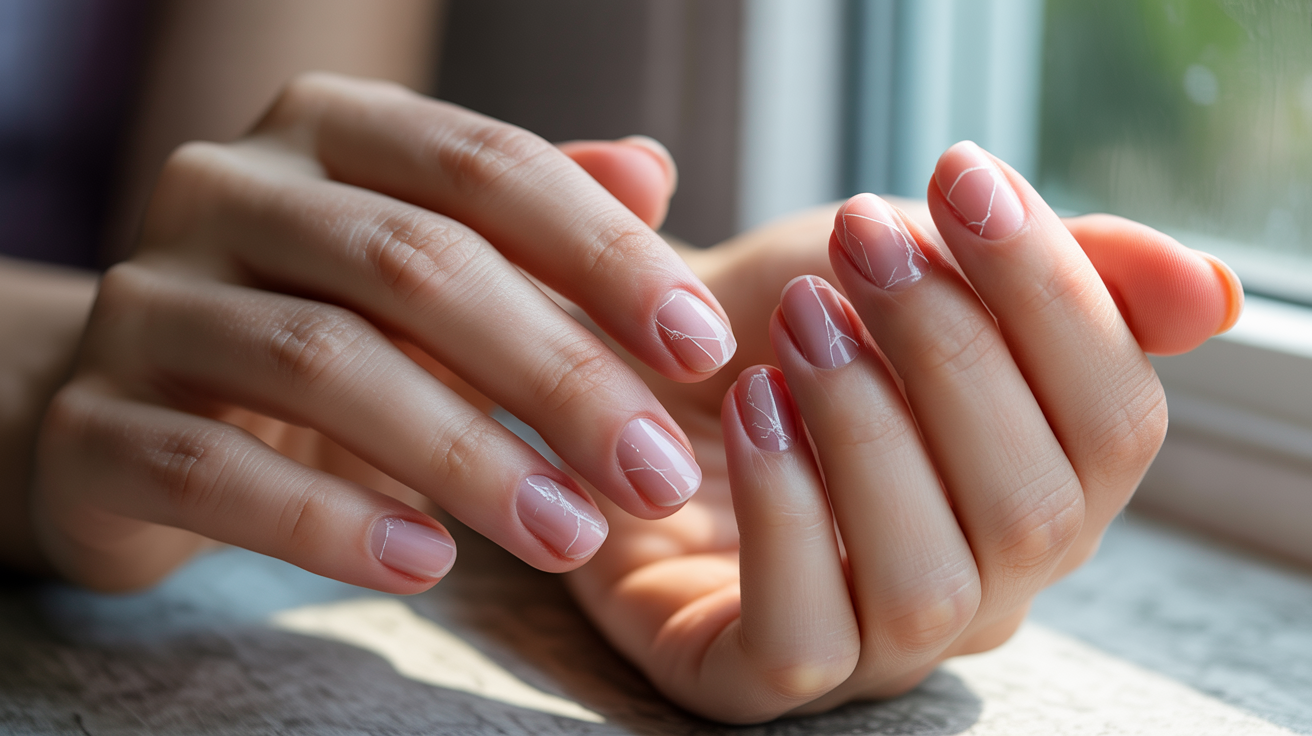
You just finished painting your nails. They look perfect.
Then a few hours later, you notice tiny cracks forming across the surface. Sound familiar?
I’ve been there so many times, and it’s incredibly frustrating. All that time and effort wasted because your polish couldn’t hold up.
Nail polish cracking happens for specific reasons, though. It’s usually about how you prep your nails, what products you use, and how much water exposure you get.
I’m going to share practical solutions that actually work to keep your manicures looking fresh longer.
Let’s fix this problem together.
Why Does Nail Polish Crack?

Understanding why cracking happens is the first step to preventing it.
Once you know the causes, you can adjust your routine to avoid these issues completely.
Improper Nail Preparation
Your nails have natural oils on them. Dirt and residue sit on the surface too, even if you can’t see them.
These oils and particles create a barrier between your nail and the polish. The polish can’t bond properly to the nail surface.
When you skip cleaning your nails before painting, you’re setting yourself up for lifting and cracking. It’s like trying to stick tape to a greasy counter.
A quick wipe with polish remover solves this problem. It takes five seconds but makes a huge difference.
Water Exposure and Nail Expansion
Here’s something interesting about your nails. They absorb water way faster than your skin does.
When your nails get wet, they expand. Then as they dry out, they shrink back down to normal size.
The problem? Polish can’t contract and expand with your nail. It stays rigid while your nail changes size underneath it.
This creates stress on the polish surface. That stress turns into cracks and chips, especially around the edges. Nail polish cracking often starts right after you wash dishes or take a shower.
Thick Polish Application
Loading up your brush with lots of polish seems like it would save time. It actually causes more problems.
Thick coats can’t dry properly. The top surface dries while the bottom layers stay wet underneath.
Polish needs flexibility to move with your natural nail movements. Thick application creates a brittle surface that can’t bend.
When you press on something or bend your finger, those stress points crack immediately. Thin layers are always better than thick ones.
Proven Methods to Prevent Nail Polish from Cracking
These techniques have saved my manicures countless times. They’re simple changes that make a big impact on how long your polish lasts.
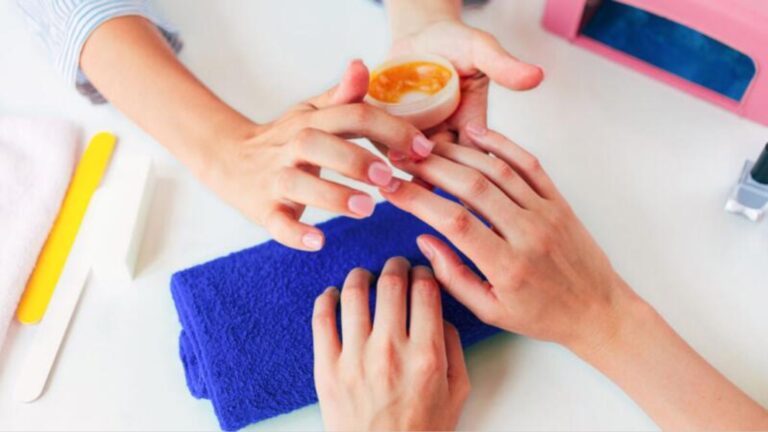
Skip the Water Soak During Manicures
Traditional manicures often start with soaking your hands in water. This is actually the worst thing for polish longevity.
Waterless manicure techniques work better because they prevent nail plate expansion. Your nails stay their normal size throughout the process.
Push back your cuticles while you’re in the shower instead. Use a gentle buffer to remove any excess cuticle on the nail plate.
Only clip what’s actually hanging loose. Don’t cut into healthy cuticle tissue because that can lead to infection and irritation.
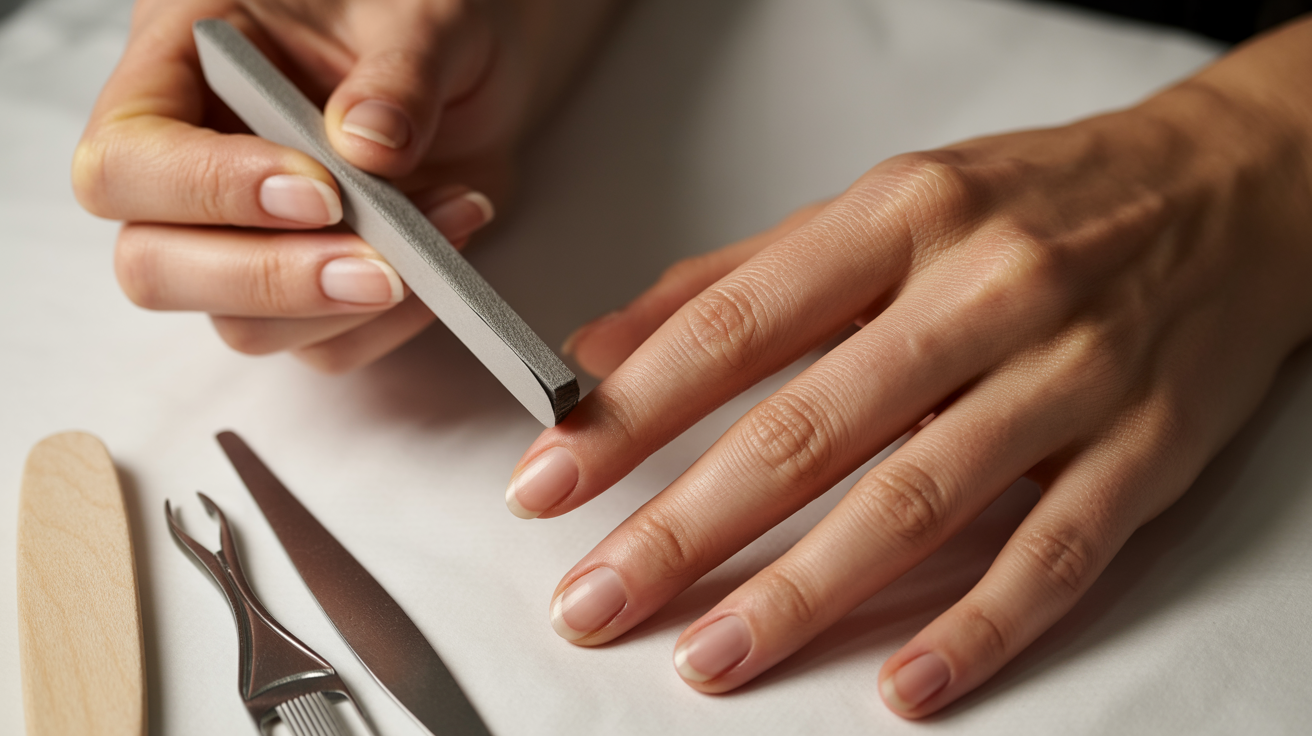
Buff Your Nails Before Painting
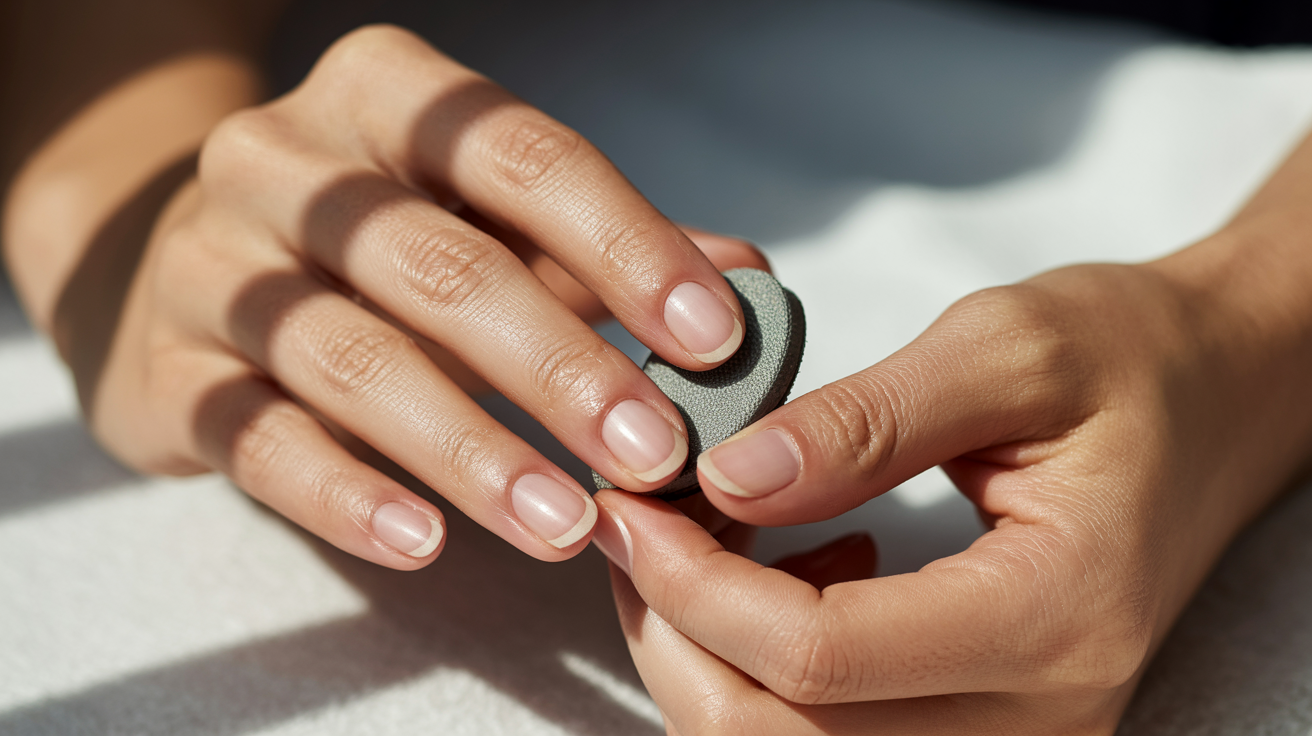
Creating a smooth surface helps polish stick better. Uneven nail surfaces are more prone to nail polish cracking because the polish can’t lay flat.
You don’t need to buff aggressively. Just a few gentle passes with a fine-grit buffer does the job.
Wipe your nails with polish remover even when you’re not wearing polish. This removes invisible oils that accumulate naturally on your nail surface.
Clean nails mean strong adhesion. Strong adhesion means your manicure lasts way longer without issues.
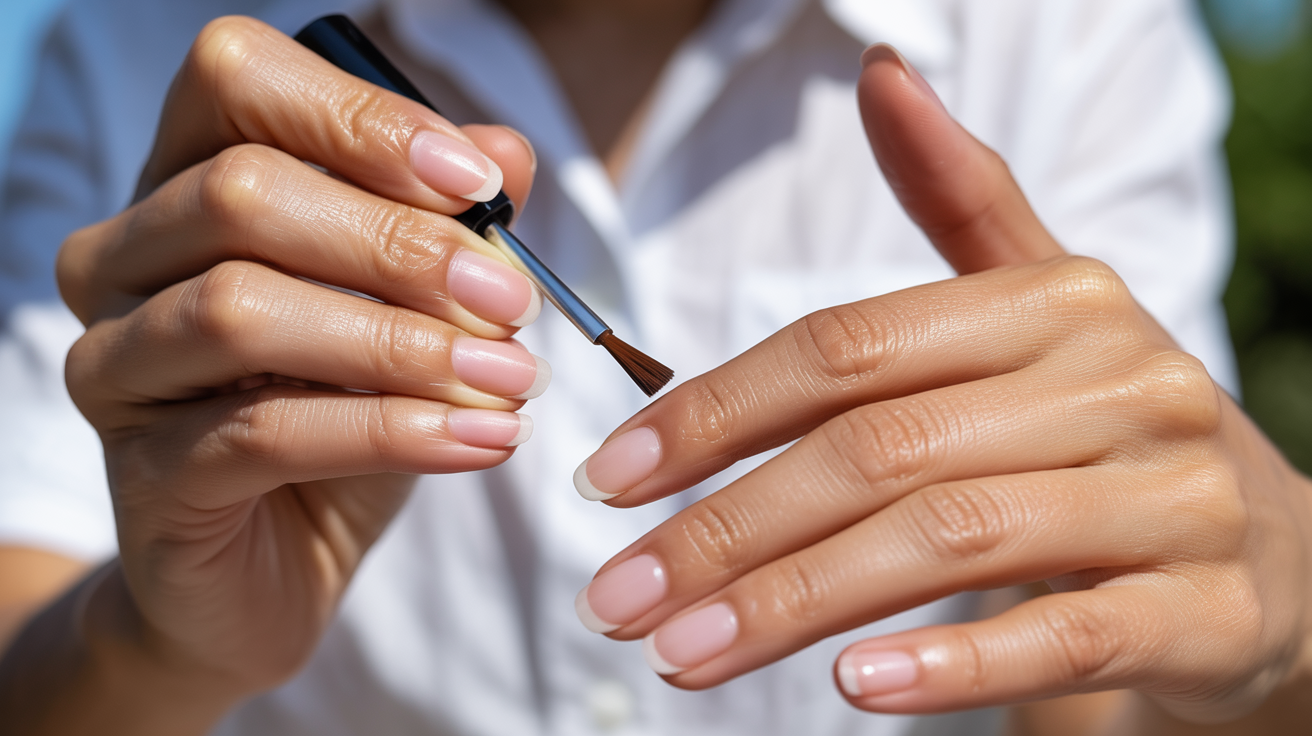
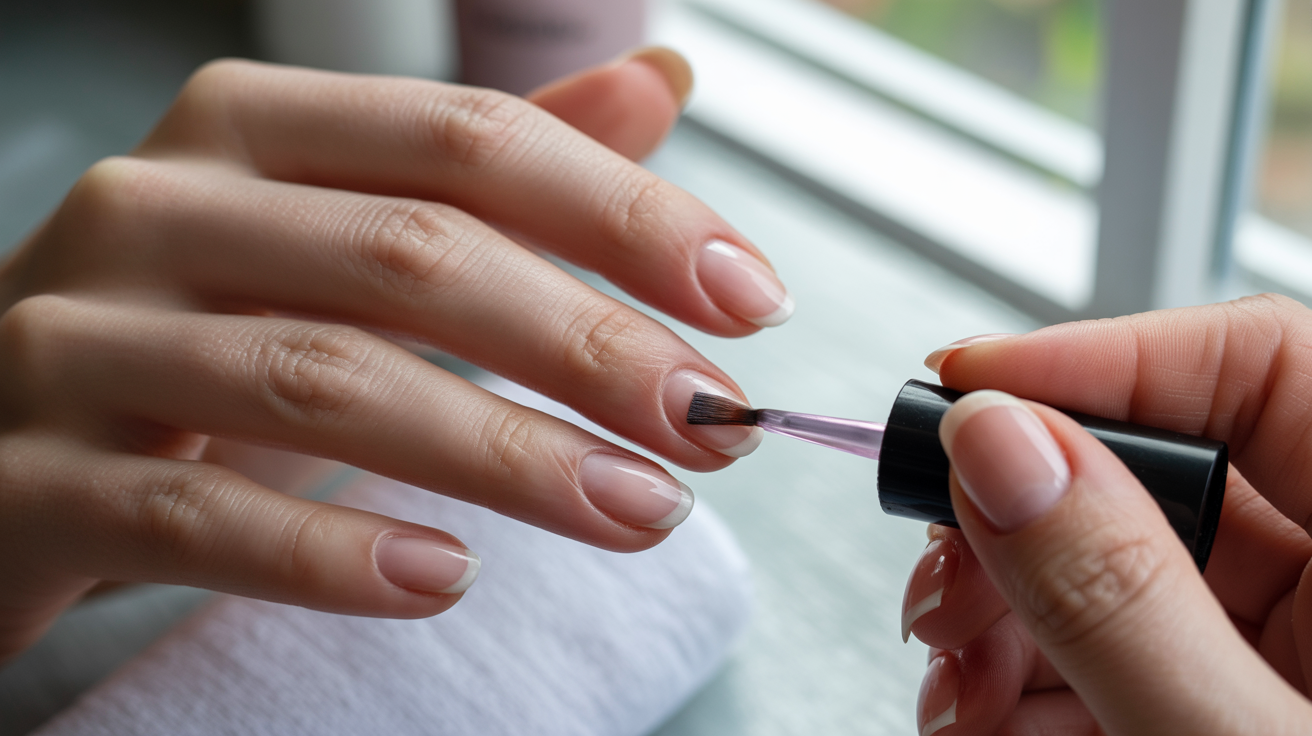
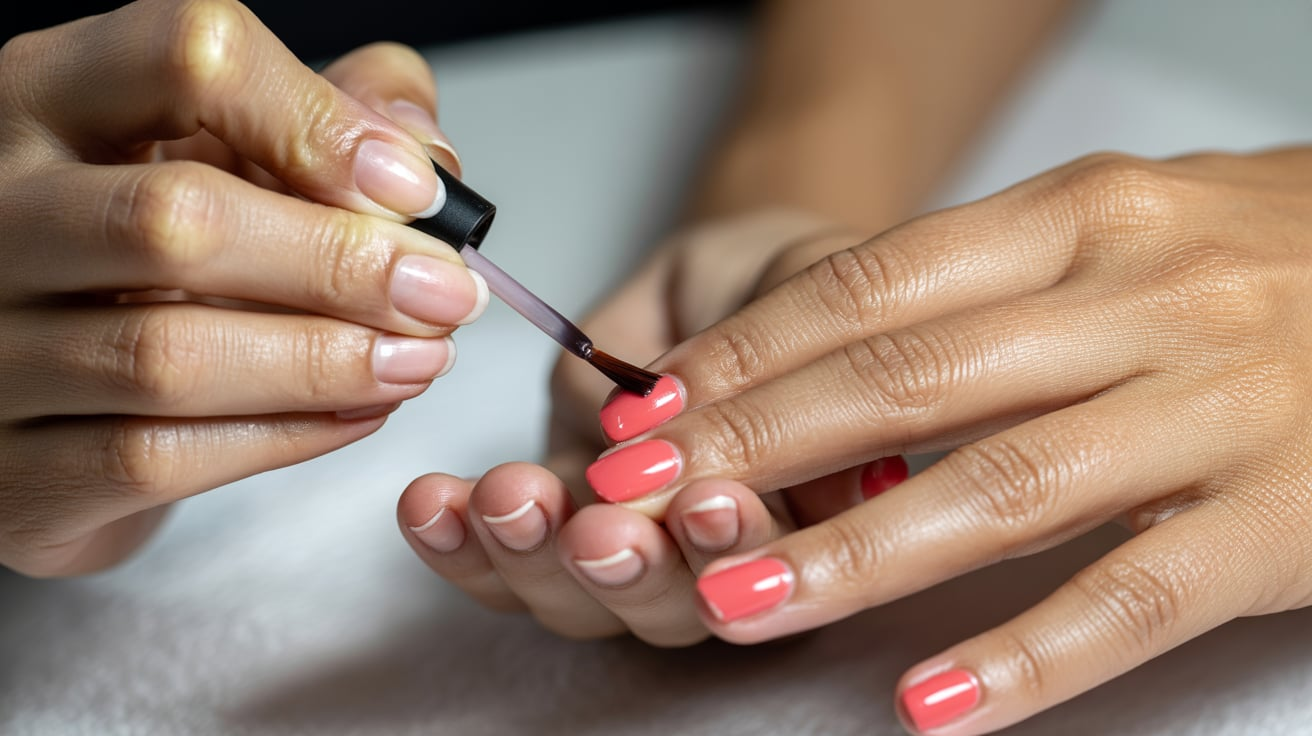
Apply Thin Polish Layers

Thin coats are the secret to professional-looking nails at home. They dry faster and more evenly than thick coats.
I know it’s tempting to get full coverage in one coat. But multiple thin layers create a stronger, more flexible finish.
Wait 5 to 10 minutes between each coat. This gives the polish time to set properly before you add more.
Rushing through coats causes bubbling and prevents complete drying. Those trapped wet layers underneath will crack eventually.
Always Use Base Coat and Top Coat
Base coat isn’t optional. It helps color polish adhere to your nails and prevents staining.
Top coat seals everything together. It provides a protective barrier against chips and cracks.
Match your base coat to your nail type. Strengthening formulas work great for soft nails, while hydrating ones suit dry, brittle nails better.
Reapply top coat every other day to extend your manicure’s wear time. This refreshes the protective layer that takes the most abuse.
Cap the Free Edge of Your Nails
This technique is simple but many people forget to do it. Paint your color and top coat over the tip of your nail.
Sealing that edge prevents lifting and chipping at the most vulnerable spot. Your nail tips hit against things constantly throughout the day.
I make sure to swipe my brush along the free edge with each coat. It takes an extra second per nail but stops nail polish cracking at the tips.
This step is especially important if you have any length to your nails. Longer nails need that edge sealed tight.
Keep Polish Off Your Cuticles
When polish touches your cuticles, it causes lifting problems. The skin creates a space where moisture can get underneath the polish.
Your top coat needs to fully cover the color without touching your skin. It’s a fine balance to achieve.
Paint carefully and leave a tiny gap around your cuticles. You can always clean up mistakes with a brush dipped in remover.
A cleanup brush with acetone works perfectly for fixing stray polish around the edges. Keep your lines clean for better results.
Limit Water Contact After Painting

Wear gloves when you’re washing dishes or cleaning. Water exposure is one of the biggest causes of early manicure failure.
Try to avoid washing your hair too frequently right after painting your nails. I know that’s hard, but it really does make a difference.
The first 24 hours after painting are the most critical. Your polish is still curing during this time, even though it feels dry.
Even simple hand washing can compromise durability if done too soon. Let your manicure fully set before exposing it to water repeatedly.
Roll Polish Bottles Instead of Shaking
Shaking your polish bottle creates air bubbles in the formula. Those bubbles don’t just disappear when you apply the polish.
Bubbles lead to uneven application. They also create weak spots that crack easily under pressure.
Roll the bottle gently between your palms instead. This mixes the formula without introducing air into it.
The polish stays smooth and consistent. You get better coverage and fewer problems with nail polish cracking later.
Use Matching Polish and Top Coat Brands

Formulas from the same brand are chemically designed to work together. They complement each other instead of fighting.
Compatible chemistry creates the longest-lasting results. Everything bonds better when the products are meant to be used together.
Mixing brands can sometimes cause unexpected reactions. The formulas might not cure properly or might separate over time.
Think of it like cooking. Certain ingredients pair perfectly because they’re designed to complement each other’s properties.
Additional Tips for Longer-Lasting Manicures
Small daily habits can extend your manicure’s life significantly. These extra tips work alongside the main prevention methods to give you the best results possible.
- Apply cuticle serum daily to keep nails and surrounding skin hydrated
- Moisturize hands regularly but wait until polish is completely dry
- Be mindful of how you use your fingers to avoid accidental impacts
- Replace polish bottles after one year as air exposure thickens formula
- Consider nail strengthening treatments as your base coat for flexible nails
- Choose polishes known for durability (certain formulas perform better than others)
Consistency matters with nail care. Making these habits part of your routine means healthier nails and manicures that actually last. You’ll spend less time fixing chips and more time enjoying your pretty nails.
Conclusion
Preventing nail polish cracking really comes down to three things: proper prep, smart application, and protective aftercare.
Small changes in your technique make a significant difference in how long your manicure stays perfect.
I know it requires patience during application, but that patience pays off with way longer wear.
Experiment with different products and methods to find what works best for your specific nail type.
Some formulas might work better for you than others.
The goal is amazing, crack-free manicures that last. You can totally achieve that with these tips.
Frequently Asked Questions
Why Does My Nail Polish Peel Off in One Sheet?
This happens when layers don’t adhere properly to each other. Thick application and poor nail prep are usually the culprits. Overly soft or flexible nails can also contribute to peeling in sheets.
What Type of Base Coat Should I Use?
Use strengthening base coat if you have soft, flexible nails. Go with hydrating formulas for dry, brittle nails. Matching your base coat to your nail type prevents many common issues before they start.
How Long Should I Wait Before Getting My Hands Wet?
Wait at least 2 to 3 hours for polish to fully cure. Overnight is ideal if you want maximum durability. Top coat protects your manicure but doesn’t make polish instantly waterproof.
Can I Fix Cracks Without Removing All My Polish?
Minor cracks can be smoothed with gentle buffing over the cracked area. Apply fresh top coat over the buffed spot to seal it. This is temporary though. Full removal works best for severe cracking.
Does Temperature Affect Nail Polish Cracking?
Yes, extreme temperature changes definitely cause cracking issues. Dry air, like what you experience on airplanes, increases your risk too. Moisturize your hands and nails before exposure to harsh conditions.