Why Is My Gel Polish Bubbling? Causes and Fixes
You just finished your gel manicure. It looked perfect under the lamp.
Then you see them. Tiny bubbles across your nails. Or worse, big obvious ones that ruin the whole look.
I’ve been there. It’s so frustrating to put in all that work only to end up with a bumpy, unprofessional finish.
The good news? Bubbles are totally preventable once you know what causes them.
I’m going to show you exactly why is my gel polish bubbling and how to fix it. These are practical solutions you can use right away.
By the end of this, you’ll know how to get smooth, flawless gel nails every time.
What Causes Bubbles in Gel Polish?
Air getting trapped between polish layers is the main culprit. When air bubbles get sealed under gel, they show up as bumps.
Improper application techniques create most bubble problems. How you apply polish matters just as much as the products you use.
Product-related issues also play a role. Old, thick, or low-quality gel polish bubbles more easily than fresh products.
Environmental factors affect how your gel cures. Temperature and humidity can mess with the formula during application.
Here’s the thing: each cause has a specific fix. You don’t need to guess what went wrong.
Understanding why is my gel polish bubbling helps you prevent it from happening again. Let’s look at the solutions.
7 Ways to Stop Gel Polish from Bubbling
These seven techniques will give you bubble-free gel nails. I use all of them every time I do my nails.
Prep Your Nails the Right Way
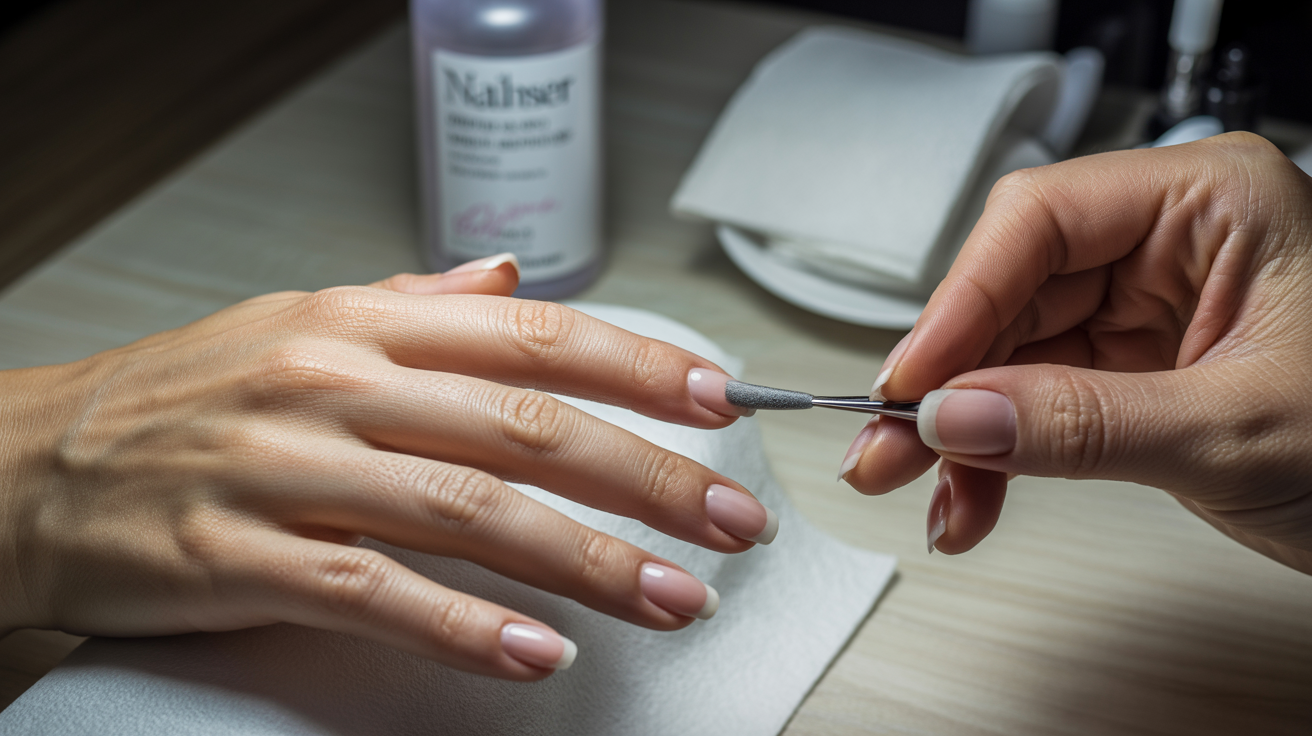
Remove all oils and debris with nail cleanser before starting. Clean nails are everything.
Push back your cuticles properly with a cuticle pusher. Dead skin on your nail plate causes problems.
Lightly buff the surface to create better adhesion. Don’t go crazy, just a gentle once-over.
Avoid touching your nails after cleaning them. The oils from your fingers transfer instantly and cause lifting and bubbles.
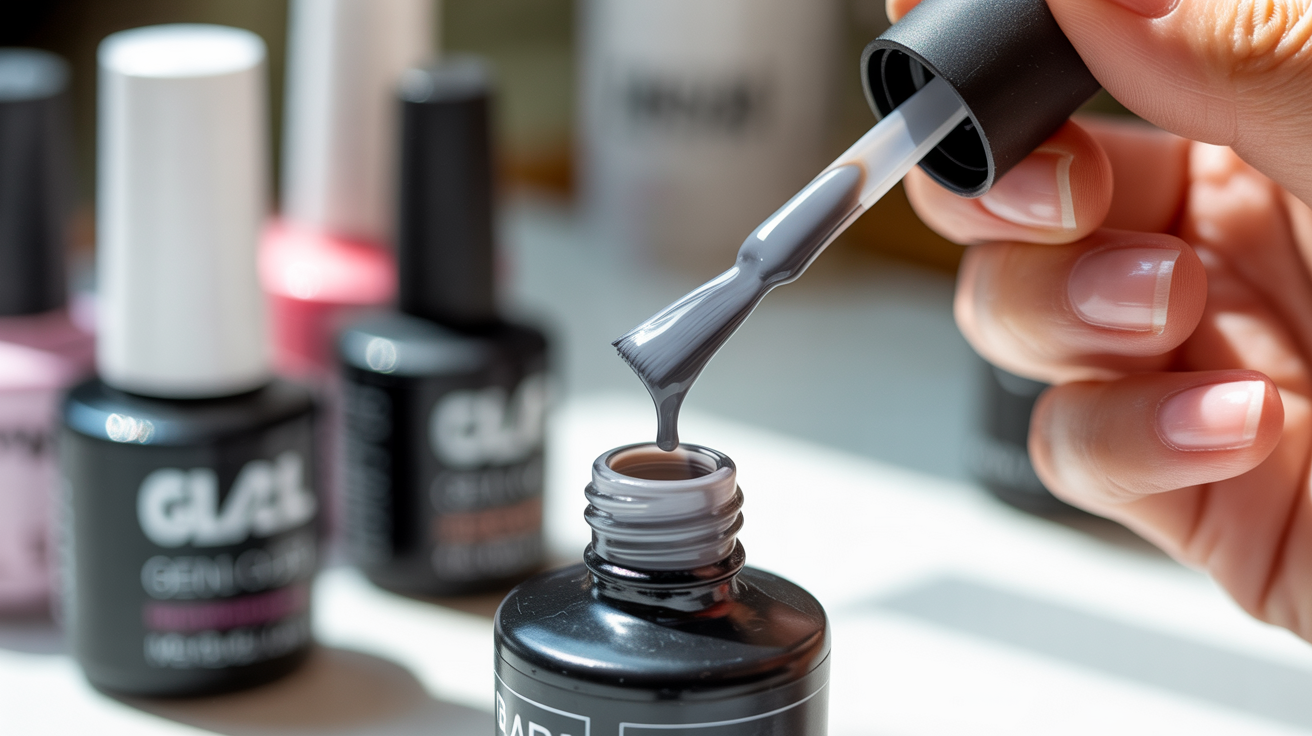
Roll Your Bottle Instead of Shaking It
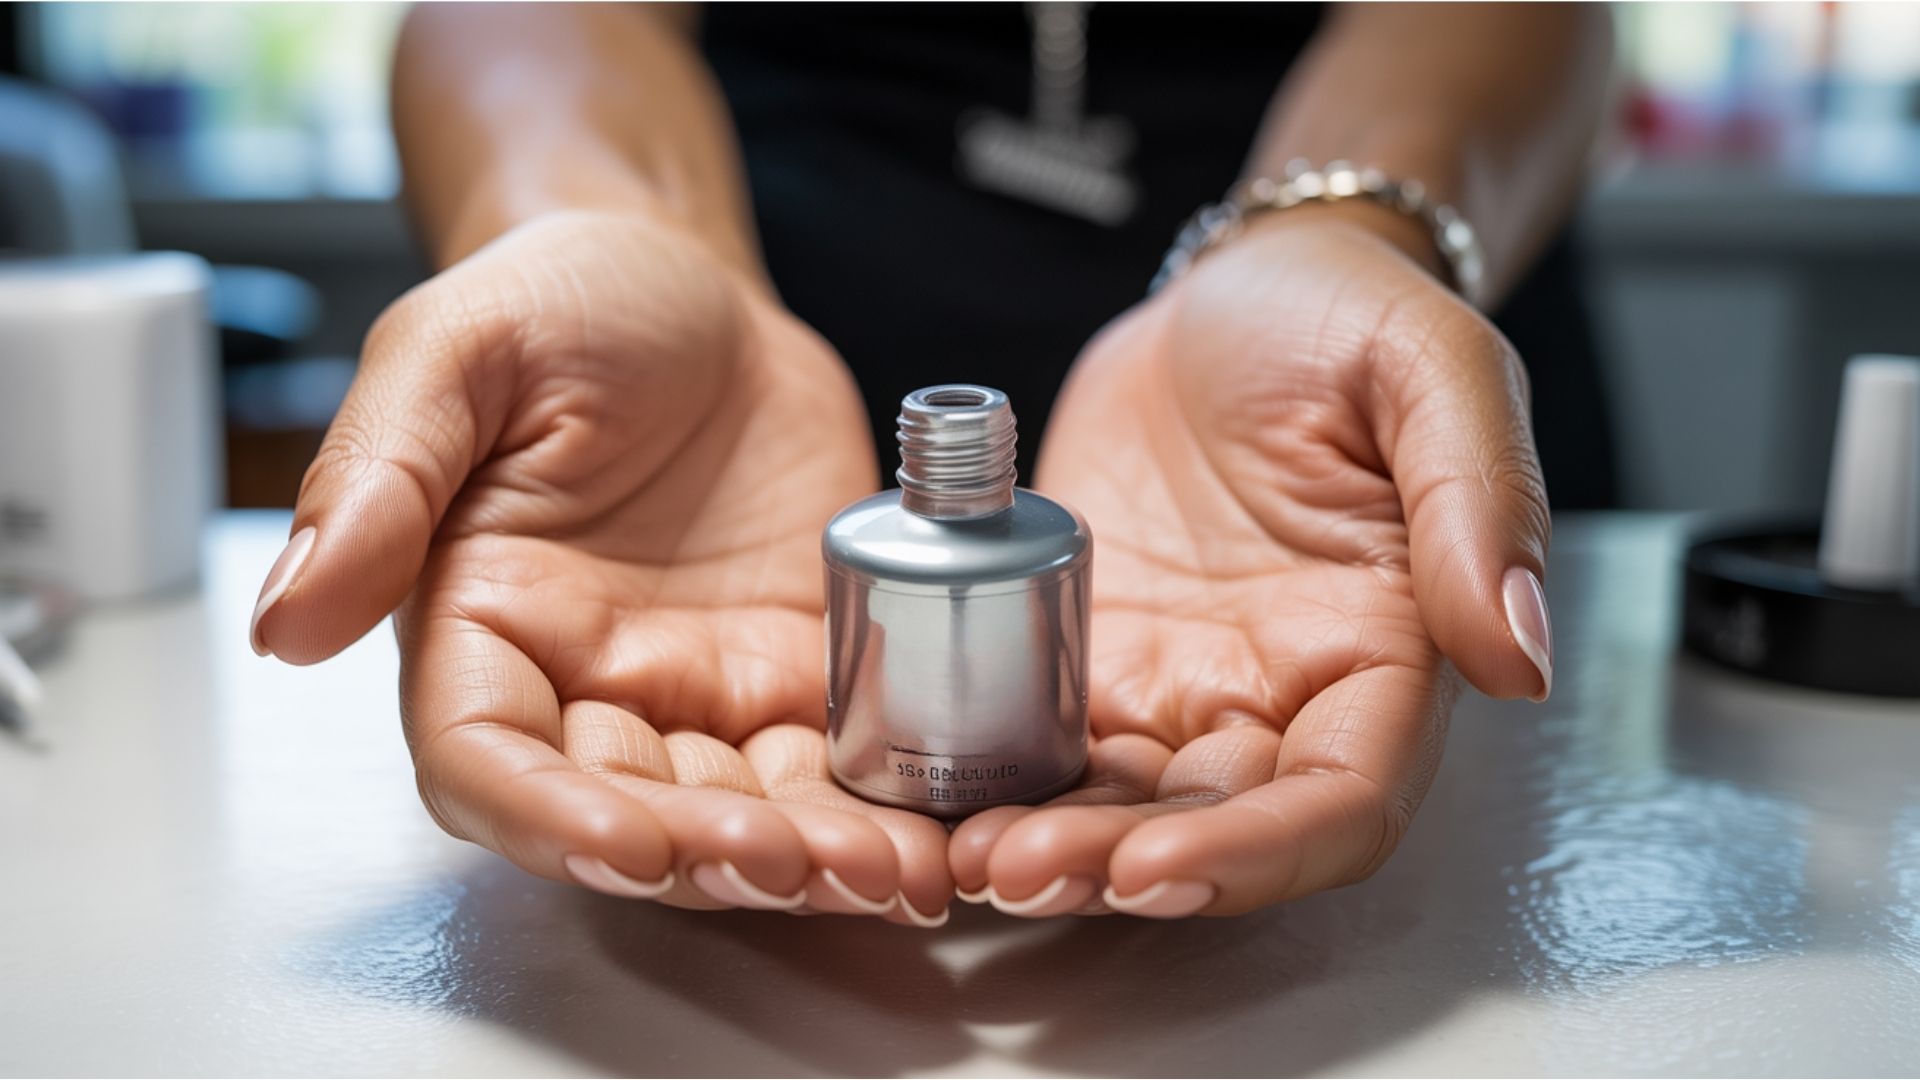
Shaking your gel polish bottle creates tons of air pockets in the formula. Those air bubbles end up on your nails.
Roll the bottle between your palms instead. This mixes the polish without adding air.
This simple change prevents bubble formation before you even start applying. It takes the same amount of time but gives way better results.
When people ask why is my gel polish bubbling, shaking the bottle is often the hidden problem they don’t realize.
Use Thin Coats Every Time
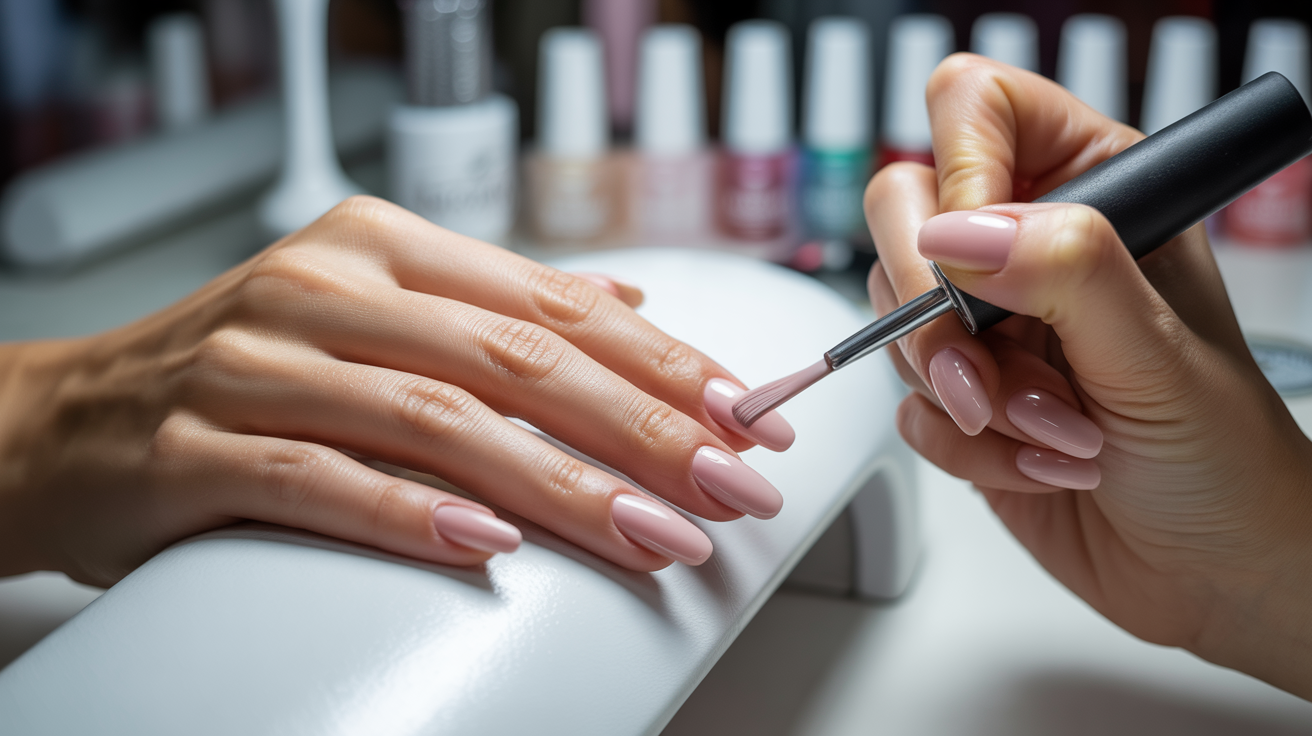
Thick layers of polish trap air while curing. The gel can’t cure evenly when you pile it on.
Applying thick coats feels faster but creates more problems. You end up spending more time fixing mistakes.
Build your color gradually with multiple thin applications instead. Two or three thin coats beat one thick coat every time.
You’ll get better coverage and a smoother finish. Thin coats also cure completely without any soft spots.
Cure Each Layer Completely
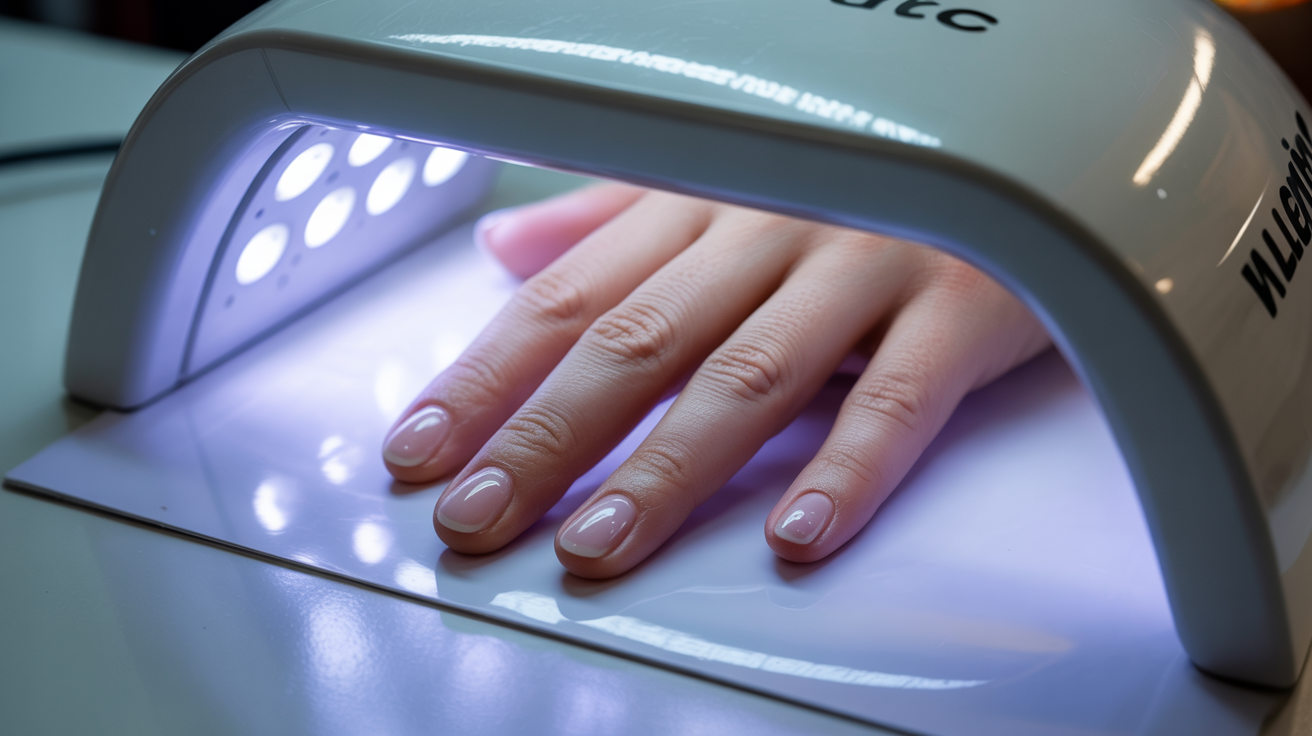
Proper lamp timing is critical for bubble-free nails. Don’t cut the curing time short.
Position your hands correctly under the lamp so all nails get even exposure. Angled placement leads to uneven curing.
When layers aren’t fully cured, they mix with the next layer and trap air. This creates bubbles you can’t fix.
Add an extra 10-15 seconds if you’re not sure. Better to cure a bit longer than not enough.
Check Your Polish Consistency
Old or thick gel polish doesn’t apply smoothly. You’ll see bubbles no matter how carefully you work.
Expired products separate and change texture. They won’t cure properly even under a good lamp.
Replace polish that’s become goopy or stringy. Some formulas can be thinned with gel polish thinner, but replacement is usually better.
Store your gel polish in a cool, dark place to extend its life. Heat and light break down the formula over time.
Control Your Working Environment
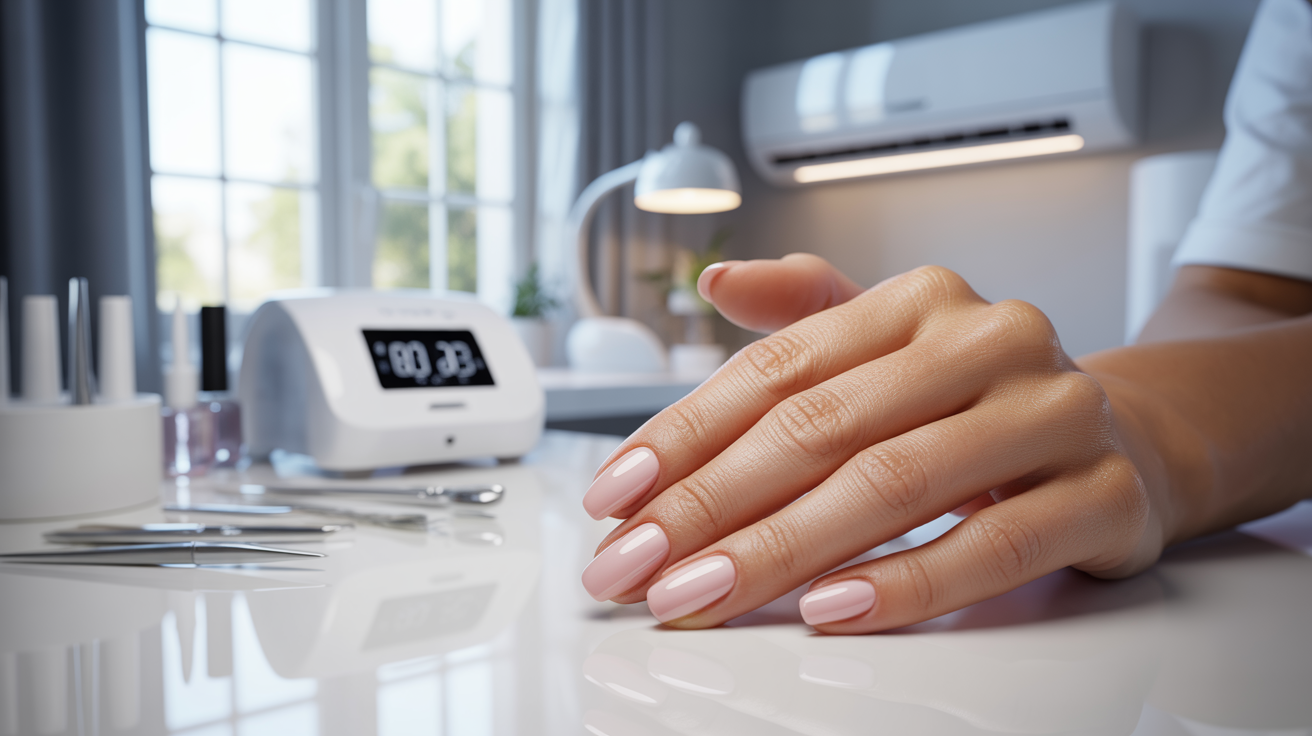
Temperature affects how gel formula flows and cures. Too hot or too cold causes problems.
Humidity and moisture create issues during application. Gel doesn’t cure right in damp conditions.
Choose a comfortable, climate-controlled space for your manicures. Your bathroom right after a shower is not ideal.
Use a fan or air conditioning if your space gets too warm. But don’t point a fan directly at your nails while working.
Apply Polish Away from the Cuticle
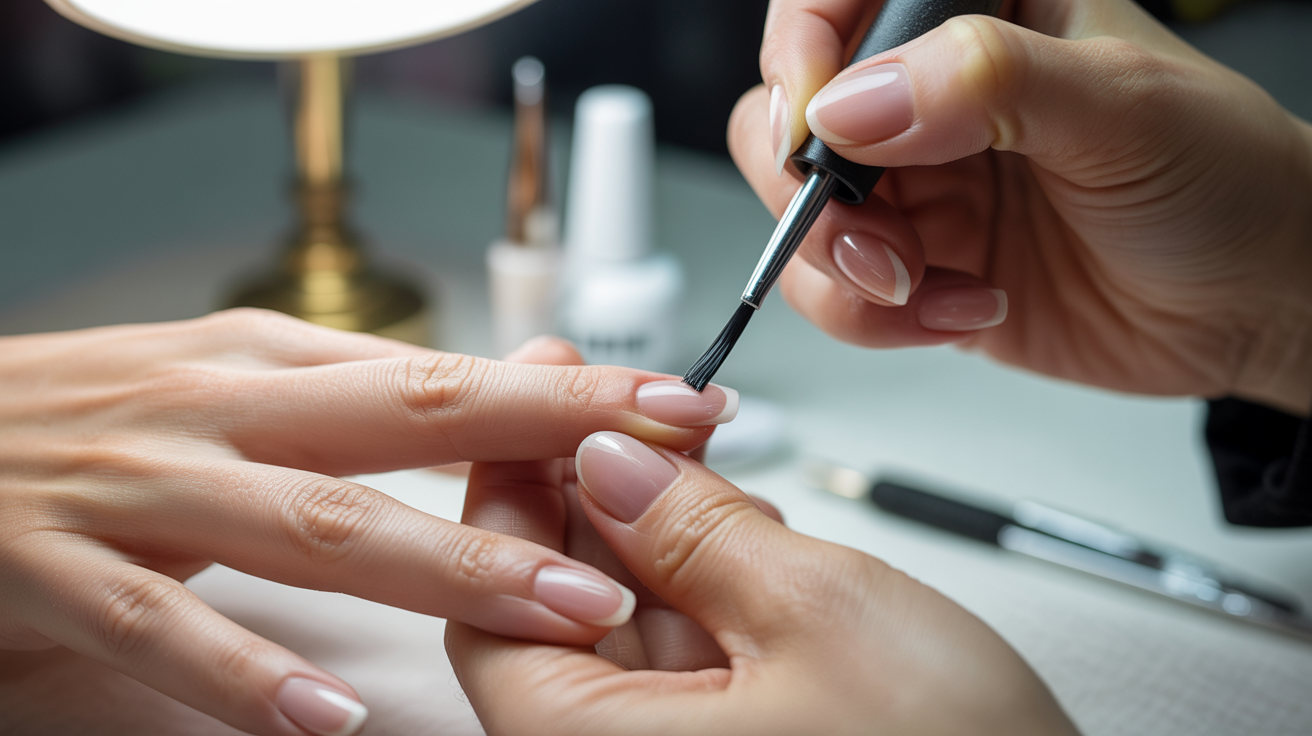
Leave a tiny gap at your cuticle line and sidewalls. Don’t flood the polish all the way to the edges.
Polish touching your skin causes bubbling and lifting as it cures. The moisture from your skin interferes with the gel.
Proper brush placement takes practice but makes a huge difference. Hold your brush at an angle and use light pressure.
Cap the free edge correctly by swiping across the tip. This seals everything and prevents premature chipping.
Figuring out why is my gel polish bubbling often comes down to getting too close to the skin.
Quick Tips for a Bubble-Free Manicure
These extra tips will help you avoid bubbles and get professional results at home.
- Work in good lighting so you spot issues early. Natural light or a bright desk lamp works best.
- Use quality products designed for home use. Cheap gel polish from random brands often has consistency problems.
- Clean your lamp regularly for consistent curing. Dust and residue block UV light from reaching your nails.
- Practice patience between coats. Rushing leads to mistakes and trapped air bubbles.
- Keep brush strokes smooth and even. Choppy application leaves texture that shows through your manicure.
These small adjustments make a big difference in your final results.
Conclusion
Bubbles are completely preventable with the right technique. You don’t need professional training or expensive products.
Now you know why is my gel polish bubbling and exactly how to stop it. You’ve got all the information you need.
Try these techniques on your next manicure. Take your time with each step.
You can absolutely get smooth, salon-quality nails at home. Start with proper prep and thin coats, and you’ll see immediate improvement.
Go create that flawless gel manicure you’ve been wanting!
Frequently Asked Questions
Can I Fix Bubbles After My Gel Polish Has Cured?
For minor bubbles, lightly buff the surface with a fine-grit buffer and apply a fresh top coat layer. Cure it completely. For major bubbling or multiple large bubbles, you’ll need to remove everything and start over. There’s no quick fix for severe bubble problems.
Does My LED Lamp Quality Affect Bubble Formation?
Yes, weak or old LED lamps don’t cure gel properly. Incomplete curing leads to soft spots where air gets trapped, causing bubbles and a tacky finish. If your lamp takes longer than recommended cure times or doesn’t harden polish completely, it’s time for a replacement with proper wattage.
Should I Use Nail Polish Thinner or Acetone for Thick Gel?
Use gel polish thinner specifically designed for gel formulas. Never use regular nail polish thinner or acetone to thin gel polish. Acetone breaks down the gel formula completely and ruins it. When gel gets too thick, replacement is often better than trying to thin it out.
How Long Should I Wait Between Applying Gel Polish Coats?
Wait for complete curing between each coat. Base coat, color coats, and top coat all need their full cure time under the lamp. Don’t apply the next layer until the previous one is completely hard. Touch the nail lightly to check before continuing with your manicure.
Why Do Bubbles Only Appear on Some Nails and Not Others?
Uneven application pressure creates inconsistent results across nails. You might apply thicker coats on some fingers without realizing it. Inconsistent prep work also matters. If you skip proper cleaning on certain nails, those specific nails will bubble. Check your lamp positioning to ensure all nails get equal UV exposure.