How to Dermaplane at Home: Step-by-Step Guide
I’ve been dermaplaning at home for two years, and it’s changed how my skin looks and feels. How to dermaplane at home is easier than you think when you know the right steps.
This guide walks you through everything, from picking the right tool to using proper technique.
You’ll learn the exact process I use, what products work best after, and how often to do it.
If you want smoother skin and better makeup application without spending money at a spa, you’re in the right place.
What Is Dermaplaning?
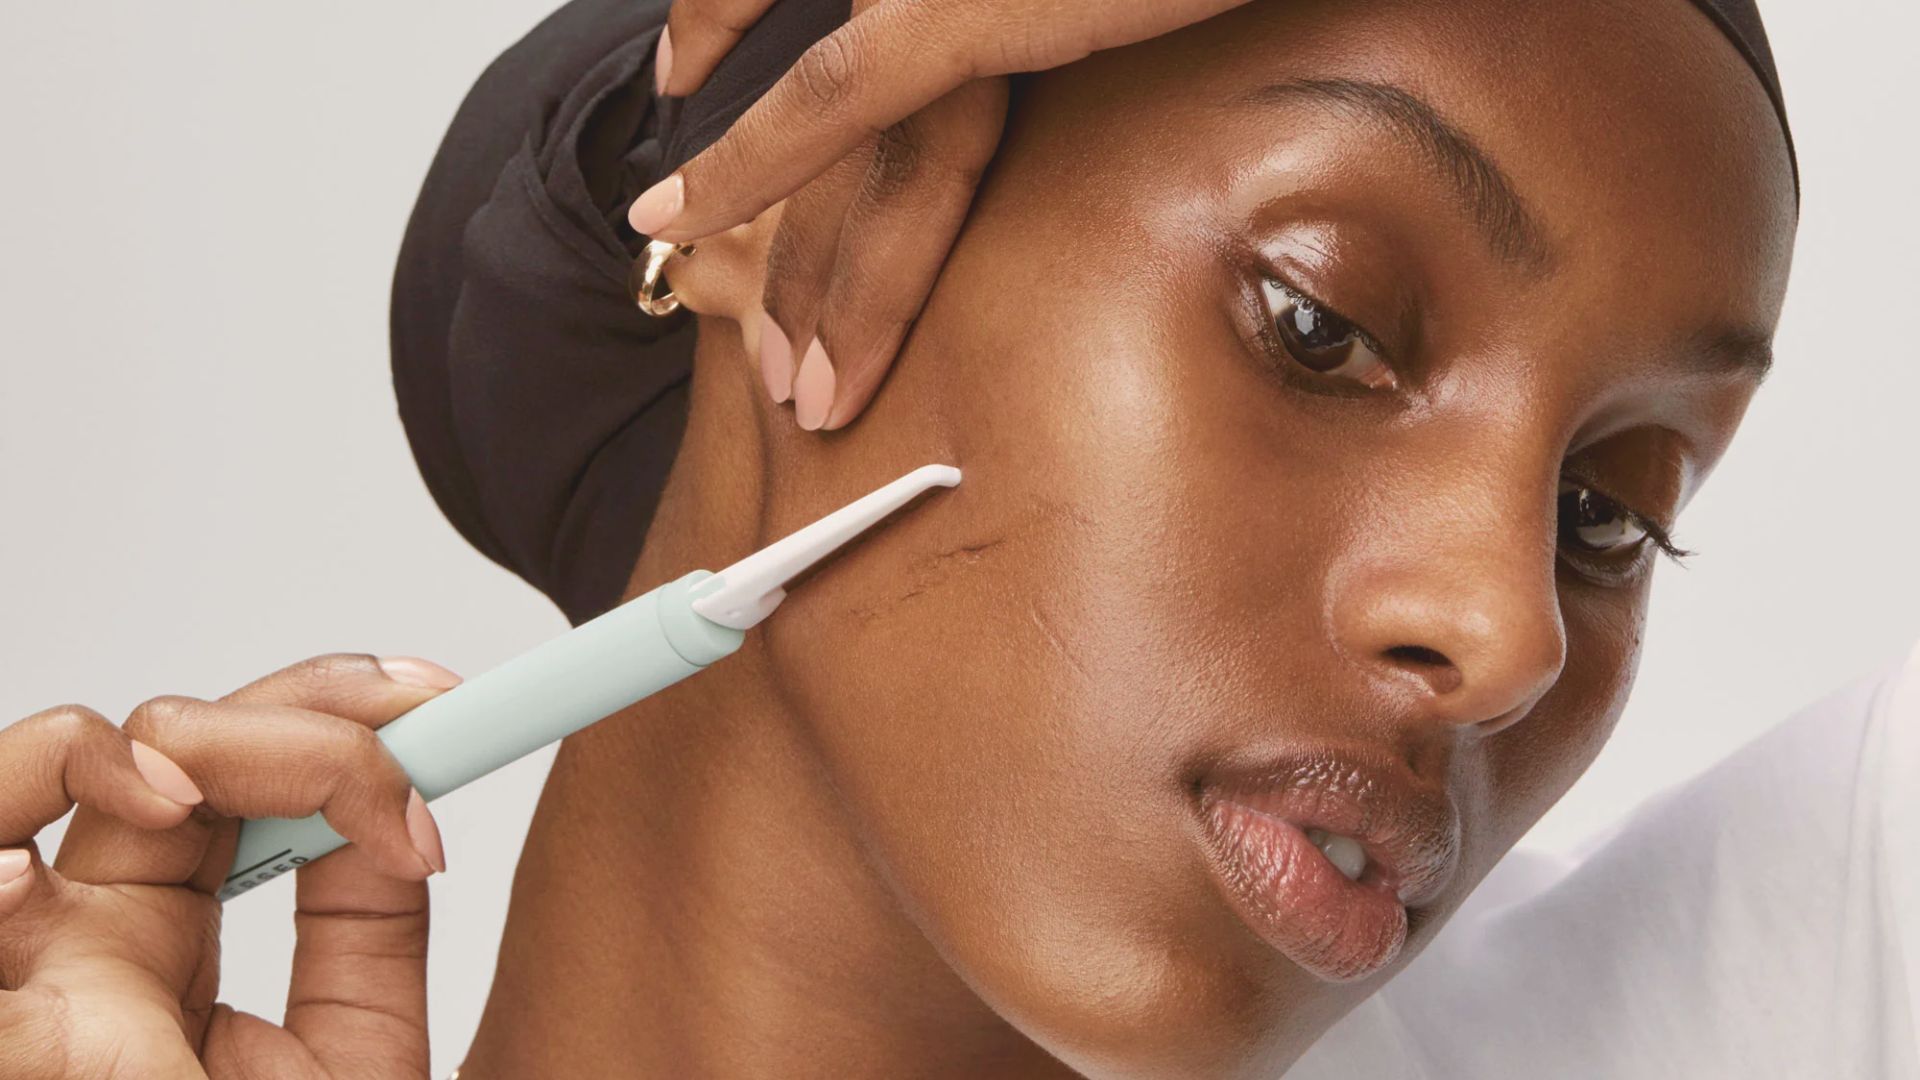
Dermaplaning is a skincare method that uses a small blade to remove dead skin and fine hair from your face. The blade sits at an angle against your skin and scrapes away the top layer gently.
It sounds scary, but it’s safe when done correctly. The process takes about 10-15 minutes and leaves your face feeling smooth.
Many people compare it to shaving, but dermaplaning goes deeper. It clears away buildup that dulls your complexion.
How Dermaplaning Works?

The blade removes two things: dead skin cells and vellus hair (peach fuzz). Dead skin sits on top of your face and makes it look dull. Peach fuzz traps dirt and oil.
When you scrape the blade across your skin, it lifts both away. This reveals the fresh, healthy skin underneath.
Your skin naturally sheds dead cells, but dermaplaning speeds up the process. It’s like a physical exfoliation that gives instant results.
The blade doesn’t cut into your skin. It stays on the surface and only removes what’s already loose or ready to come off.
How to Dermaplane at Home: Step-by-Step
Follow these seven steps for safe, effective dermaplaning that gives you smooth, glowing skin.
Step 1: Cleanse and Dry Your Skin

Wash your face with your regular cleanser and remove all makeup, sunscreen, and oil. Pat your skin completely dry with a clean towel since the blade won’t work properly on wet skin.
Make sure there’s no moisturizer or product left on your face. It should feel clean and slightly tight.
Step 2: Prep Skin With Toner or Primer
This step is optional but helpful. Apply a thin layer of toner or dermaplaning primer. Some people use a drop of facial oil while others go straight to dermaplaning on bare skin.
I prefer using nothing. My blade glides fine without extra products.
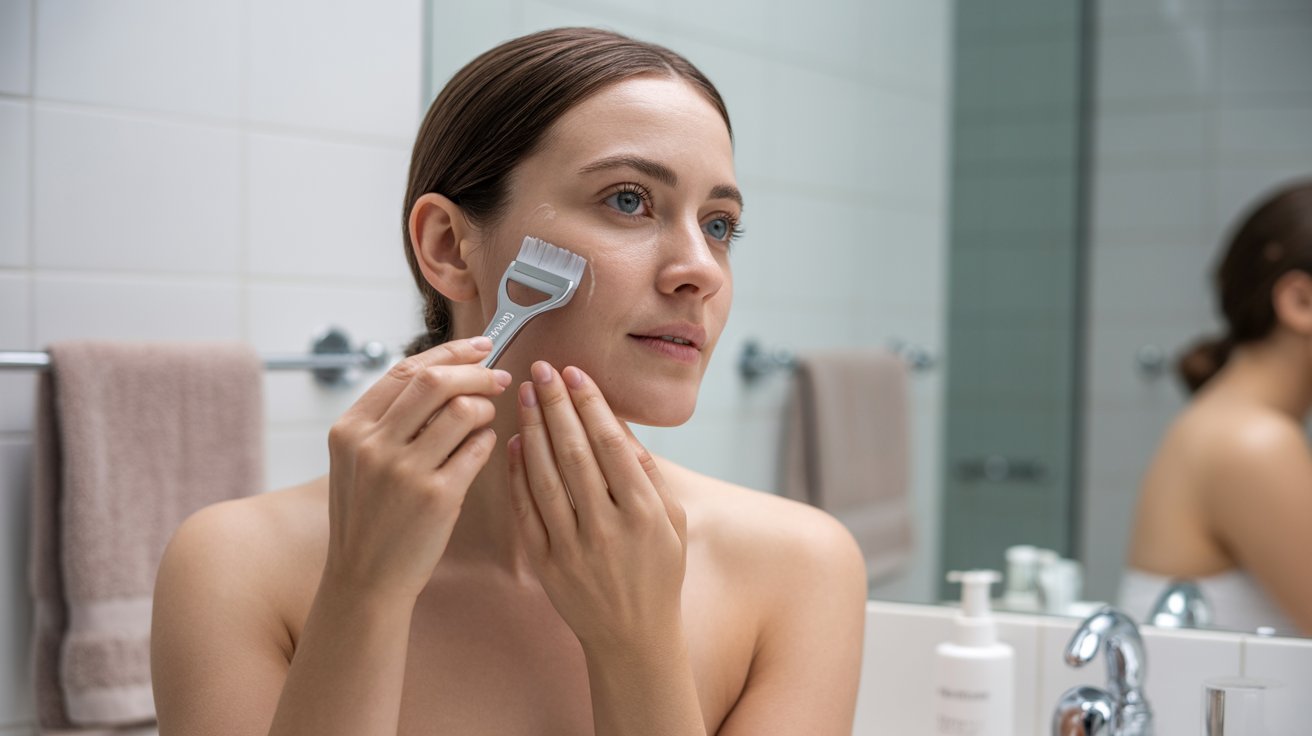
Step 3: Hold the Blade at a 45-Degree Angle
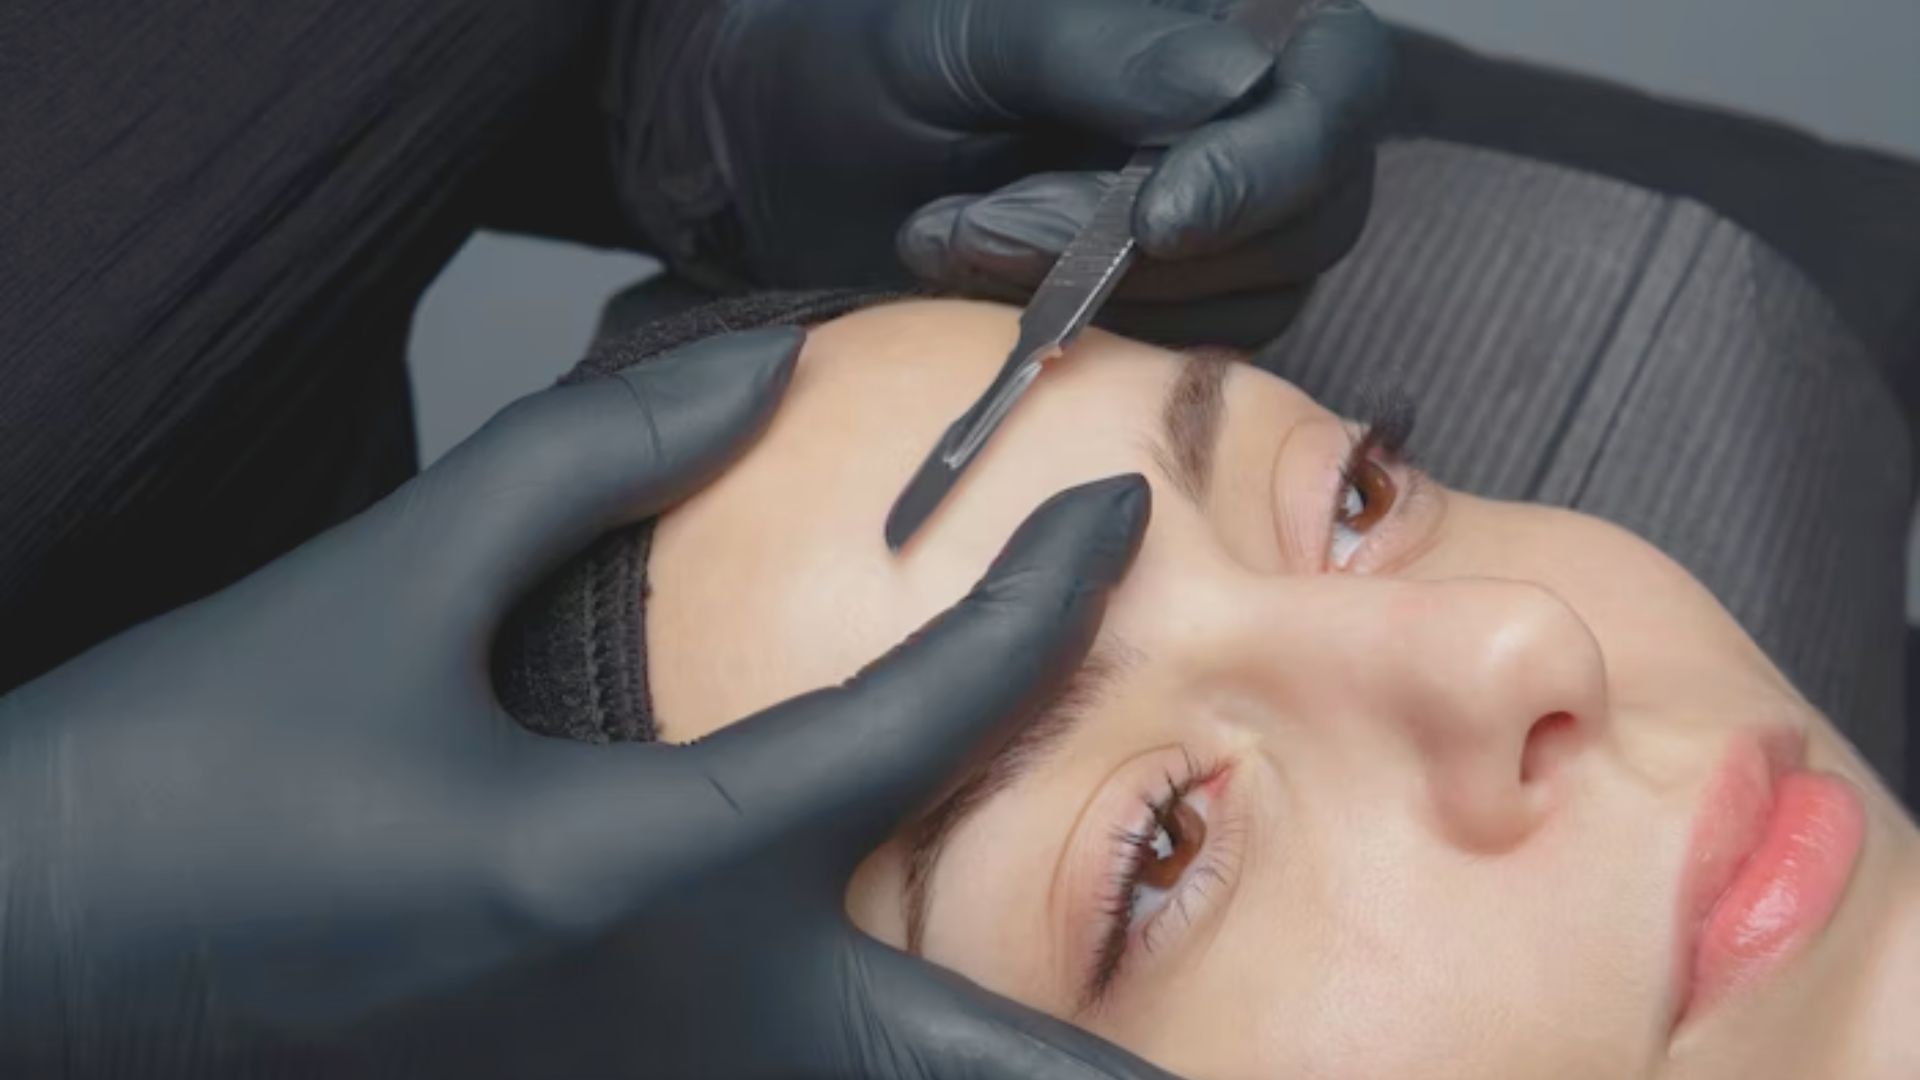
This angle is important. Too flat and nothing happens. Too steep and you risk cutting yourself. Hold the blade in your dominant hand and use your other hand to pull your skin taut.
The blade should feel secure but not pressed hard against your face.
Step 4: Use Short, Gentle Strokes
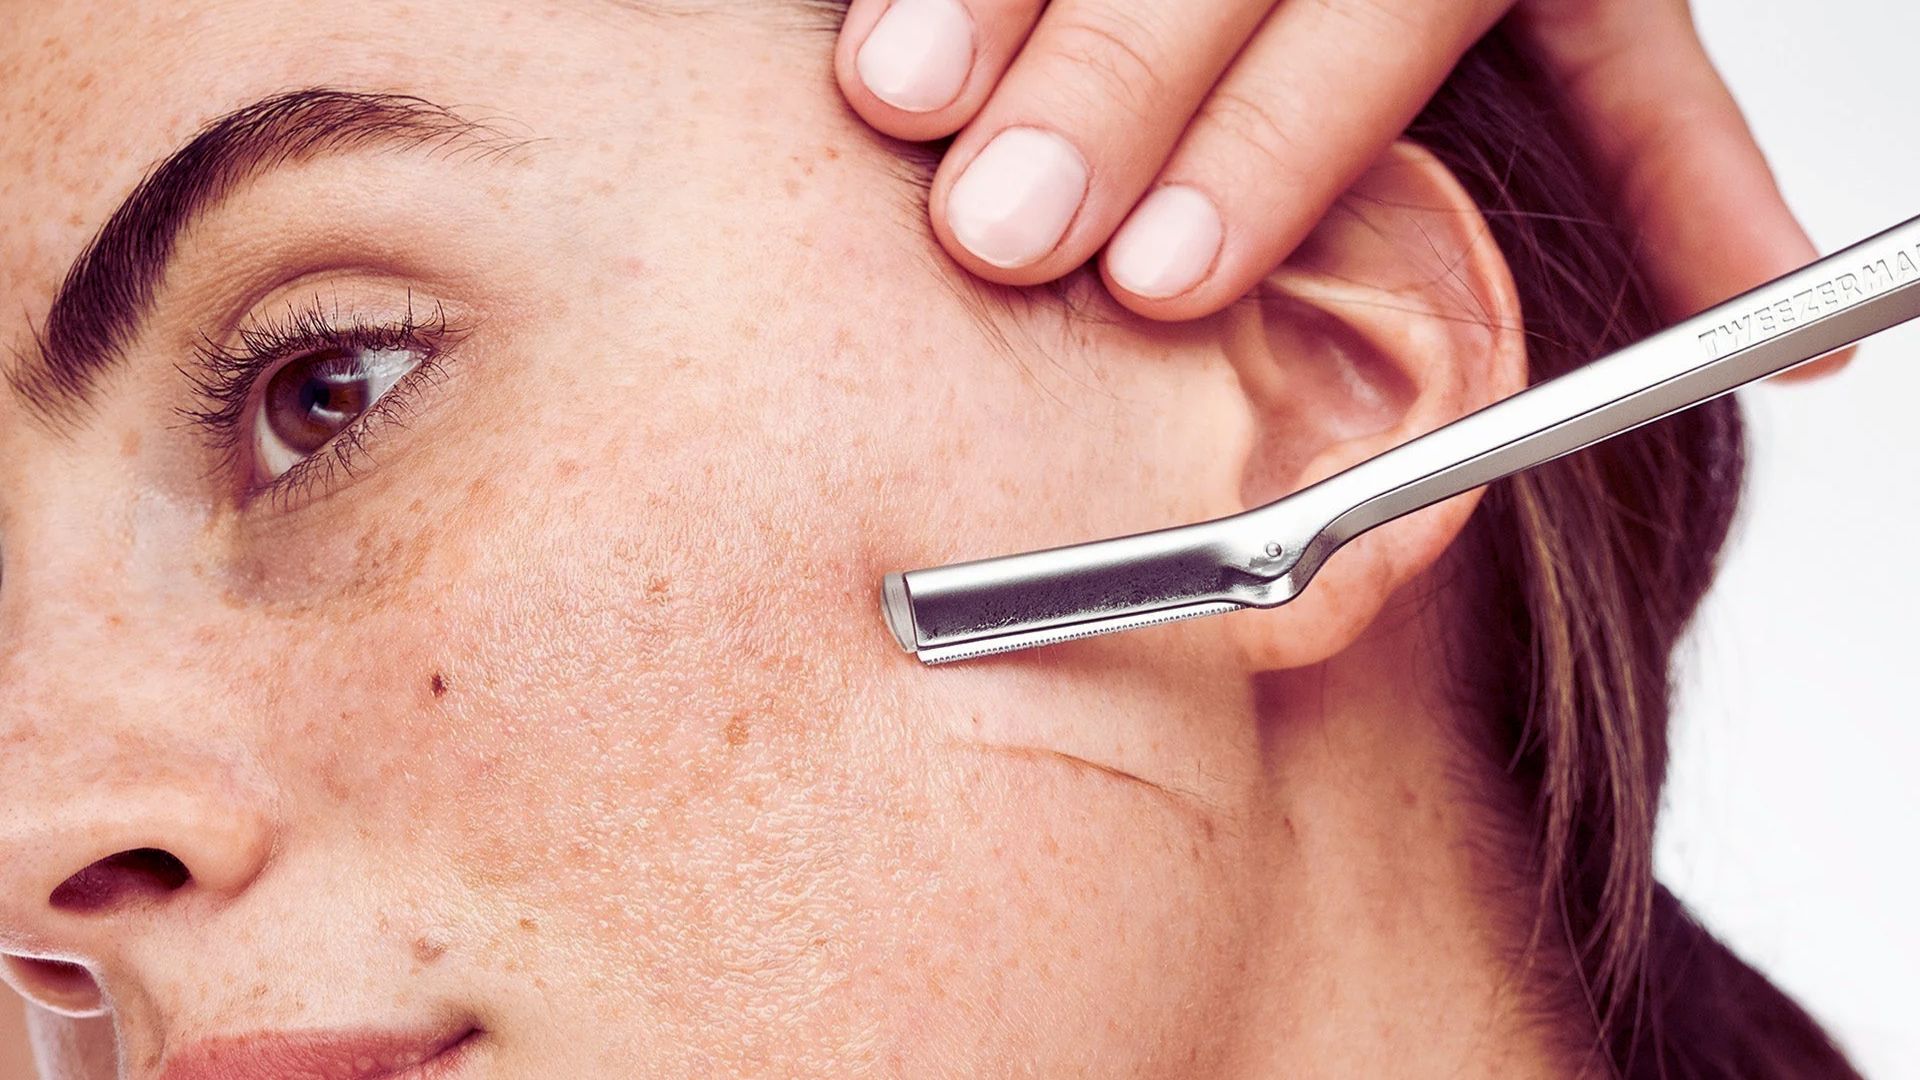
Move the blade in short strokes, about 1-2 inches long. Go in the direction of hair growth. Don’t press down. Let the blade do the work.
You should barely feel it touching your skin. The motion is like shaving, but lighter. Think “feather touch” rather than firm pressure.
Step 5: Work Section by Section

Start with your forehead, move to your cheeks, then chin, then upper lip. Do one area completely before moving to the next.
This keeps you organized and prevents missing spots. I usually do 2-3 passes per section until I don’t see any more peach fuzz coming off.
Step 6: Avoid Sensitive or Active Breakouts

Skip over any pimples, cuts, or irritated areas. The blade will make them worse. Be extra careful around your nose and mouth since the skin is thinner there. Don’t dermaplane your eyelids or directly under your eyes. That skin is too delicate.
Step 7: Clean the Blade as You Go

Wipe the blade on a tissue or rinse it under water every few strokes. Dead skin and hair build up quickly. A clean blade works better and reduces irritation risk. I rinse mine after each section.
What You Need to Dermaplane at Home
Get these basic tools and products for safe, effective dermaplaning in your own bathroom.
- Single-blade dermaplaning tools work best for beginners. Look for surgical-grade stainless steel blades from brands like Tinkle, Schick Silk Touch, or StackedSkincare that cost $5-20 for a pack and replace after 3-4 uses.
- Use a gentle cleanser and clean towel. Clean, dry skin is required before you start dermaplaning to prevent bacteria spread and ensure the blade glides properly across your face.
- Set up good lighting for your session. Bright, direct light helps you see peach fuzz, missed spots, and ensures you’re working safely and effectively across all areas of your face.
- Consider optional products like oil or primer. Some people add these to help the blade glide more smoothly, though many successfully dermaplane on bare skin without any extra products.
- Keep a magnifying mirror nearby. This tool helps you spot fine peach fuzz and check for any areas you might have missed during your dermaplaning session.
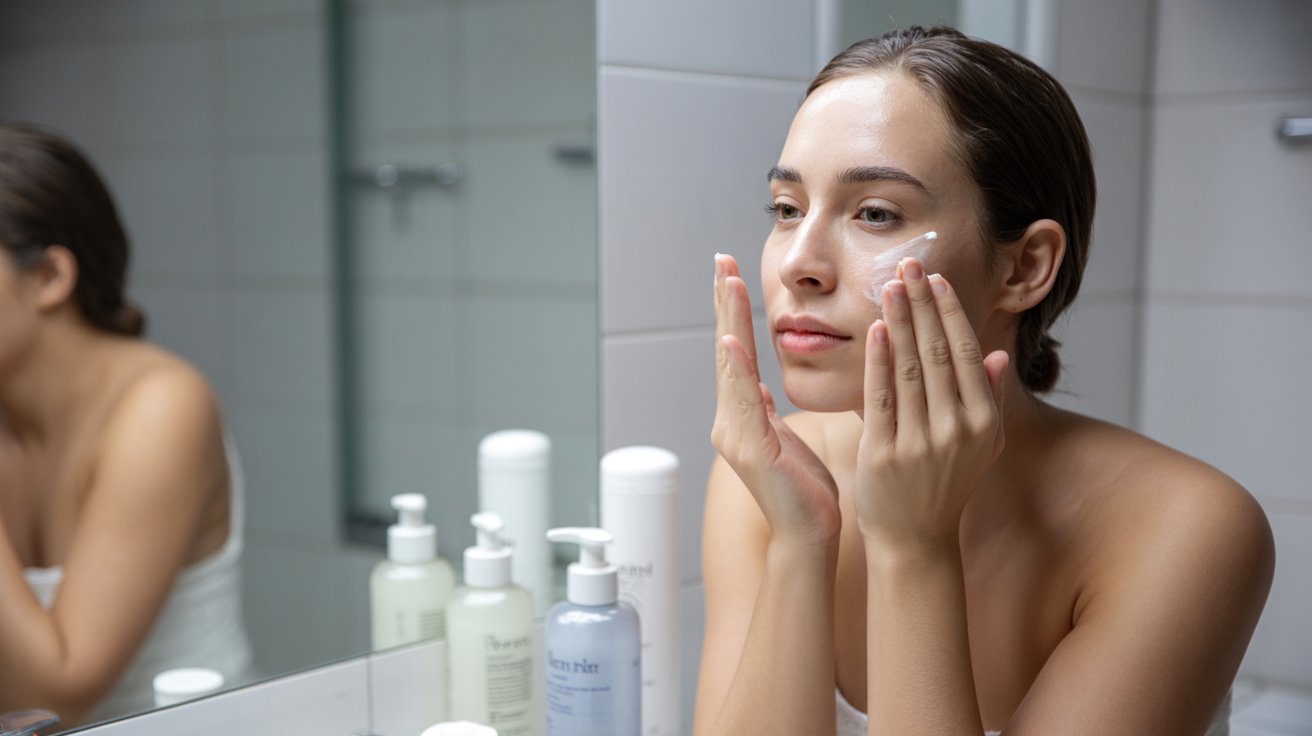
What to Use After Dermaplaning
Your skin is freshly exfoliated and ready to absorb everything. Apply a hydrating serum immediately after dermaplaning. Hyaluronic acid, glycerin, or peptides work great.
Skip active ingredients like retinol or acids for 24 hours. Follow with a gentle moisturizer. I use a simple hyaluronic acid serum and my regular face cream.
Sunscreen is non-negotiable. Wear SPF 30 or higher the next day, even if you’re staying inside. Reapply every 2 hours if you’re outside.
Wait 24-48 hours before using retinol, glycolic acid, salicylic acid, vitamin C (for sensitive skin), benzoyl peroxide, or any harsh exfoliants. These can irritate your newly exposed skin.
Benefits of Dermaplaning at Home
Dermaplaning delivers visible skin improvements you’ll see right away and maintain over time.
- Clears dead skin and peach fuzz instantly. One session removes dull buildup and fine facial hair, revealing brighter skin and eliminating that fuzzy appearance in certain lighting.
- Smooths rough texture for natural radiance. Bumpy patches level out as the blade creates an even surface that reflects light better, bringing back your natural glow.
- Makes skincare products work harder. Without dead skin blocking absorption, your serums and moisturizers penetrate deeply and deliver better results.
- Creates a flawless canvas for makeup. Foundation and concealer glide on smoothly without catching on peach fuzz or dry patches, looking more natural throughout the day.
- Speeds up your skin’s natural renewal. Dermaplaning accelerates cell turnover through instant physical exfoliation that reveals fresh, healthy skin underneath.
- Reduces the appearance of fine lines. Removing the top layer of dead skin makes shallow lines less noticeable while improved light reflection creates a younger look.
- Saves money compared to professional treatments. At-home tools cost $5-20 and last multiple uses versus $75-200 per spa session for the same results.
Who Should and Shouldn’t Dermaplane at Home
Most people with healthy skin can dermaplane at home safely.
You’re a good candidate if you have dry or dull skin, fine lines, peach fuzz, rough texture, or skin that handles exfoliation well. Normal, dry, and combination skin types respond best.
Don’t dermaplane if you have active acne, open cuts, skin conditions like eczema or rosacea, very sensitive skin, or recent sunburn.
Wait until your skin heals first. If you’re on strong acne medication like Accutane, ask your dermatologist before trying dermaplaning.
Conclusion
How to dermaplane at home doesn’t have to be complicated or scary.
I was nervous the first time, but now it’s part of my monthly routine. My skin stays smooth, my makeup looks better, and my products work harder.
You’ve got all the steps, the right tools, and the safety tips you need. Start with clean skin, use light strokes, and don’t forget your sunscreen after. Give it a try and see how your skin responds.
If you have questions or want to share your results, leave a comment below. I’d love to hear how dermaplaning works for you.
Frequently Asked Questions
Does dermaplaning make hair grow back thicker?
No, this is a myth. The blade only cuts peach fuzz at the surface and doesn’t change the hair follicle, so hair grows back exactly the same.
Can I dermaplane if I have acne?
Avoid dermaplaning over active breakouts or cystic acne. The blade spreads bacteria and makes acne worse, so wait until your skin clears up first.
How long do dermaplaning results last?
Results last 3-4 weeks, matching your skin’s natural turnover cycle. After that, dead skin builds up again and you’ll need another session.
Is dermaplaning painful?
No, it shouldn’t hurt at all. When done with a sharp blade and light pressure, you barely feel it. Pain means you’re pressing too hard.
Can I wear makeup right after dermaplaning?
Wait a few hours to let your skin calm down. If you must apply makeup immediately, use light, non-comedogenic products only.