How to Do Dip Nails at Home: Easy Step-by-Step Guide
I have spent way too much money at nail salons. Sound familiar?
Dip powder nails changed everything for me.
No UV lamp, no complicated tools, and they last up to four weeks without chipping. That is why so many people are switching to DIY dip nails at home.
Dip nails work by layering a bonding liquid and finely milled powder to build a strong, natural-looking coat.
The result? Nails that look like you just walked out of a salon.
In this guide, I am going to walk you through every step, from prep to finish, so you can get it right the first time.
What Are Dip Powder Nails?
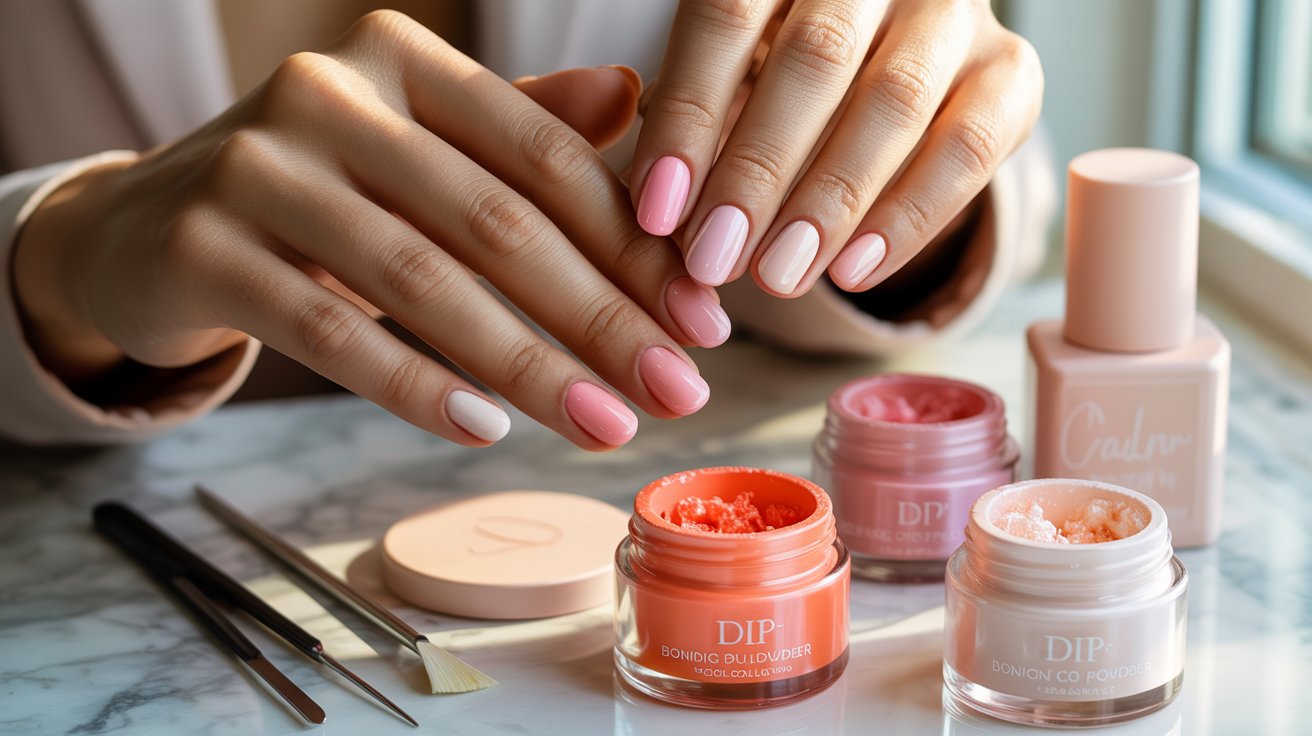
Dip nails use a bonding base coat and finely milled powder to build a strong, colored layer on your nails.
No UV lamp needed, which makes them way easier than gel. Unlike acrylics, they feel lighter and cause less damage over time.
They last anywhere from three to four weeks with proper prep. Things like oily nail beds, skipping the top coat, or rough daily work can shorten that. But done right, dip nails seriously outlast regular polish.
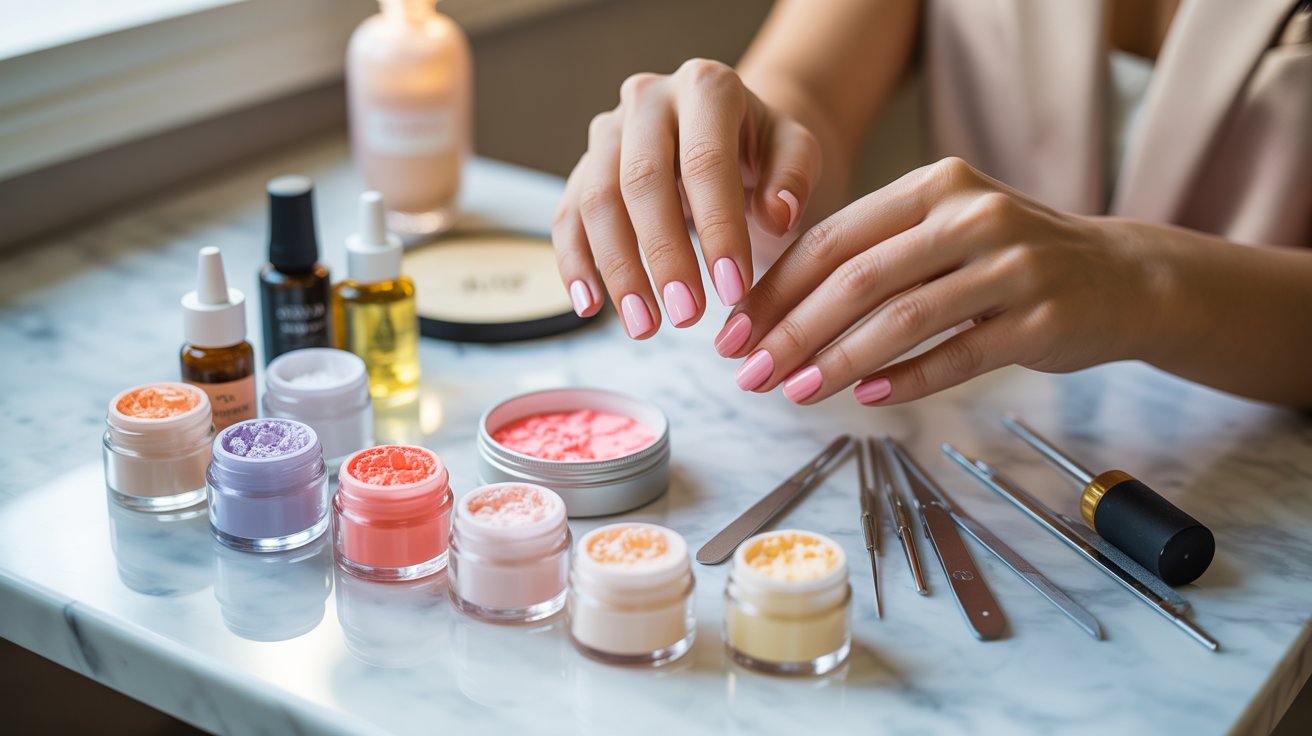
What You Need to Do Dip Nails at Home

Before you start, make sure you have the right supplies. The right tools make the whole process much easier.
Important Dip Nail Supplies
- Dip powder in your chosen colors
- Base coat made for dip systems
- Activator liquid to harden the powder
- Top coat for a glossy, sealed finish
- Nail file and buffer to shape and smooth
- Cuticle pusher to prep your nail bed
- Dust brush to sweep off excess powder
- Alcohol or nail dehydrator to remove oil and moisture
Optional Tools for Better Results
- Cuticle oil to keep skin healthy around the nails
- Nail drill for faster shaping and removal
- Clear dip powder for extra strength layers
- Lint-free wipes to avoid fibers getting into your finish
Best Dip Powder Kits for Beginners
- Look for a kit that includes base coat, activator, and top coat together
- Pick one with at least two to three powder shades to start
- Go for a kit that has clear instructions or a how-to guide inside
- Avoid kits with overly runny base coats as they make powder control harder
- Starter kits with small powder jars are better since you can test before committing to full sizes
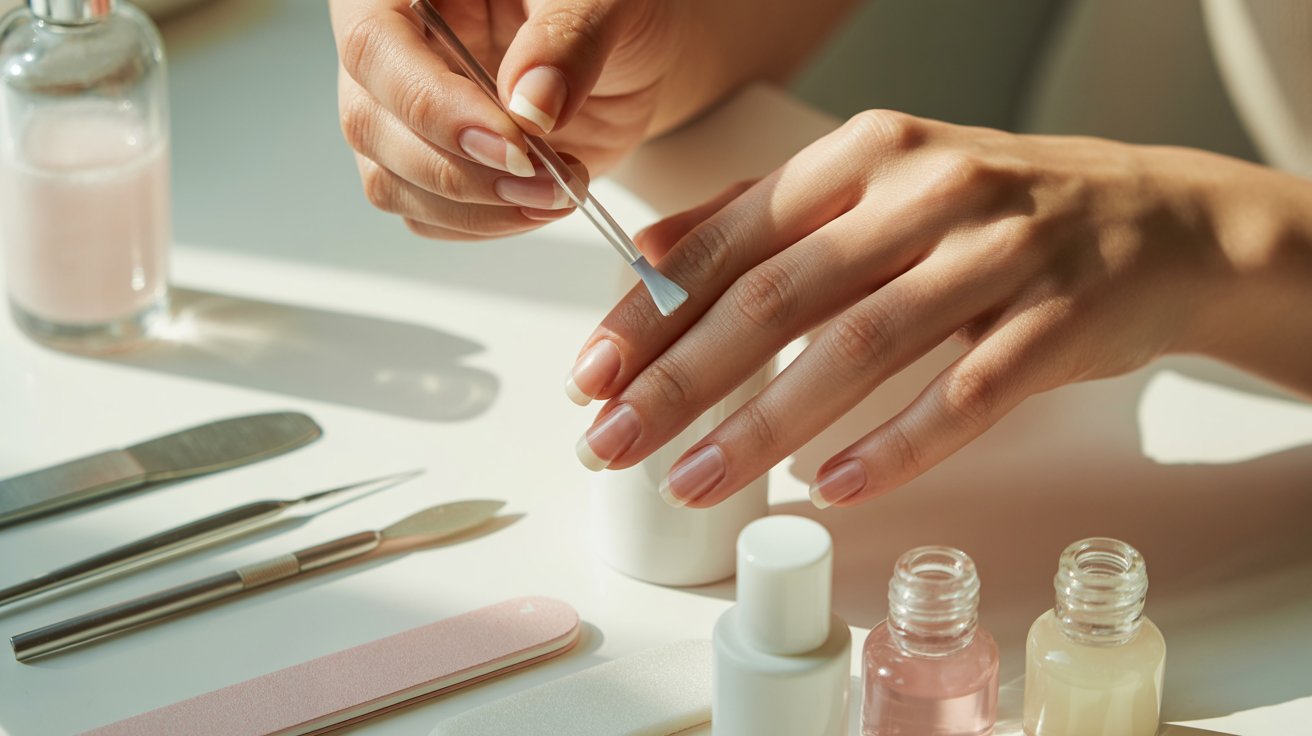
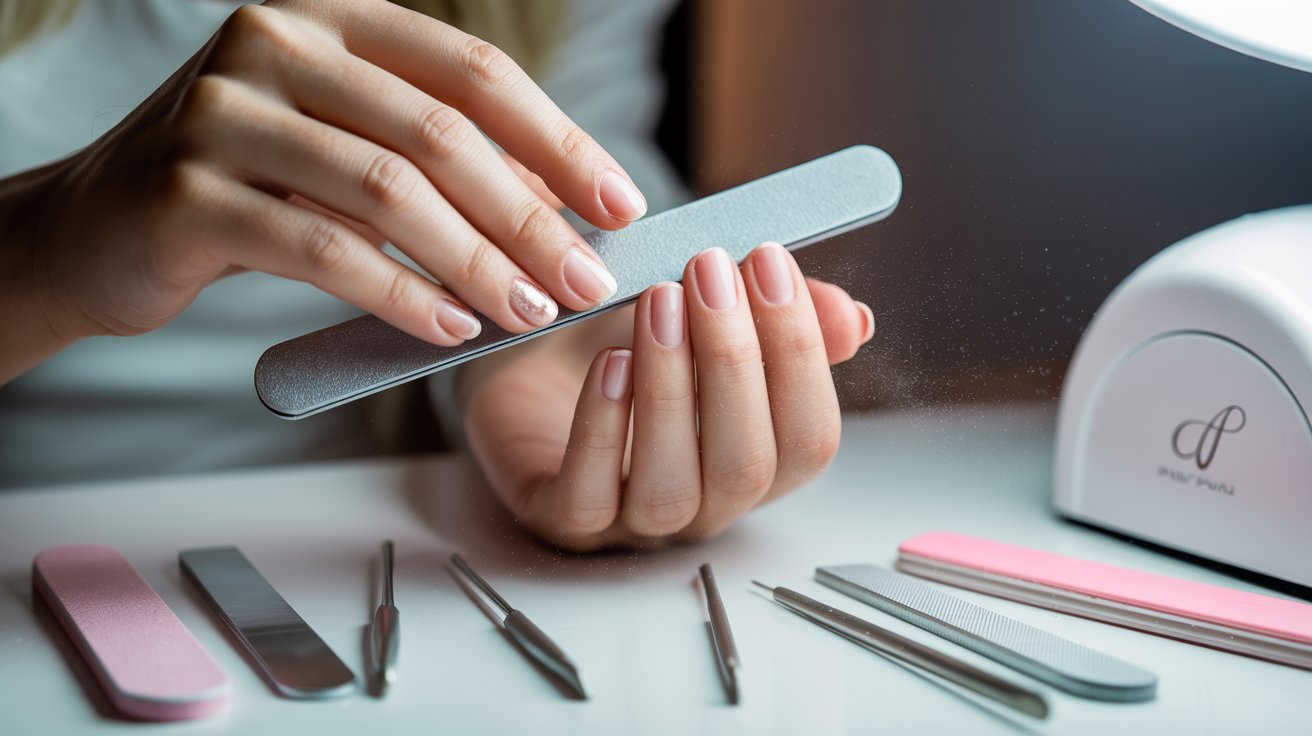
How to Prep Your Nails Before Applying Dip Powder
Start by removing any old polish, gel, or dip using acetone. Clean nails give you the best base to work with.
Push back your cuticles gently. Skipping this step causes lifting later.
File your nails into your preferred shape, square, round, or almond all work great with dip.
Then lightly buff the surface and apply a nail dehydrator. This removes oils and helps the powder stick and stay longer.
Step-by-Step Guide on How to Do Dip Nails at Home
Follow these steps in order and take your time. Rushing any stage is where most beginners go wrong.
Step 1 – Apply Nail Bond or Prep
Apply a thin layer of nail bond or prep liquid to each nail. This creates a dry, oil-free surface that helps everything stick better. Let it fully dry before moving to the next step. Do not skip this.
Step 2 – Apply the First Layer of Base Coat
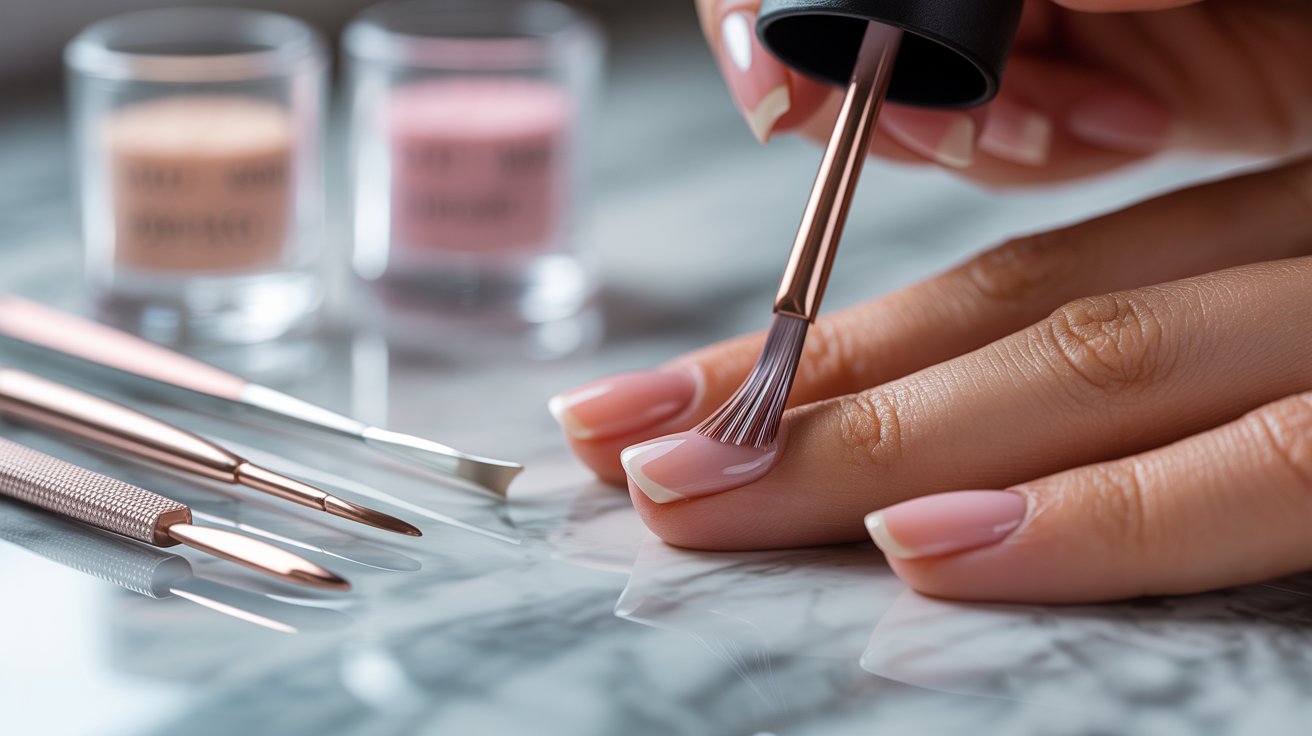
Brush on a thin, even base coat layer. Keep it away from your cuticles to avoid lifting. A flooded cuticle area will cause the powder to peel off faster. Thin layers always perform better than thick ones.
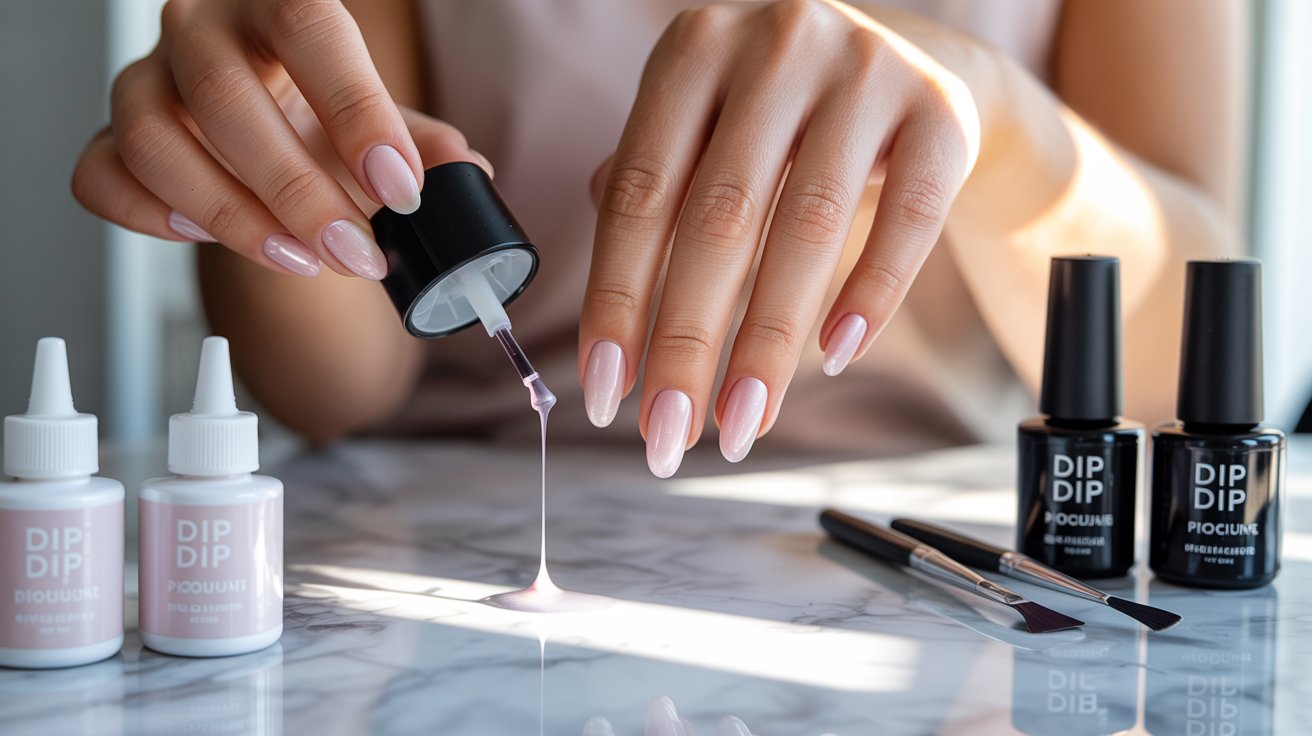
Step 3 – Dip Nails Into Powder
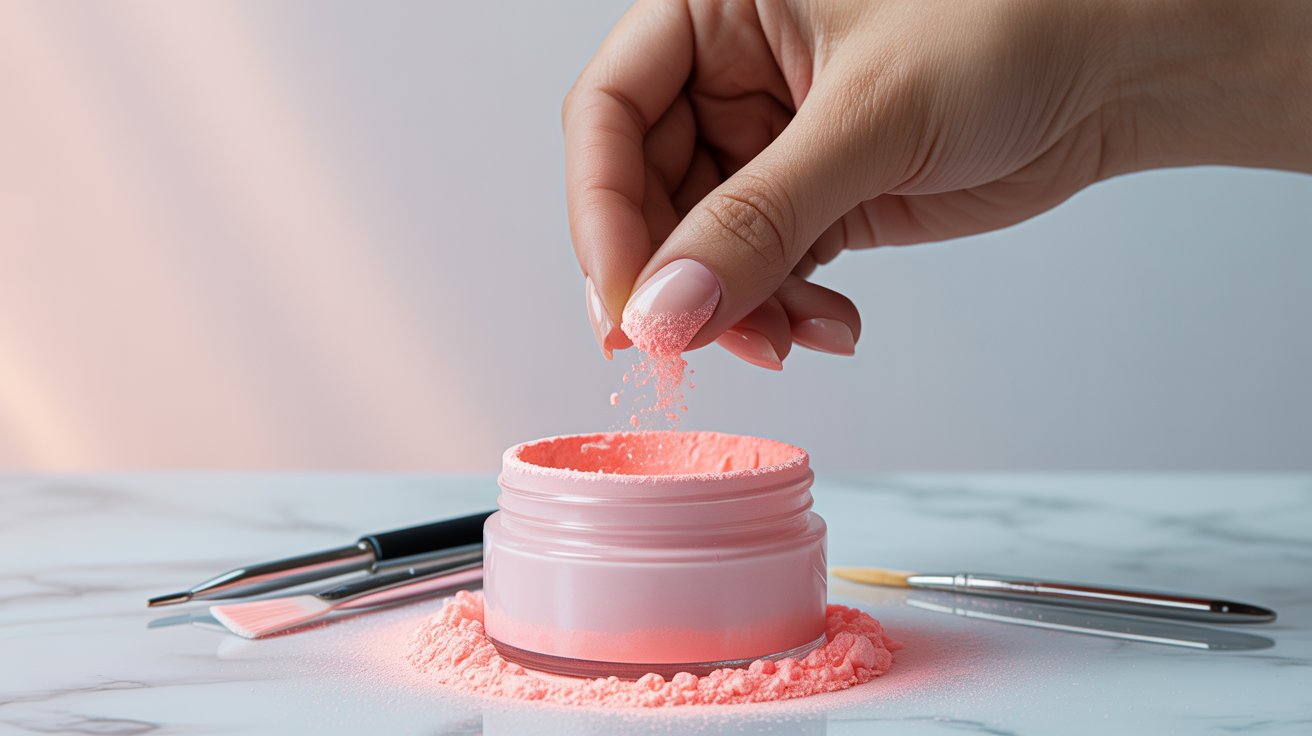
You can dip your nail directly into the jar or pour powder over it. Either works. Tap off the excess and use your dust brush to remove loose powder. Do not blow on it as that spreads bacteria into the jar.
Step 4 – Repeat Layers for Full Coverage

Apply two to three layers for solid coverage. Use clear powder on the final layer for extra strength. Each layer should follow the same base coat and dip routine. Let each layer settle before adding the next one.
Step 5 – Apply Activator
Activator hardens the powder and locks everything in place. Brush it over all nails and let it sit for at least 60 seconds. Do not wipe or touch the nails during this time. It needs to fully cure before you file.
Step 6 – File and Buff the Nails
Once the activator dries, file any uneven edges and shape your nails. Use a buffer to smooth the surface so your top coat goes on cleanly. Go gently here. Too much pressure can thin out the dip layers underneath.
Step 7 – Apply Top Coat
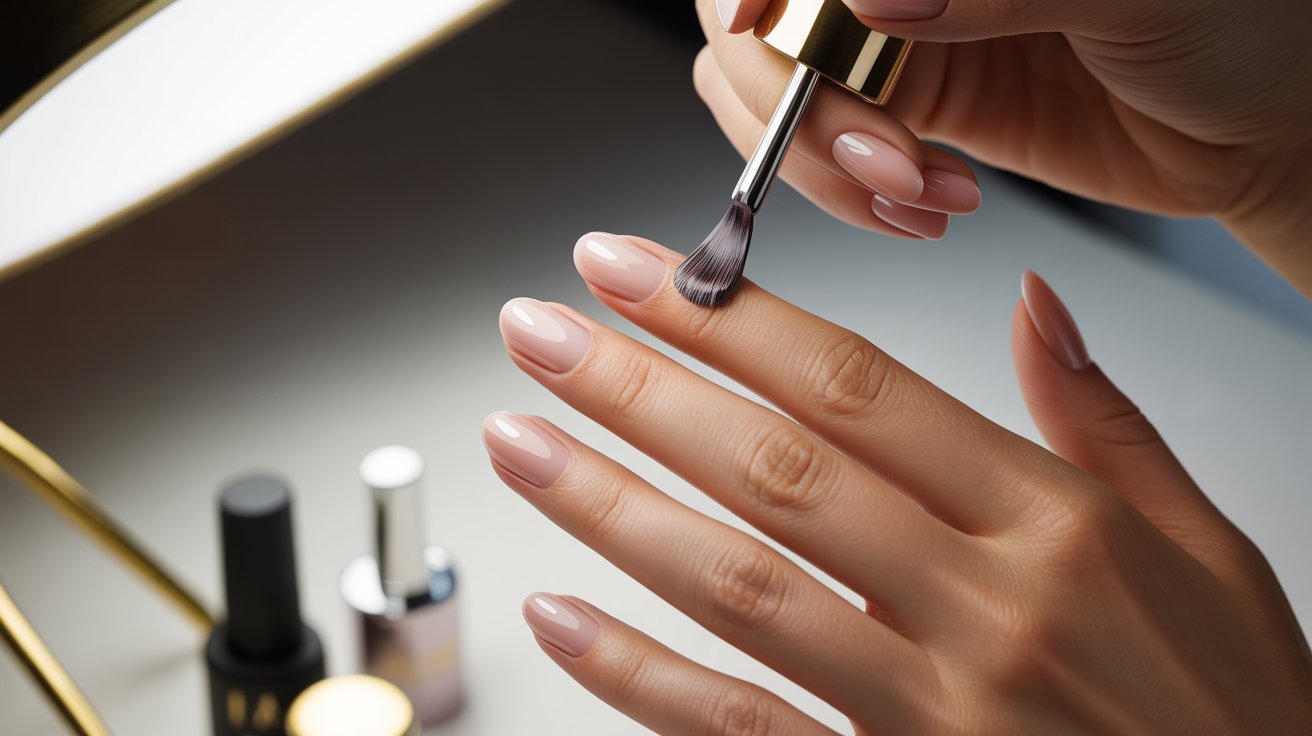
Brush on two thin layers of top coat for a glossy finish. Avoid wiping the brush back and forth as that dulls the shine. Let the first layer dry before adding the second. Cap the free edge to seal and prevent chipping.
Step 8 – Finish With Cuticle Oil
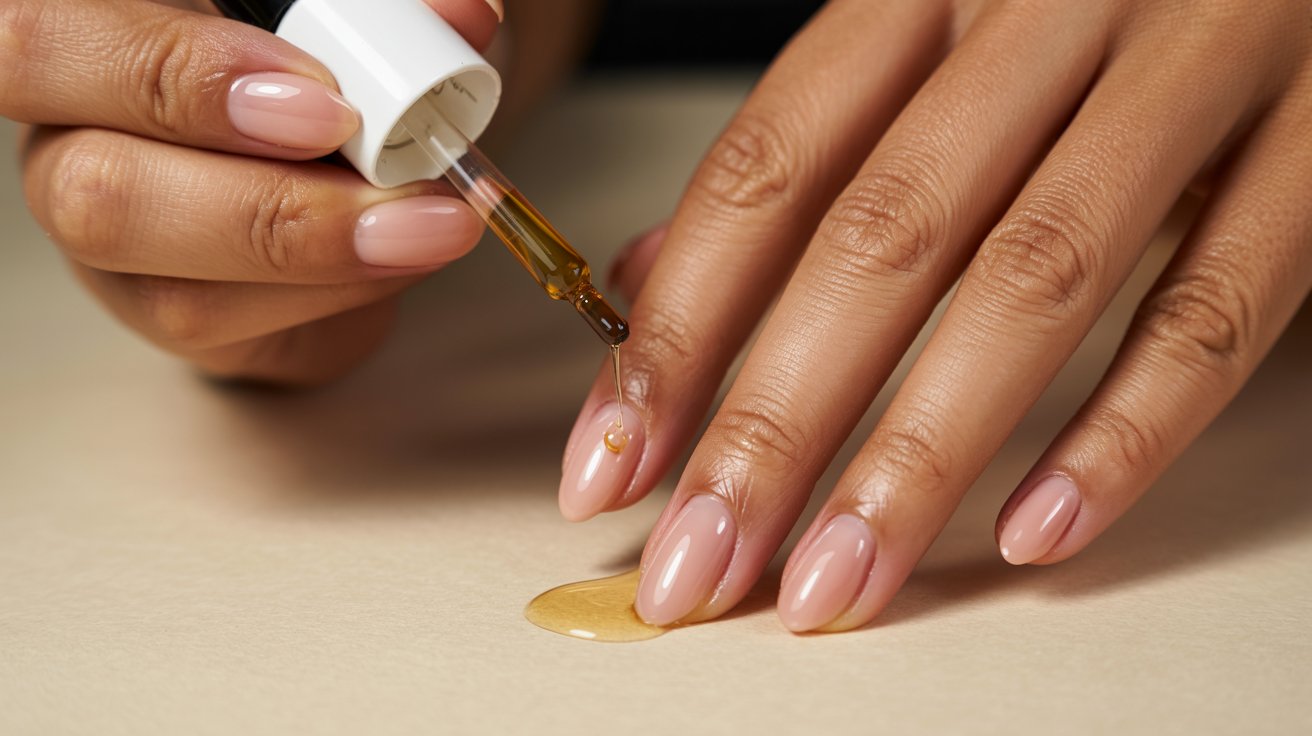
Apply cuticle oil around each nail once the top coat is fully dry. This keeps your skin soft and your nails flexible. It also gives your manicure a clean, finished look. Make it a daily habit for longer wear.
Common Dip Nail Mistakes Beginners Make
- Thick base coat layers cause the powder to clump and look uneven. Always use thin, controlled strokes for a smoother finish.
- Getting product on your skin or cuticles leads to lifting within days. Keep every layer right on the nail plate only.
- Skipping nail prep is the fastest way to ruin a dip manicure. Clean, buffed, and dehydrated nails hold the powder far longer.
- Not letting the activator fully dry before filing causes streaks and weak spots. Give it at least 60 seconds before you touch the nail.
- Rushing the top coat while the activator is still tacky dulls the finish. Wait until each layer is completely dry before adding the next.
Conclusion
Dip nails are honestly one of the best switches I made for my nail routine.
Prep matters more than anything, thin layers beat thick ones every time, and safe removal keeps your nails healthy long term.
You save money, you get long-lasting results, and you can change up colors whenever you want.
Give it a try this weekend. Drop a comment below and let me know how your first dip manicure turns out!
Frequently Asked Questions
How long do dip nails last at home?
Dip nails typically last three to four weeks with proper prep and application. Oily nail beds or skipping the dehydrator can shorten the wear time.
Do I need a UV lamp for dip powder nails?
No, dip powder nails do not require a UV lamp at all. The activator liquid is what hardens the powder, making it much simpler than gel nails.
How many layers of dip powder should I apply?
Two to three layers give the best coverage and strength. Adding a clear powder layer on top before the activator adds extra durability.
Can dip nails damage your natural nails?
Dip nails are gentler than acrylics when applied and removed correctly. Never peel them off forcefully as that is what causes the most damage to your nail plate.
How do I remove dip nails safely at home?
Soak a cotton ball in acetone, place it on your nail, and wrap it with foil for 15 to 20 minutes. The powder will loosen and slide off without scraping or force.