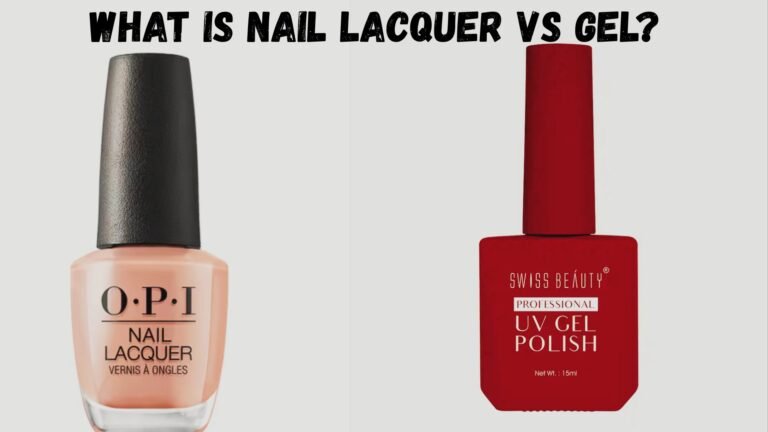
How to Fix a Vertical Split Nail Fast at Home
I ignored my first vertical split nail for three days. By day four, it had caught on my sweater, ripped further down, and hurt enough to make me stop what I was doing.
That’s when I started actually researching how to fix a vertical split nail properly, not just slapping a bandage on it and hoping for the best.
What I found was surprisingly simple.
But the order of steps matters more than most people realise, and skipping even one of them is usually why repairs fail. Here’s exactly what works, and what to avoid.
Let’s get started.
What Is a Vertical Split Nail and Why Does It Happen?
A vertical split nail, also called a longitudinal nail split, is a crack that runs from the tip of the nail downward toward the base.
It can be shallow and surface-level or deep enough to reach the nail bed, which is when things get more serious.
The most common cause is dryness. When nails lose moisture repeatedly, they become brittle and start cracking under pressure.
Frequent hand washing, harsh soaps, and constant contact with water all strip the nail of its natural oils.
Repeated trauma is another big factor.
Typing, opening packages, or hitting your nails against hard surfaces regularly weakens the same spot over time. The split doesn’t always happen all at once.
Nutritional gaps, especially low biotin, iron, or protein, can also affect nail strength. Aging plays a role too.
Nails naturally become drier and more prone to splitting as you get older. Knowing the cause helps you fix the problem and stop it from coming back.
How to Fix a Vertical Split Nail (Step-by-Step Guide)
The repair process isn’t complicated, but the order matters.
Rushing through any of these steps usually leads to the split reopening faster than expected. Take your time with each one and your results will last significantly longer.
Step 1: Clean and Disinfect the Nail
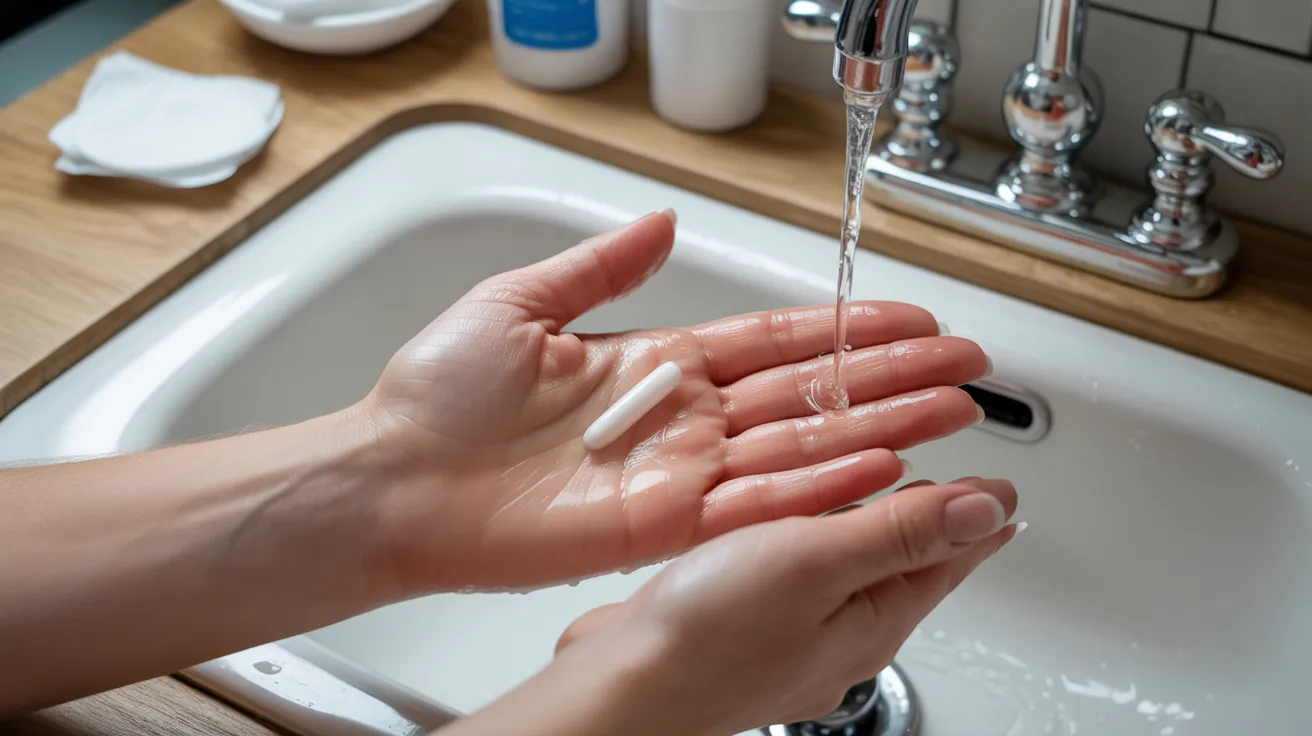
Start by washing your hands thoroughly with mild soap and warm water. Make sure the nail is fully clean before you do anything else.
If you have polish on, remove it completely. You need to see the full extent of the split and work on a clean surface for the repair to hold properly.
Pat your hands dry and let the nail air out for a few minutes. Any moisture trapped under a repair layer can cause lifting and make things worse quickly.
If the split looks red or irritated, apply a small amount of antiseptic before moving on. Preventing infection is the first priority, especially with deeper splits.
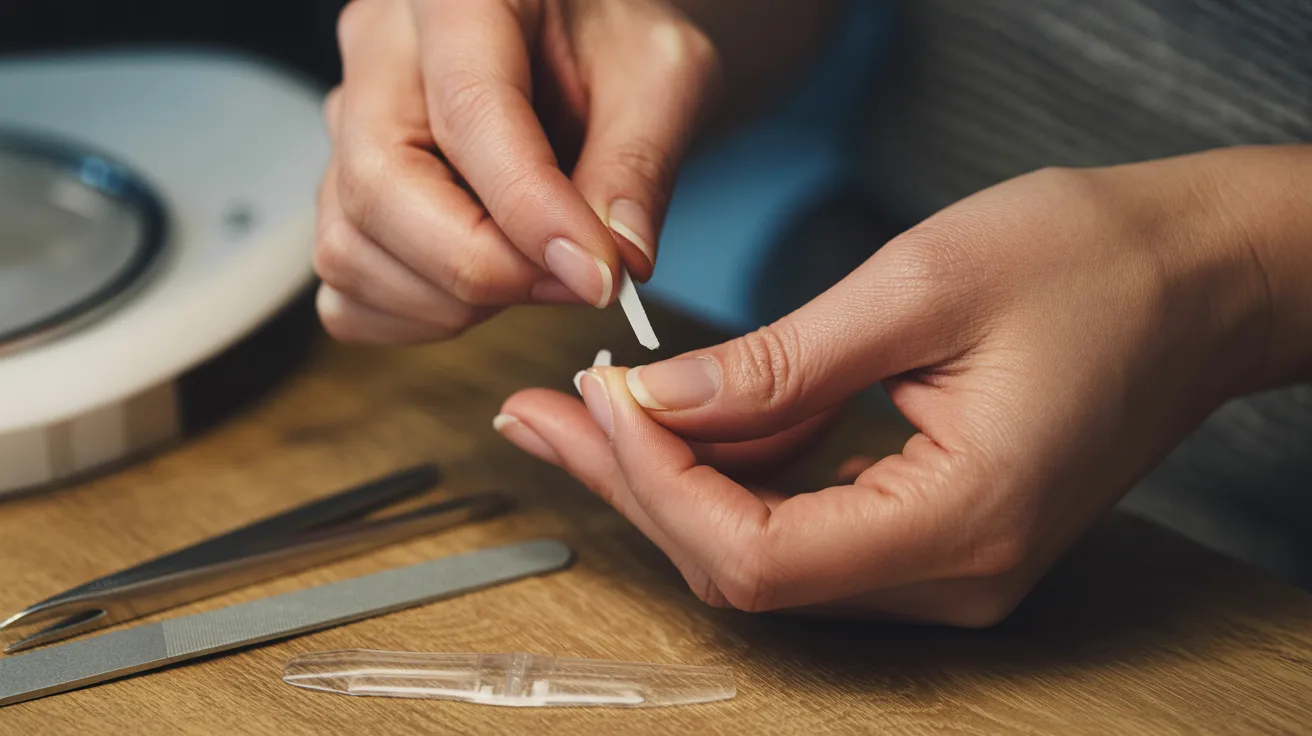
Step 2: Trim and File the Split Gently
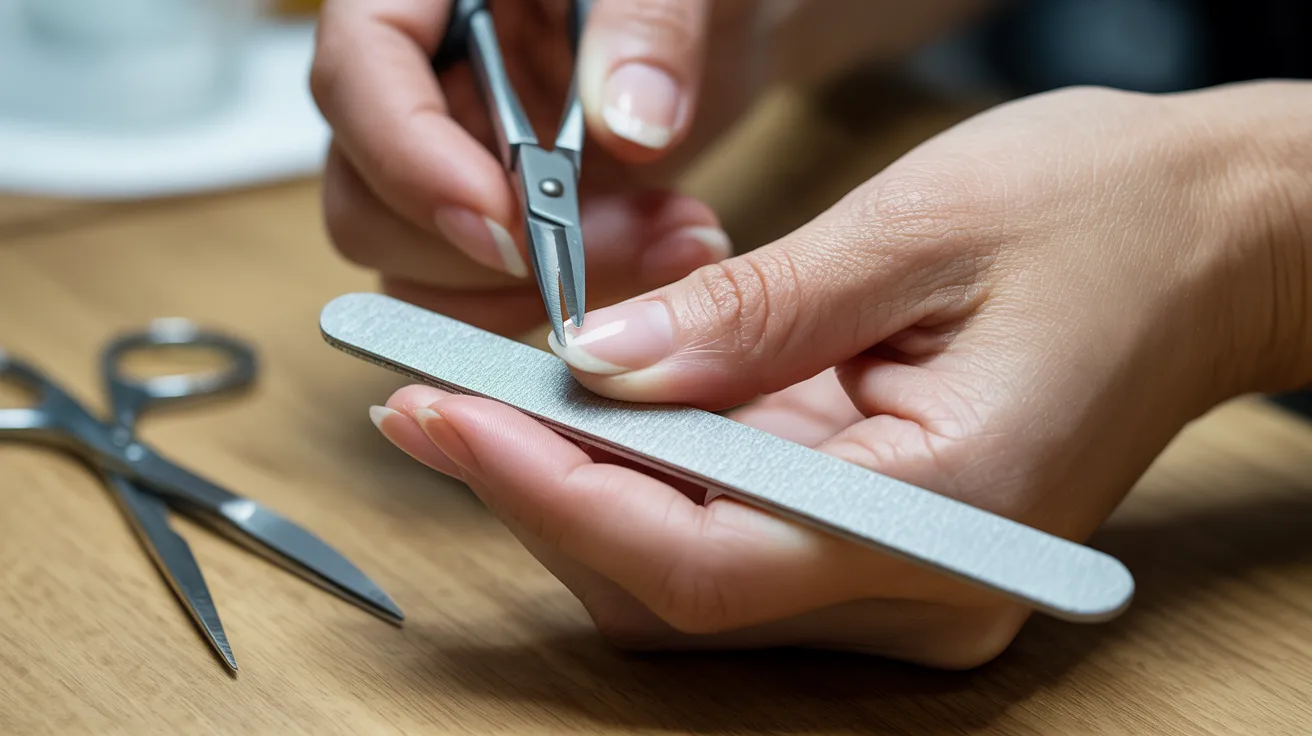
If there’s a jagged or lifted edge, carefully trim it with nail scissors. Don’t pull or tear at it. That almost always makes the split longer.
Use a fine-grit nail file to smooth the edges of the split. Always file in one direction, never back and forth. A sawing motion creates micro-tears that weaken the nail further.
The goal here isn’t to remove the nail. It’s to stabilize the split so it stops catching on things and spreading. Keep the filing light and controlled.
Once the edge is smooth, you’re ready to reinforce it.
Step 3: Use the Tea Bag or Silk Wrap Method
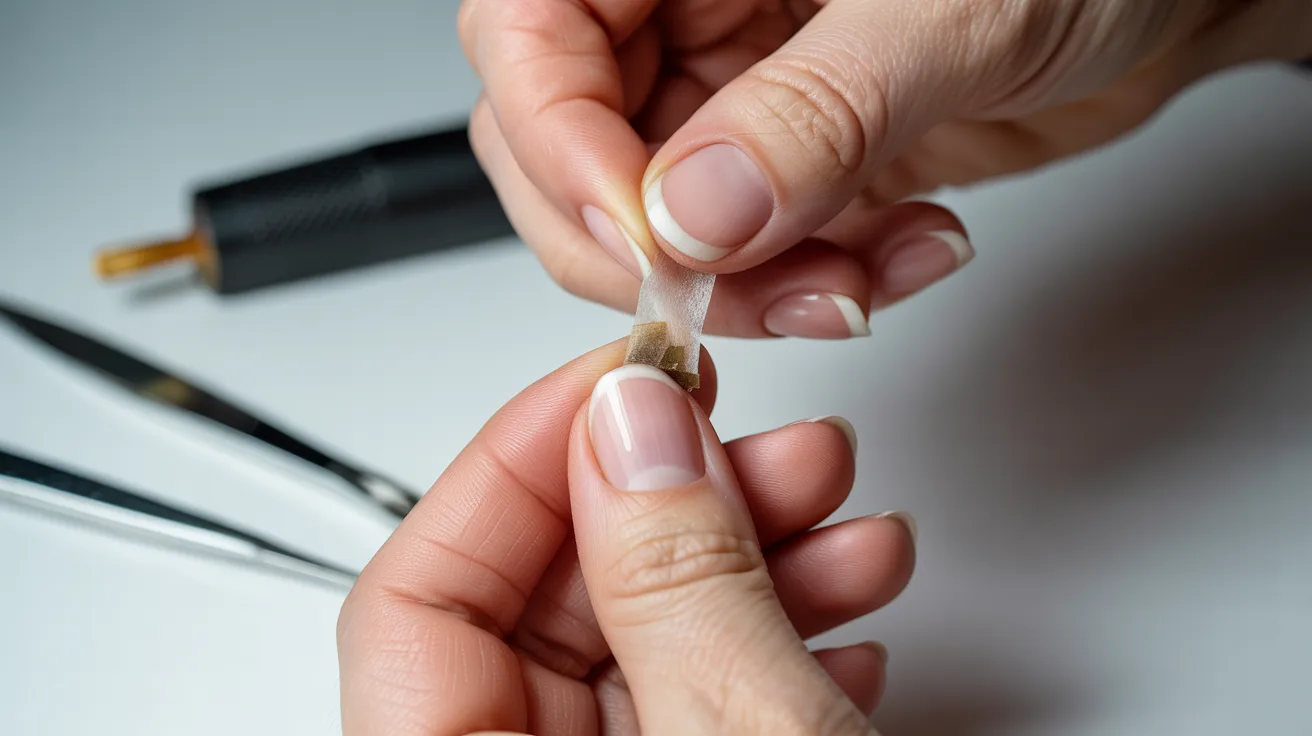
This is one of the most effective ways to learn how to fix a vertical split nail at home, and it uses something most people already have.
Cut a small piece from a tea bag or a nail silk wrap, just large enough to cover the split with a little overlap on each side. Apply a thin layer of nail glue directly over the split first.
While the glue is still tacky, press the patch firmly over the split. Hold it in place for about 30 seconds. Then apply another thin layer of glue over the top of the patch and let it dry completely.
This creates a reinforced layer over the crack that acts almost like a bandage. It holds the split together while the nail grows out naturally underneath.
Step 4: Apply Nail Glue or Clear Coat to Seal
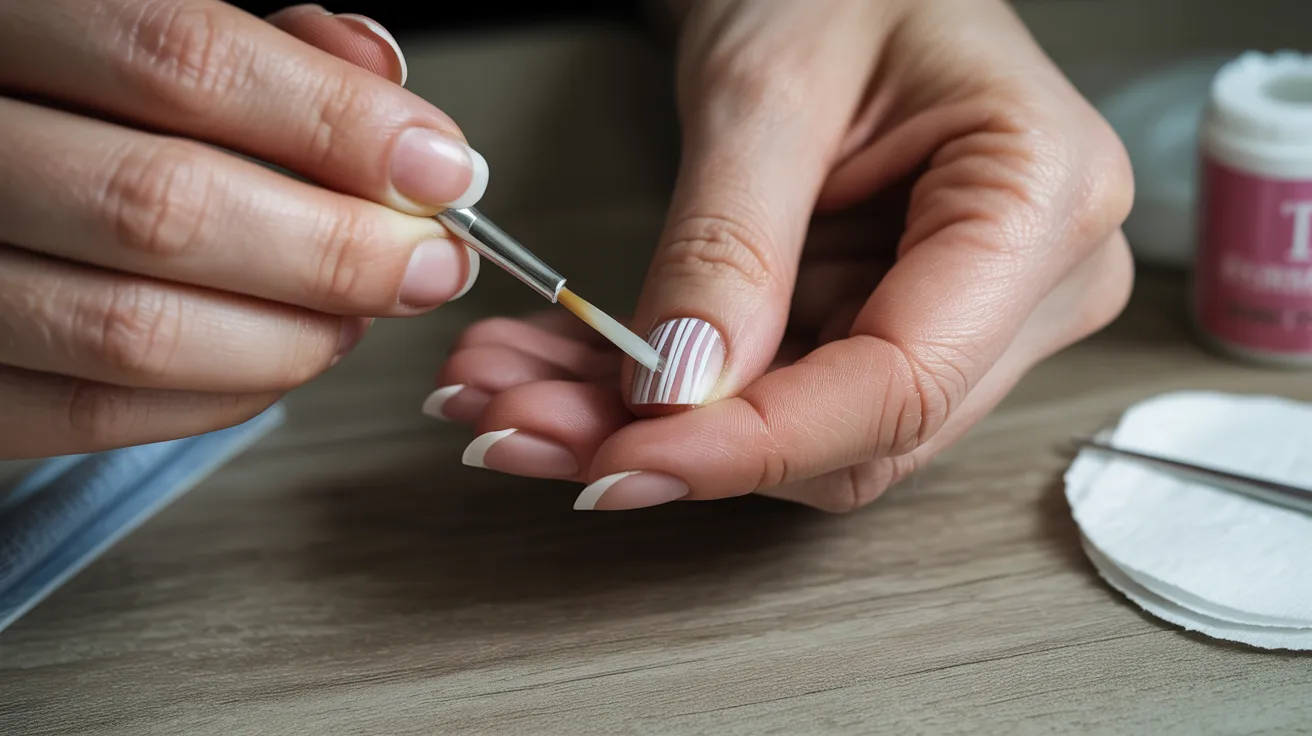
Once the patch is dry, apply one more thin layer of nail glue or a clear strengthening coat over the entire nail. This seals the edges of the patch and adds an extra layer of protection.
Don’t glob it on. Thin layers dry faster, bond better, and look cleaner. Multiple thin coats always outperform one thick one.
Let it dry fully before touching anything. Give it at least two to three minutes, longer if you can manage it.
This layer is what keeps everything in place while your nail grows out. It’s worth being patient here.
Step 5: Buff and Finish with Strengthener
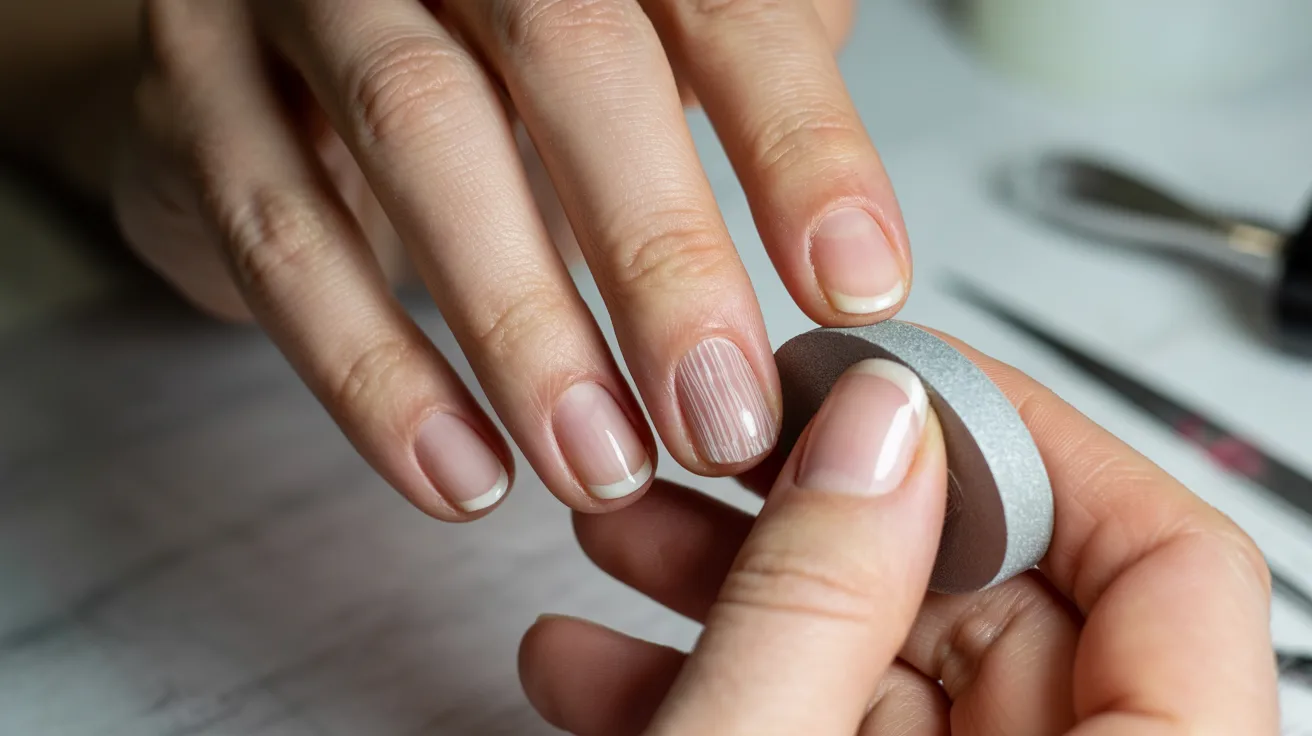
Once everything is dry, use a soft buffer to gently smooth out any raised edges from the patch. You’re not trying to sand it down aggressively. Just enough to make the surface even.
Apply a keratin-based nail strengthener or a hardening base coat over the top. This adds another layer of protection and helps condition the nail at the same time.
Finish with a top coat if you want color or extra shine. Your nail should now feel solid and look reasonably clean.
Repeat the strengthener application every two to three days to maintain the repair as the nail grows out.
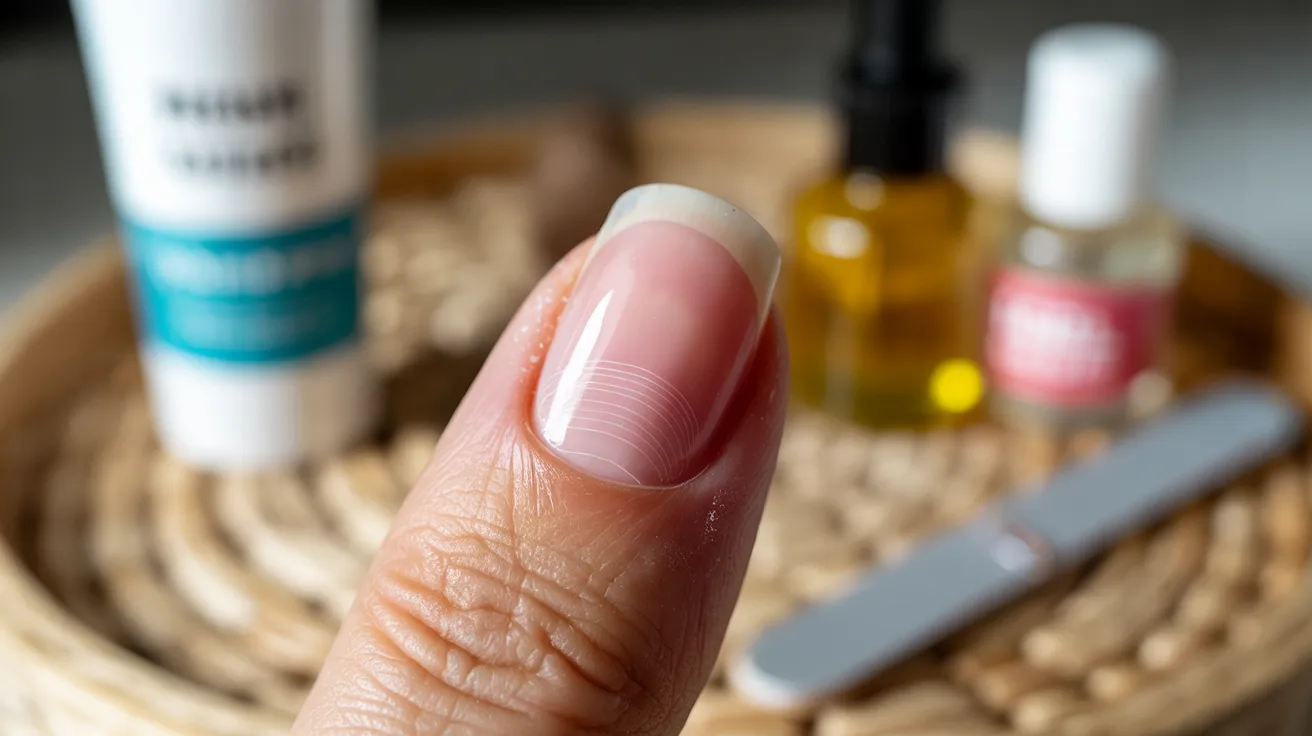
Best Products to Repair and Strengthen Split Nails
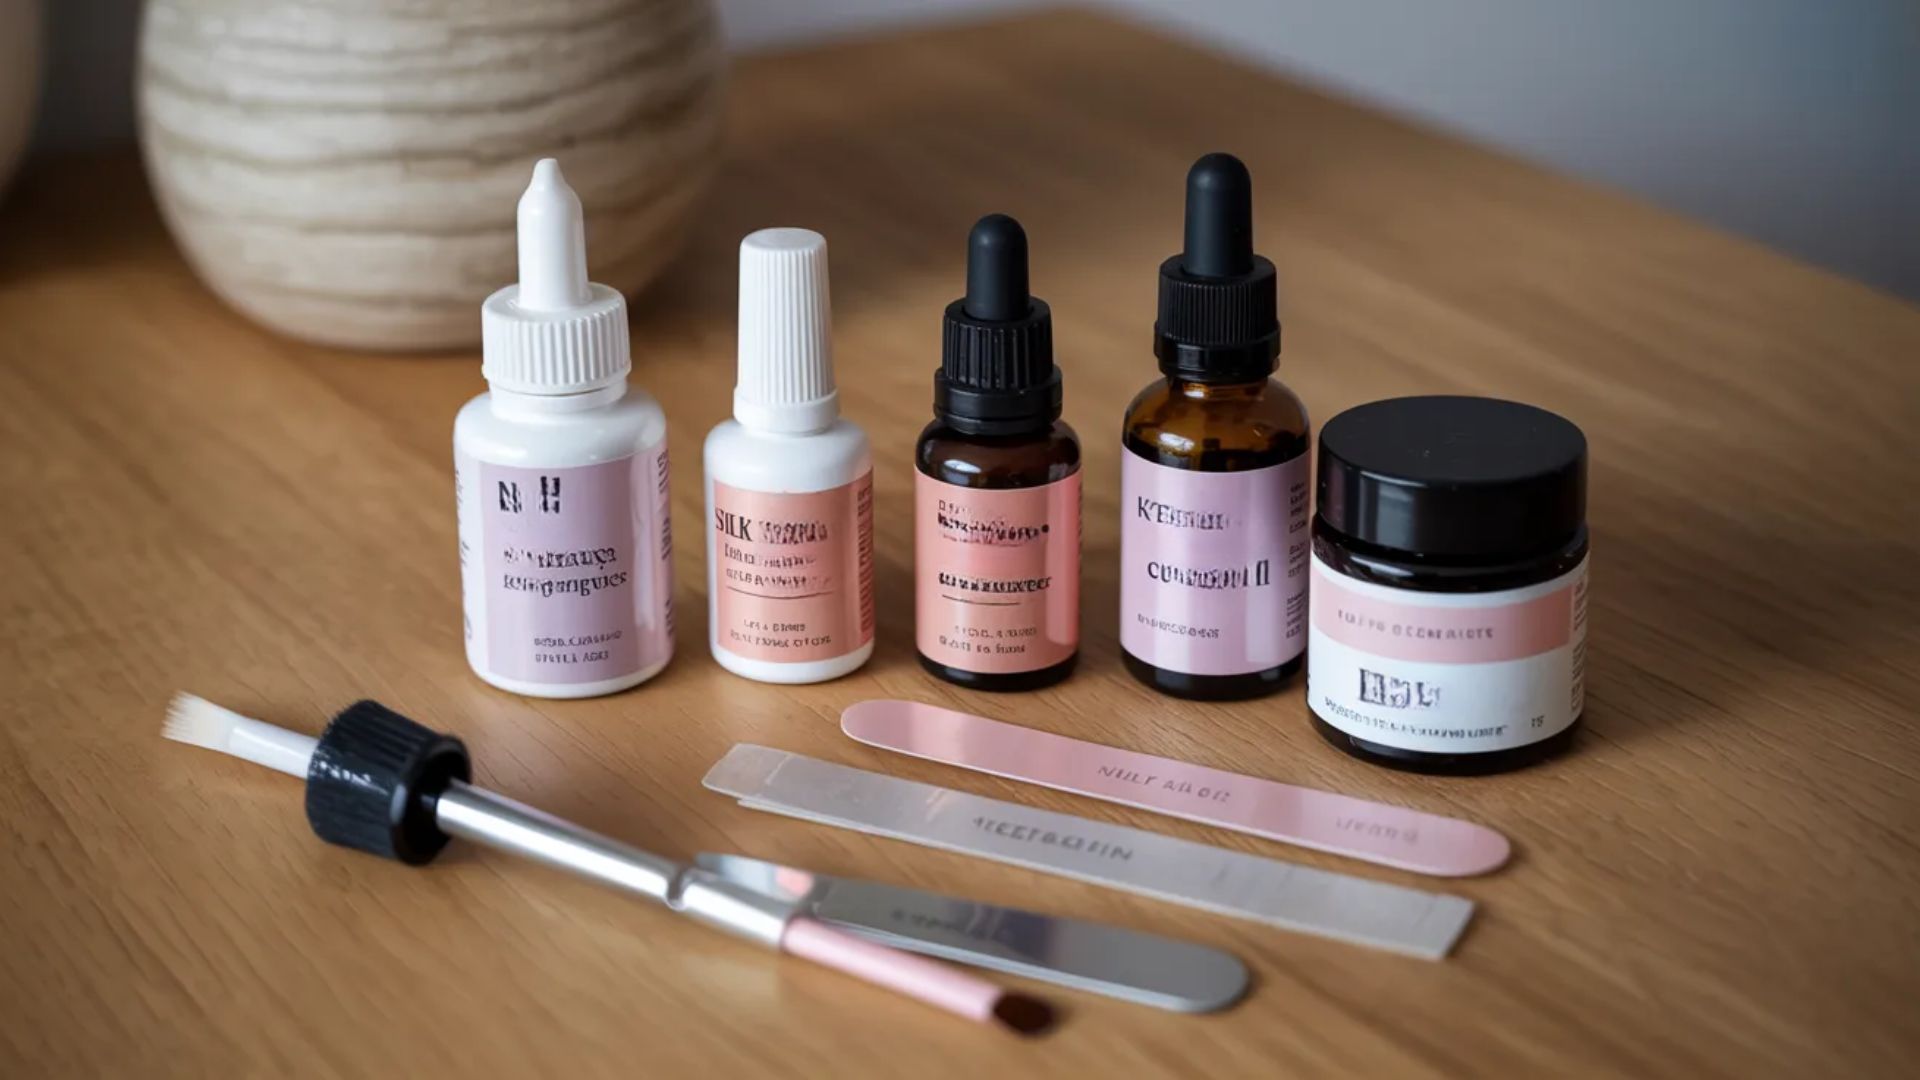
Having the right products on hand makes the whole process faster and more effective. You don’t need a lot, but quality matters more than quantity here.
Here’s what’s actually worth keeping in your kit:
- Nail glue: The foundation of any split nail repair. Look for a brush-on formula for easier application and more control.
- Nail repair kits with silk wraps or fiberglass: These are pre-cut and easier to work with than cutting your own tea bag patches. They bond well and last longer.
- Keratin-based nail strengtheners: These condition the nail as they harden it. Apply regularly for ongoing protection, not just as a one-time fix.
- Cuticle oil with vitamin E or jojoba: Daily cuticle oil keeps the nail flexible and less prone to cracking. Apply at the base of each nail every night before bed.
- Biotin supplements: Worth considering if your nails split frequently and your diet might be lacking. Results take time, usually a few months, but the difference is noticeable.
None of these are expensive, and most are available at any drugstore or pharmacy.
Building this small kit means you’re ready to deal with a split nail the moment it happens rather than making it worse by improvising.
Common Mistakes to Avoid When Fixing a Split Nail
Most repair attempts fail not because of the method but because of small, avoidable errors. I’ve made most of these myself, which is exactly how I know they matter.
Here’s what to stop doing:
- Filing back and forth: This is the most common mistake. It creates friction, weakens the nail structure, and makes splitting worse. Always file in one direction only.
- Ignoring deep splits: If the split reaches your nail bed or is causing pain, a home repair is not enough. See a doctor. Deep splits can become infected and need professional attention.
- Using too much glue: Thick layers of nail glue don’t bond better. They bubble, lift, and peel off faster. Thin layers are always more effective.
- Peeling off repair layers: Peeling takes layers of your natural nail with it. Always soak repair layers off gently using acetone rather than pulling them away.
- Skipping moisturizer: A repaired nail that stays dry will split again. Hydration is not optional. It’s part of the fix.
Small adjustments in technique make a significant difference in how long your repair holds and how healthy your nails look over time.
Conclusion
Split nails are frustrating, but they’re not permanent. I’ve been there, wincing every time mine caught on something, wondering if it would ever look normal again. It did.
And yours will too. The repair process is simpler than most people expect, and the results show up fast when you stay consistent.
Don’t wait for it to get worse before you act. Start today, even with just one step.
Have you tried any of these methods before?
Share your experience in the comments below, and pass this along to someone dealing with the same problem right now.
Frequently Asked Questions
Can a Vertical Split Nail Heal on Its Own?
It can, but only if the nail is kept clean, protected, and given time to grow out without further damage. Using a patch or strengthener speeds up the process and prevents the split from worsening.
What Is the Fastest Way to Fix a Vertical Split Nail?
The nail glue combined with the tea bag patch method gives the quickest and most reliable result. It bonds the split, reinforces the nail, and holds up well through daily use.
Is It Safe to Use Super Glue on a Split Nail?
It works as a short-term fix for surface-level splits, but it’s not suitable for deep cracks or any split that reaches the nail bed. Nail-specific glue is always the safer and more effective choice.
How Long Does It Take for a Split Nail to Grow Out?
Most people see full regrowth within three to six months, depending on how quickly their nails grow. Keeping the split protected and the nail well-moisturized during that time makes the process smoother.
Why Does My Nail Keep Splitting Vertically?
Recurring splits usually point to chronic dryness, repeated physical trauma, or an underlying issue like a nutritional deficiency or thyroid problem. Addressing the root cause is what stops the cycle.