How to Use Eyelash Curler: Step-by-Step Guide
Getting your lashes to curl perfectly can feel tricky at first. But once you know the right steps, it becomes second nature.
In this guide, you will learn exactly how to use an eyelash curler from prepping your lashes to applying mascara the right way.
I will also cover how to stay safe, avoid pinching, and make your curl last all day.
I have been using eyelash curlers for years, and I know how a small mistake can ruin your lashes. You will not have that problem after reading this.
What Is an Eyelash Curler?
A simple tool that lifts your lashes and gives them a natural-looking curl in seconds.
An eyelash curler is a small handheld tool used to lift and curl your natural lashes. It has two clamp-like arms with a rubber pad that presses against your lashes when squeezed.
Most curlers come in a few styles including traditional clamp curlers, heated curlers, and comb-style curlers.
You place the curler at the base of your lashes, apply light pressure, and hold for a few seconds. This creates a lifted look that mascara alone cannot always give you.
It does not damage lashes when used correctly. Many people skip the prep or use the wrong technique, and that is where problems start.
How to Use Eyelash Curler Correctly (Step-by-Step Guide)
Follow each step carefully and you will get a clean, lifted curl every single time.
Step 1: Clean and Prep Your Lashes
Make sure your lashes are clean and completely dry before you start. Remove any old mascara using a gentle makeup remover.
Wet or product-coated lashes are harder to curl and can stick to the rubber pad. Clean, dry lashes give you a better curl and protect your lashes at the same time.
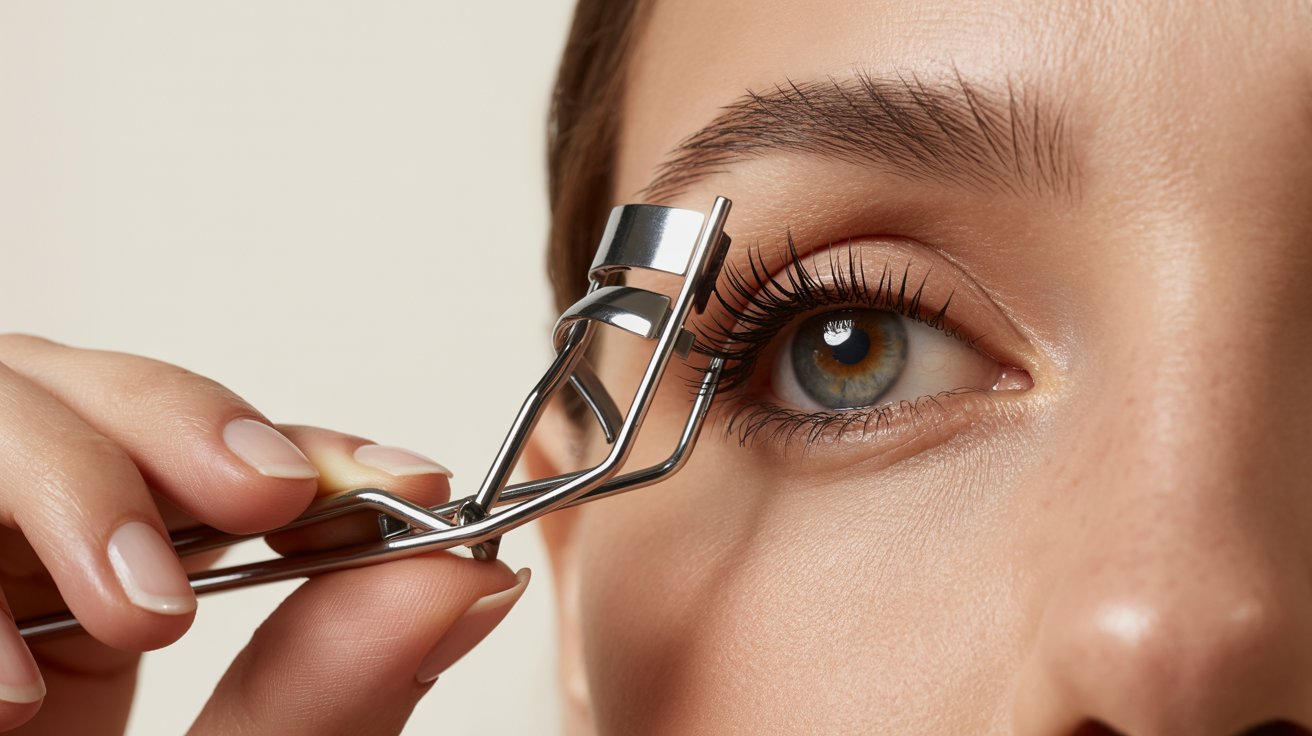
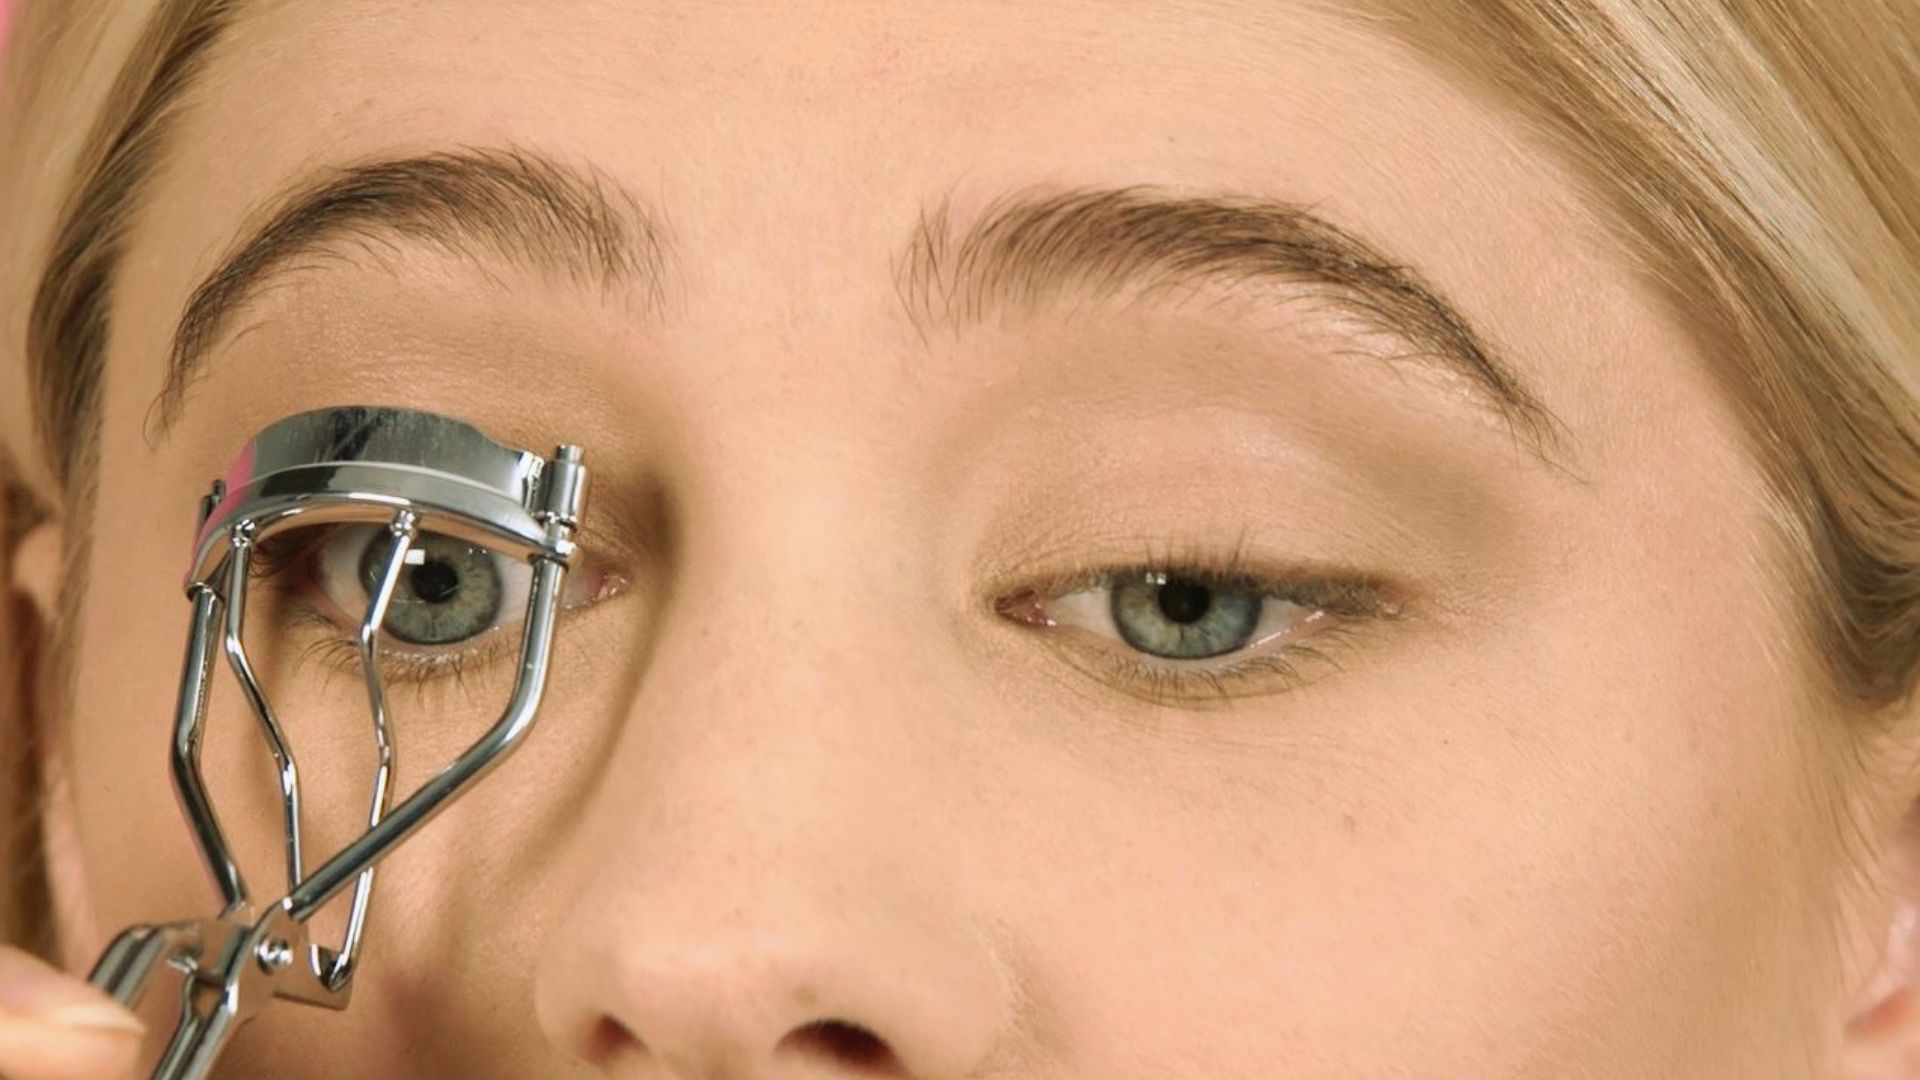
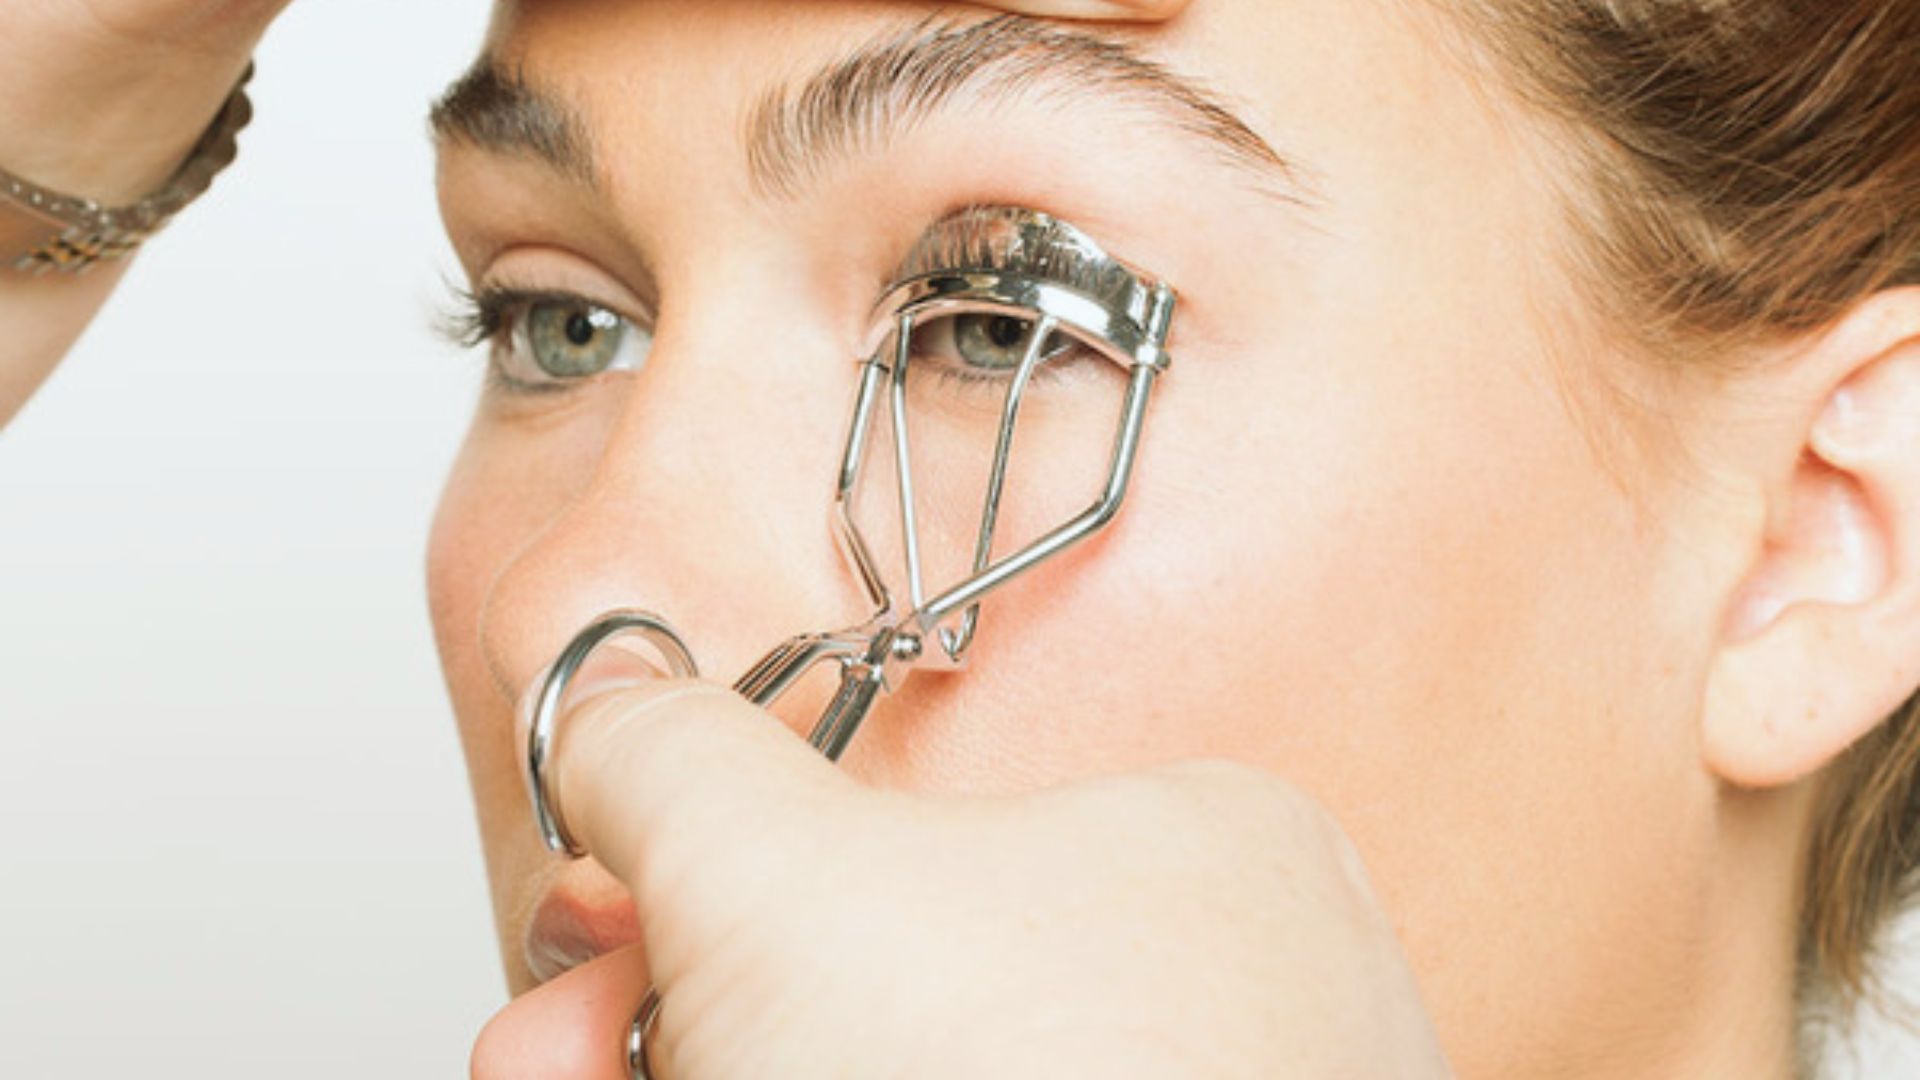
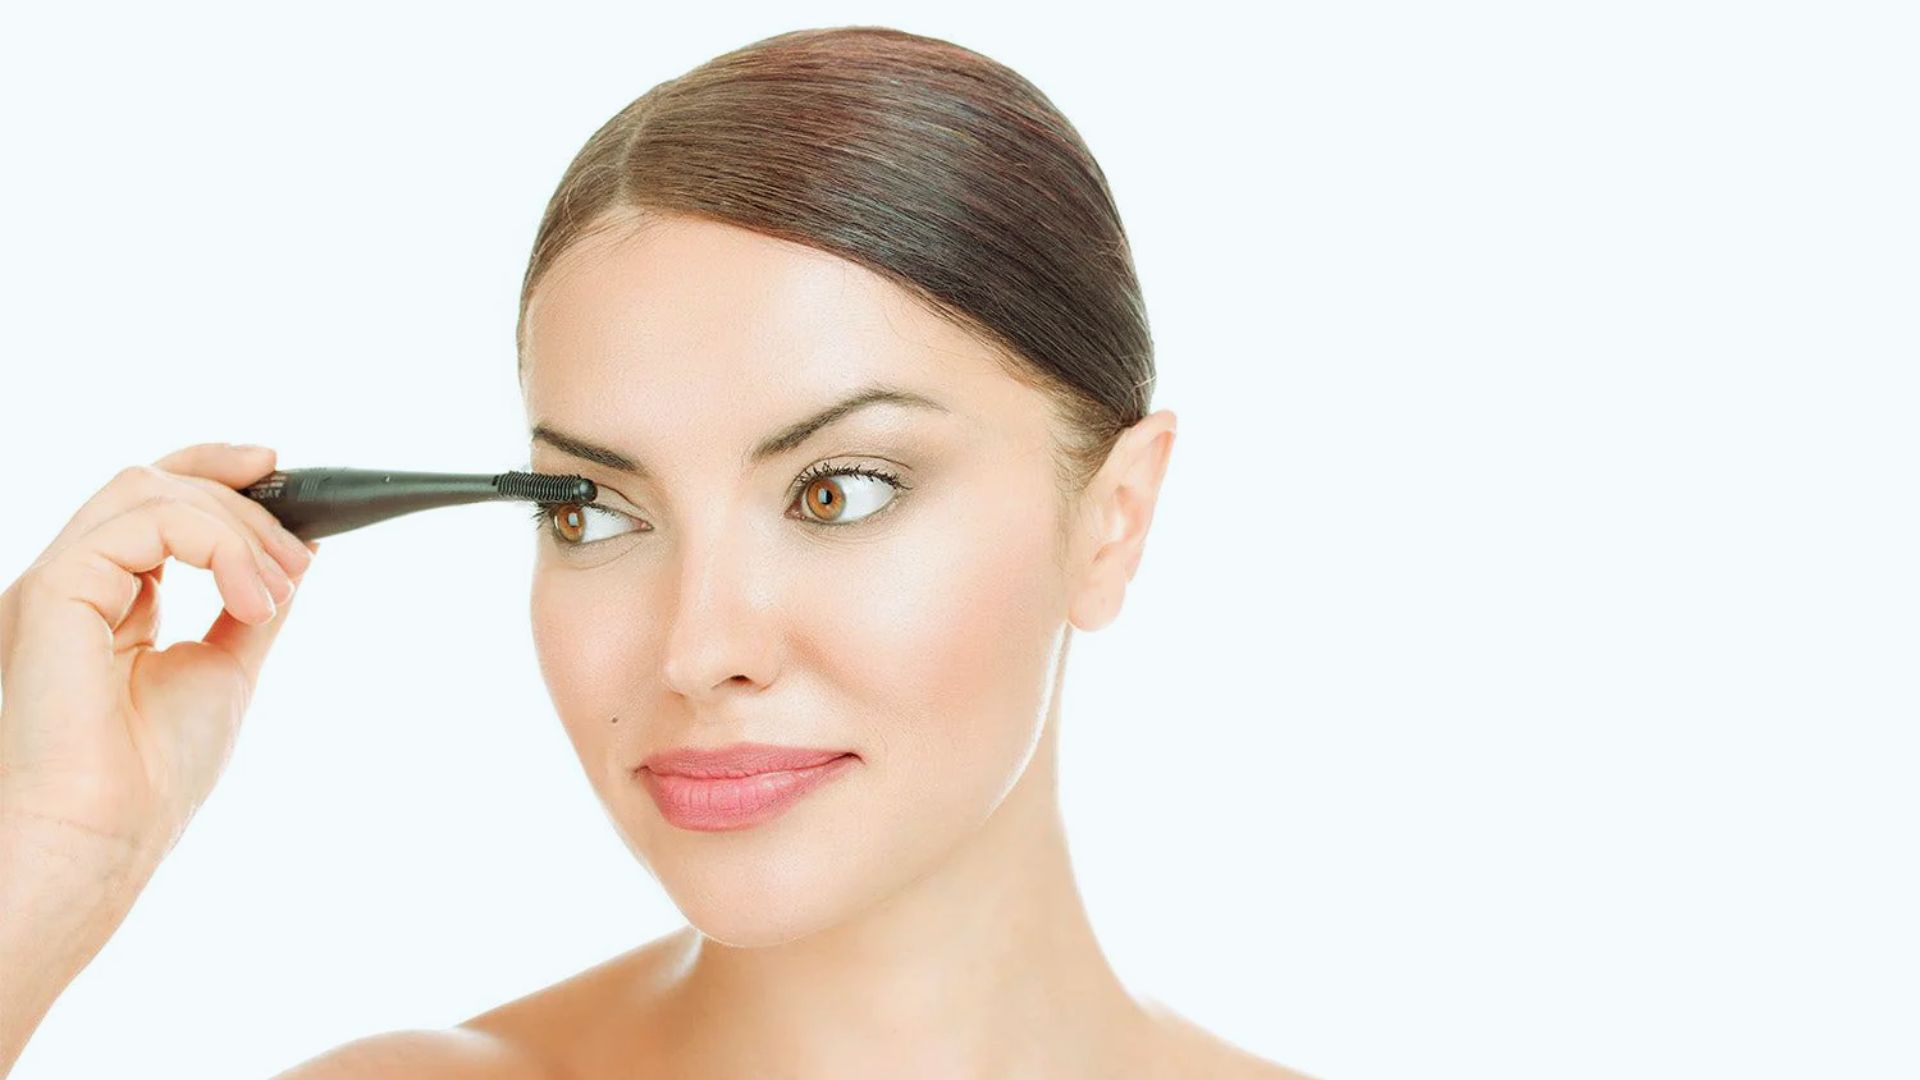
Step 2: Position the Eyelash Curler Properly
Place the curler at the base of your upper lashes as close to the lash line as possible without touching your eyelid.
Keep your eyes open and look straight ahead. Make sure all lashes are inside the curler before you squeeze and keep the metal frame away from your eyelid.
Taking a few seconds here prevents pinching.
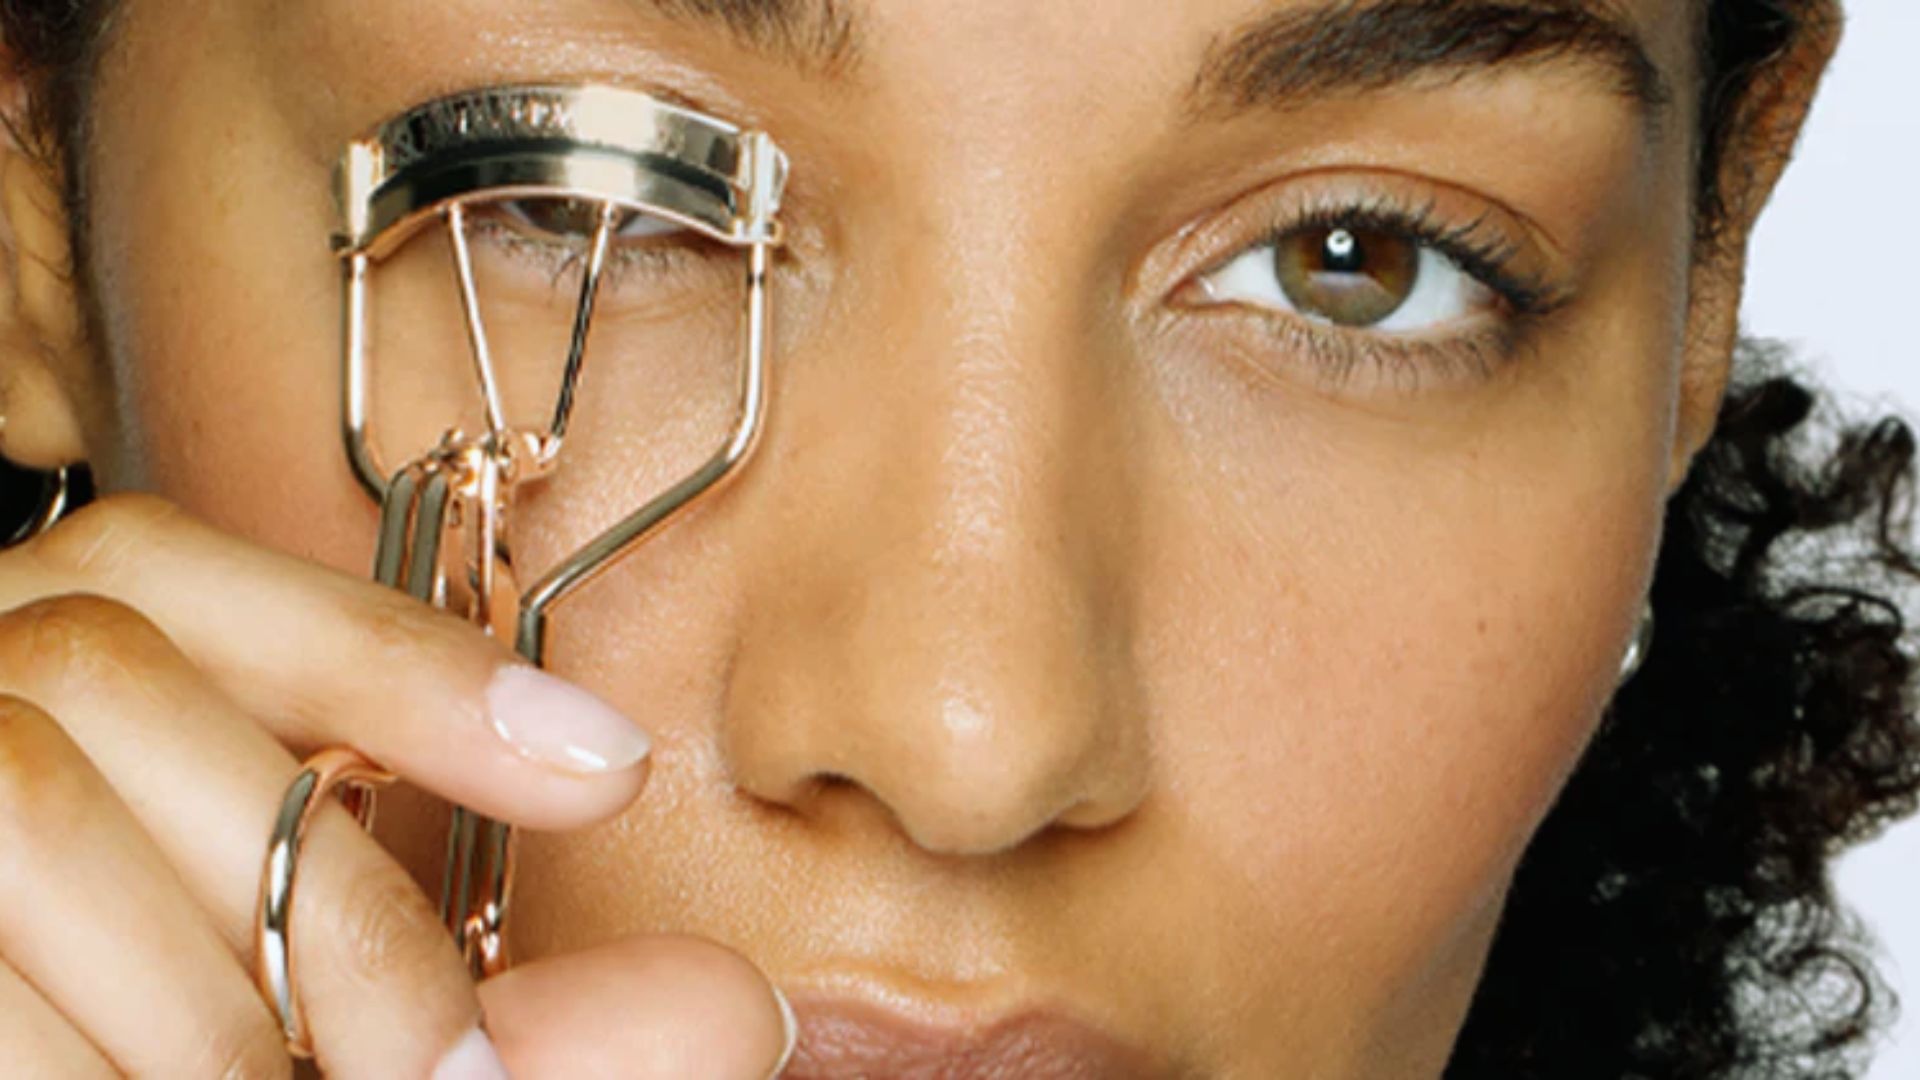
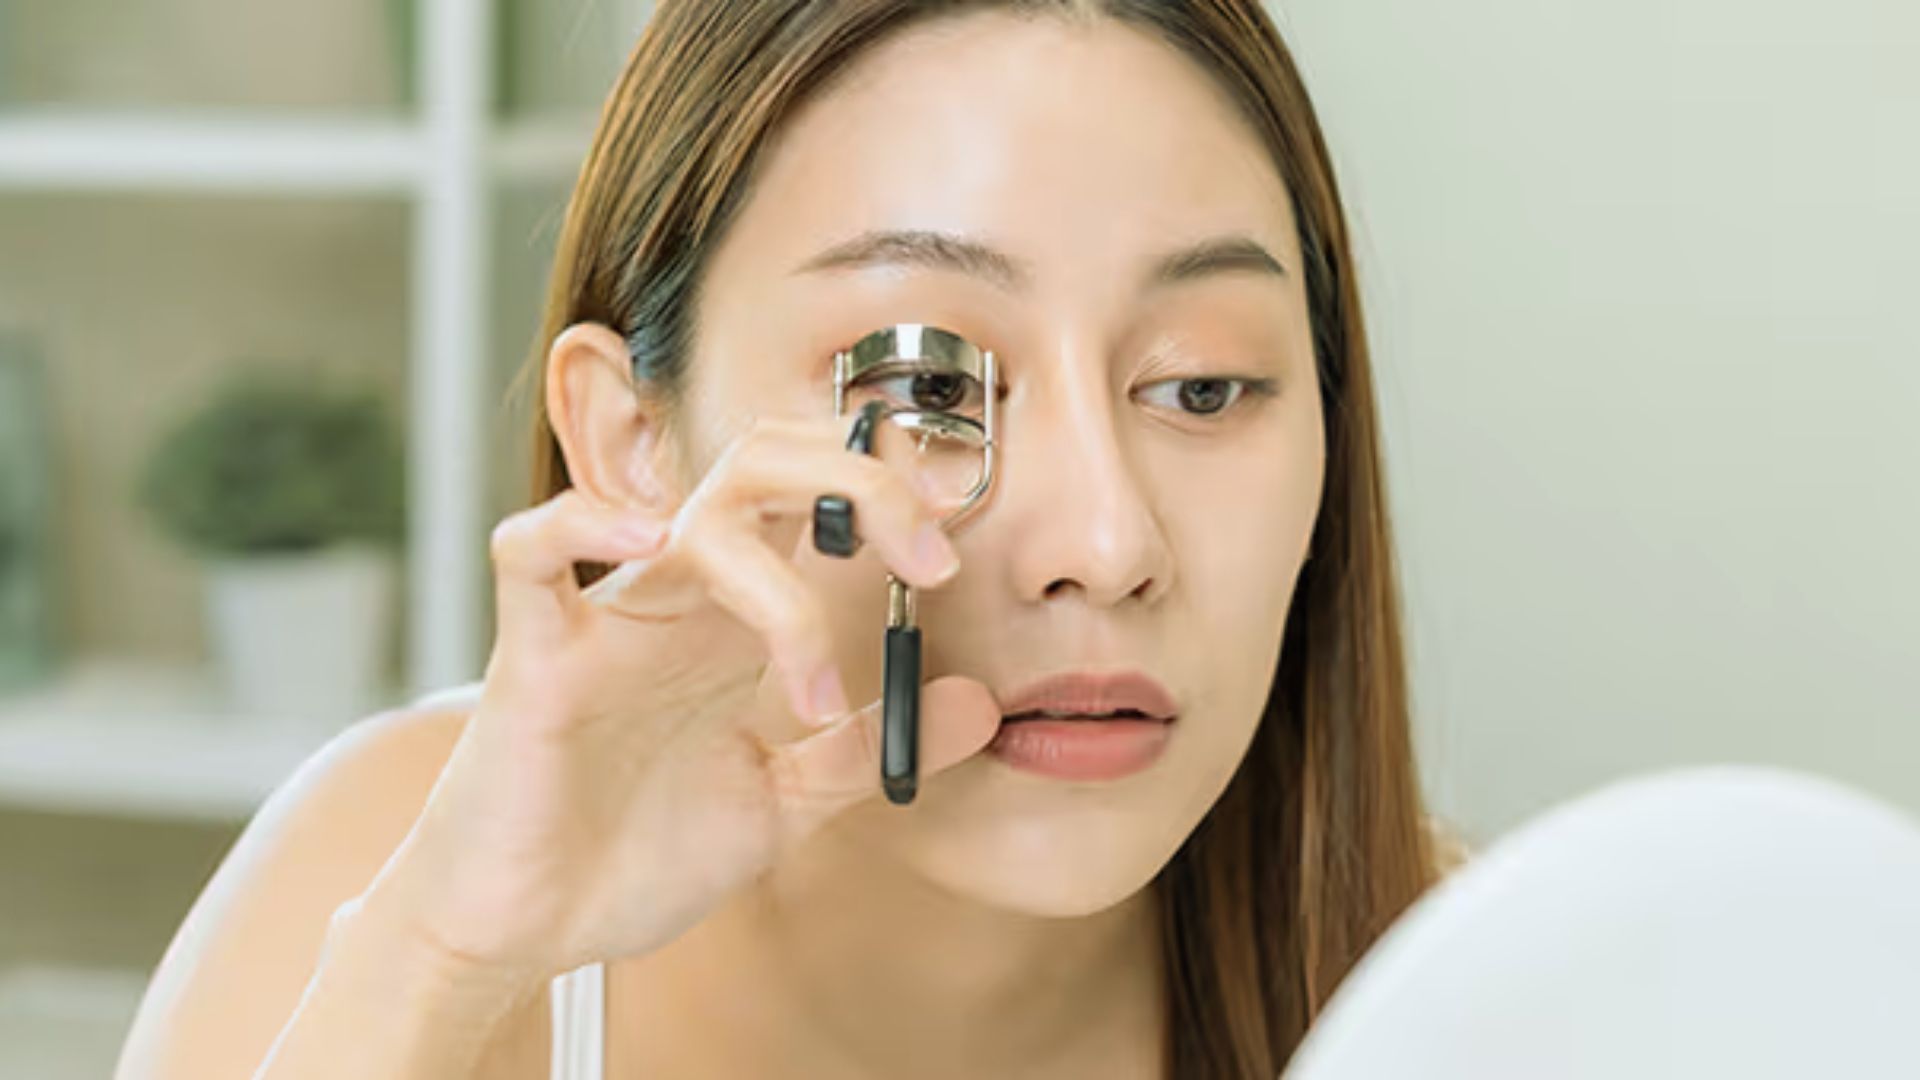
Step 3: Curl Lashes in Sections
Gently squeeze the handles and hold for 5 to 10 seconds. Then release slightly, move the curler upward, and squeeze again. Repeat two to three times from base to tip.
This creates a soft, natural curve. Always open the clamp fully before removing the curler. Pulling while clamped can rip lashes out.
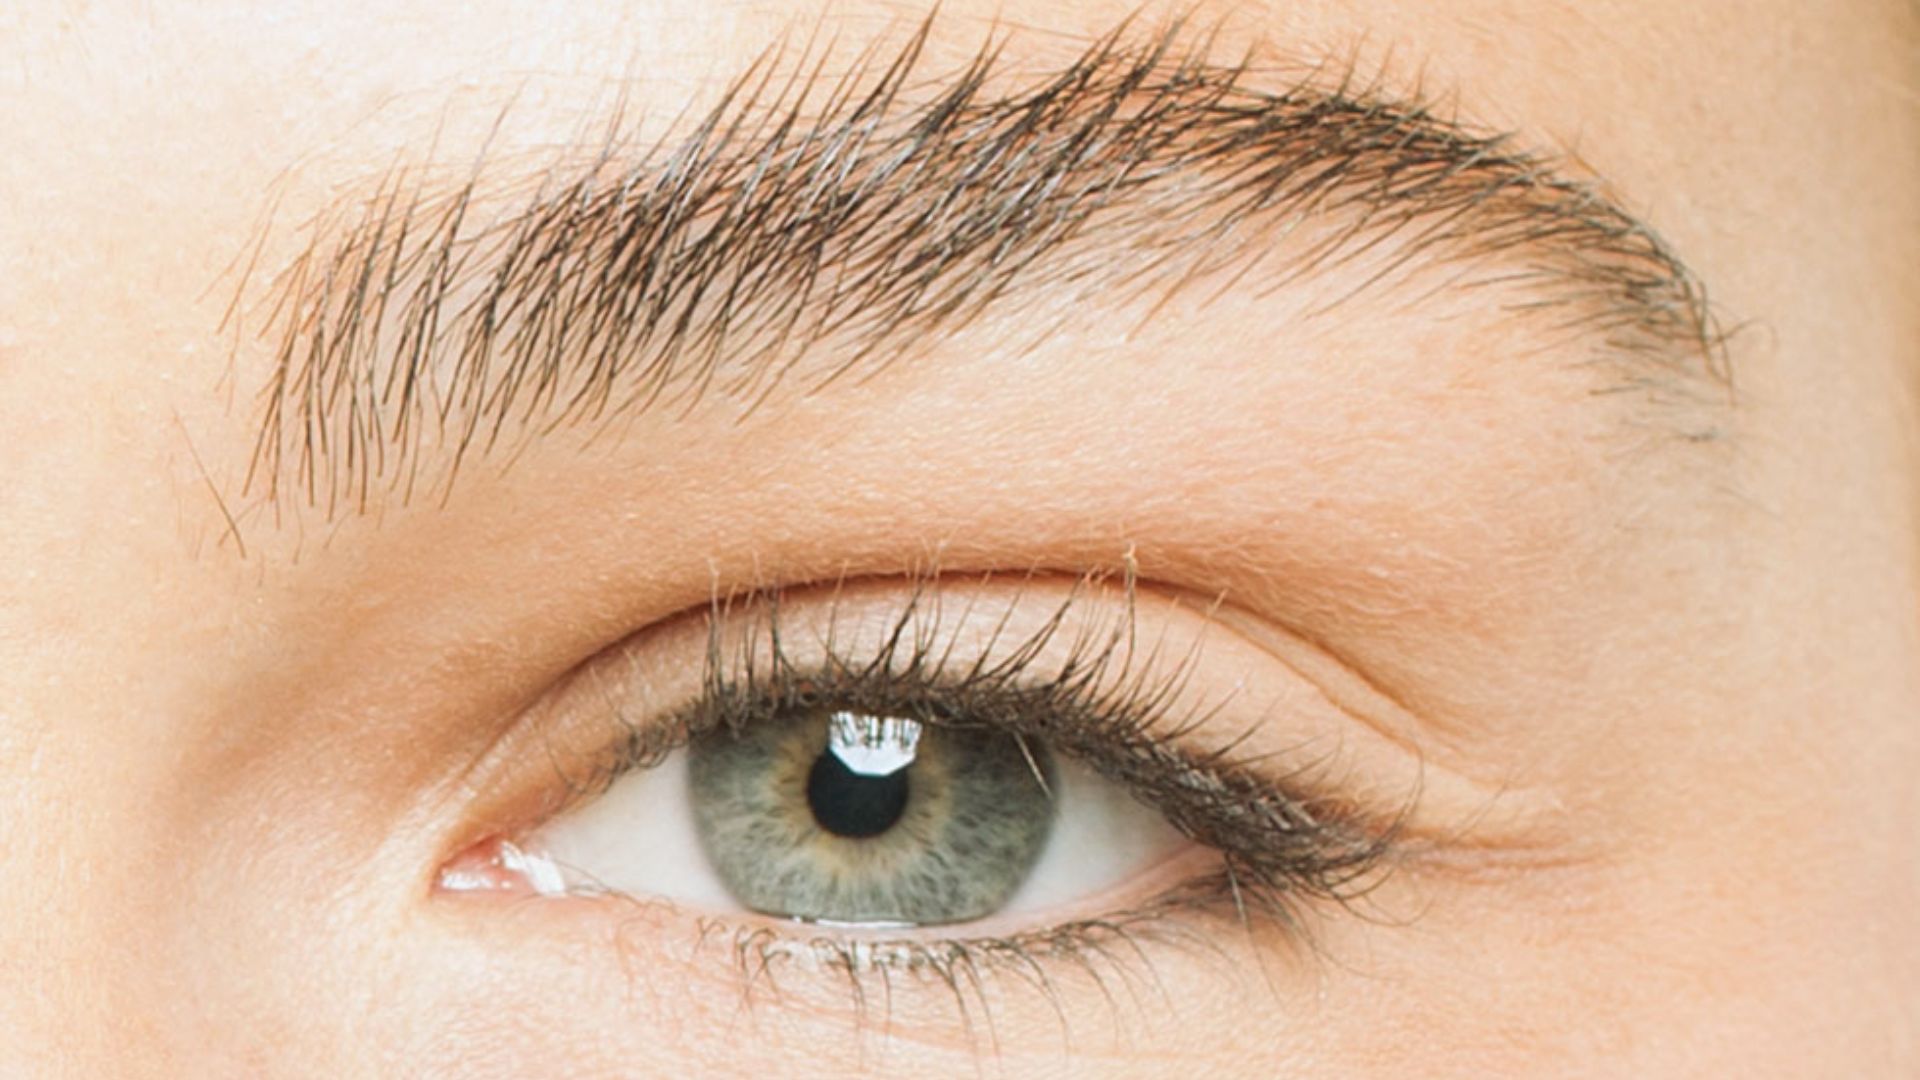
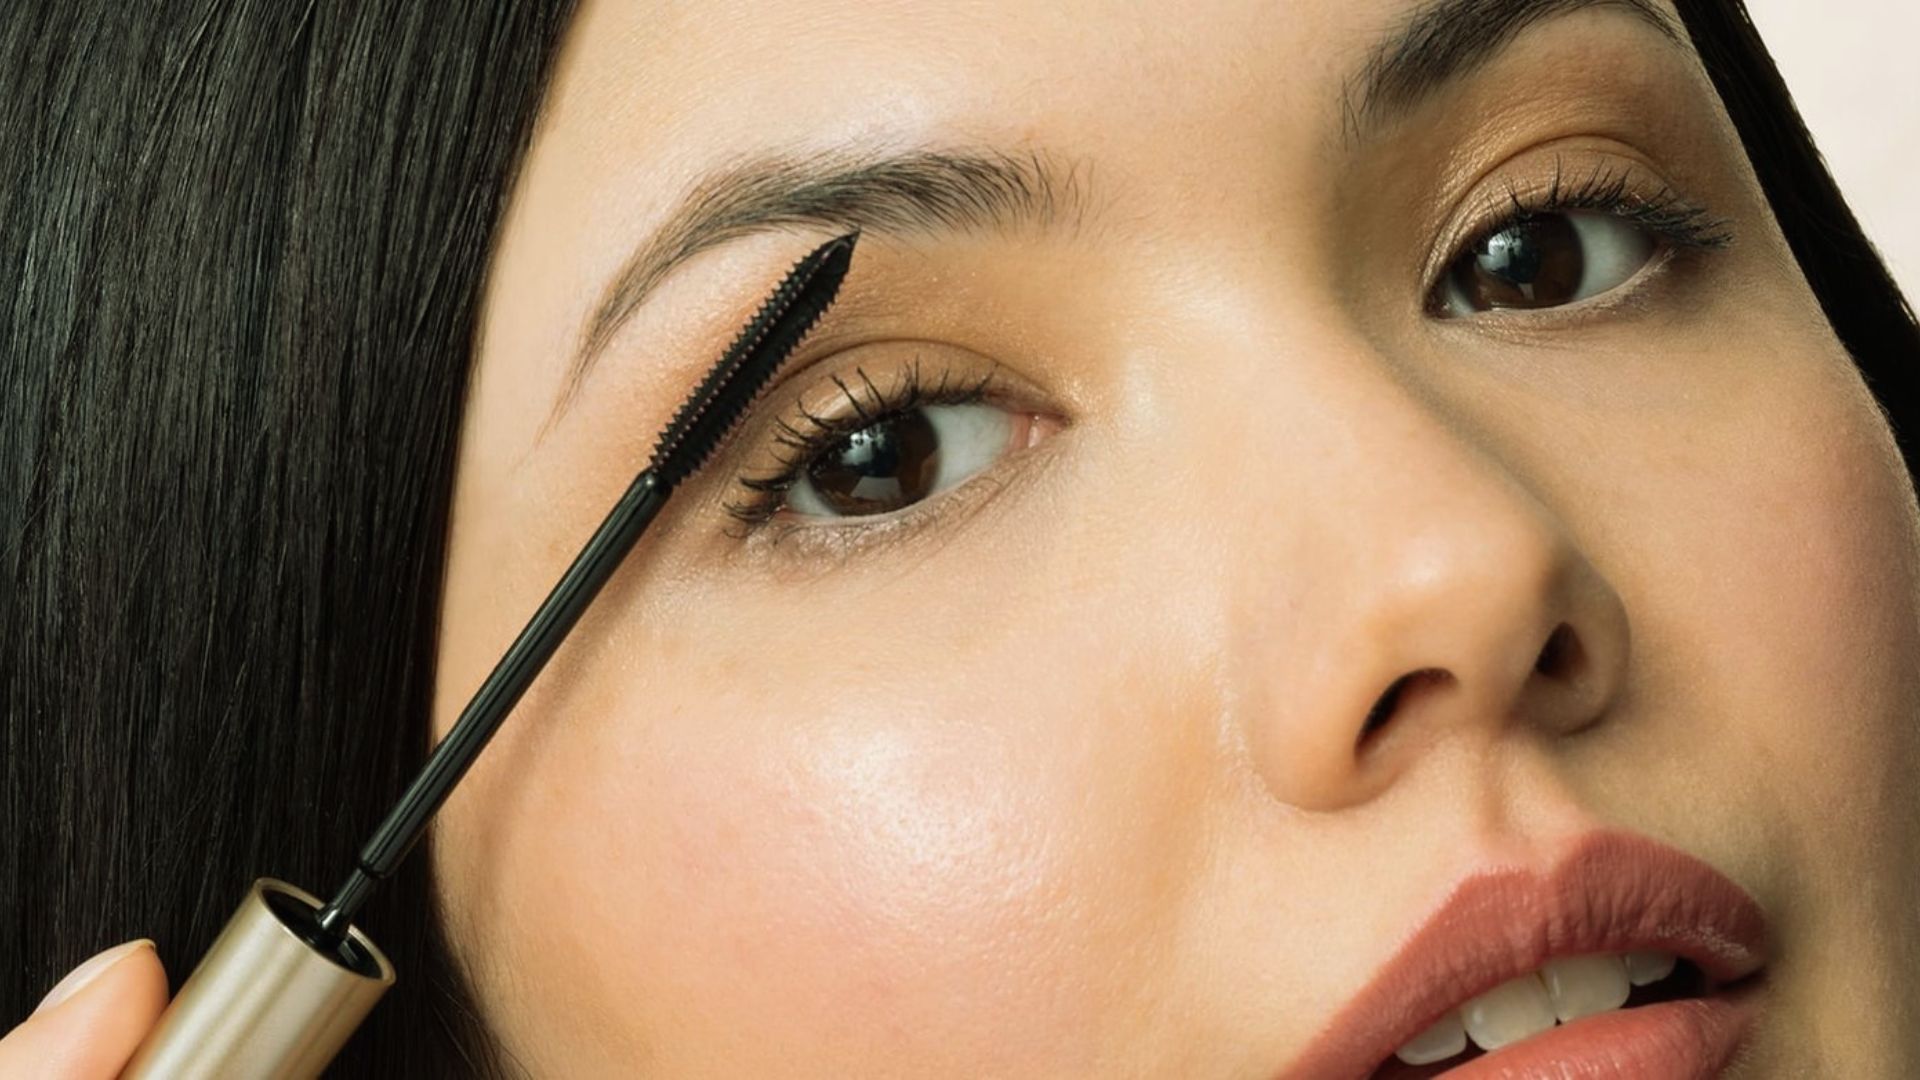
Step 4: Apply Mascara After Curling
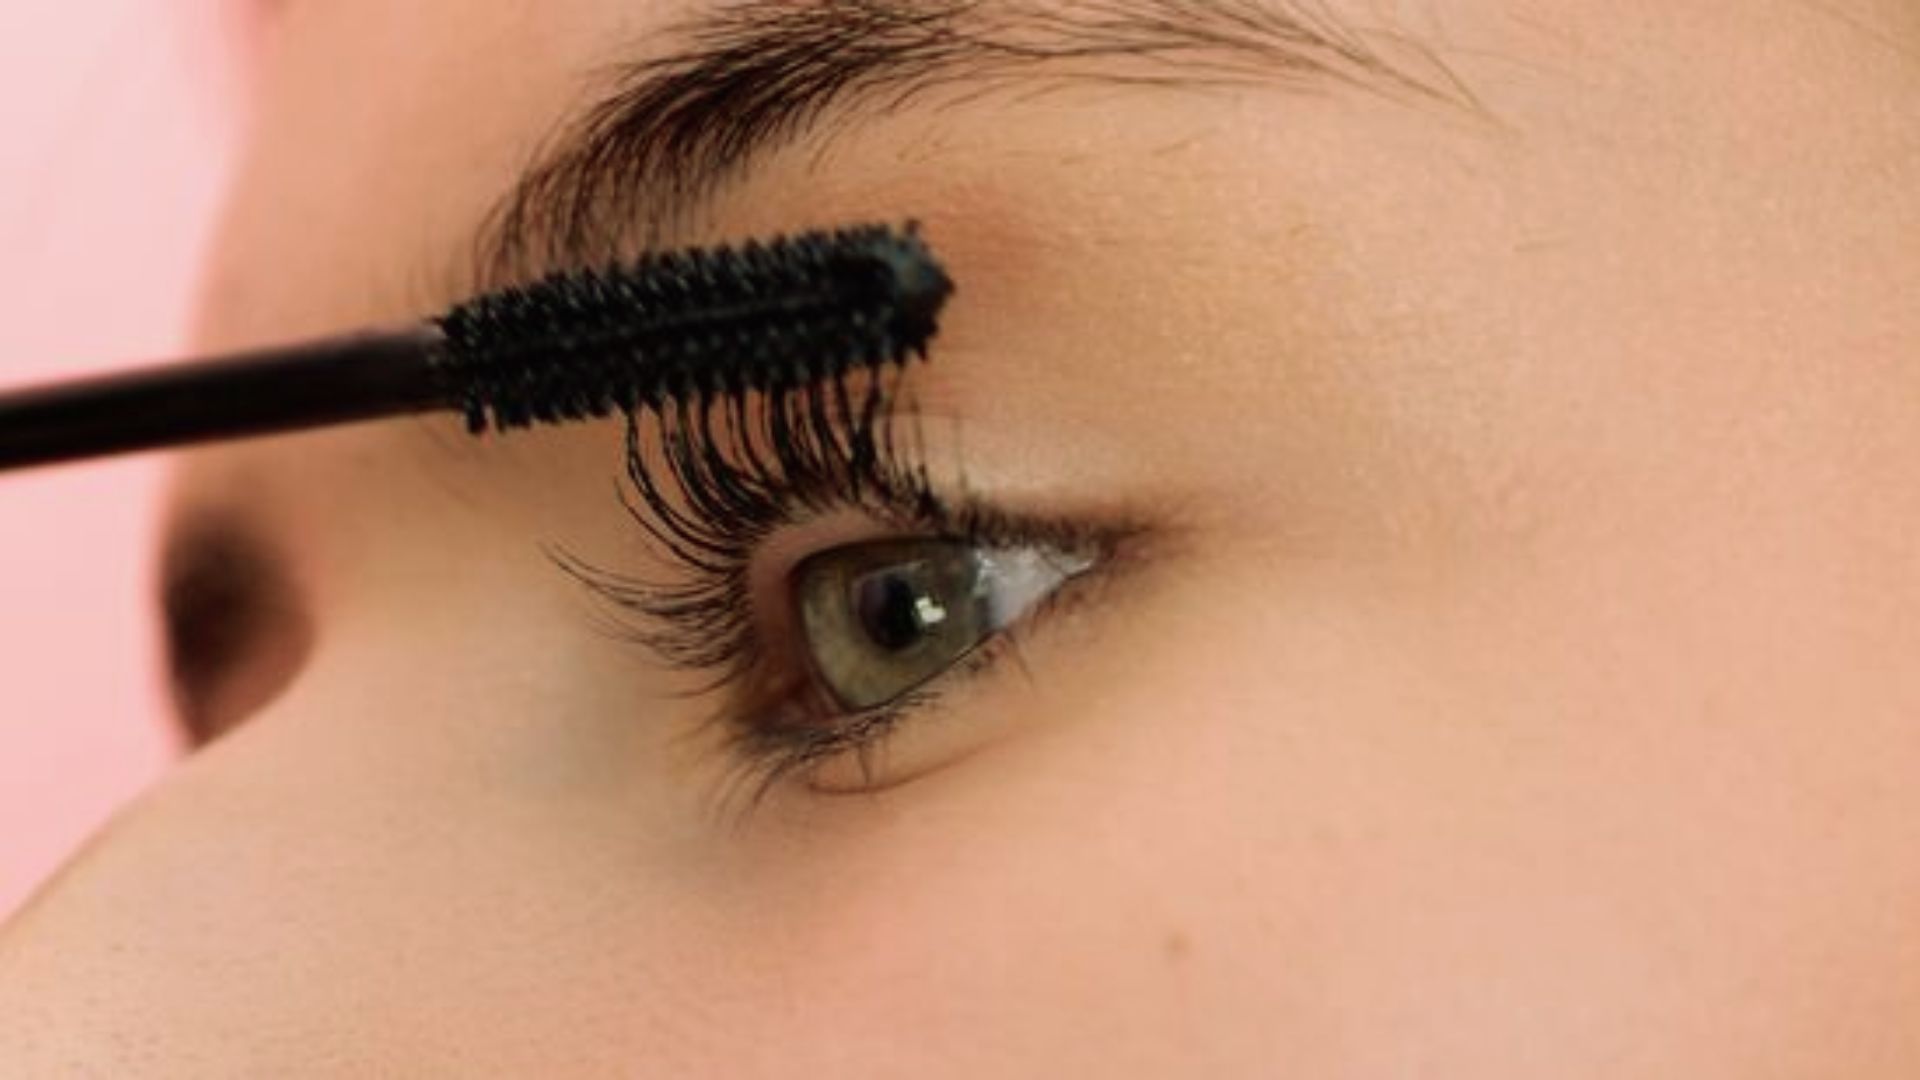
Always apply mascara after curling, never before. Mascara makes lashes stiff and sticky, which causes them to stick to the rubber pad and break off.
After curling, apply one or two coats. Waterproof mascara works best as it keeps the curl lifted throughout the day.
How to Use Eyelash Curler Safely Without Damaging Lashes
Safe curling habits protect your lashes and keep them healthy over time.
Lash damage is almost always caused by bad habits, not the tool itself. Use light pressure when clamping and inspect your curler before each use.
Replace the rubber pads every two to three months or sooner if they look worn. Clean the curler regularly with micellar water to remove old buildup.
Do not curl your lashes more than once per session as repeated clamping weakens them over time.
How to Use Eyelash Curler Without Pinching
The right position makes all the difference between a comfortable curl and a painful pinch.
Pinching happens when the curler is placed too low or at an angle. Before squeezing, check that your eyelid skin is not caught between the clamp arms.
Open your eyes wide, press slowly, and make sure lashes are centered before fully clamping. If you feel any skin caught in the tool, open it right away and reposition.
With a little practice, placement becomes quick and easy.
How to Use Eyelash Curler for Beginners
Starting out is easier than it looks, just take it slow and build your comfort level.
Start with a standard metal clamp curler as it is the easiest to learn with. Avoid heated curlers at first. Begin with short, light presses and hold for about five seconds.
Every person’s lashes are different, so give yourself time to figure out what works. Practice in good lighting and go slow. A steady hand beats speed every time.
Common Mistakes to Avoid When Using Eyelash Curlers
Small mistakes can undo all your effort, so here is what to watch out for.
- Never curl lashes that already have mascara on them as it causes breakage and pulling.
- Always position the curler right at the lash base, not too far or too close to the skin.
- Use light pressure only. Squeezing too hard creates a crease and weakens lashes.
- Wipe the curler down after every use to avoid buildup and eye irritation.
- Replace the rubber pad every two to three months or when it looks worn out.
How to Use Eyelash Curler with Comb or Heated Curler
Different curler styles work differently, so knowing which one to use makes your routine easier.
Comb-style eyelash curler
A comb curler lifts and separates lashes while curling them at the same time. It works well for shorter lashes or those who prefer a more natural finish.
Run it through your lashes from base to tip in an upward motion.
Heated eyelash curlers
A heated curler uses gentle warmth to set the curl and make it last longer. It is battery-powered and heats up quickly.
It is a good option for straight or stubborn lashes. Use a traditional curler for everyday wear and a heated one when you need a stronger curl that holds all day.
Always test the heat on your wrist before use.
Tips for Long-Lasting Eyelash Curl
A few simple habits keep your curl lifted from morning to night.
- Use waterproof mascara after curling for the best hold throughout the day.
- Avoid heavy or wet mascaras as they weigh lashes down and drop the curl faster.
- Stick to two coats of mascara. More than that adds weight and flattens the curl.
- If re-curling during the day, make sure mascara is fully dry before clamping again.
- Try a lash primer before mascara to add hold without extra weight.
Conclusion
Honestly, I remember struggling with my eyelash curler in the beginning. I kept pinching my eyelid or ending up with a weird crease instead of a curl.
Once I slowed down and focused on placement, everything changed. Now it takes me under a minute and the results are always clean and lifted.
You can get there too. Start slow, follow the steps, and give yourself a few tries to build the habit.
Did this guide help you? Drop a comment below and share your experience with eyelash curlers.
Frequently Asked Questions
How to use eyelash curlers properly?
Place the curler at the base of clean, dry lashes. Gently clamp and hold for a few seconds, then move upward and repeat. Always curl before applying mascara.
How often should you curl your lashes?
Curling your lashes once a day is fine for most people. Avoid curling the same spot multiple times in one session as repeated pressure can weaken lashes over time.
Can eyelash curlers damage lashes?
Yes, but only when used incorrectly. Curling over mascara, using worn rubber pads, or pulling the curler while clamped are the main causes of lash damage. Proper use is safe.
Should you use eyelash curlers before or after mascara?
Always before. Curling after mascara causes lashes to stick to the rubber pad and pull out. Curl first, let lashes settle, then apply mascara.
How to use eyelash curlers safely every day?
Use light pressure, keep the rubber pad clean, replace pads every two to three months, and always start with clean, dry lashes before curling.