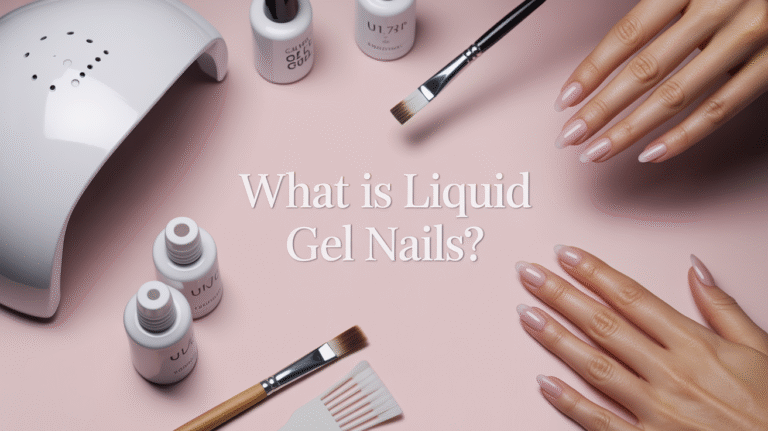
What Can I Use to Dehydrate My Nails at Home
Tired of nail polish that chips after one day? The problem might not be your polish. It could be your nail prep.
This article covers everything you need to know about dehydrating your nails at home. I’ll show you what works, how to use it, and why it matters.
We tested these methods firsthand and spoke with nail care enthusiasts to bring you real, practical advice.
You will find the best at-home nail dehydrator alternatives, a simple step-by-step prep routine, common mistakes to avoid, and tips to make your manicure last longer.
Why Nails Need Dehydration Before Polish
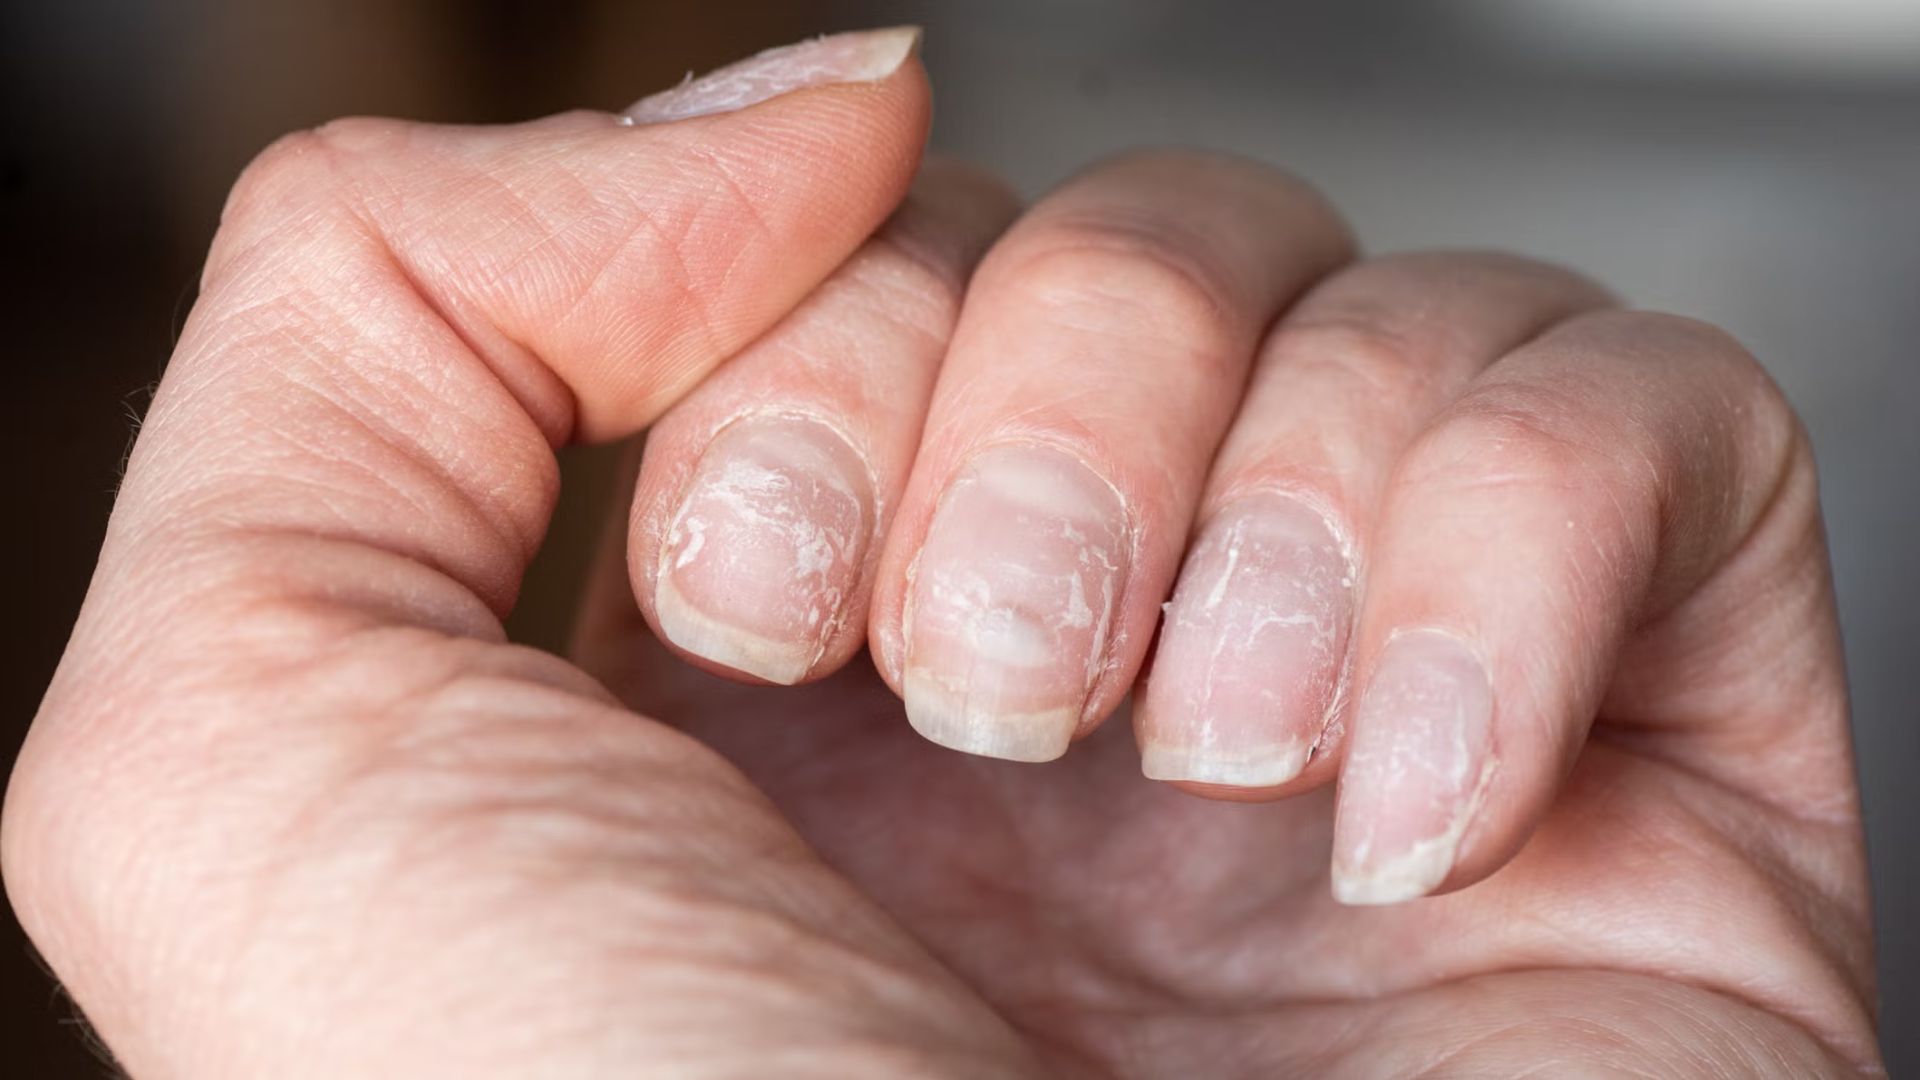
Your nails naturally produce oils. These oils sit on the surface.
When you apply polish over oily nails, it doesn’t grip. It lifts, peels, or chips fast.
Dehydrating your nails removes that oil layer. It gives polish a clean, dry surface to bond to.
This one step can double how long your manicure lasts. Skipping it is one of the biggest nail mistakes people make.
Best Things You Can Use to Dehydrate Your Nails
There are several options that work well at home. The right choice depends on your nail type and what you have available.
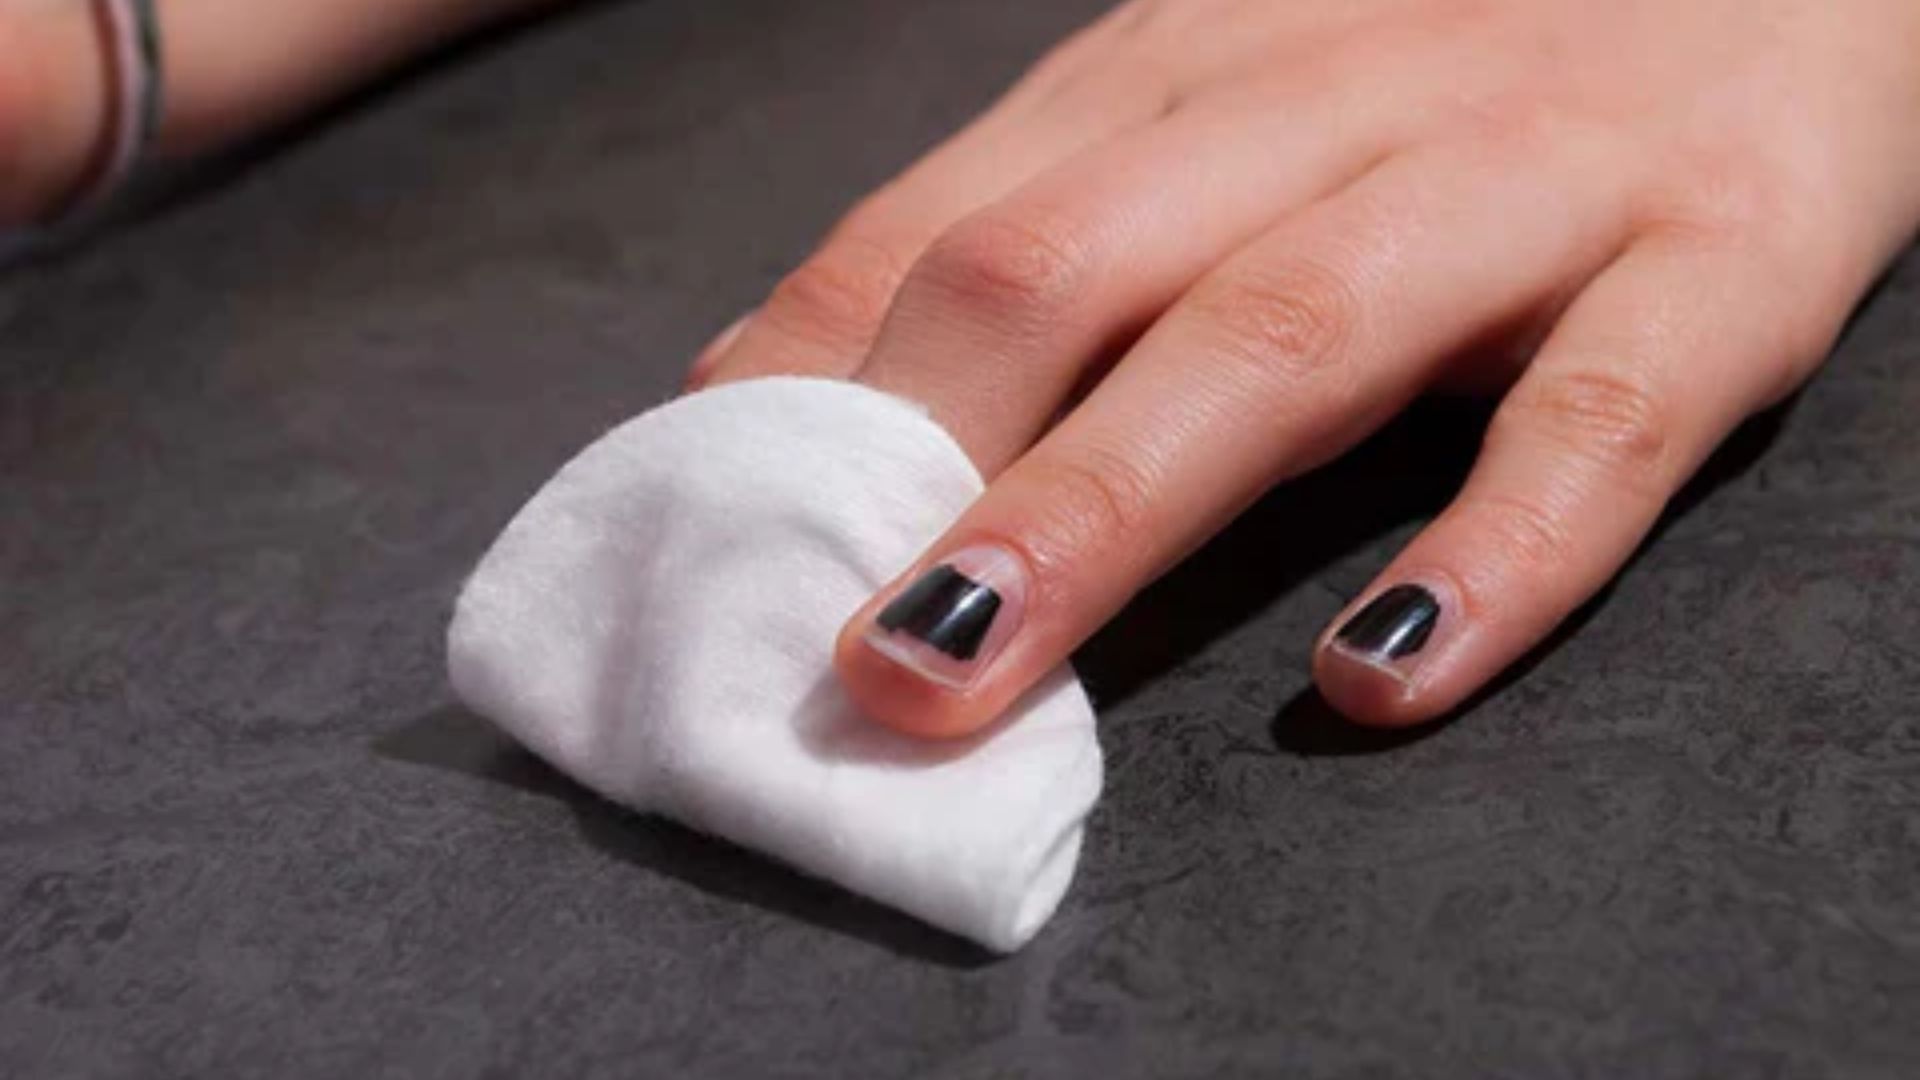
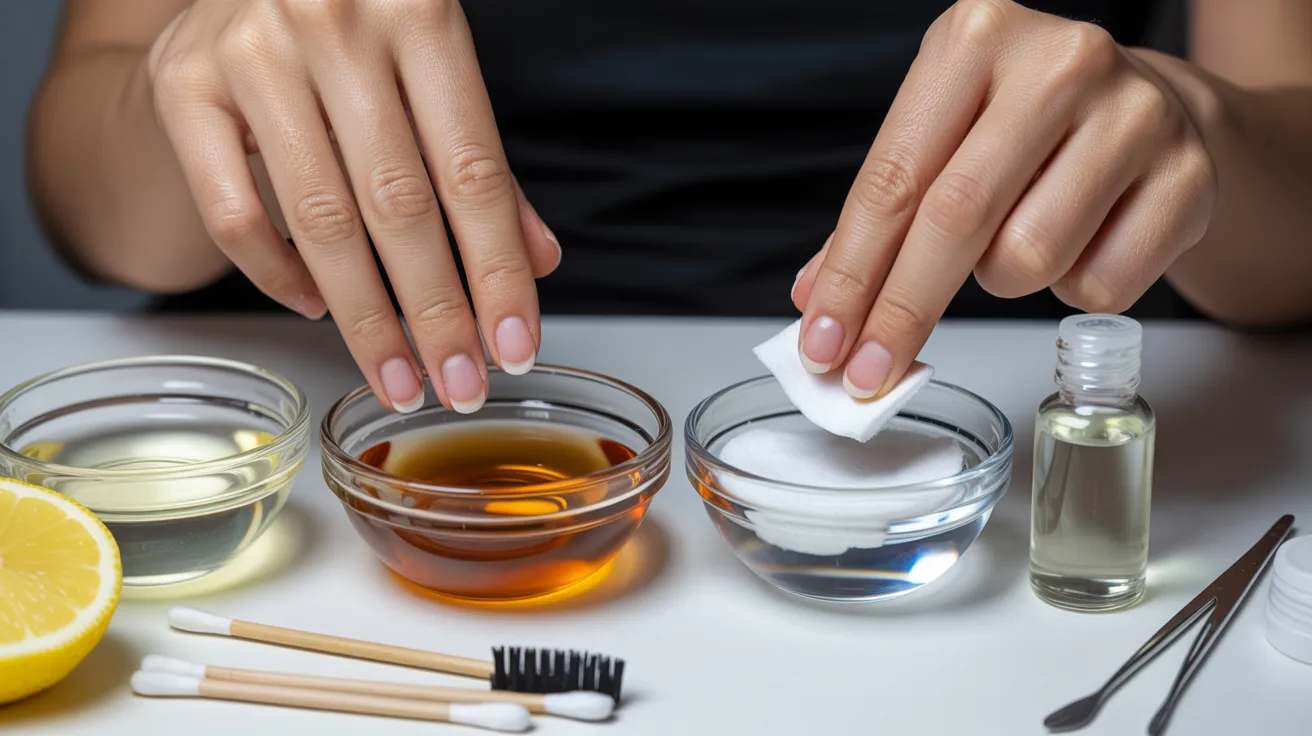
Rubbing Alcohol (Top Recommended Option)
Rubbing alcohol is the easiest option. Use 70% or 91% isopropyl alcohol on a lint-free wipe, swipe across each nail, and let it dry for 30 seconds. It removes oil fast and won’t damage your nails.
Pure Acetone for Strong Oil Removal
Pure acetone is stronger and works better for very oily nails. Apply it the same way as rubbing alcohol. Just avoid using it too often as it can dry out your skin and cuticles.
Alcohol-Based Hand Sanitizer
A good backup when rubbing alcohol isn’t available. Make sure it has at least 60% alcohol content and no added moisturizers. Those leave residue and stop polish from sticking.
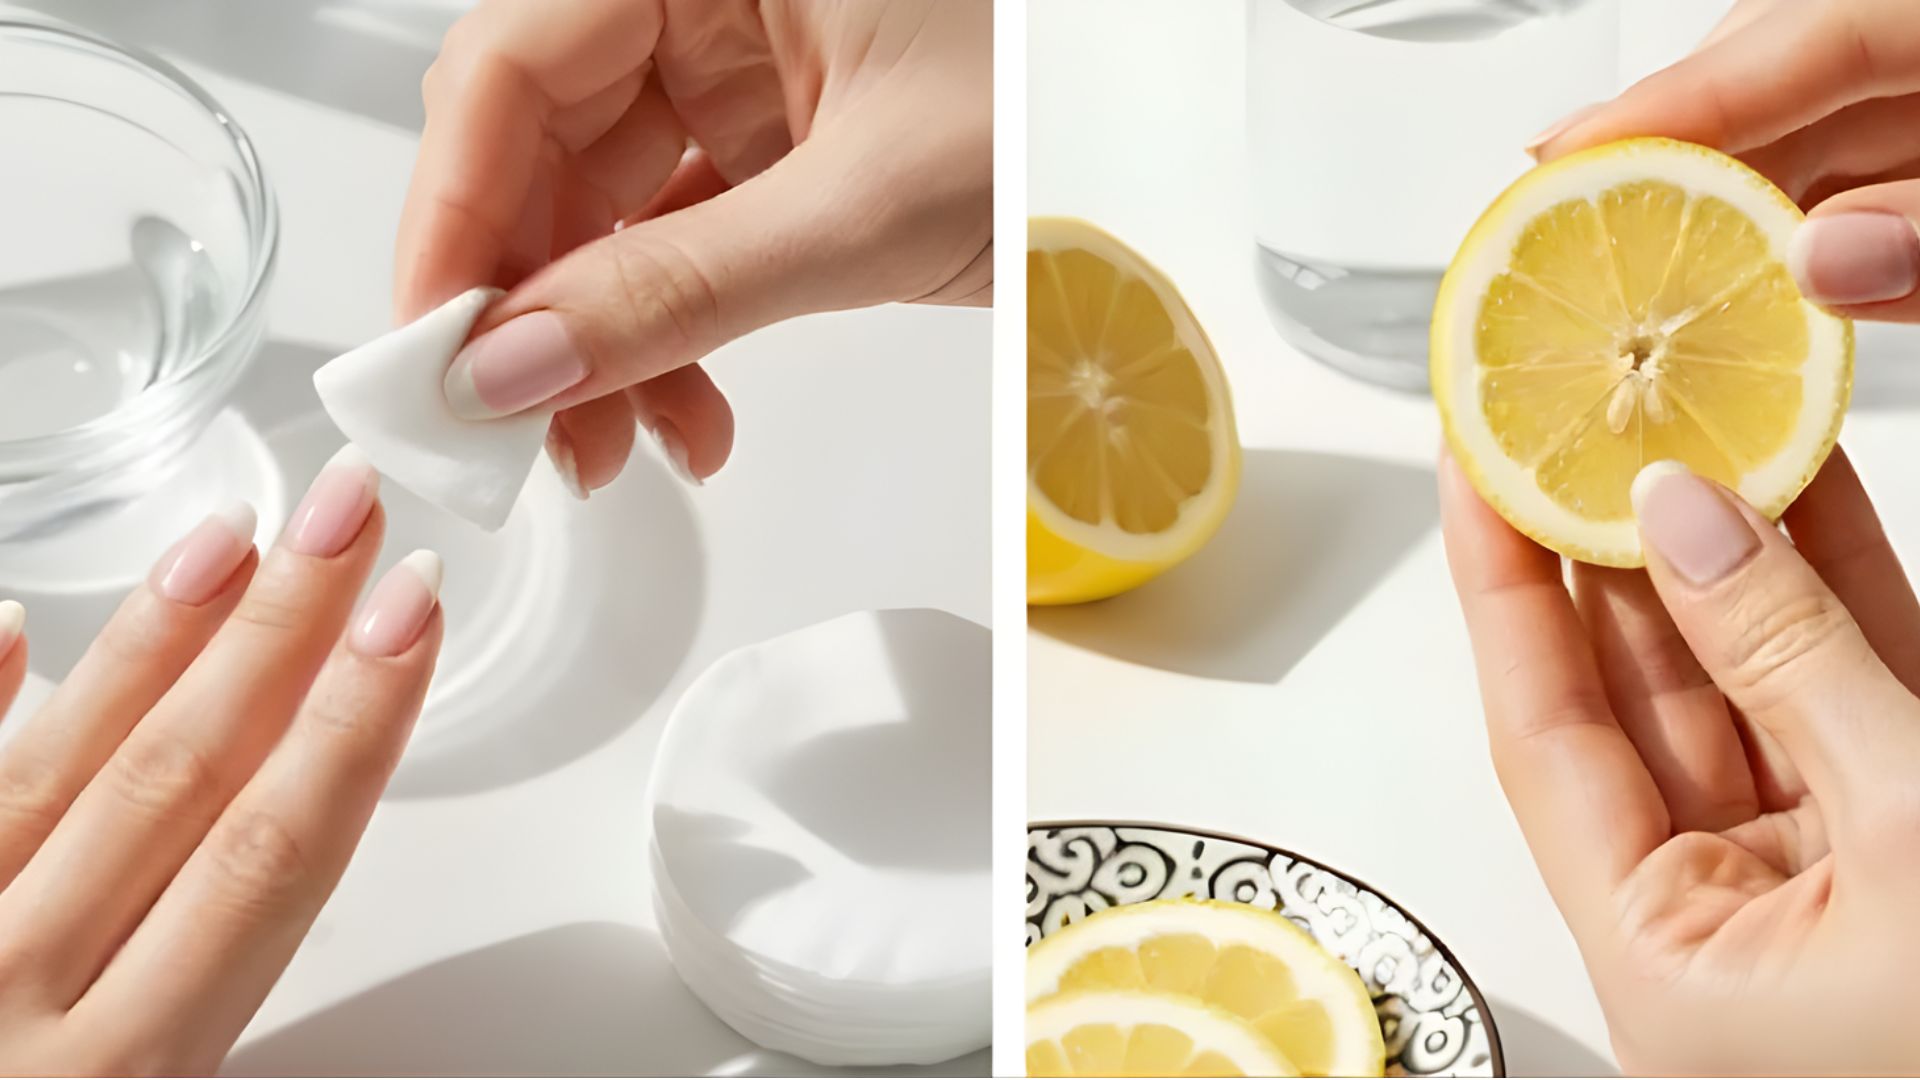
White Vinegar for Natural Nail Prep
A mild, natural option that removes surface oils and balances the pH of your nail plate. Wipe it on with a cotton pad and let it air dry. Great for sensitive skin.
Lemon Juice for Gentle Dehydration
The mildest option on this list. Wipe fresh lemon juice on each nail and wait at least one minute before applying base coat. Works best for regular polish, not gel or acrylics.
How to Dehydrate Nails at Home (Step-by-Step)
Following a consistent routine makes a big difference. Here’s a simple process that works.
Step 1: Clean and Remove Old Polish
Start with a clean slate.
Remove any old nail polish using a remover. Make sure no color or product is left behind.
Wash your hands with soap and water. This removes dirt and light oils. Dry your hands completely before moving to the next step.
Step 2: Buff Nails to Remove Shine
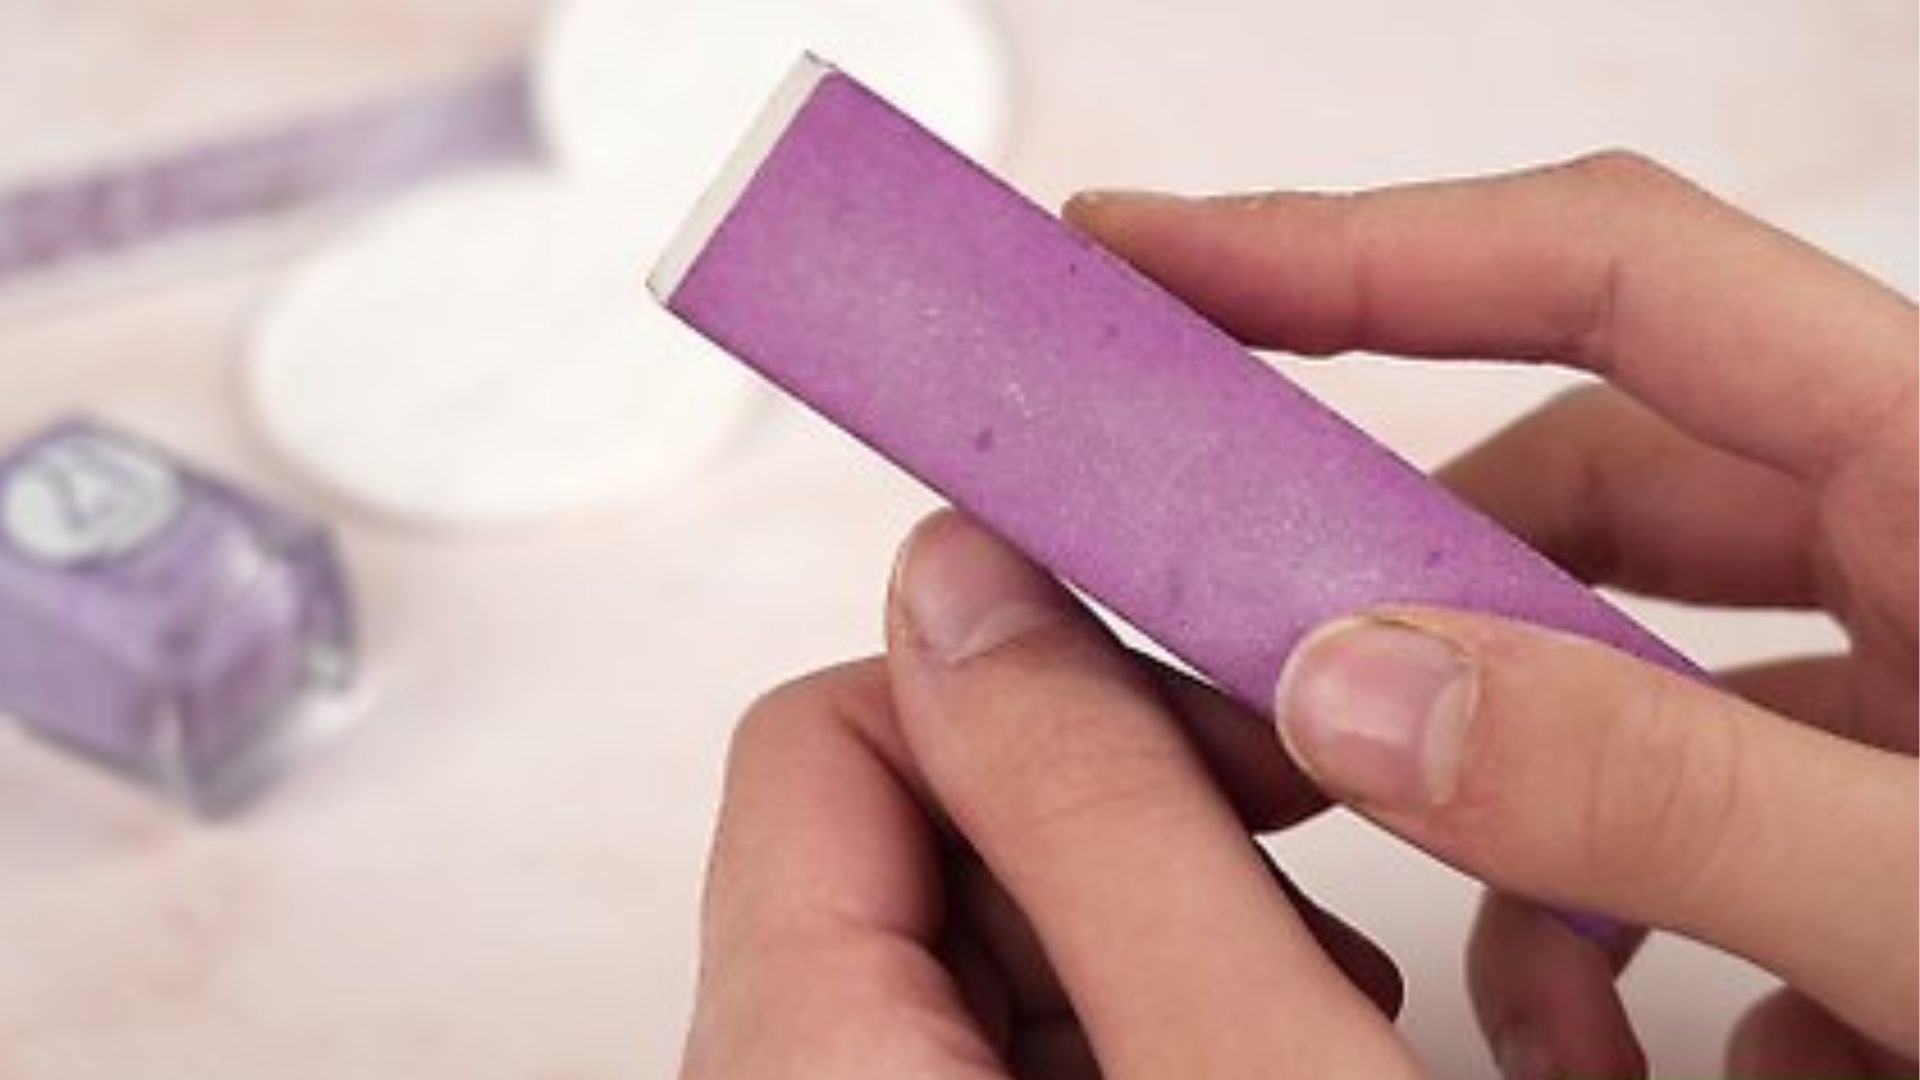
Take a nail buffer and lightly buff the surface of each nail.
This removes the natural shine and any leftover oils. It also creates a slightly rough surface. Polish grips better on a buffed nail.
Don’t over-buff. One or two gentle passes is enough. You don’t want to thin out the nail plate.
Step 3: Apply Your Dehydrator Alternative
Choose one of the options listed above.
Apply it to a lint-free wipe or cotton pad. Avoid cotton balls if possible. They leave fibers behind.
Wipe each nail firmly and let it dry completely. Do not blow on your nails to speed up drying. That adds moisture from your breath.
Wait until the nails feel dry to the touch before moving on.
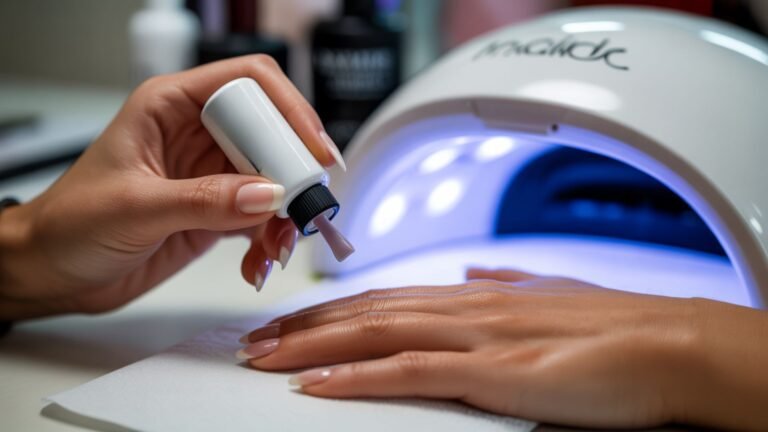
Step 4: Apply Base Coat Immediately
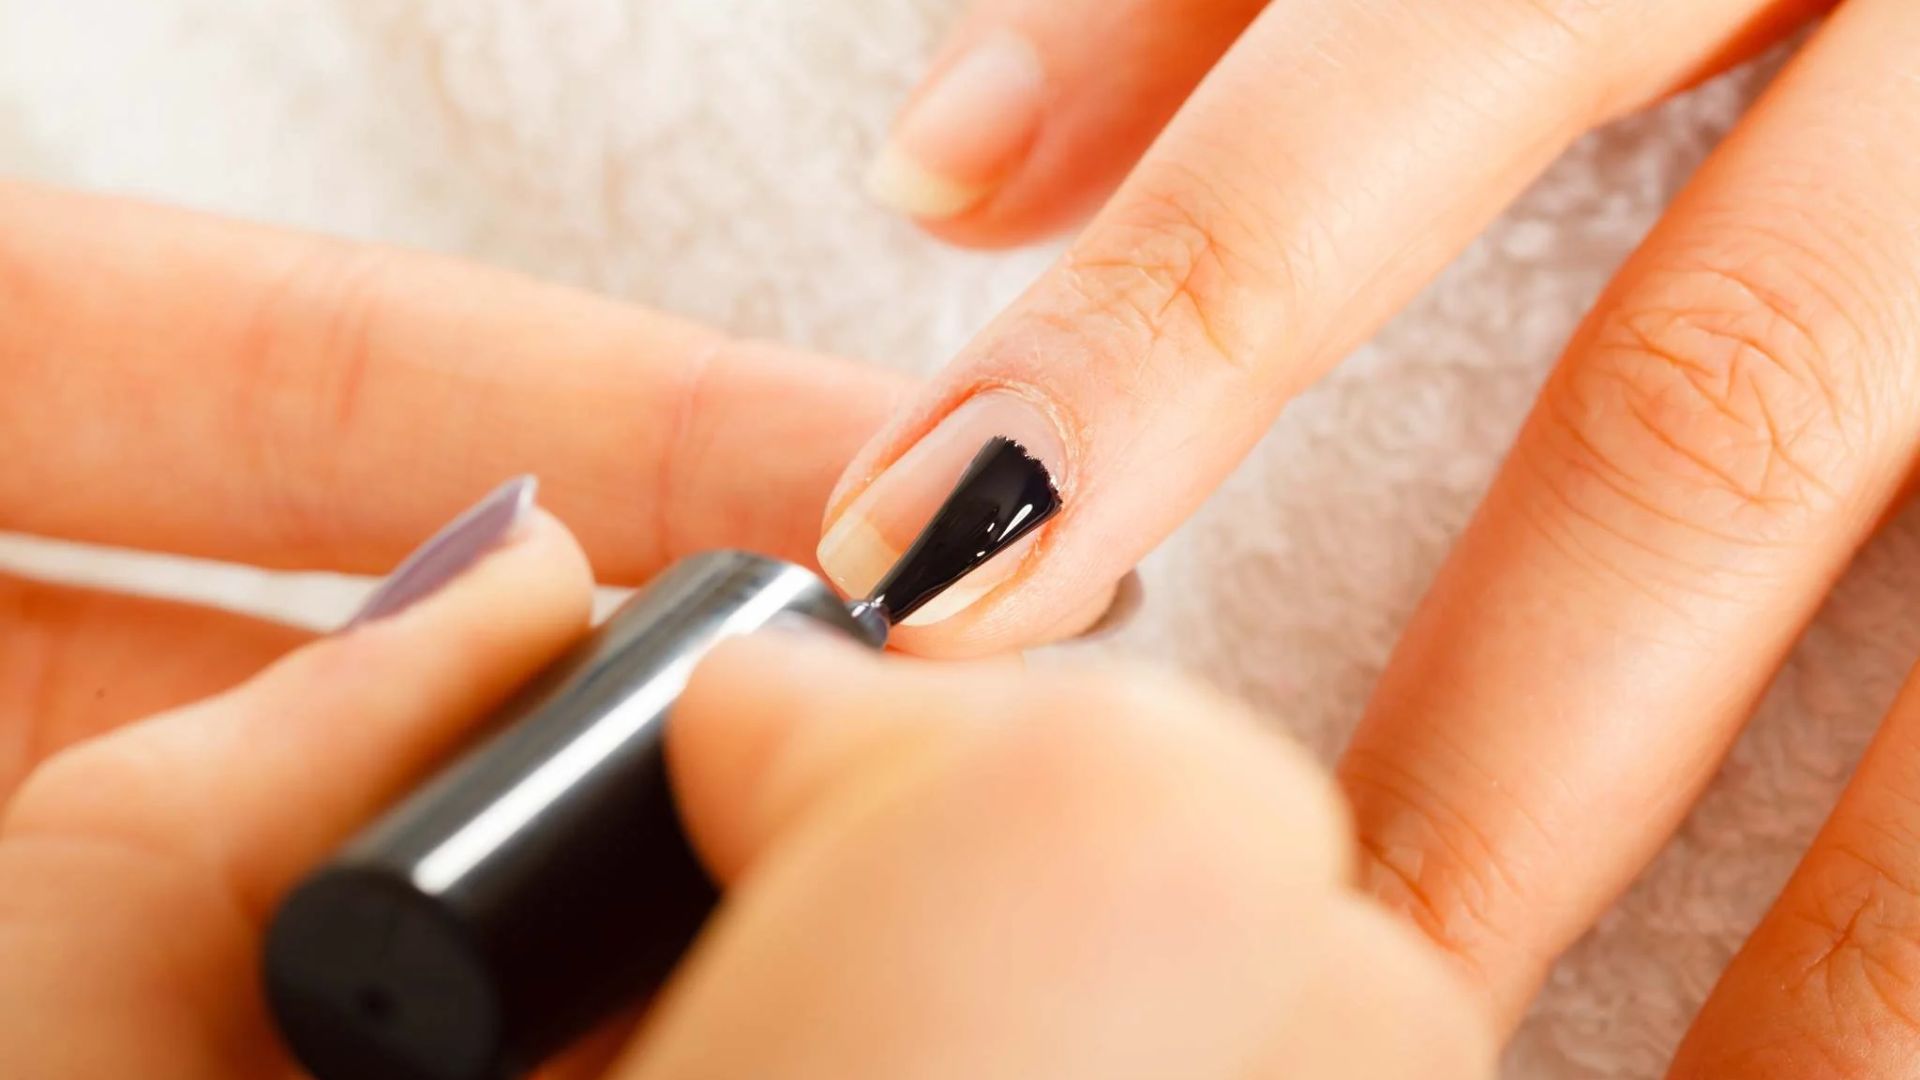
Once your nails are dry, apply base coat right away.
Don’t wait more than two minutes after dehydrating. The longer you wait, the more oils can return to the surface.
Apply a thin, even layer of base coat to each nail. Then proceed with your polish as normal.
Which Nail Dehydrator Alternative Works Best
Not all options give the same results. Here’s a quick comparison to help you pick the right one.
Alcohol vs Acetone
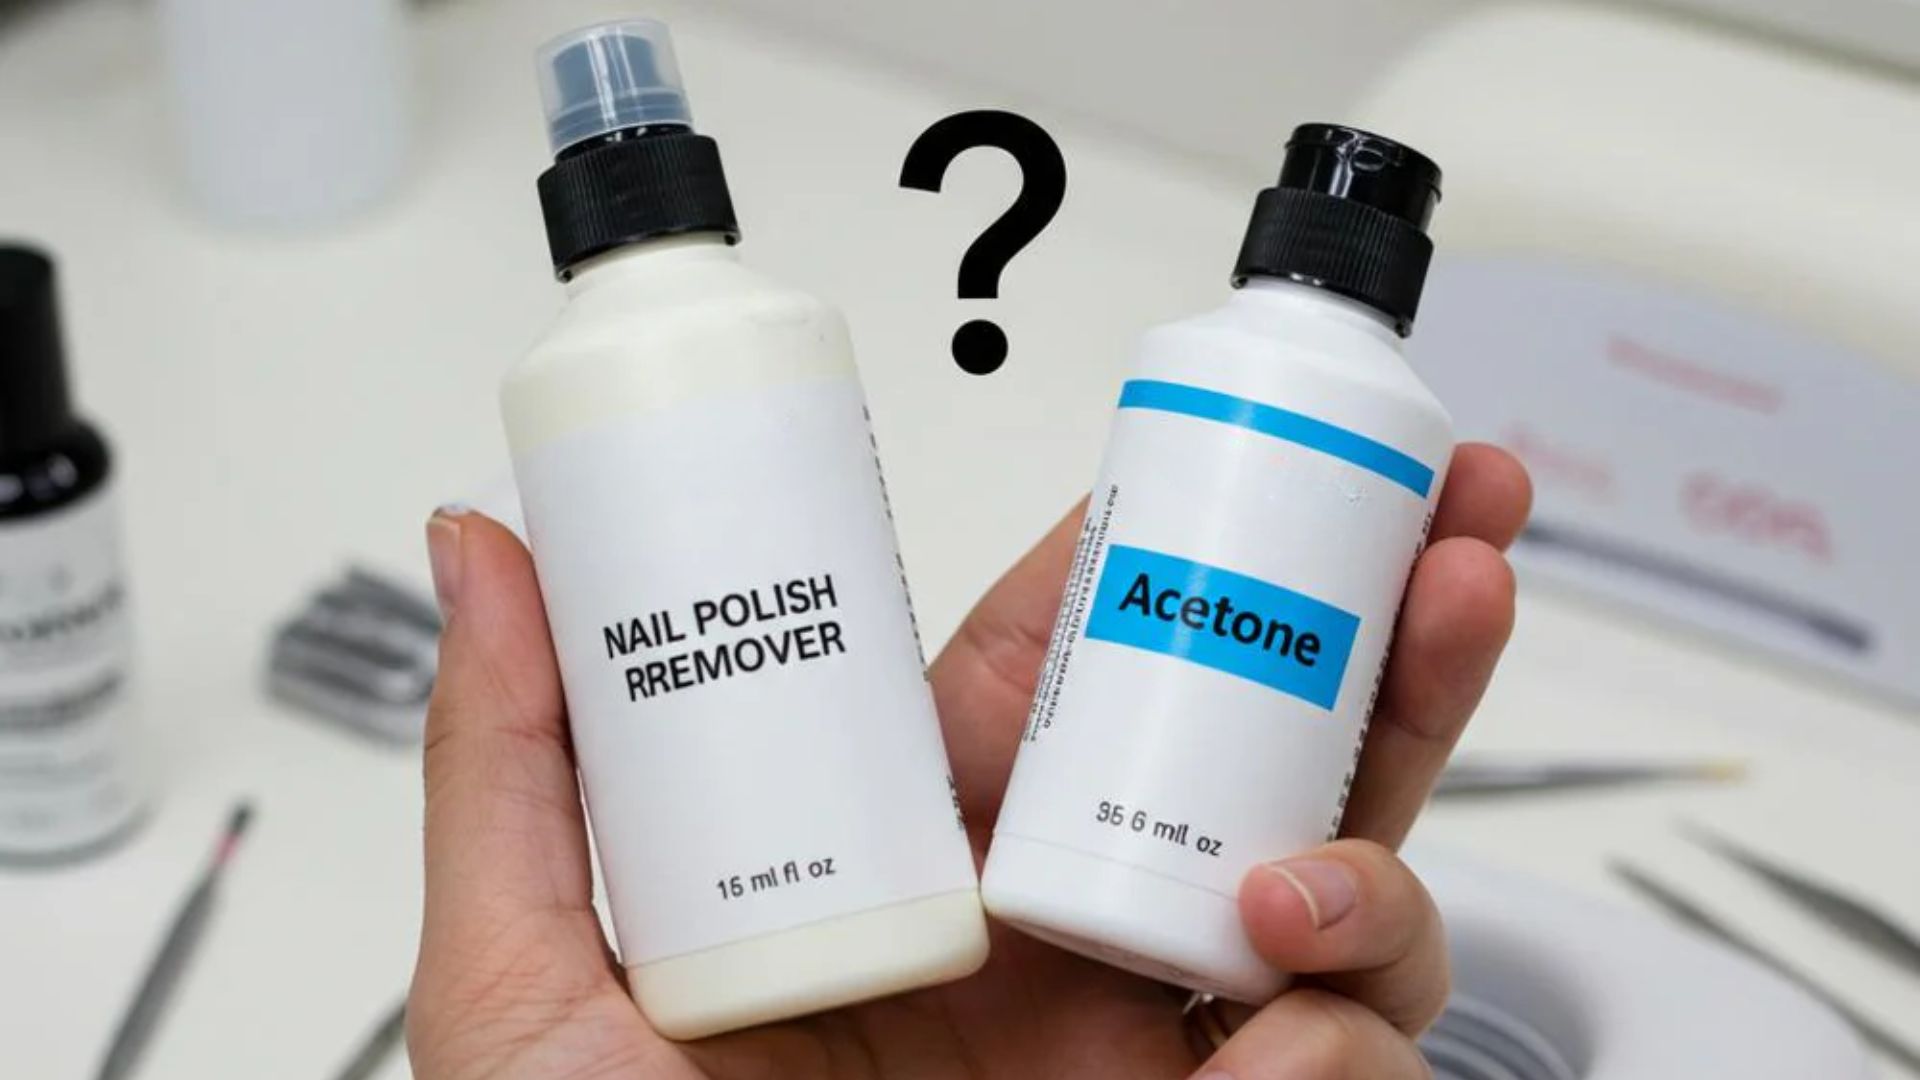
Rubbing alcohol is gentler and good for regular daily use. Pure acetone is stronger and works better for gel prep or very oily nails. If your nails are dry or brittle, stick with alcohol. If polish keeps lifting, try acetone.
Gel vs Regular Polish

For regular polish, rubbing alcohol or white vinegar is enough. For gel, use pure acetone or 91% isopropyl alcohol. For acrylics, acetone is the standard choice.
Natural vs Chemical Methods
Natural options like vinegar and lemon juice are safer for sensitive nails but milder in strength.
Rubbing alcohol and acetone work faster and give longer-lasting results. If you have no sensitivities, rubbing alcohol is the best all-round option.
Can You Dehydrate Nails Without Acetone
Yes. You do not need acetone to prep your nails. Rubbing alcohol works just as well for most people. Vinegar and lemon juice are good options too, especially for regular polish.
If your skin is sensitive, stick to white vinegar, lemon juice, or 70% isopropyl alcohol. They’re mild and won’t irritate your skin or dry out your cuticles.
Avoid pure acetone if your nails are dry, peeling, or damaged. Gentler options will do the job without making things worse.
Common Mistakes That Ruin Nail Prep
Good prep can still go wrong. Here are the most common mistakes people make.
Skipping Buffing or Cleaning
Applying a dehydrator over dirty or shiny nails doesn’t work well.
The surface needs to be clean and lightly buffed first. If you skip these steps, oils and dirt stay trapped under the polish.
Always start with clean, buffed nails. It takes two extra minutes and makes a big difference.
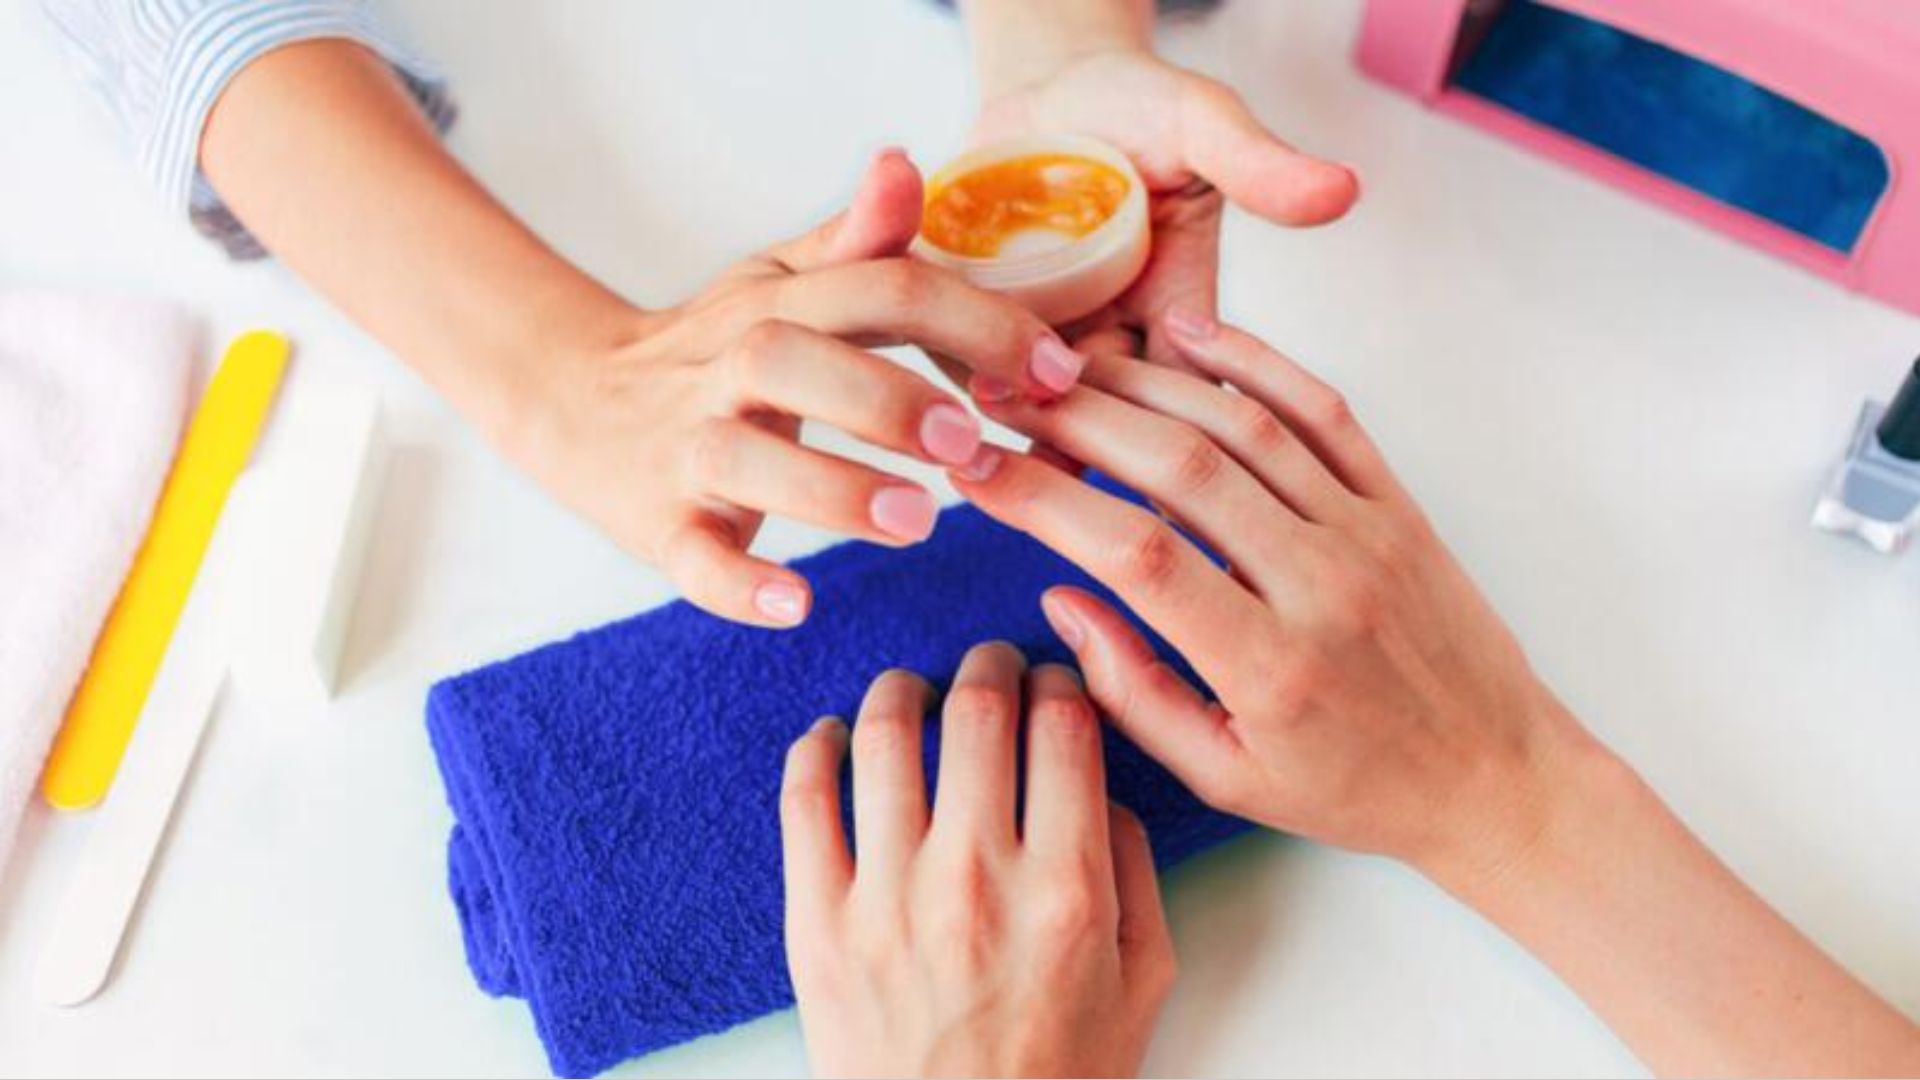
Using Moisturizing Products
Hand lotions, cuticle oils, and moisturizing soaps leave a film on your nails.
Applying these before your manicure will cause polish to peel faster. If you use any moisturizing product, wash your hands and re-dehydrate.
Keep your nail prep routine product-free until your base coat is on.
Touching Nails After Prep
This is the most common mistake.
After you dehydrate your nails, do not touch the nail surface. The oils from your fingertips will transfer right back onto the nail.
Handle your polish brush and tools without letting your fingers graze the nail plate.
Waiting Too Long Before Base Coat
Your nails start picking up oils from the air and your skin almost immediately after drying.
Apply your base coat within one to two minutes of dehydrating. Don’t answer a text or grab a snack first.
Work nail by nail if needed. Prep one hand and apply base coat before moving to the other.
Tips to Make Your Manicure Last Longer
Good prep sets the foundation, but these small habits keep your polish looking fresh for longer.
- Apply two thin coats instead of one thick one and let each layer dry fully before adding the next.
- Run the brush along the tip of each nail after every coat to seal the edges and stop chips.
- Do this with your base coat, color, and top coat for the best hold.
- Avoid washing dishes, swimming, or long showers for at least two hours after your manicure.
- Wear gloves when doing dishes. Water is one of the top reasons polish lifts early.
Final Thoughts
I used to wonder why my nails always chipped after a day or two. Turns out, I was skipping the prep.
Once I started dehydrating my nails before polish, my manicures lasted twice as long. No fancy products needed.
You now have everything you need to get it right at home.
Try one of these methods this week and see the difference for yourself. Got questions or tips that worked for you? Drop a comment below. I’d love to hear what’s working in your nail routine.
Frequently Asked Questions
Does Dehydrating Nails Really Make a Difference
Yes, it makes a noticeable difference. Removing oil from the nail surface gives polish a clean base to grip, which means fewer chips and longer wear.
How Often Should I Dehydrate My Nails
Dehydrate your nails every time you do a fresh manicure. It only takes a minute and keeps your polish looking clean and chip-free for longer.
Can I Use Hand Sanitizer Instead of Rubbing Alcohol
Yes, as long as it’s alcohol-based with no added moisturizers. Gel sanitizers with skin softeners can leave residue that stops polish from sticking.
Will White Vinegar Work for Gel Nails
White vinegar is mild and works better for regular polish. For gel nails, rubbing alcohol or pure acetone gives a stronger prep and better results.
What Happens If I Skip Nail Dehydration
Your polish will likely peel or chip within a day or two. Natural nail oils break down the bond between the polish and the nail plate without proper prep.