What Is a Nail Wrap? The Easy Nail Hack You Need
My nails were peeling, snapping, and honestly embarrassing. I’d tried everything and nothing helped without making things worse.
Then someone mentioned nail wraps, and I almost ignored it. Sounded too simple to actually work. It wasn’t.
If you’ve never heard of them or you’re not sure what is a nail wrap and whether it’s actually worth trying, I get it. I had the same questions.
But what I found out surprised me. And it might completely change how you think about nail care.
Let’s get started.
Understanding Nail Wraps
So what is a nail wrap, exactly?
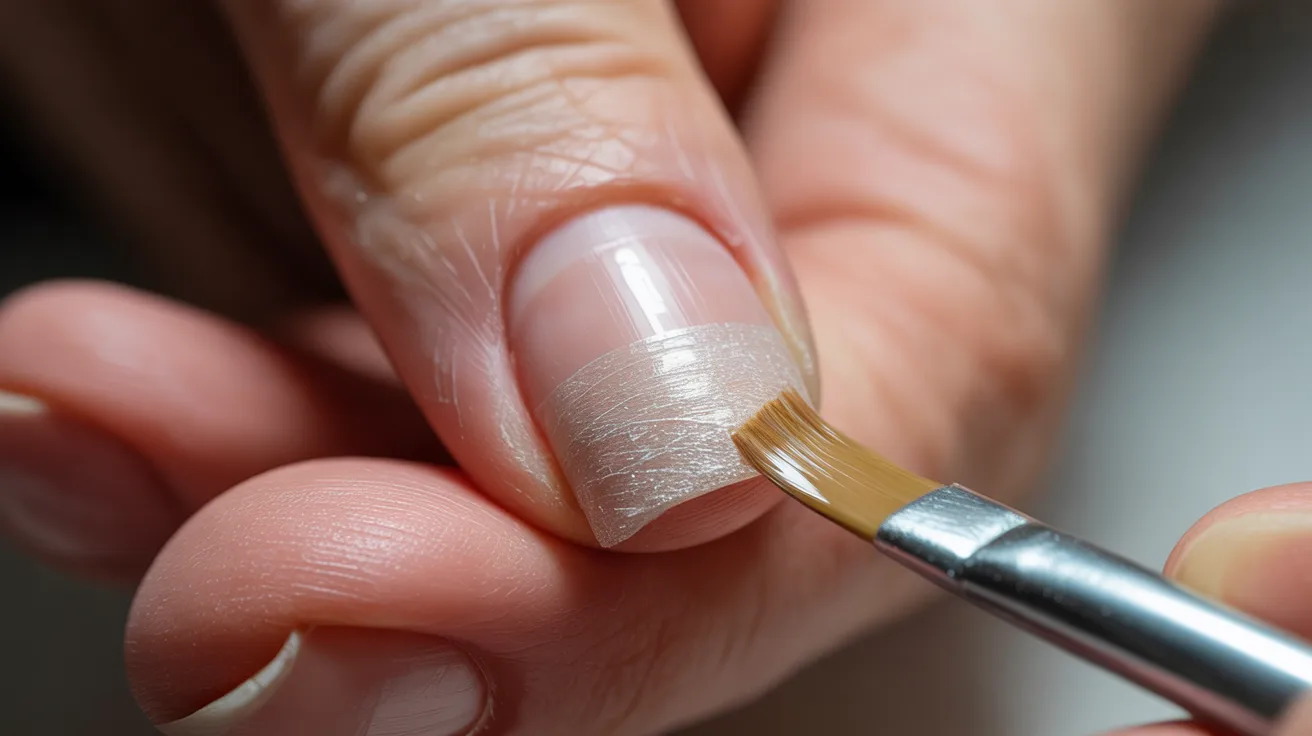
It’s a thin piece of material, usually silk, fiberglass, linen, or paper, that gets bonded directly onto the natural nail using a resin or adhesive. It sits on top of your nail like a second skin.
The material hardens once sealed, adding a protective layer over the natural nail plate. It can be used on its own or as a base under regular nail polish or nail art.
Unlike acrylics, nail wraps don’t require any drilling, harsh filing, or strong-smelling chemicals.
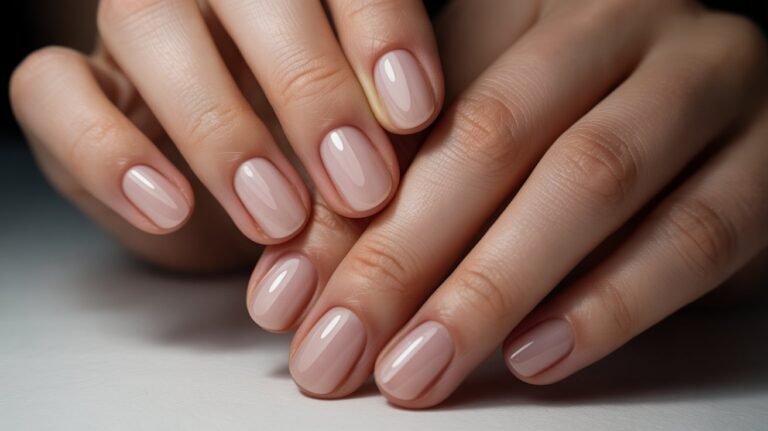
They’re one of the gentlest nail enhancement options available, which is a big part of why they’ve grown so popular.
They also sit much flatter than gel or acrylic extensions. The result looks clean and natural rather than built-up or bulky.
Types of Nail Wraps
Not all nail wraps are made from the same material, and the differences matter depending on what you’re trying to achieve.
Silk Nail Wraps
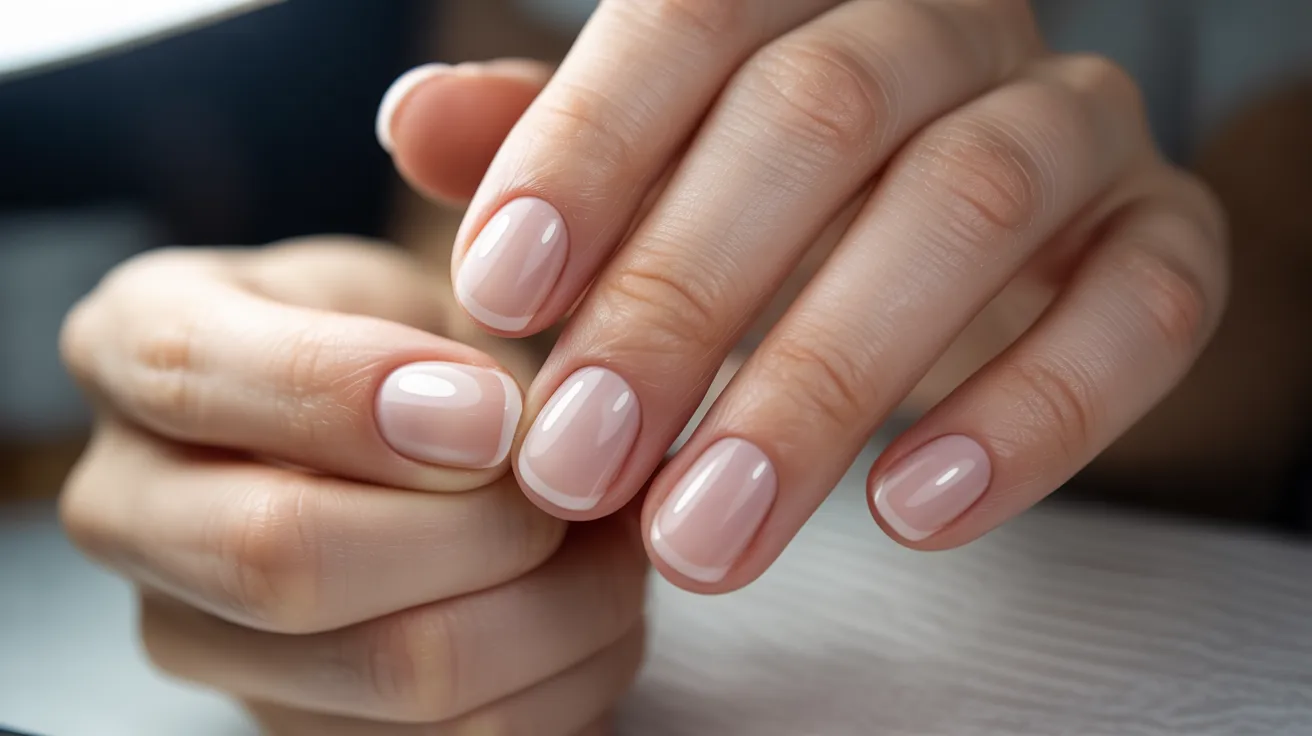
Silk wraps are the softest and most flexible option. They’re very thin, which makes them comfortable to wear and easy to shape around the nail.
They work best for people with weak or brittle nails who need gentle reinforcement. The silk material blends into the nail surface almost invisibly once sealed properly.
Because they’re so lightweight, silk wraps are also a popular choice for people who want a natural finish rather than obvious nail work.
Fiberglass Nail Wraps
Fiberglass wraps are stronger and more durable than silk. They hold up better to daily wear and are the go-to choice for repairing a broken or split nail.
The material is slightly stiffer than silk, which gives it better structural support. If a nail has cracked down the middle, fiberglass can hold it together long enough to grow out.
They do require a little more precision during application. Any misalignment is harder to fix once the resin sets.
Paper and Linen Nail Wraps
Paper and linen wraps are the least common of the three. They’re mainly used for temporary repairs or quick fixes rather than long-term nail care.
Linen is slightly more textured than silk or fiberglass, which can make it harder to achieve a smooth finish. However, it’s a useful option when the other materials aren’t available.
Paper wraps are the most basic version and work best as a short-term solution for a nail that needs a little help making it through the week.
What Is a Nail Wrap Used For?
People reach for nail wraps for different reasons, and they’re versatile enough to cover most of them.
The most common use is strengthening weak or thin nails.
If your nails bend easily or break before they have a chance to grow, a wrap adds the structure they’re missing without changing the way they look.
Nail wraps are also one of the best tools for repairing damage.
A split, crack, or break that would normally mean cutting the nail short can often be saved with a fiberglass wrap and some resin.
Beyond repair, they create a smooth, even surface for polish or nail art. If your nails have ridges or uneven texture, a wrap fills those in and gives you a cleaner base to work from.
Some people also use thin wraps to add a small amount of length. It’s more subtle than a full extension but enough to even out nails that grow at different rates.
The Nail Wrap Application Process
The process is more straightforward than most people expect, but the prep work is what makes or breaks the result.
Step-by-Step Guide
Getting the application right from the start makes all the difference in how long your wraps last and how clean they look.
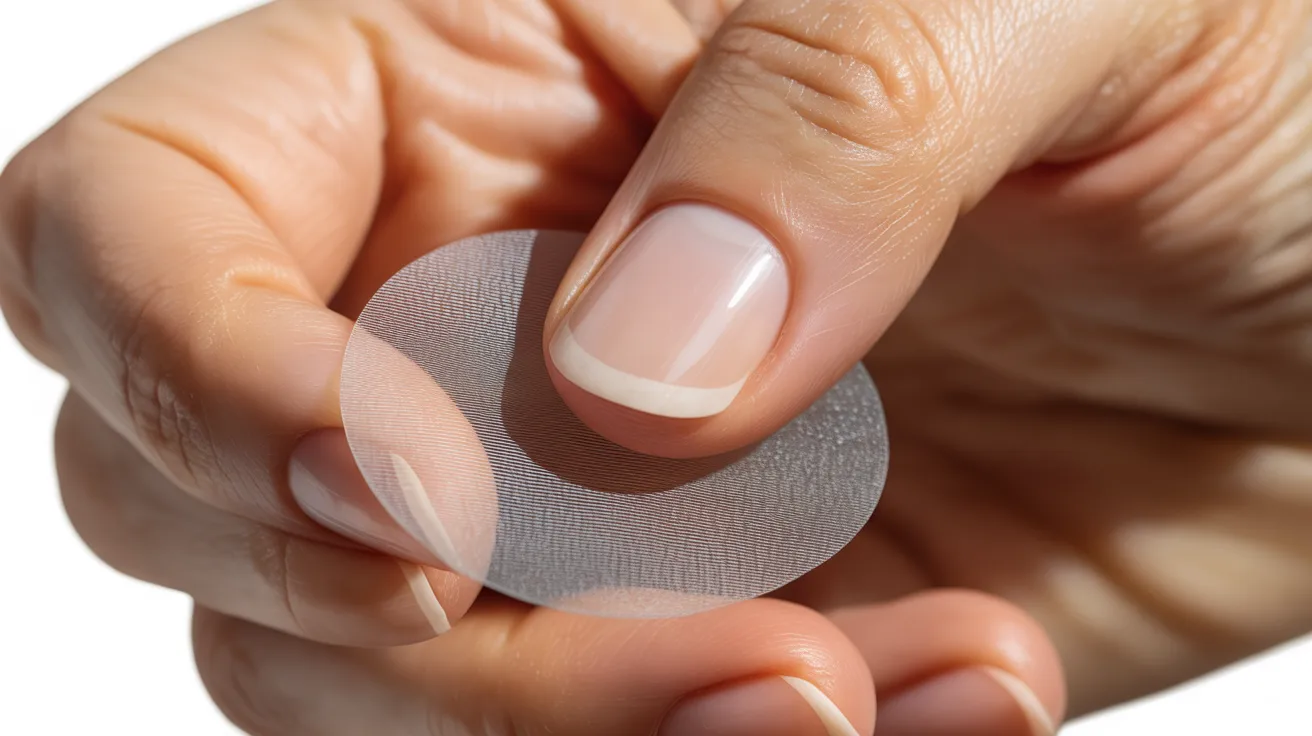
- Prep the nail: Remove any old polish, wash your hands, and dry them completely. Lightly buff the nail surface to remove shine so the adhesive grips properly.
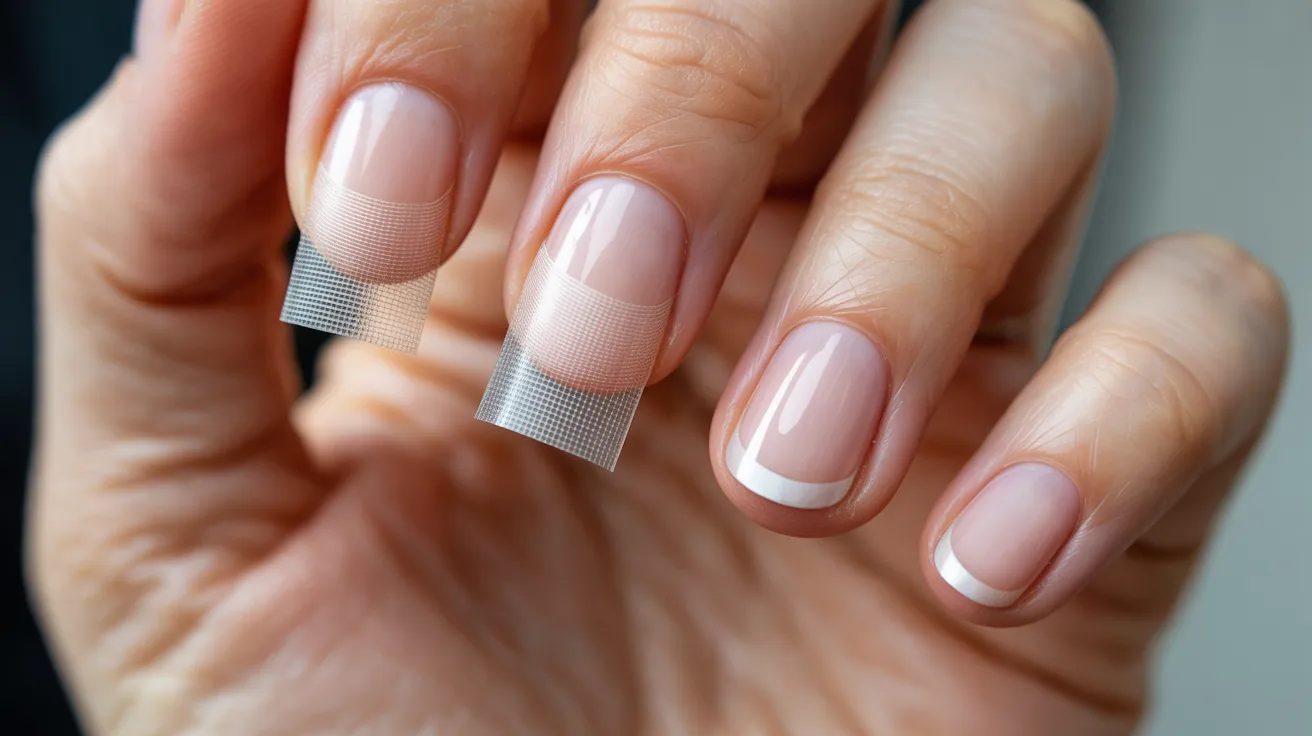
- Choose your wrap size: Hold the wrap against your nail before cutting. It should cover the entire nail plate without touching the skin or cuticle.
- Cut to fit: Trim the wrap to match your nail shape. Slightly smaller is better than slightly too big.
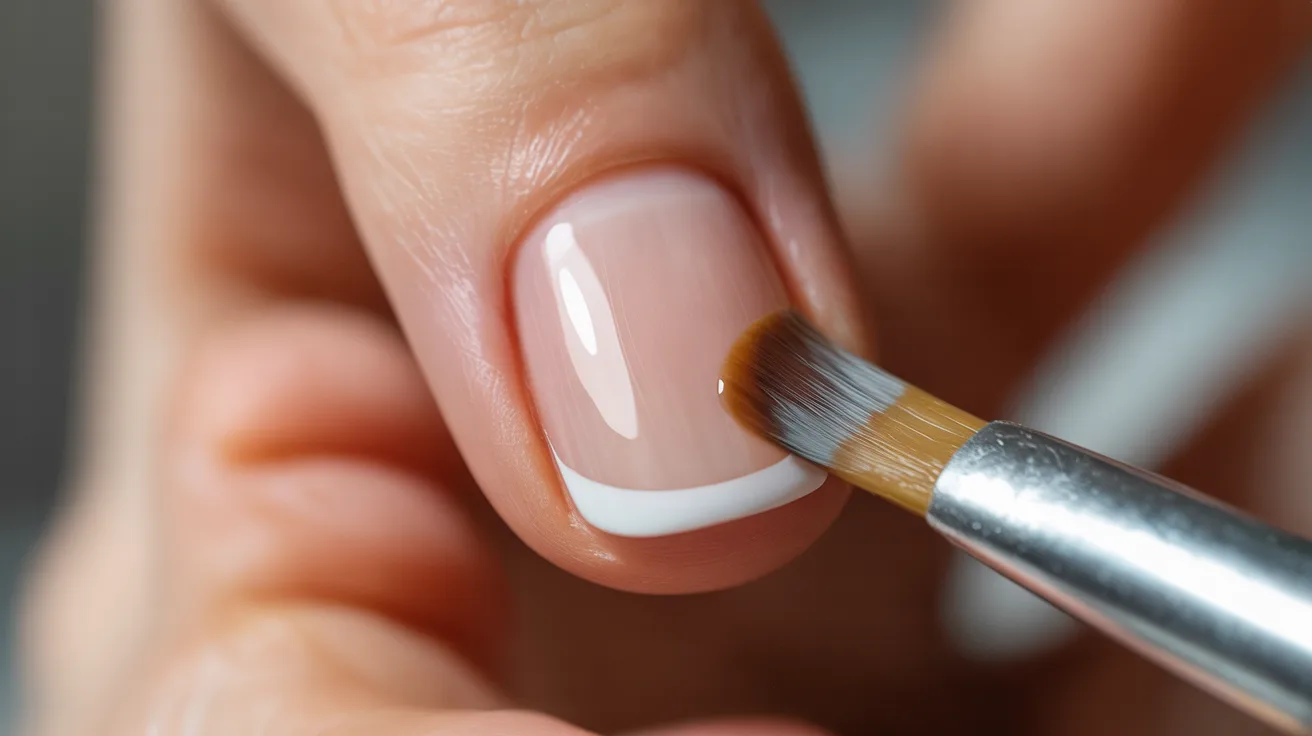
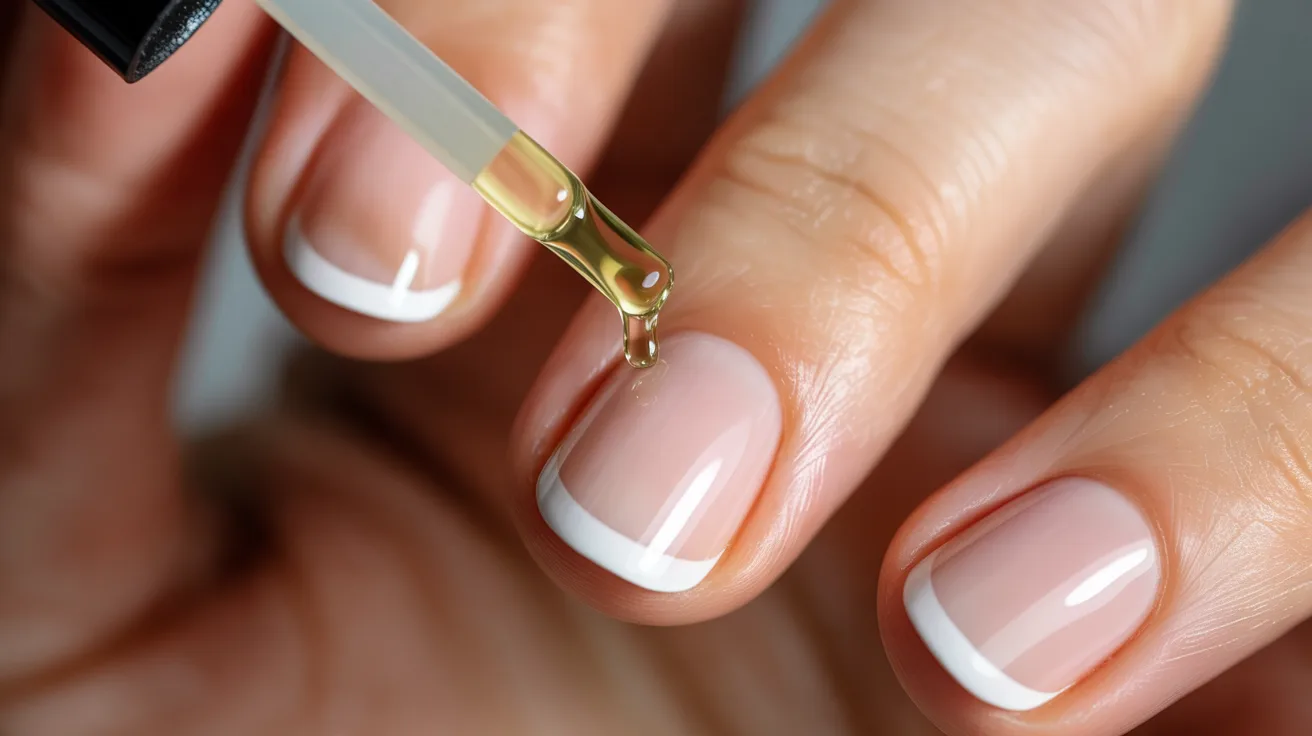
- Apply the adhesive: Use the resin or glue that comes with your wrap kit. Apply a thin, even layer across the nail surface.
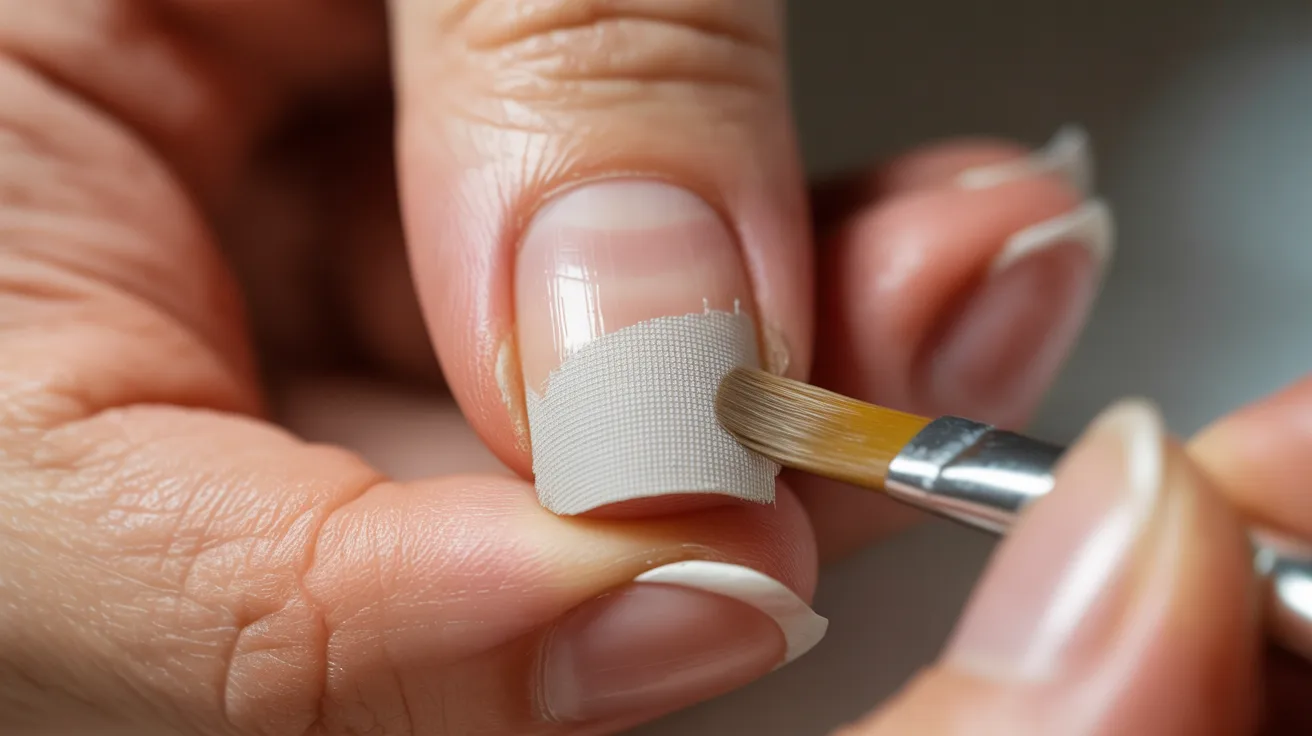
- Place the wrap: Press it down from the cuticle edge toward the tip, smoothing out any bubbles as you go. Work slowly here.
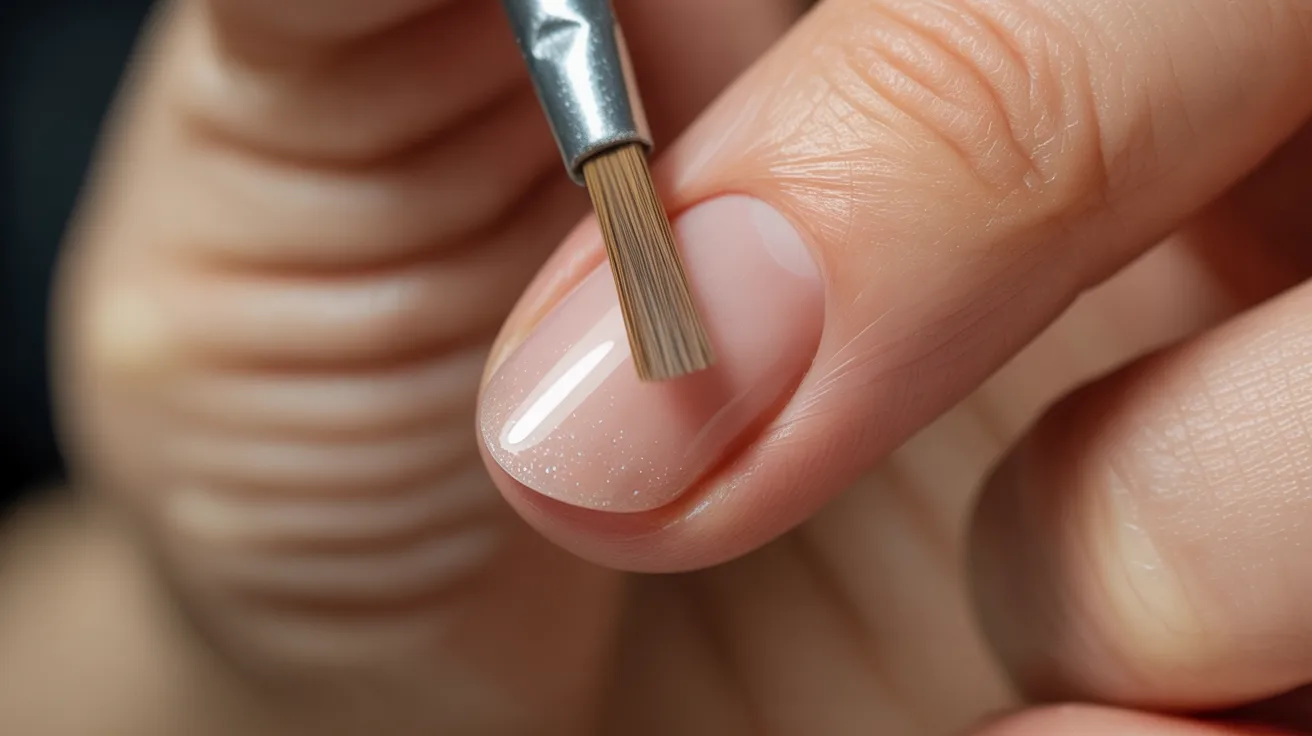
- Seal the wrap: Once placed, apply another layer of resin over the top. File the edges flush with your nail tip and finish with a top coat.
What is a nail wrap application without proper sealing? Incomplete. The top coat is what locks everything in and extends the wear time significantly.
Professional vs. DIY Application
Both options work, but they give different results. Here’s how they compare.
| Factor | Professional Application | DIY Application |
| Longevity | 3 to 4 weeks or more | 1 to 2 weeks |
| Finish quality | Smooth, professional finish | Depends on skill level |
| Cost | Higher upfront cost | More affordable |
| Tools used | Professional resins and UV light | At-home kits |
| Learning curve | None for the client | Requires practice |
| Best for | Long-lasting results, repairs | Quick fixes, experimenting |
For first-timers, a professional application is worth it at least once. Watching a trained tech do it teaches you the technique far better than any tutorial.
Maintenance and Longevity
How long your nail wraps last depends largely on how you treat them after application.
DIY wraps typically last one to two weeks with regular top coat touch-ups. Professional applications can last three to four weeks or longer, especially with fiberglass wraps.
Cuticle oil is your best friend here. Apply it daily around the edges of the wrap to prevent lifting. Dry, dehydrated skin around the nail is one of the main reasons wraps peel early.
Avoid soaking your hands in water for the first 24 hours after application. Prolonged water exposure before the resin fully sets can cause the wrap to bubble or separate.
Pros and Cons of Nail Wraps
Like any nail method, wraps come with strengths and limitations. Knowing both upfront helps you decide if they’re the right fit for you.
Pros
Nail wraps offer a lot of practical benefits that other nail methods simply don’t.
- Gentle on natural nails: No drilling, no harsh chemicals, and no damage to the nail plate when applied and removed correctly.
- Quick to apply: A full set of nail wraps takes far less time than acrylics or gel extensions.
- Budget-friendly: At-home kits are affordable, and even professional applications cost less than a full acrylic set in most salons.
- Versatile: Works for strengthening, repairing, extending, and as a base for nail art.
If you want a low-risk way to improve your nails without committing to a long process, wraps are a strong option.
Cons
They’re not perfect for everyone, and it’s worth knowing the downsides before you start.
- Less durable than gel or acrylic: Nail wraps won’t hold up as long under heavy daily use, especially for people who work with their hands a lot.
- Peeling risk with poor application: If the surface prep is skipped or rushed, lifting and peeling happen quickly. Application needs to be done carefully.
These are manageable drawbacks for most people, but if you need something that lasts six-plus weeks with minimal upkeep, wraps may not be your best bet.
Tips for Best Results
A little extra care during and after application makes a real difference in how your wraps perform.
- Make sure nails are completely dry: Even the smallest amount of moisture under the wrap will cause it to lift. Dry hands, dry nails, every time.
- Size matters: A wrap that’s even slightly too wide will catch on the skin and peel from the edges. Take your time sizing each nail individually.
- Apply cuticle oil daily: This keeps the skin around the wrap flexible and prevents the edges from drying out and lifting.
- Limit water exposure: Wear gloves when doing dishes or cleaning. Water is the fastest way to shorten the life of your wraps.
Small habits like these can easily add several extra days to the wear time without any extra product.
Conclusion
I put off trying nail wraps for months because I assumed they were just another overhyped product. I was wrong.
If your nails have been driving you crazy and nothing seems to work, this might be exactly what you’ve been missing.
Now that you know what is a nail wrap, the next step is simple. Try one. Just one.
Picked up a kit already? Or have a nail wrap experience worth sharing?
Drop it in the comments below. Good, bad, or somewhere in between. I want to hear all of it.
Frequently Asked Questions
How Long Do Nail Wraps Last?
DIY nail wraps typically last one to two weeks with proper care and regular top coat application. Professional applications can last three to four weeks or longer depending on the material used.
Can Nail Wraps Damage Natural Nails?
When applied and removed correctly, nail wraps are gentle and do not damage the natural nail. Problems usually arise from improper removal or aggressive buffing during prep.
Are Nail Wraps Suitable for All Nail Types?
Yes, and they work especially well for weak, brittle, or damaged nails that need extra support. Silk wraps are the gentlest option for very thin or sensitive nails.
Can I Apply Nail Wraps Over Gel or Acrylic Nails?
It’s generally not recommended to layer nail wraps over existing gel or acrylic enhancements. They perform best and last longest when applied directly to clean, natural nails.
Do I Need a Professional to Apply Nail Wraps?
DIY application is absolutely possible with a good kit and careful technique. However, a professional application will give you a cleaner finish and longer wear time, especially for the first try.