Dip on Natural Nails: A Step-by-Step Guide for Beginners
I remember the first time I tried dipping natural nails at home. I was nervous, unsure, and had no idea where to start. If that sounds like you, you’re in the right place.
This guide covers everything from tools and prep to the exact steps for a clean, lasting finish. You’ll also learn what mistakes to skip and how to protect your nails throughout the process.
I’ve done the trial and error so you don’t have to. With over two years of DIY nail experience, I’ve got you covered. By the end, you’ll feel ready and confident.
Everything You Need to Know Before Starting
Before you open a single bottle, here’s what matters most. Dip on natural nails is safe when done correctly.
The bonding agents are gentler than acrylics, but over-buffing or skipping steps can weaken nails over time.
Done right, the dip lasts 3-4 weeks, adds strength, causes less damage than gel or acrylic, and dries without a UV lamp.
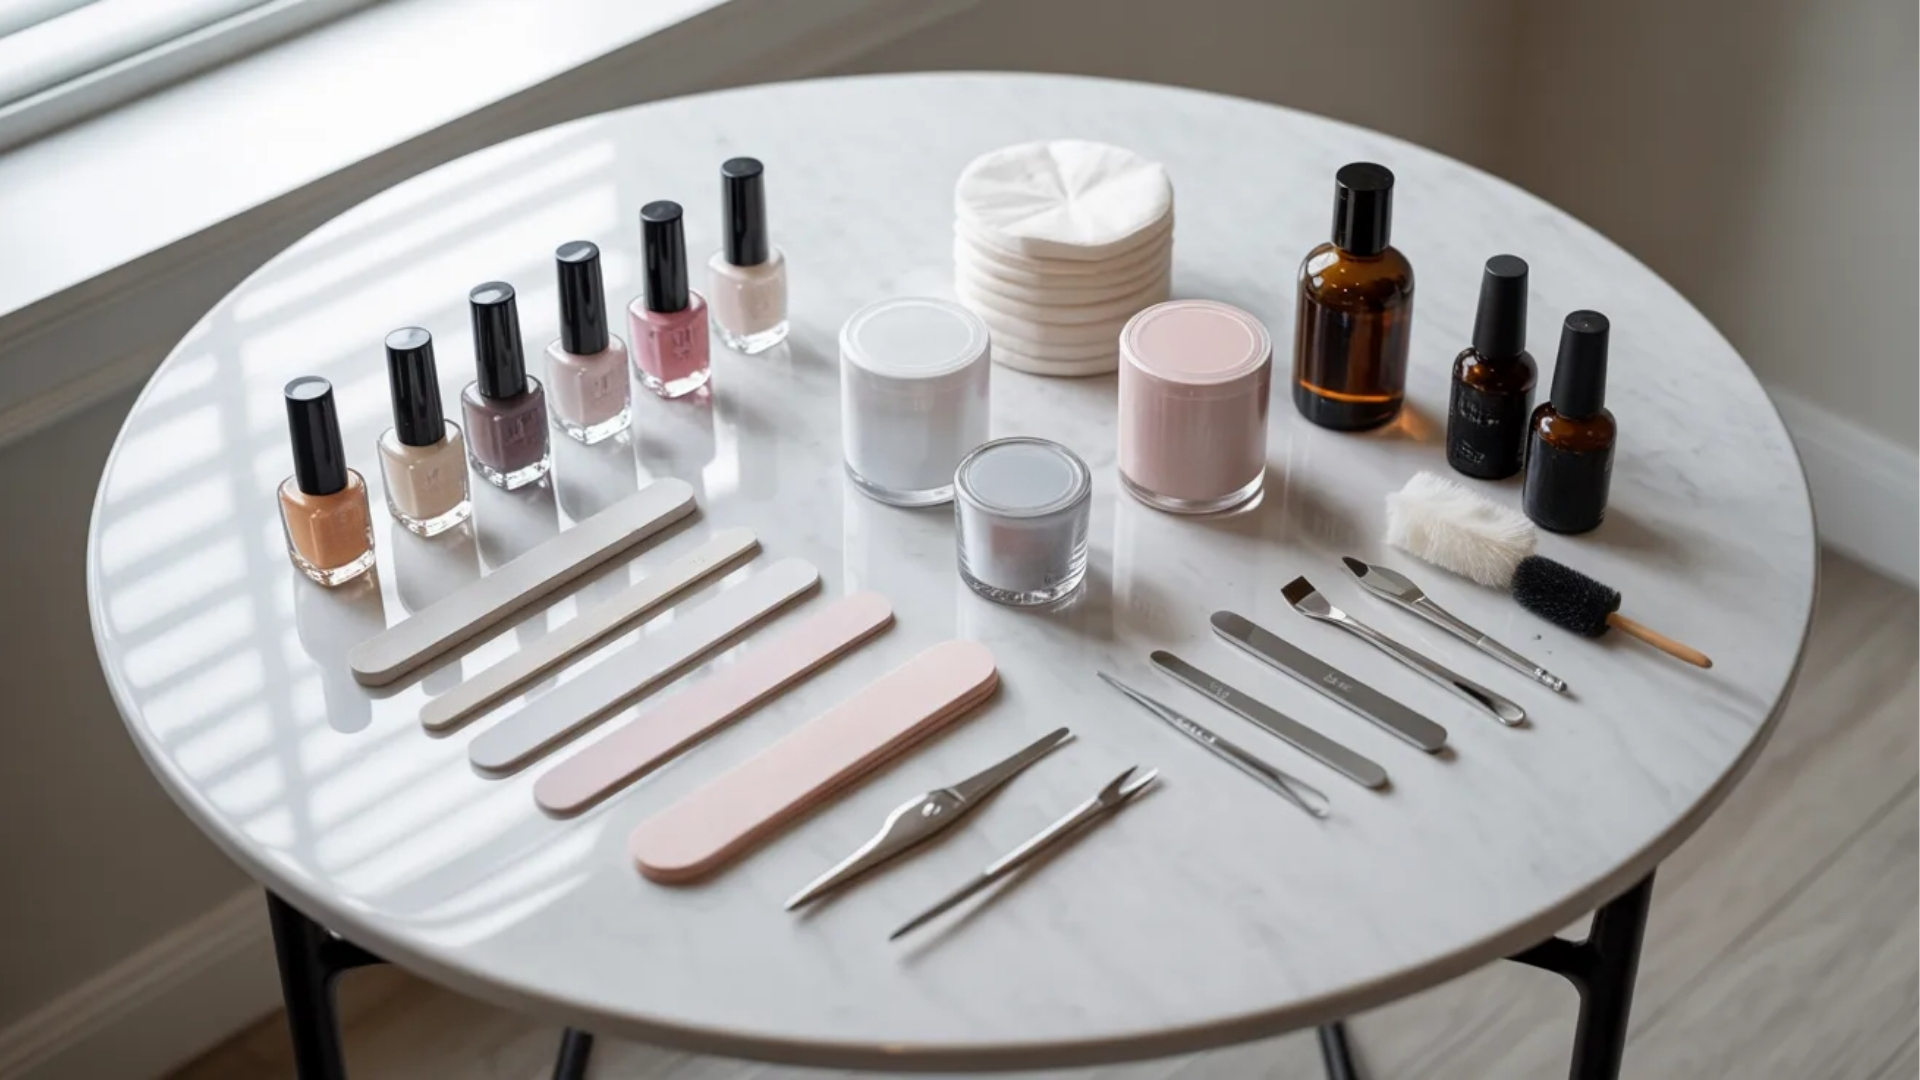
To get started, you’ll need a base coat, dip powder, activator, and top coat. For tools, grab a 180-grit nail file, buffer block, dust brush, cotton pads, and a nail dehydrator.
Having everything ready before you start makes the whole process much smoother.
Step-by-Step Guide to Apply Dip on Natural Nails
Follow these steps in order for the best results at home.
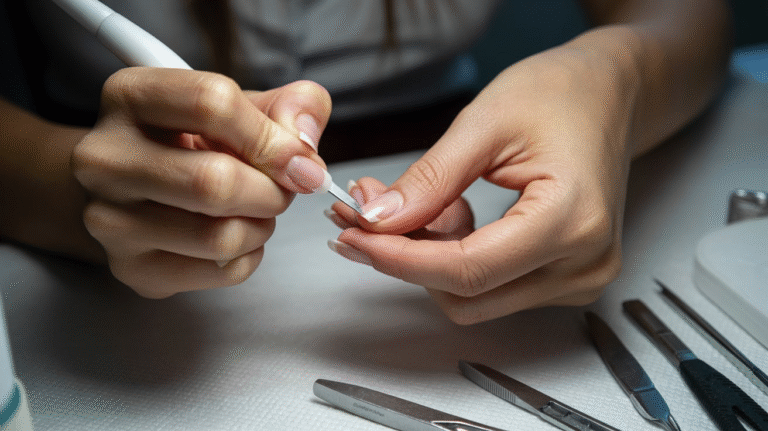
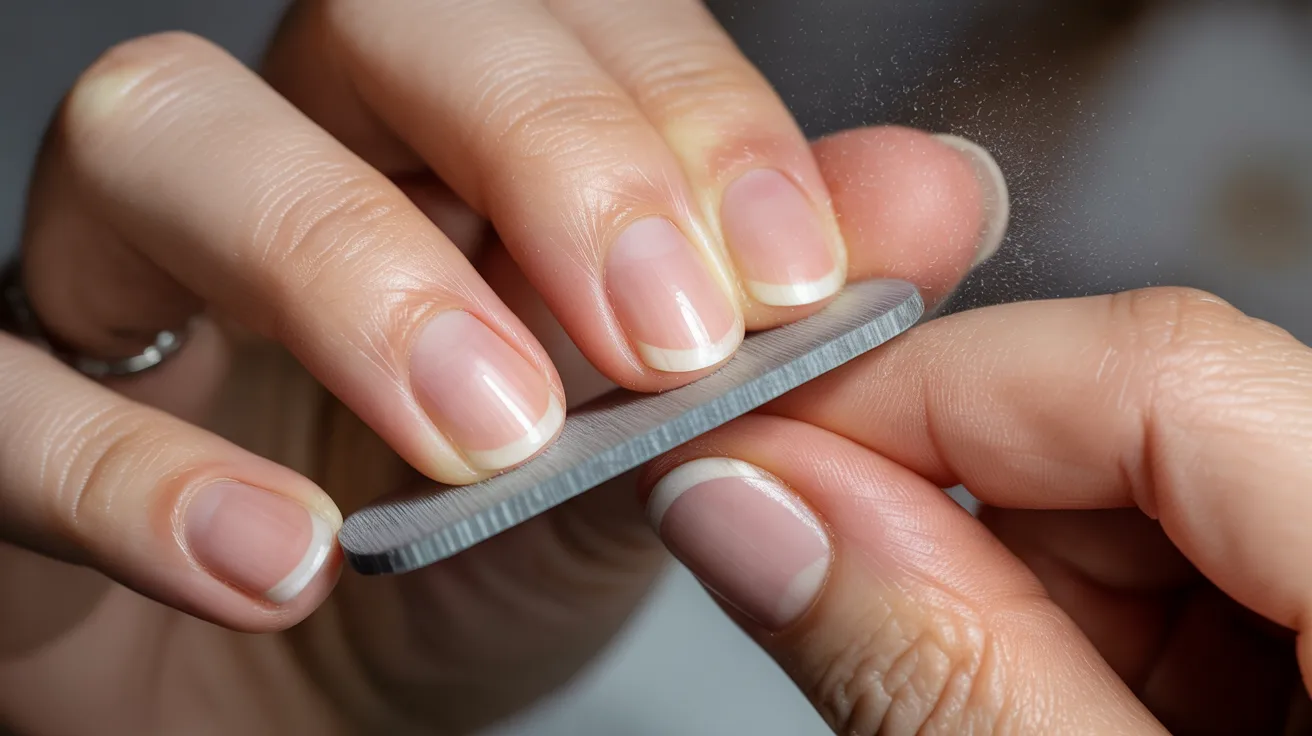
Step 1 – Prep Your Nails Properly
Start with clean, dry nails. Remove any old polish completely. Lightly buff the surface of each nail just enough to remove shine.
Don’t press hard. Apply a nail dehydrator or prep solution to remove oils. This helps everything stick better.
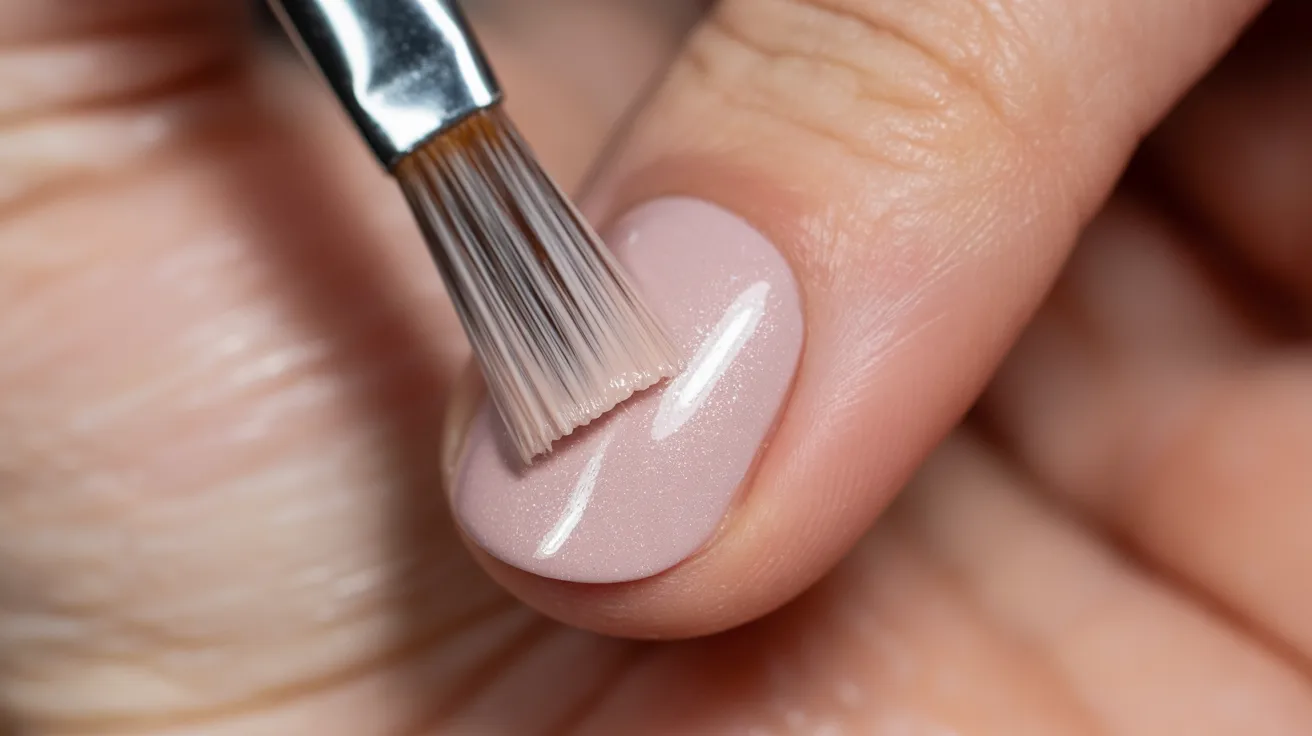
Step 2 – Apply Base Coat Evenly
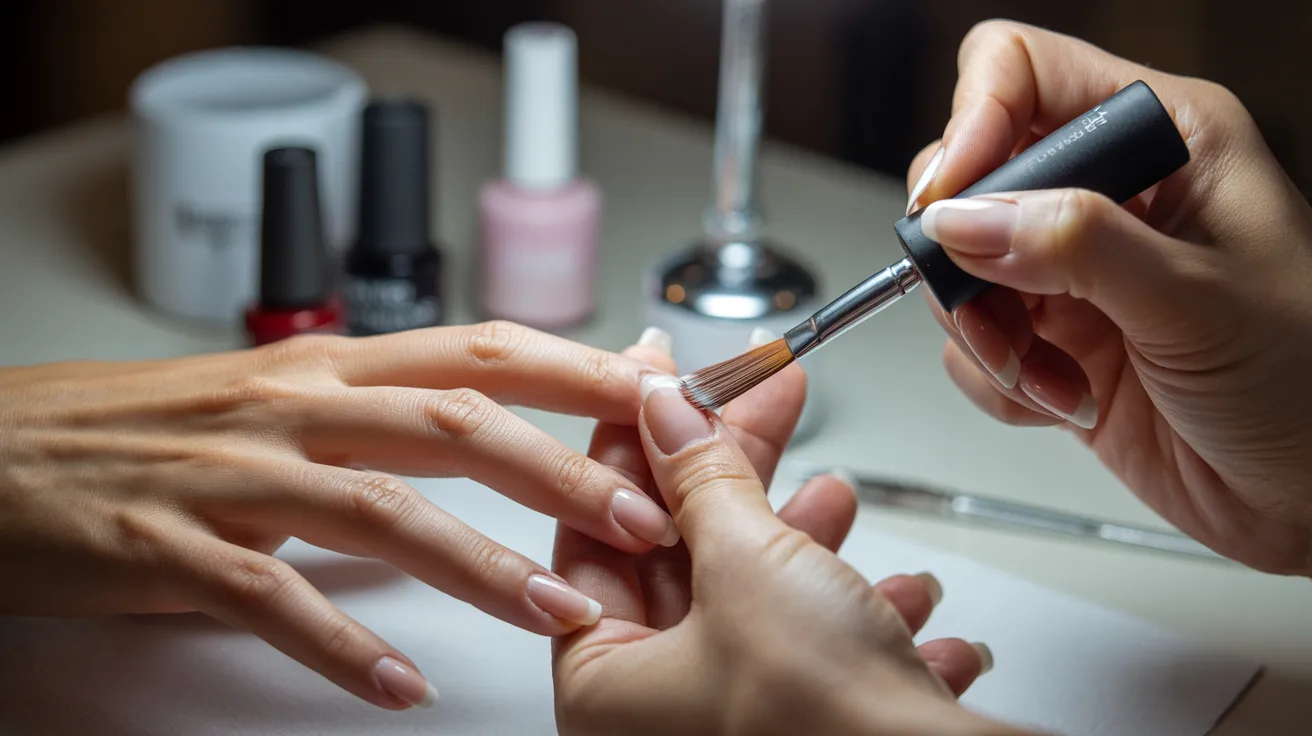
Brush on a thin, even layer of base coat. Keep it close to the cuticle but don’t touch it. Thin layers are key here. Thick base coats lead to clumping and uneven powder.
Step 3 – Dip Nails into Powder
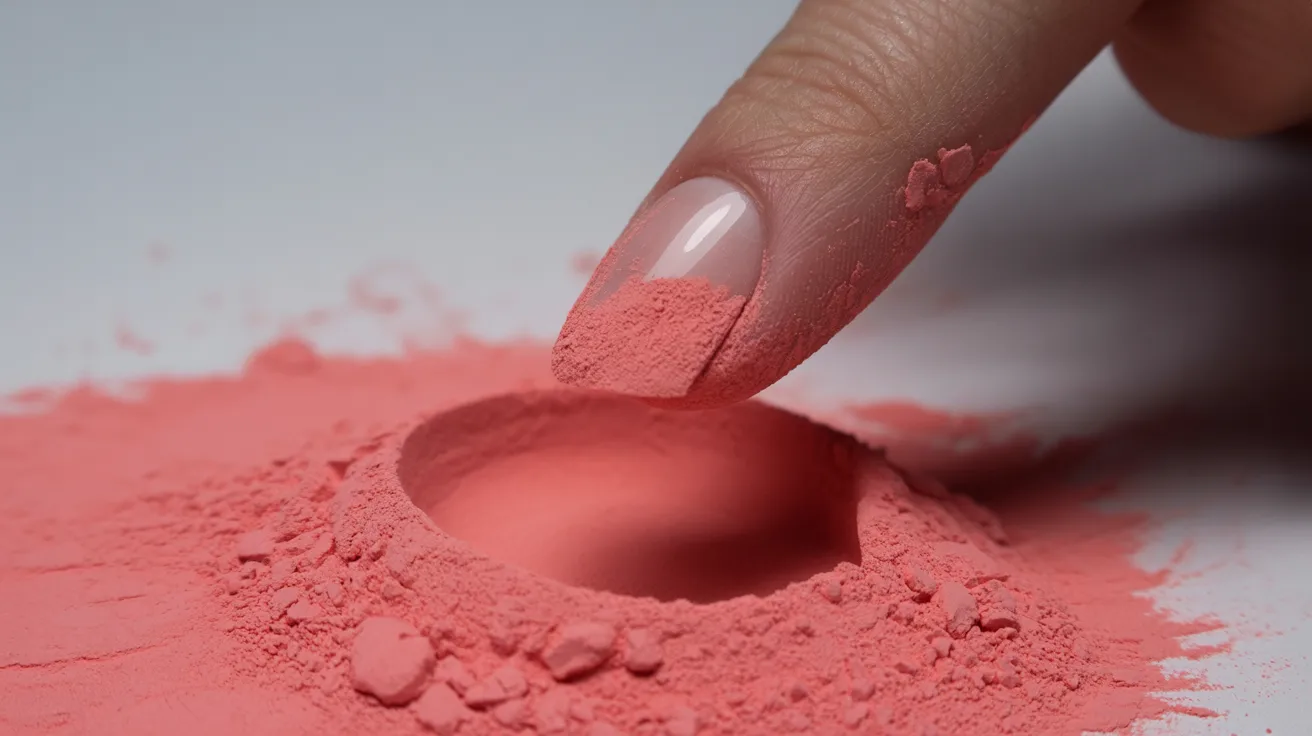
While the base coat is still wet, dip your nail into the powder at a 45-degree angle. Tap the container gently. Do not press your nail flat into the powder; this creates thick, uneven buildup.
Step 4 – Brush Off Excess Powder
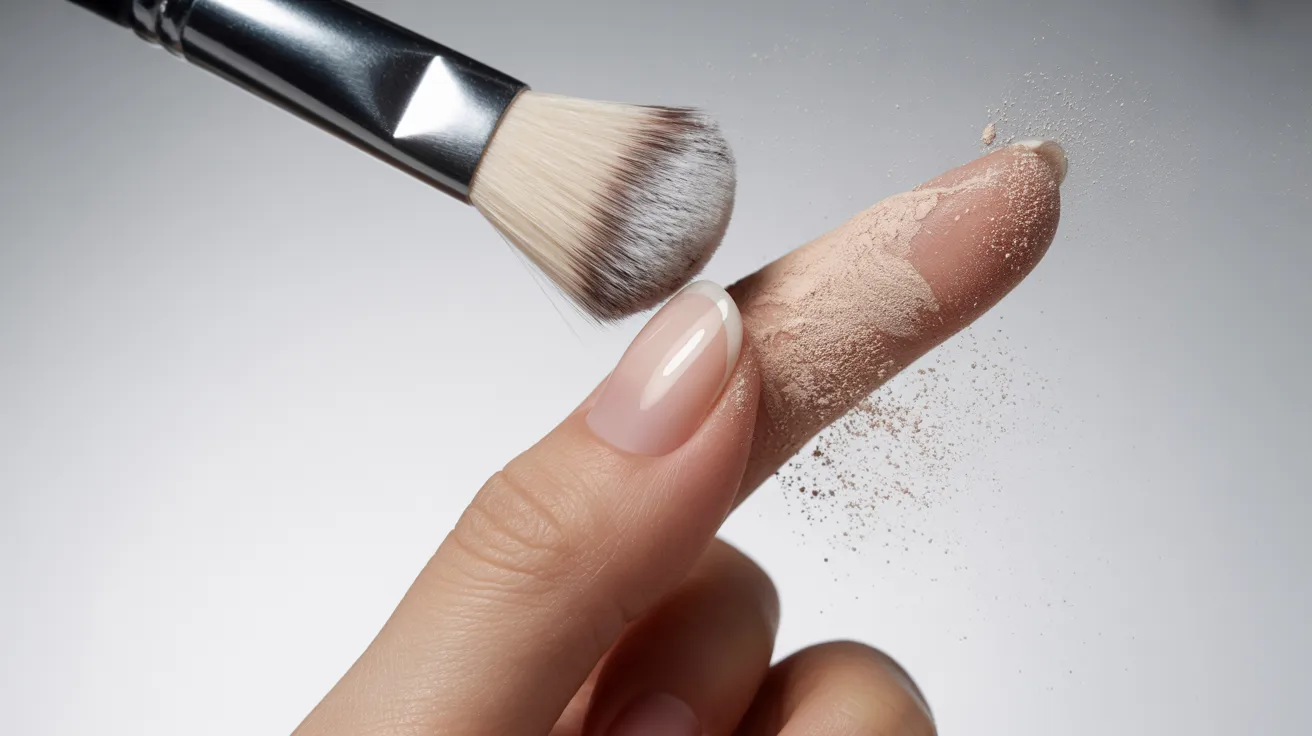
Use a soft dust brush to sweep away loose powder. Be gentle. Make sure no clumps are sitting on the nail before moving to the next step.
Step 5 – Repeat for Desired Coverage
For full coverage and strength, repeat steps 2-4 two to three times. Let each layer build gradually. Two layers work for most people. Three layers add more thickness if needed.
Step 6 – Apply Activator to Harden
Brush the activator over all nails. This is what locks the dip powder and hardens it. Let it dry fully around 60 seconds before touching anything.
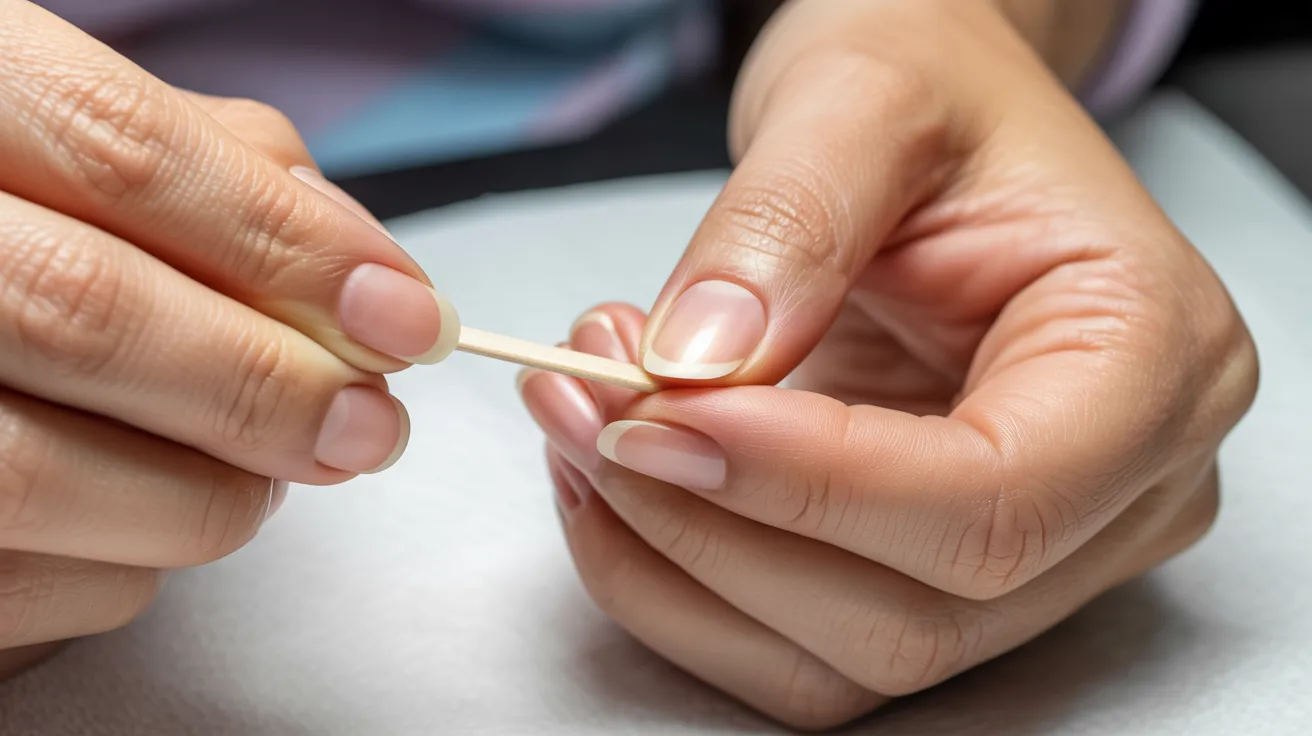
Step 7 – Buff and Shape Nails
Once hardened, use a fine buffer to smooth out any bumps. Shape the edges with a nail file. Work slowly. This step makes the difference between a bumpy finish and a clean one.
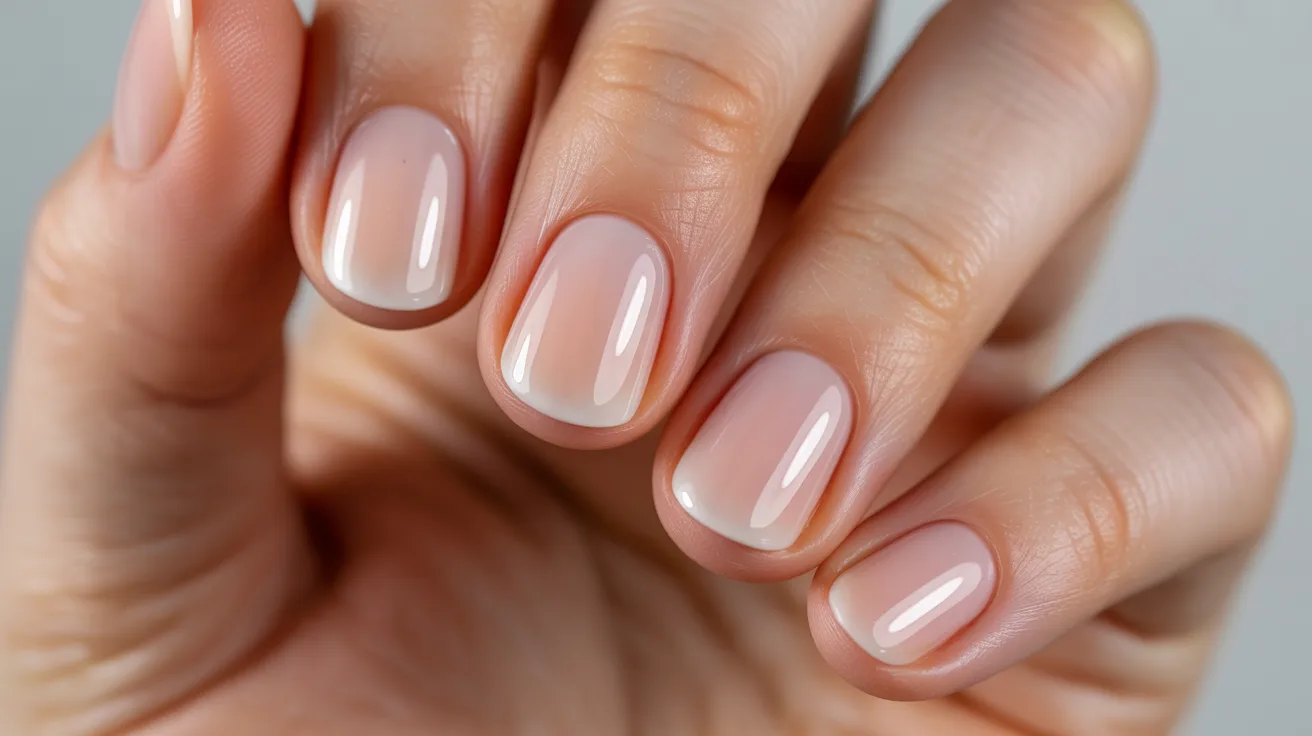
Step 8 – Apply Top Coat for Shine
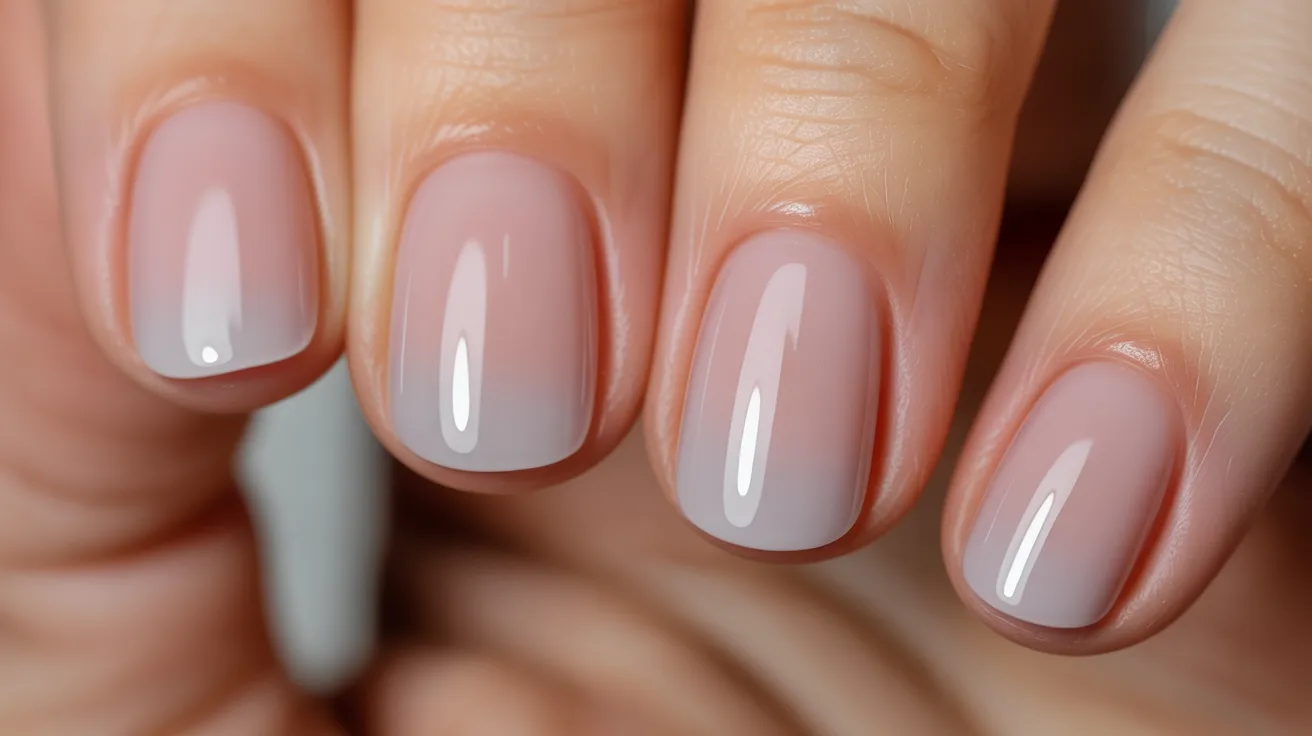
Finish with two thin layers of top coat. This seals the color, adds shine, and protects the dip from chipping. Let each coat dry before applying the next.
Common Mistakes to Avoid
These small errors cause most of the problems people face with dip nails.
Over-Buffing the Natural Nail
Buffing too hard thins out the nail plate. A light buff is all you need. If your nails feel sore or look see-through after buffing, you’ve gone too far.
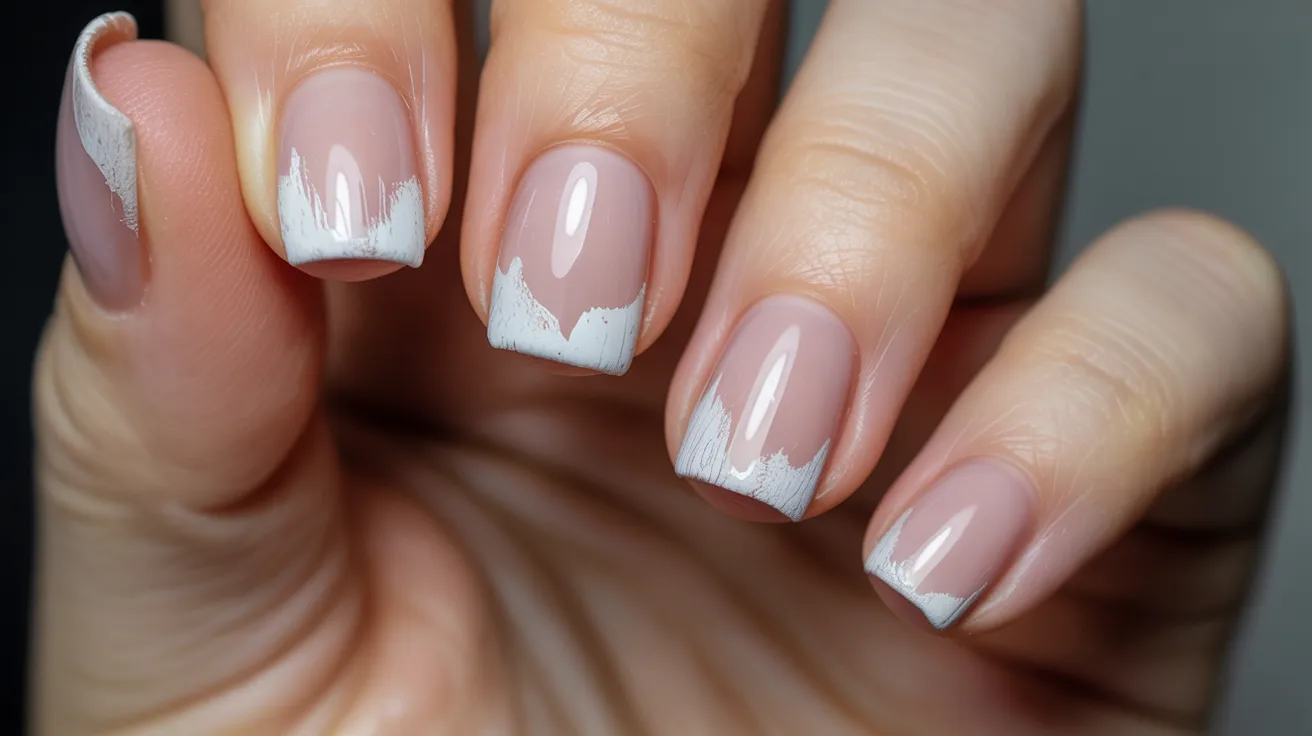
Applying Thick or Uneven Layers
More product does not mean better results. Thick layers create lumpy, heavy nails that are more likely to lift. Always go thin and build up slowly.
Skipping Proper Sealing
The top coat and activator do more than most people think. Skipping the activator means the powder won’t harden right.
Skipping or rushing the top coat leads to early chipping and lifting at the edges.
How to Protect Natural Nails While Using Dip
Your natural nails need care even under dip powder.
Buff Gently and Carefully
Use a light hand every single time. The goal is to remove shine, not remove layers of your nail. Less is always more when buffing.
Choose Safer, Low-Chemical Products
Look for dip systems labeled “3-free” or “5-free.” These formulas leave out harsh chemicals like formaldehyde and toluene. Your nails will thank you for it.
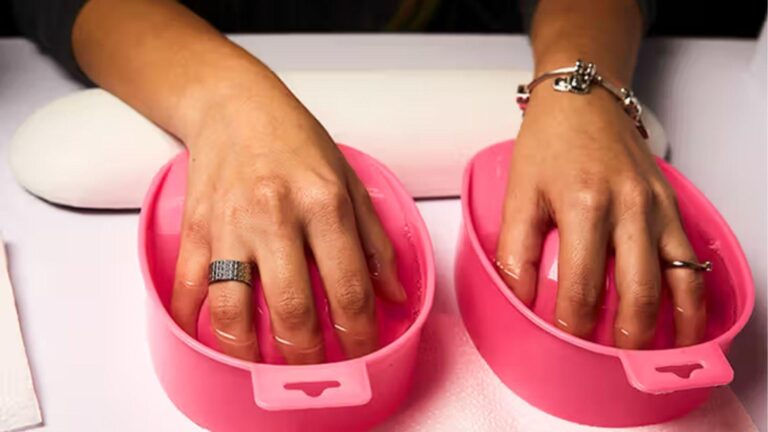
Avoid Harsh Removal Methods
Never peel or rip off dip nails. Always soak in acetone for 10–15 minutes and gently push the product off. Peeling takes layers of your natural nail with it.
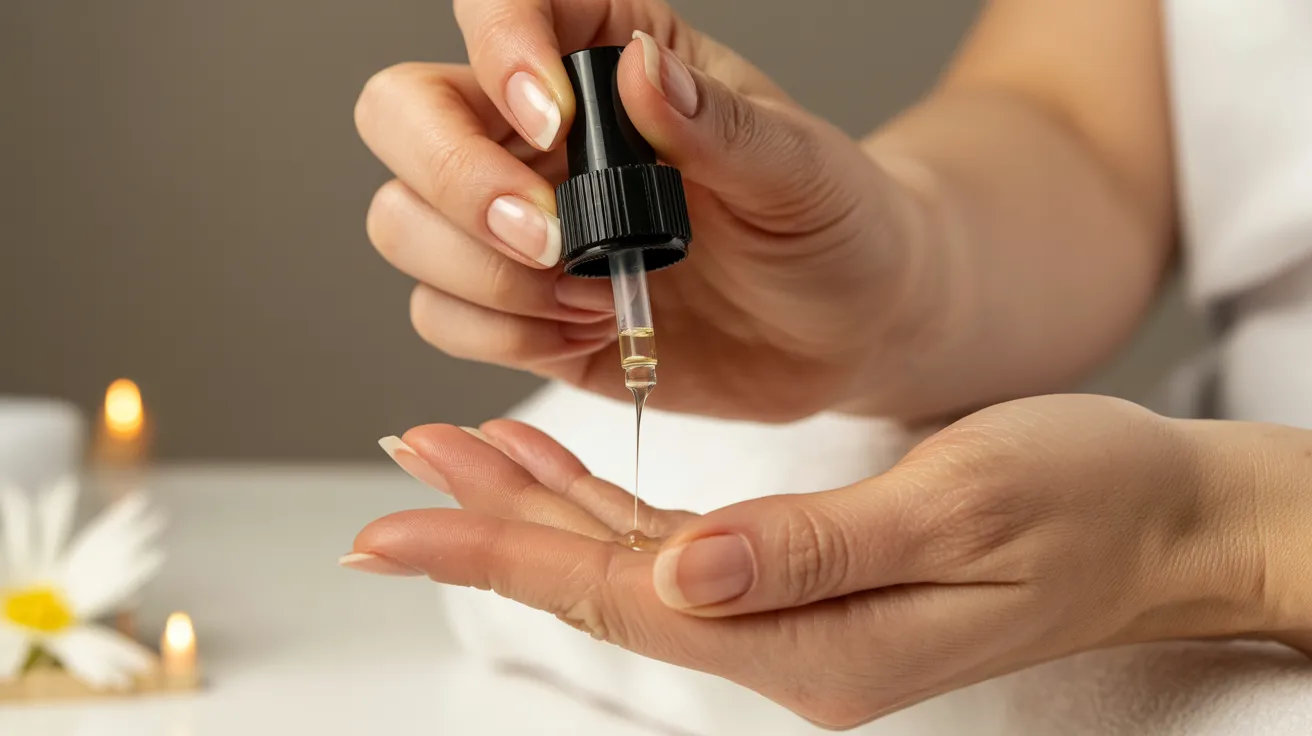
Let Nails Rest Between Applications
Give your nails a break every few sets. One or two weeks without dip allows your nails to breathe and recover. Use nourishing nail oil during this time.
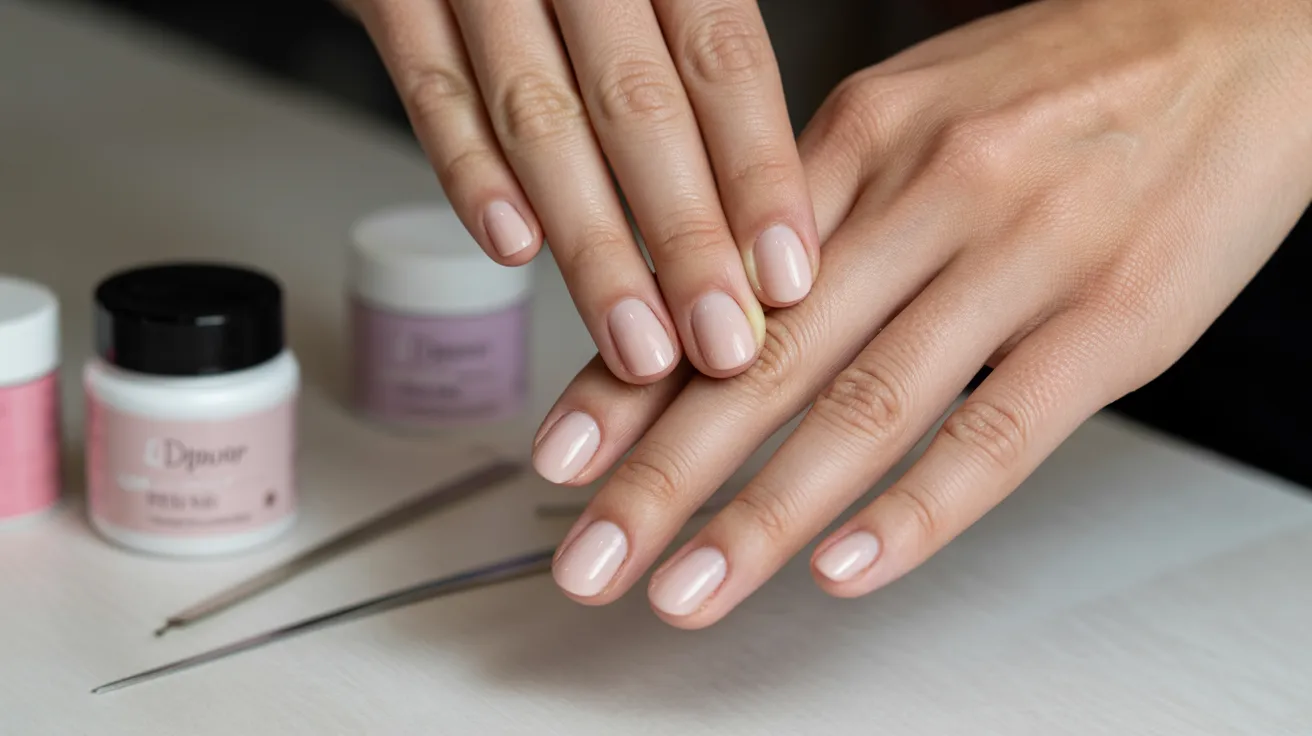
Salon-Quality Finish at Home
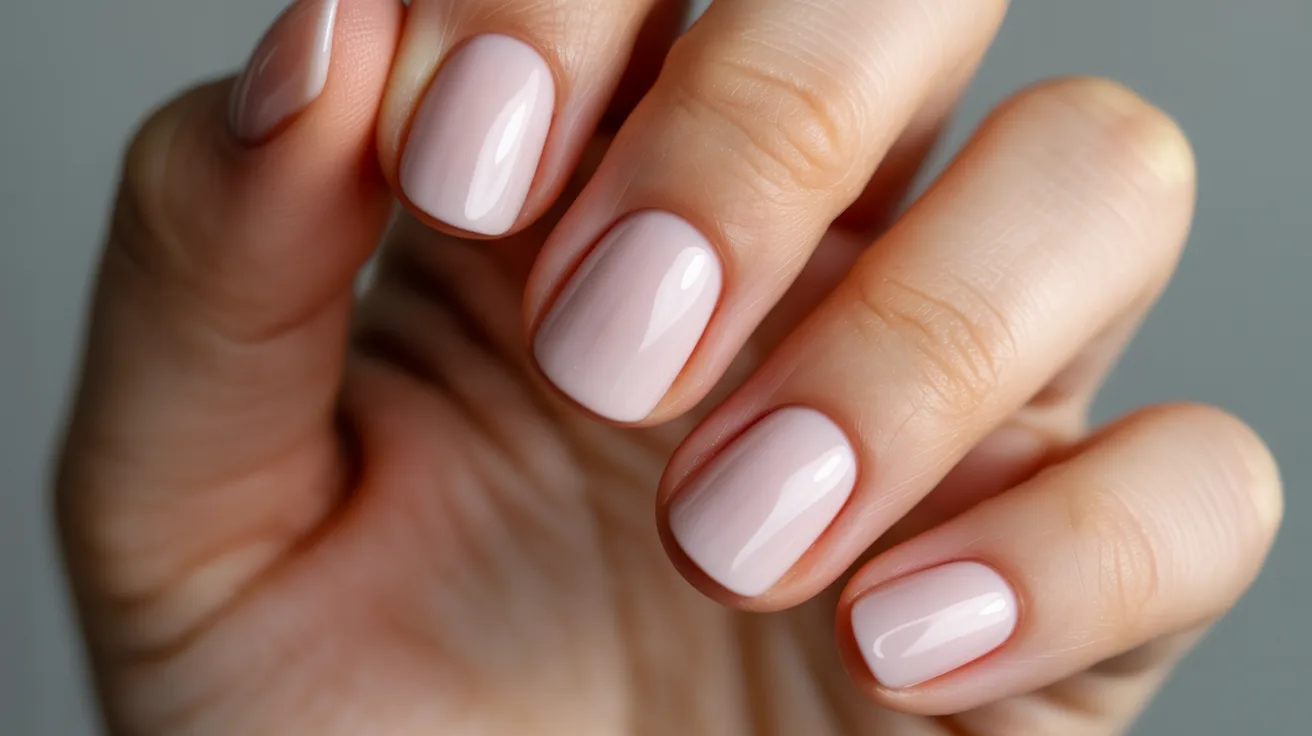
A clean, professional look is possible at home with the right approach.
Use Thin Layers and Seal the Edges
Use thin, even layers every single time. Always seal the free edge of each nail with base coat and top coat. This one step stops lifting and keeps your nails looking clean for weeks.
Work Slowly and Practice Consistently
Work one nail at a time and don’t rush the drying. The more you practice, the better your results will get. Most people see a big improvement by their third or fourth try.
Nail Care Tips for Long-Lasting Results
A few simple daily habits can keep your dip nails looking fresh much longer.
- Apply cuticle oil every night to keep nails and skin hydrated
- Drink enough water to support overall nail health
- Eat foods rich in protein, biotin, and iron for stronger nail growth
- Never pick or peel at your dip nails as it damages the layers underneath
- Wear gloves while washing dishes or using cleaning products
- Avoid using your nails as tools to open or scratch things
Conclusion
Trying to dip on natural nails for the first time felt like a small win for me and I want that for you too. Once you learn the steps, it gets easier and faster each time.
Your nails can look polished and last weeks without a salon visit. Start with one hand, take your time, and build confidence with each try.
If this guide helped you, drop a comment below and share what color you picked. I’d love to hear how it goes for you!
Frequently Asked Questions
How long does dip on natural nails last?
Dip nails typically last three to four weeks on natural nails. Proper prep and sealing the edges helps them last even longer without chipping.
Can I dip nails at home without experience?
Yes, dip nails are one of the more beginner-friendly nail methods. Following a clear step-by-step guide and using the right tools makes the process manageable at home.
Does dip powder damage natural nails?
Dip powder does not damage nails when applied and removed correctly. Over-buffing and peeling off the product are the main causes of nail damage.
How do I remove dip nails without damage?
Soak a cotton pad in acetone, place it on the nail, and wrap it in foil for 10 to 15 minutes. Gently push the softened product off. Never force or peel it.
How many layers of dip powder do I need?
Two layers are enough for most people. If you want more strength or fuller color coverage, a third layer works well without making the nails feel too heavy.