Dip Powder Steps Get Salon Nails at Home
I’ve been doing my nails at home for years, and dip powder changed everything for me. No UV lamp, no chipping after two days, just clean, long-lasting color.
This guide covers the dip powder steps from start to finish. You’ll learn exactly what tools you need, how to apply each layer, and how to avoid the mistakes that ruin results.
I’ve tested these steps myself, so they work for beginners and for anyone tired of wasting money at the salon.
We’ll cover tools and prep, full step-by-step application, common mistakes, safe removal, and pro tips for smooth, lasting nails.
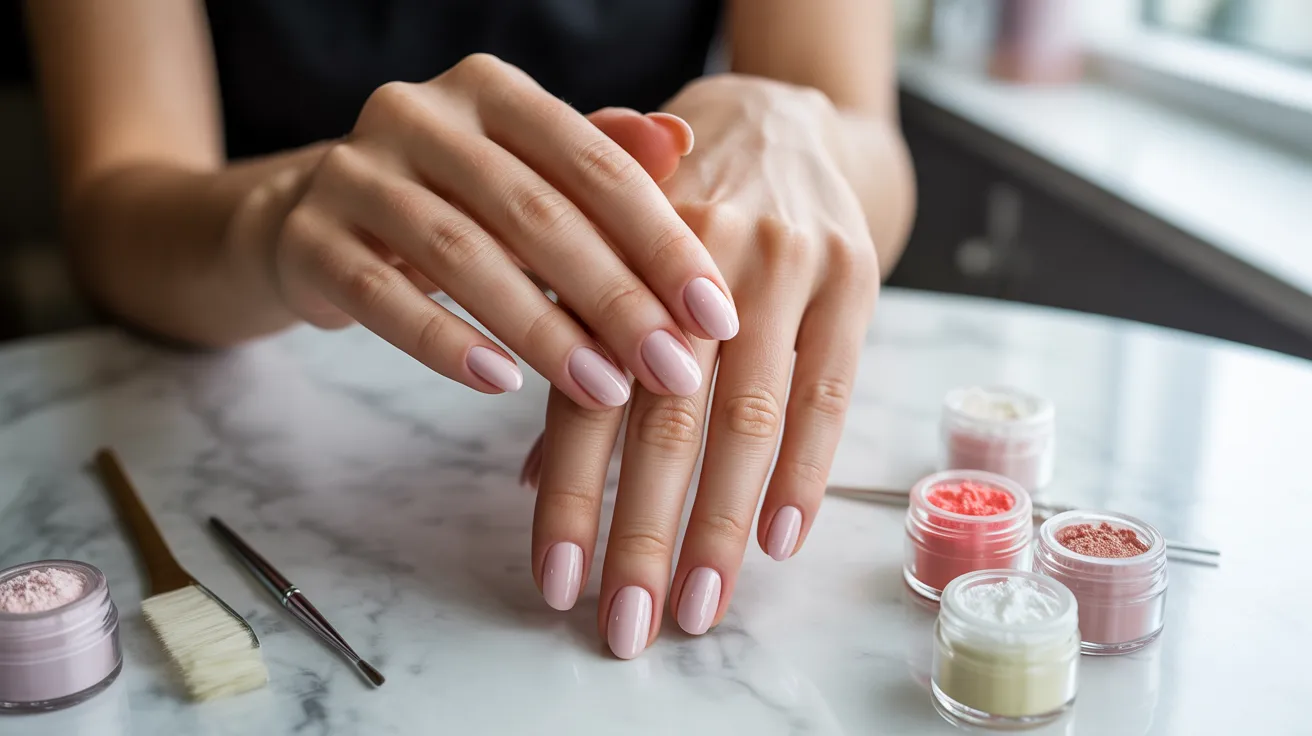
Everything You Need Before Starting Dip Powder Steps
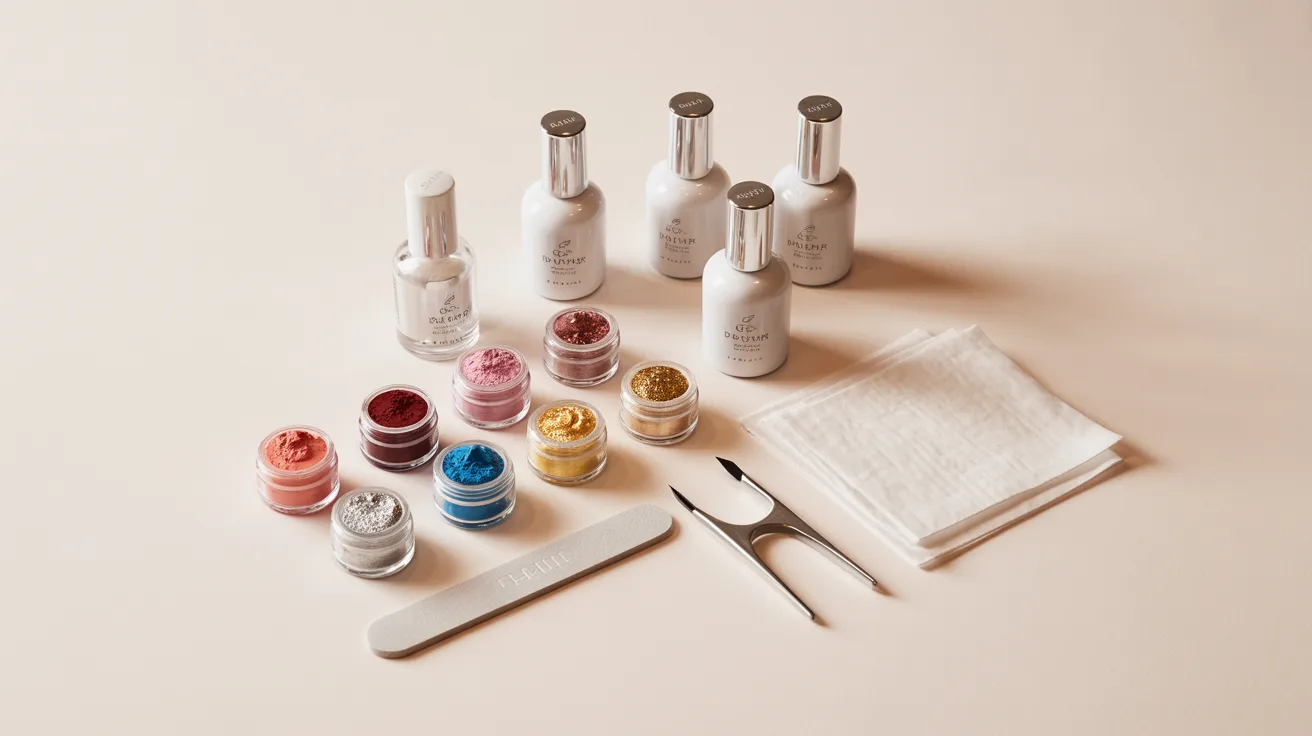
You don’t need much, but you do need the right things. A dip powder kit with base coat, activator, and top coat is the starting point.
Add a nail file, buffer, cuticle pusher, lint-free wipes, acetone, and a small cleanup brush. Brands like SNS or Kiara Sky work well for beginners since they include everything in one box.
Before applying anything, push back your cuticles, file the nail surface lightly, and wipe each nail with an acetone-soaked lint-free wipe.
This removes oil and dust that cause lifting. Let your nails dry completely before moving on because any moisture left behind will ruin the bond.
Step-by-Step Dip Powder Steps for Beginners
Follow each step in order. Skipping even one can affect the finish and how long your nails last.
Step 1 – Nail Prep and Cleaning
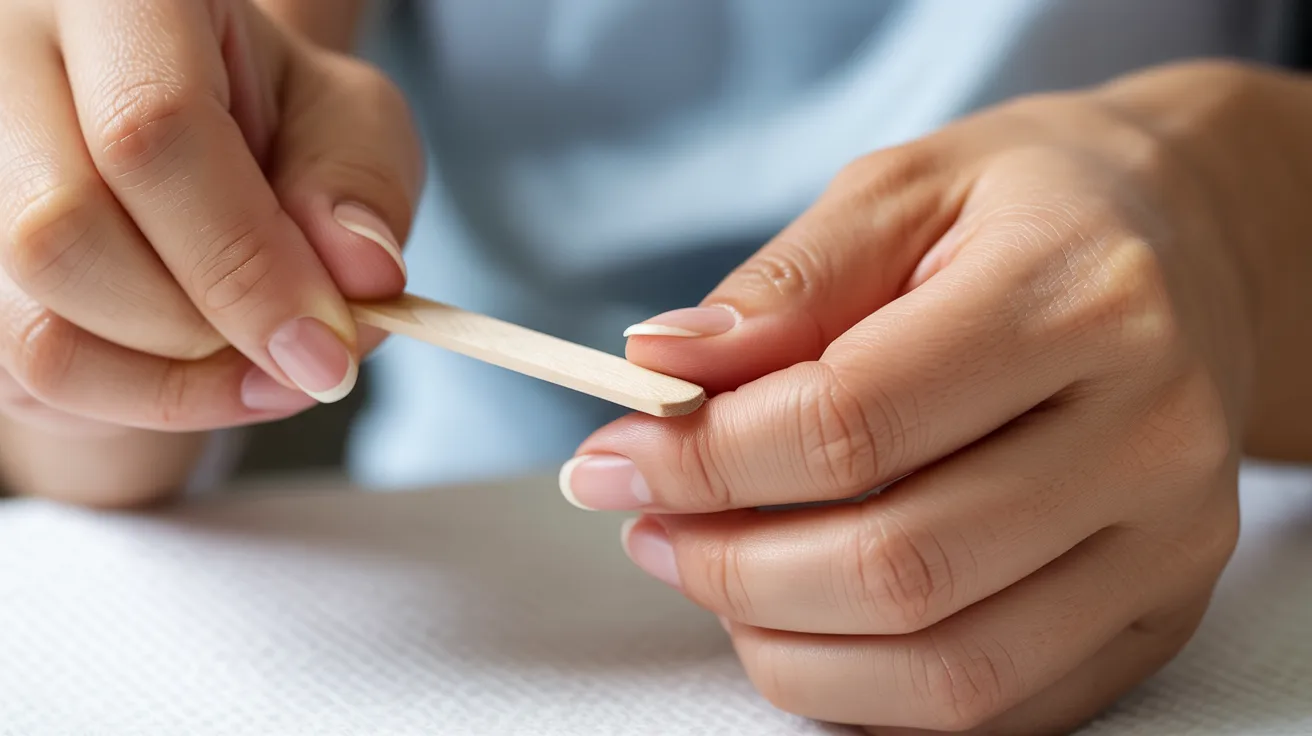
File your nails to your preferred shape. Buff the surface gently. Use a cuticle pusher to push back any overgrown skin. Wipe all nails with acetone. Let them air dry for 30 seconds.
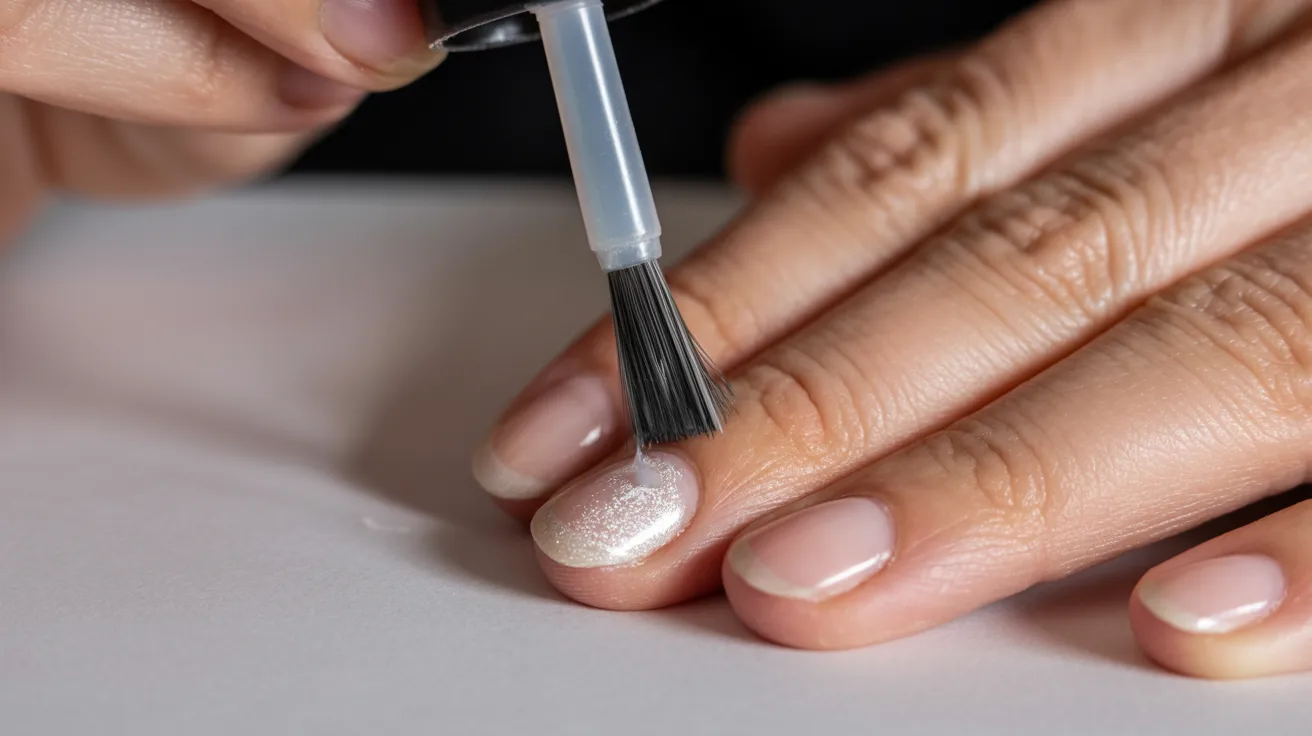
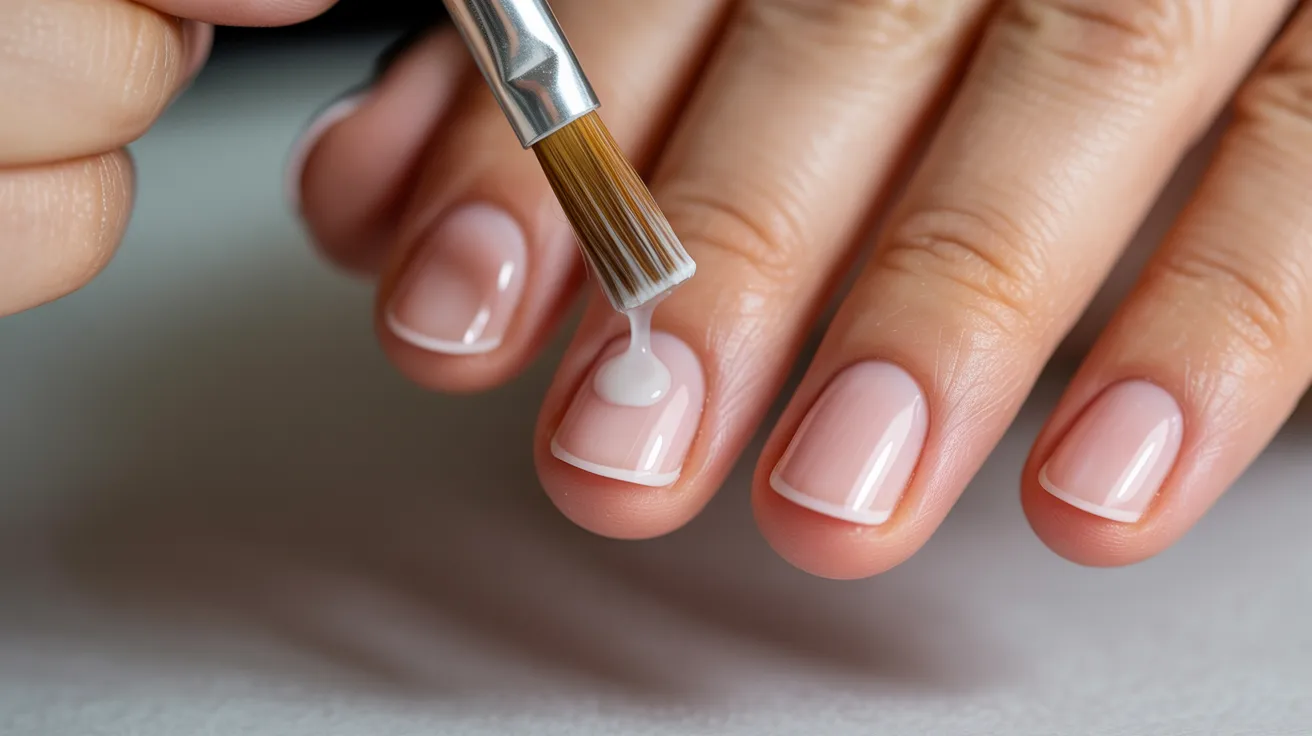
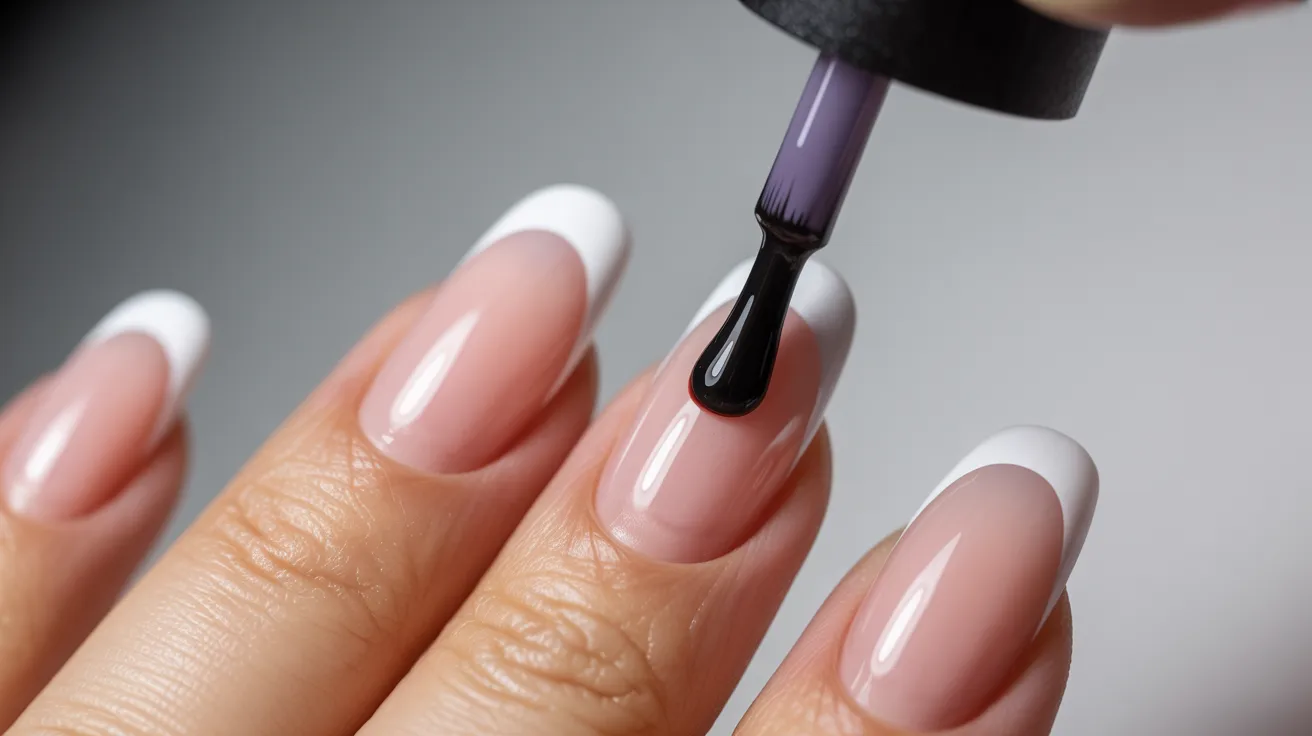
Step 2 – Apply Base Coat
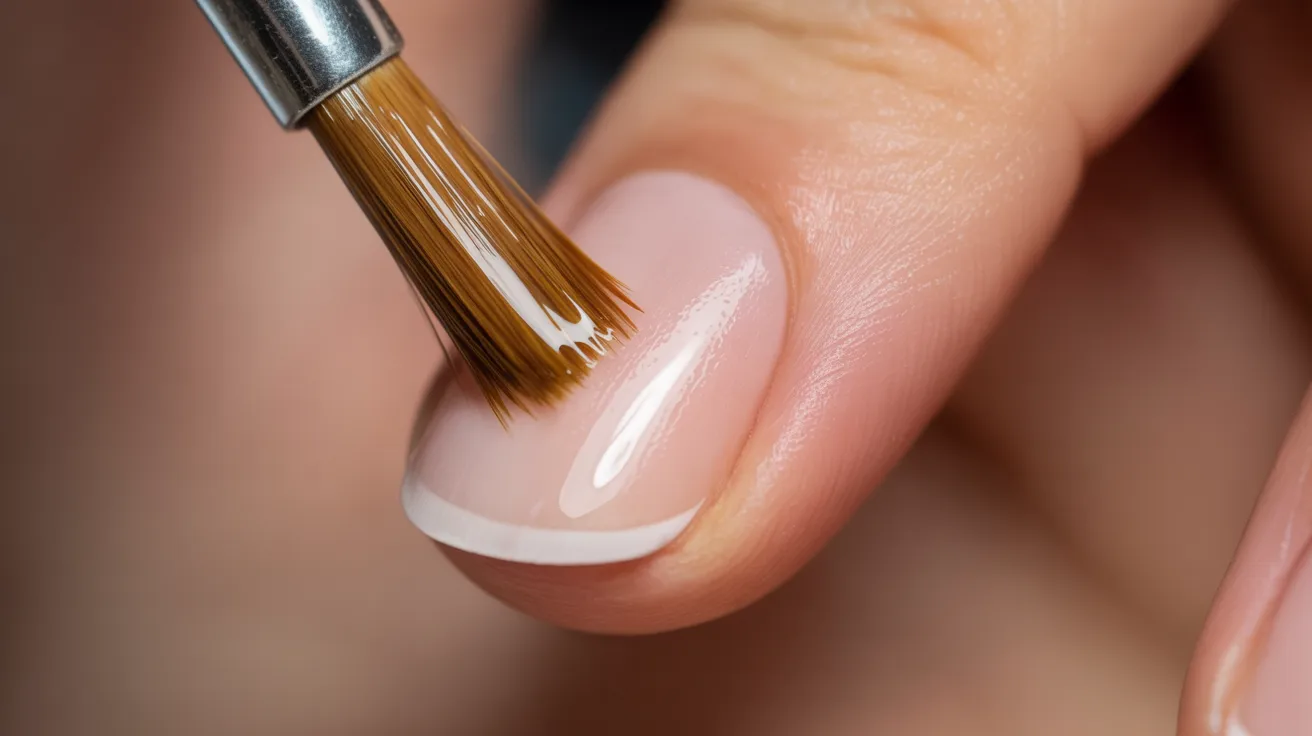
Apply a thin layer of base coat to one nail at a time. Don’t go all the way to the cuticle. Leave a small gap. Work on one nail, then dip it right away before the coat dries.
Step 3 – Dip Nails into Powder
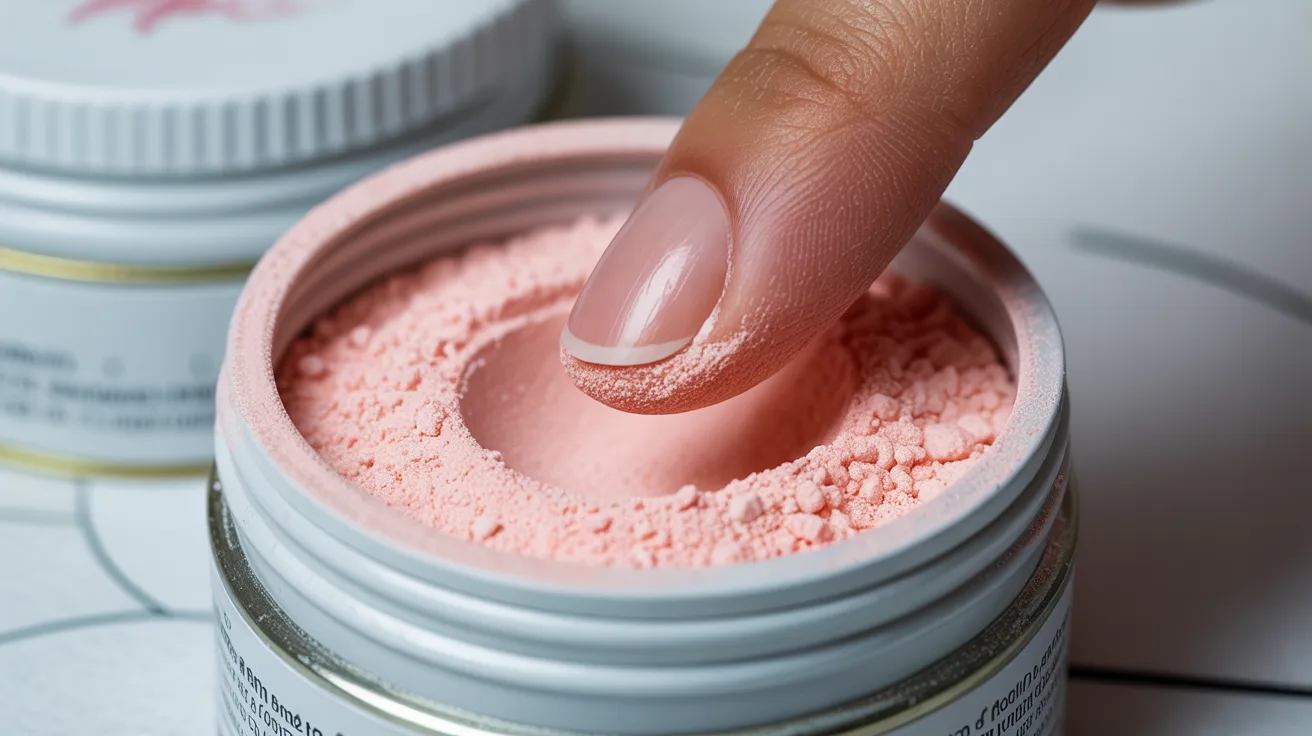
Hold your finger at a 45-degree angle. Dip it into the powder jar. Tap off the extra powder gently. Use a small brush to dust off loose powder before moving to the next nail.
Step 4 – Repeat for Full Coverage
Apply the base coat again. Dip again. Two coats give good coverage for most colors.
For lighter shades, do three coats. Thin layers are better than thick ones. Thick layers crack and peel.
Step 5 – Apply Activator
Once all nails are dipped, brush on the activator. This hardens the powder. Let it sit for 60 seconds. Don’t rush this part. The activator is what makes dip powder strong.
Step 6 – Shape and Buff Nails
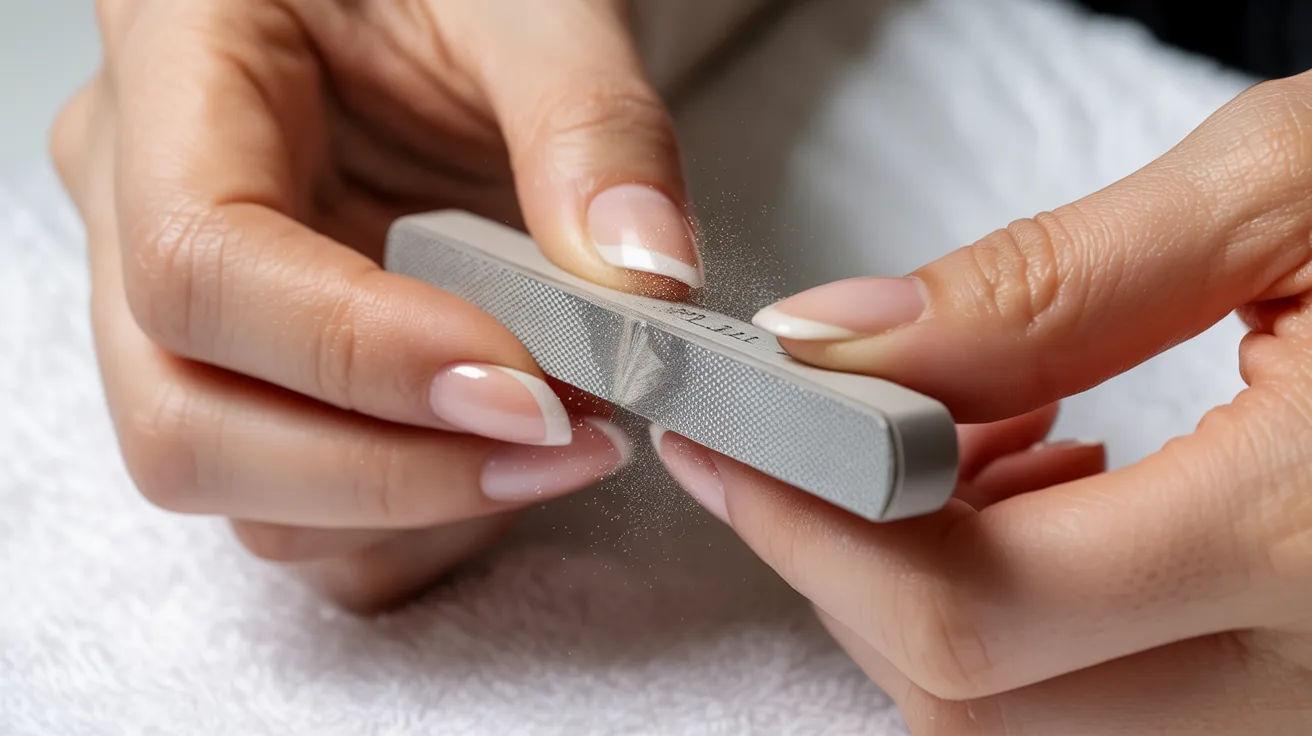
File the edges to clean up the shape. Buff the surface lightly to smooth any bumps. Wipe nails with a dry brush before the next step.
Step 7 – Apply Final Activator
Add one more layer of activator over all nails. This seals the powder and preps the surface for the top coat. Wait 60 seconds again.
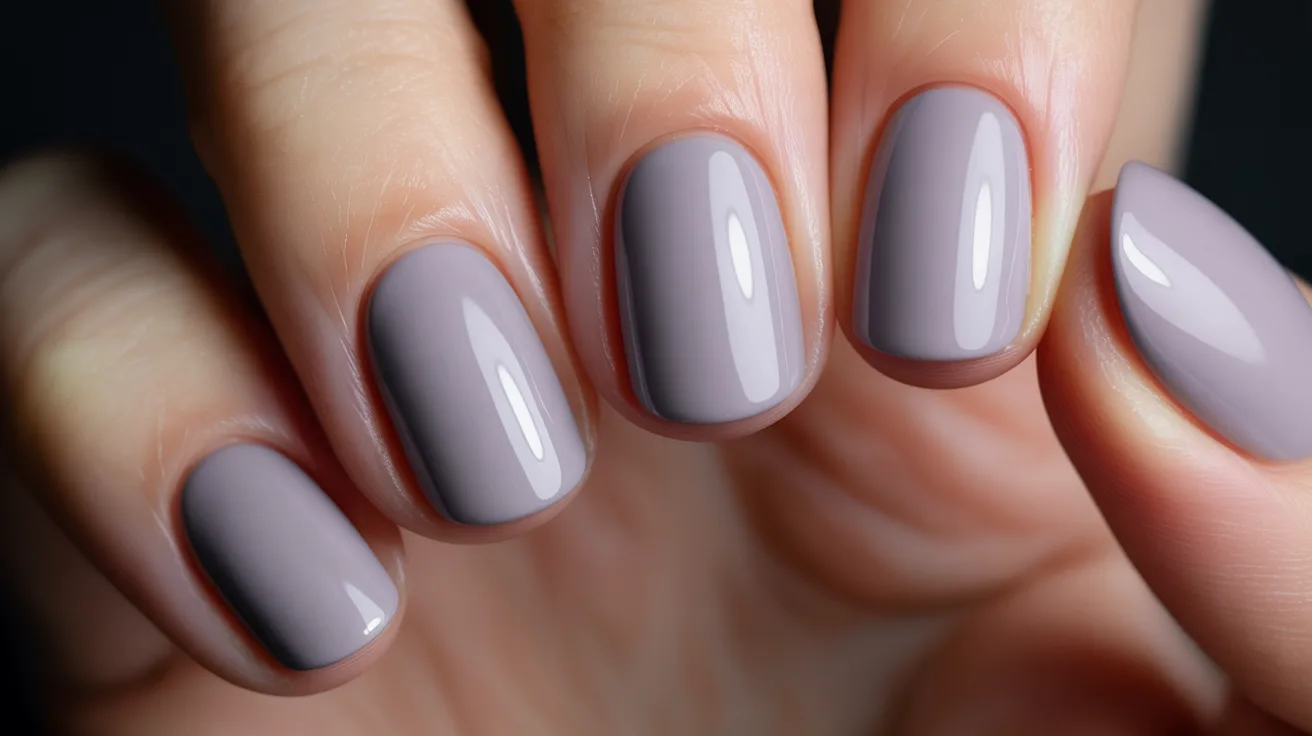
Step 8 – Apply Top Coat for Shine
Apply two thin layers of top coat. Let the first layer dry before adding the second. The second coat is what gives that glassy, salon finish. Don’t skip it.
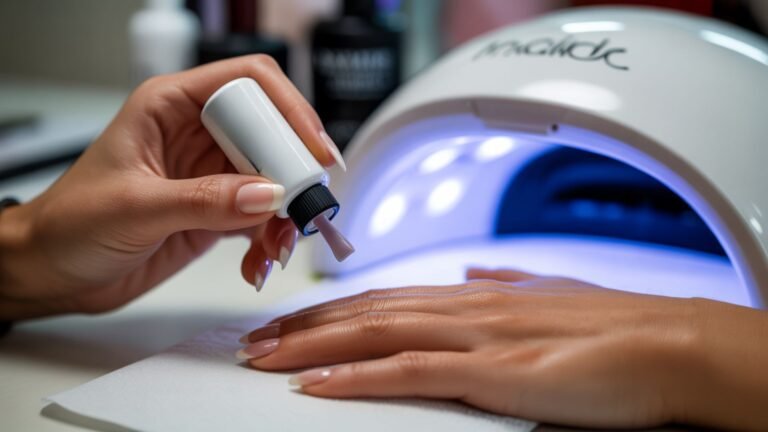
Alternative Method Dip Powder Steps with Gel
Some people prefer a gel-based method for extra flexibility and shine. Here’s how it’s different.
How Gel Method Works
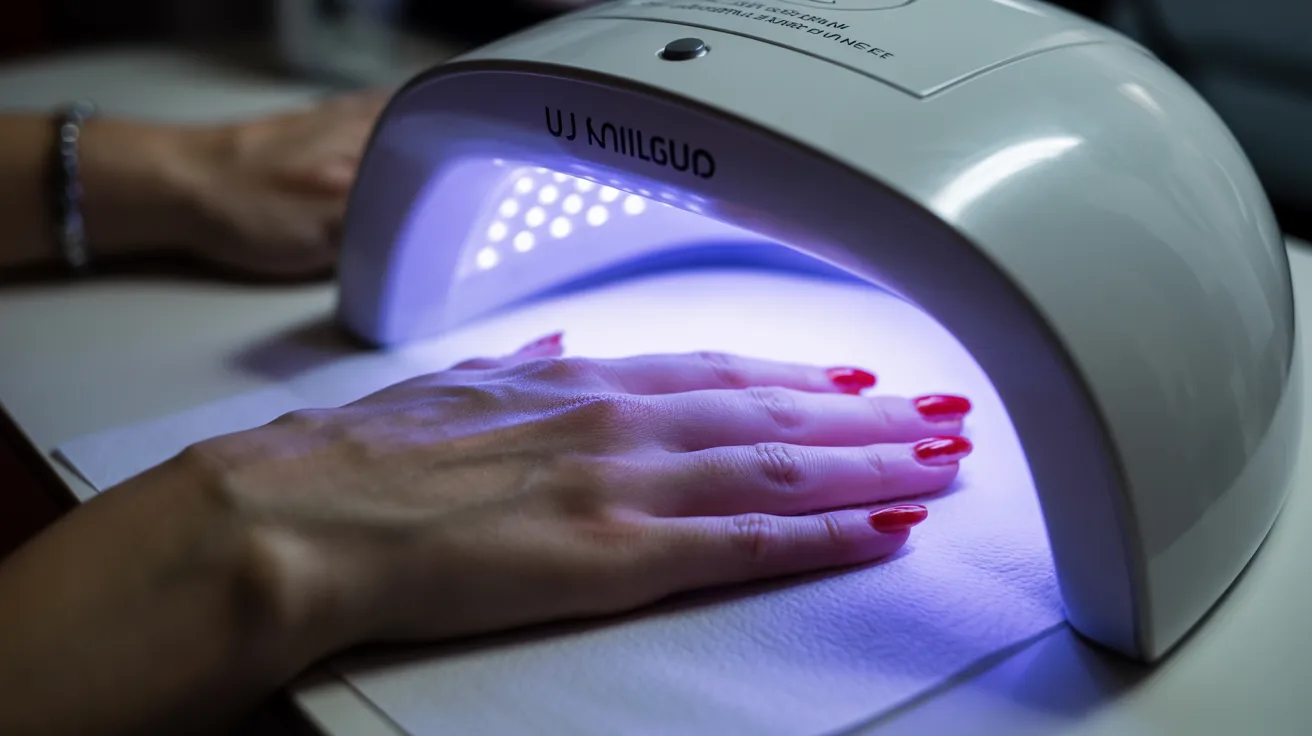
Instead of using a standard base coat, you use a gel base. You still dip it into powder. But the gel gives a softer, more flexible finish.
You need a UV or LED lamp to cure each layer. The process takes a little longer but works well for people with bendy or weak nails.
When to Choose This Method
Choose the gel method if your nails tend to crack or break easily. The gel layer adds flexibility. It also works better for nail extensions or tips.
Common Mistakes to Avoid in Dip Powder Steps
Small errors lead to lifting, cracking, or dull finishes. Here’s what to watch out for.
Skipping Nail Prep
This is the number one reason nails lift early. Oil and moisture on the nail surface break the bond. Always wipe nails with acetone before starting.
Applying Thick Layers
More products does not mean better coverage. Thick layers trap air and crack faster. Thin coats. Every time.
Touching Cuticles with Product
The base coat or activator on the cuticle causes lifting at the base. It also looks messy up close. Stay 1mm away from the cuticle on every coat.
Not Sealing Properly
The tip of the nail needs to be sealed. Brush the top coat across the edge of each nail. This stops chipping from everyday wear.
How to Remove Dip Powder Nails Safely
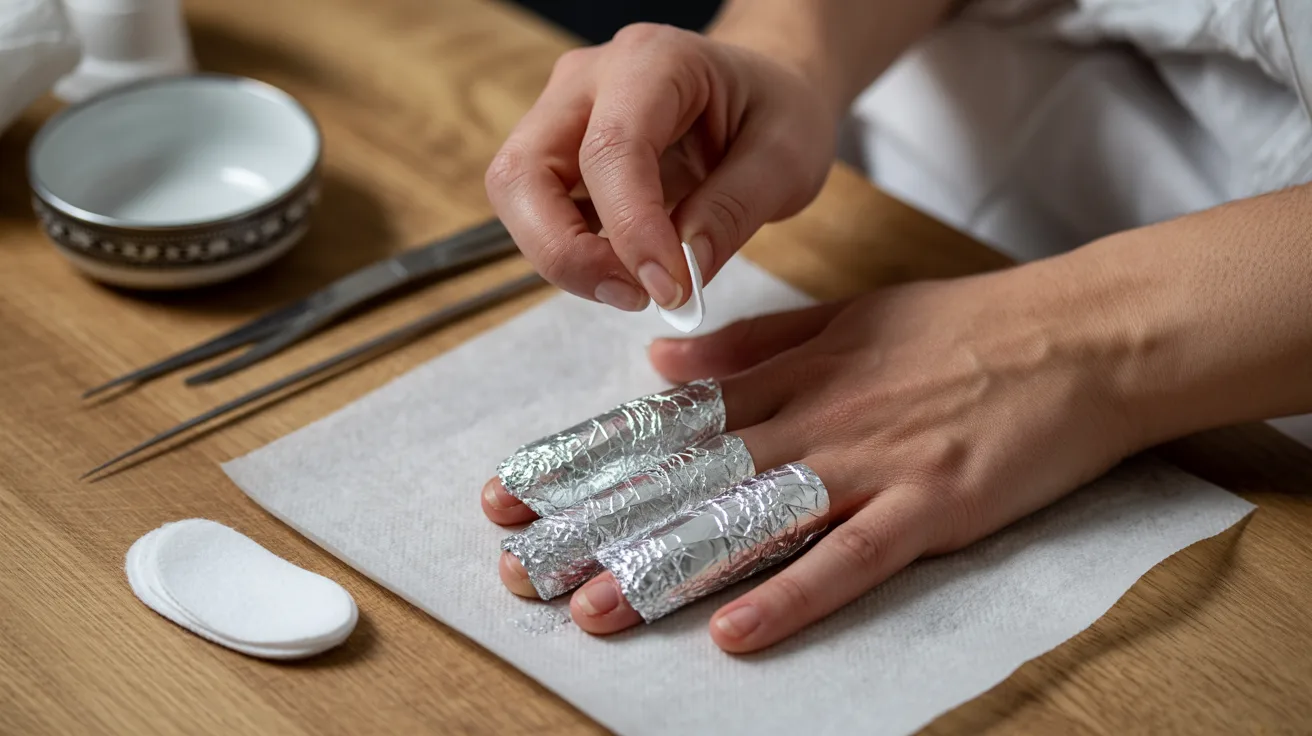
Pulling or peeling dip powder off damages your nails. The right method protects them.
Step-by-Step Removal Process
Removing dip powder the right way takes a few simple steps and keeps your nails healthy.
- File the top coat off each nail
- Soak a cotton ball in pure acetone
- Wrap each nail with foil
- Wait 15 minutes
- Slide the cotton ball off powder comes with it
- Buff lightly to remove residue
Tips for Faster Removal Without Damage
Warm acetone works faster. Set the bowl of acetone inside a bowl of warm water for a few minutes before soaking.
Don’t force the powder off. If it’s not sliding, wait five more minutes.
Pro Tips for Perfect Dip Powder Nails Every Time
These small habits make a big difference in how your nails look and how long they last.
- Always use a fresh base coat. An old or thick base coat does not bond well and causes lifting early.
- Apply a thin layer of top coat every two to three days to keep your nails from chipping.
- Tap your finger into the powder at the same angle each time for smooth, even coverage.
- For glitter, do one regular dip coat first, then press lightly into the glitter powder for better spread.
- Wipe your brushes clean after every use. Dried base coat on the brush ruins the next application.
- Cap your bottles tightly after each use. Air gets in fast and thickens the liquids.
Conclusion
I won’t lie, my first attempt was a complete mess. But once I got the order right, everything clicked. The dip powder steps in this guide are the same ones I use every two weeks now.
They’re simple. They work. Start with clean nails, work in thin layers, and don’t rush the activator. That’s really all it takes.
Try it this weekend and see how it goes. Drop a comment below with how your nails turned out. I’d love to hear what worked for you!
Frequently Asked Questions
How long do dip powder nails last?
Dip powder nails typically last two to four weeks. Proper prep and sealing the tips help them last longer without lifting.
Can I do dip powder nails without a kit?
You need at least a base coat, activator, and top coat. Buying them separately works, but a starter kit is easier and more cost-effective.
Is dip powder safe for thin or weak nails?
Yes, but use light pressure when buffing and always moisturize after removal. The gel method may suit weak nails better.
Why do my dip powder nails keep lifting?
Lifting usually means oil was left on the nail before application. Always wipe with acetone and let nails dry fully before starting.
How often can I do dip powder nails?
Every two to four weeks is a healthy cycle. Give your nails a short break between sets to keep them strong and hydrated.