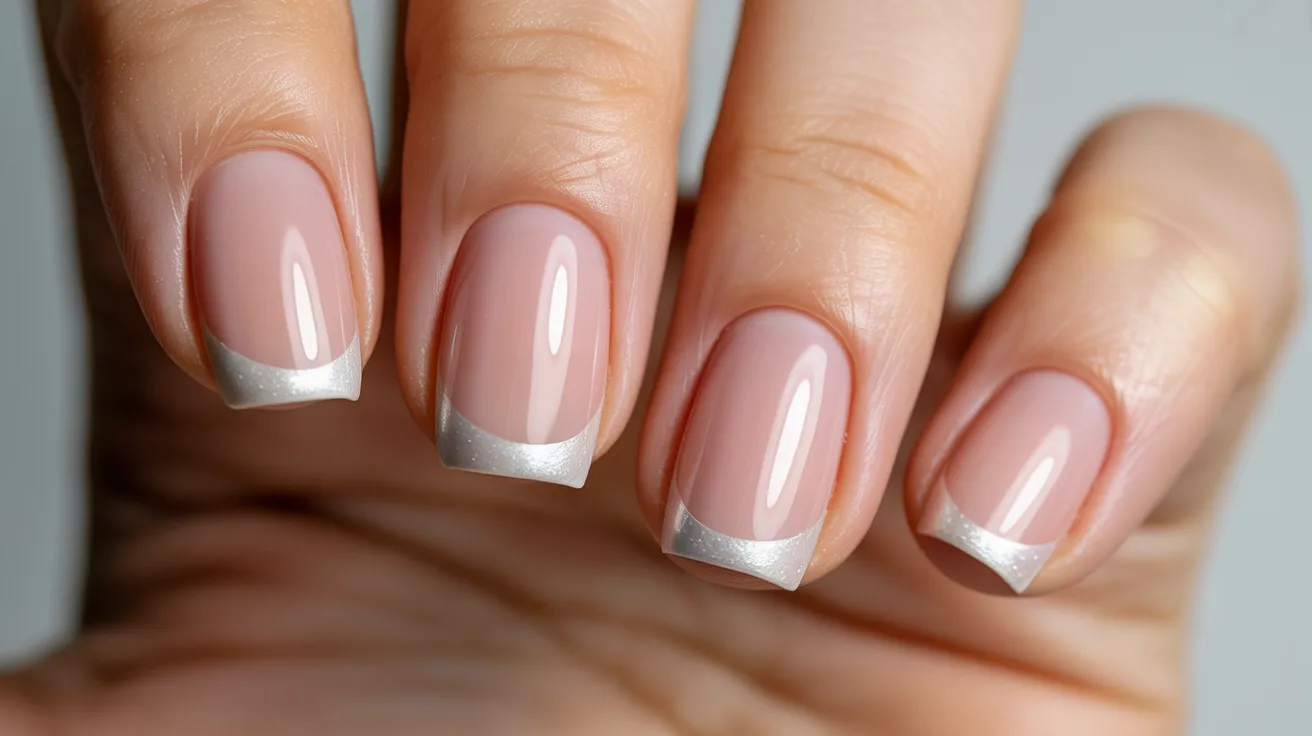
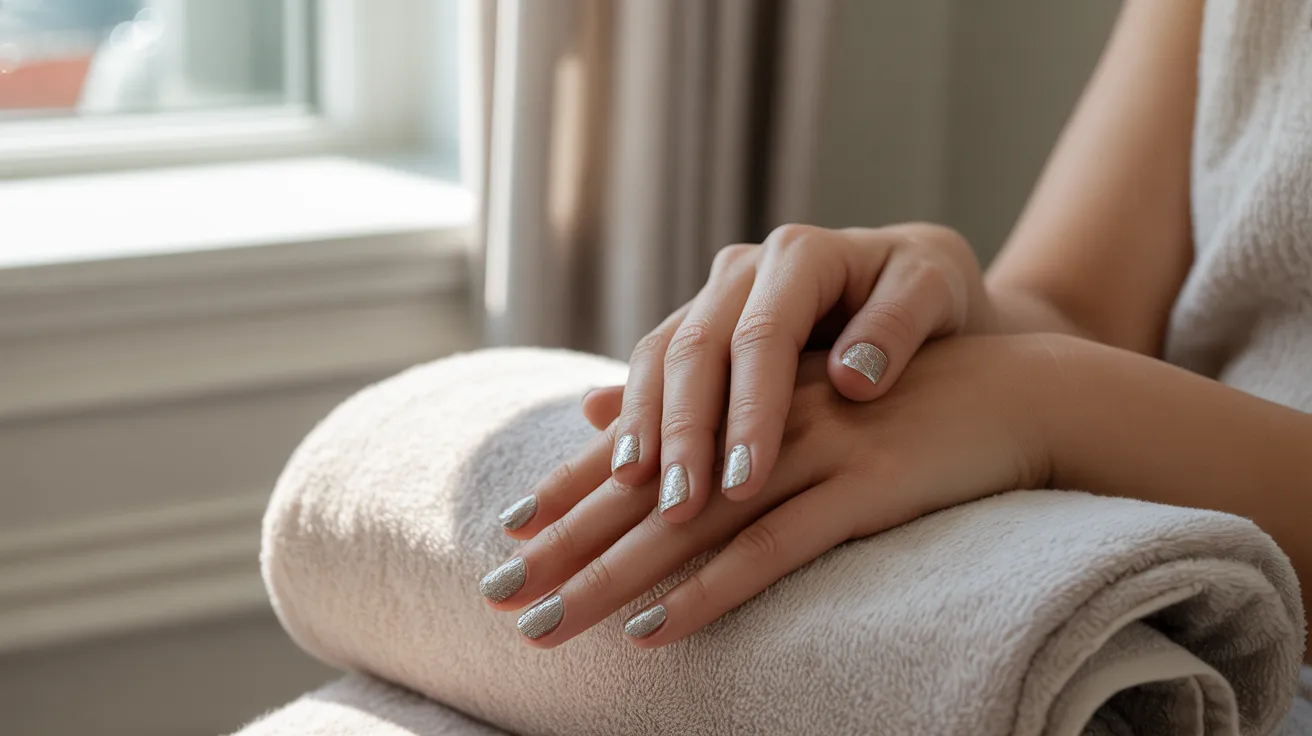
How to Soak Off Acrylic Nails at Home Without Damage
Removing acrylic nails at home can feel tricky, but it does not have to wreck your natural nails. I have been there, impatient, picking at the edges, and regretting it later.
This guide on how to soak off acrylic nails at home without damage will walk you through everything the right way.
I will cover the tools you need, a clear step-by-step process, mistakes to avoid, and aftercare tips. Trust me, doing this correctly makes a real difference. Your nails will thank you.
Everything You Need to Know Before Soaking Off Acrylic Nails
Soaking is the gentlest way to remove acrylics because it breaks down the product slowly without forcing anything off. Pulling or prying causes thinning, peeling, and pain.
You should remove acrylics when lifting or gaps appear near the cuticle, the nails feel loose, it has been 6 to 8 weeks since application, or you notice discoloration underneath.
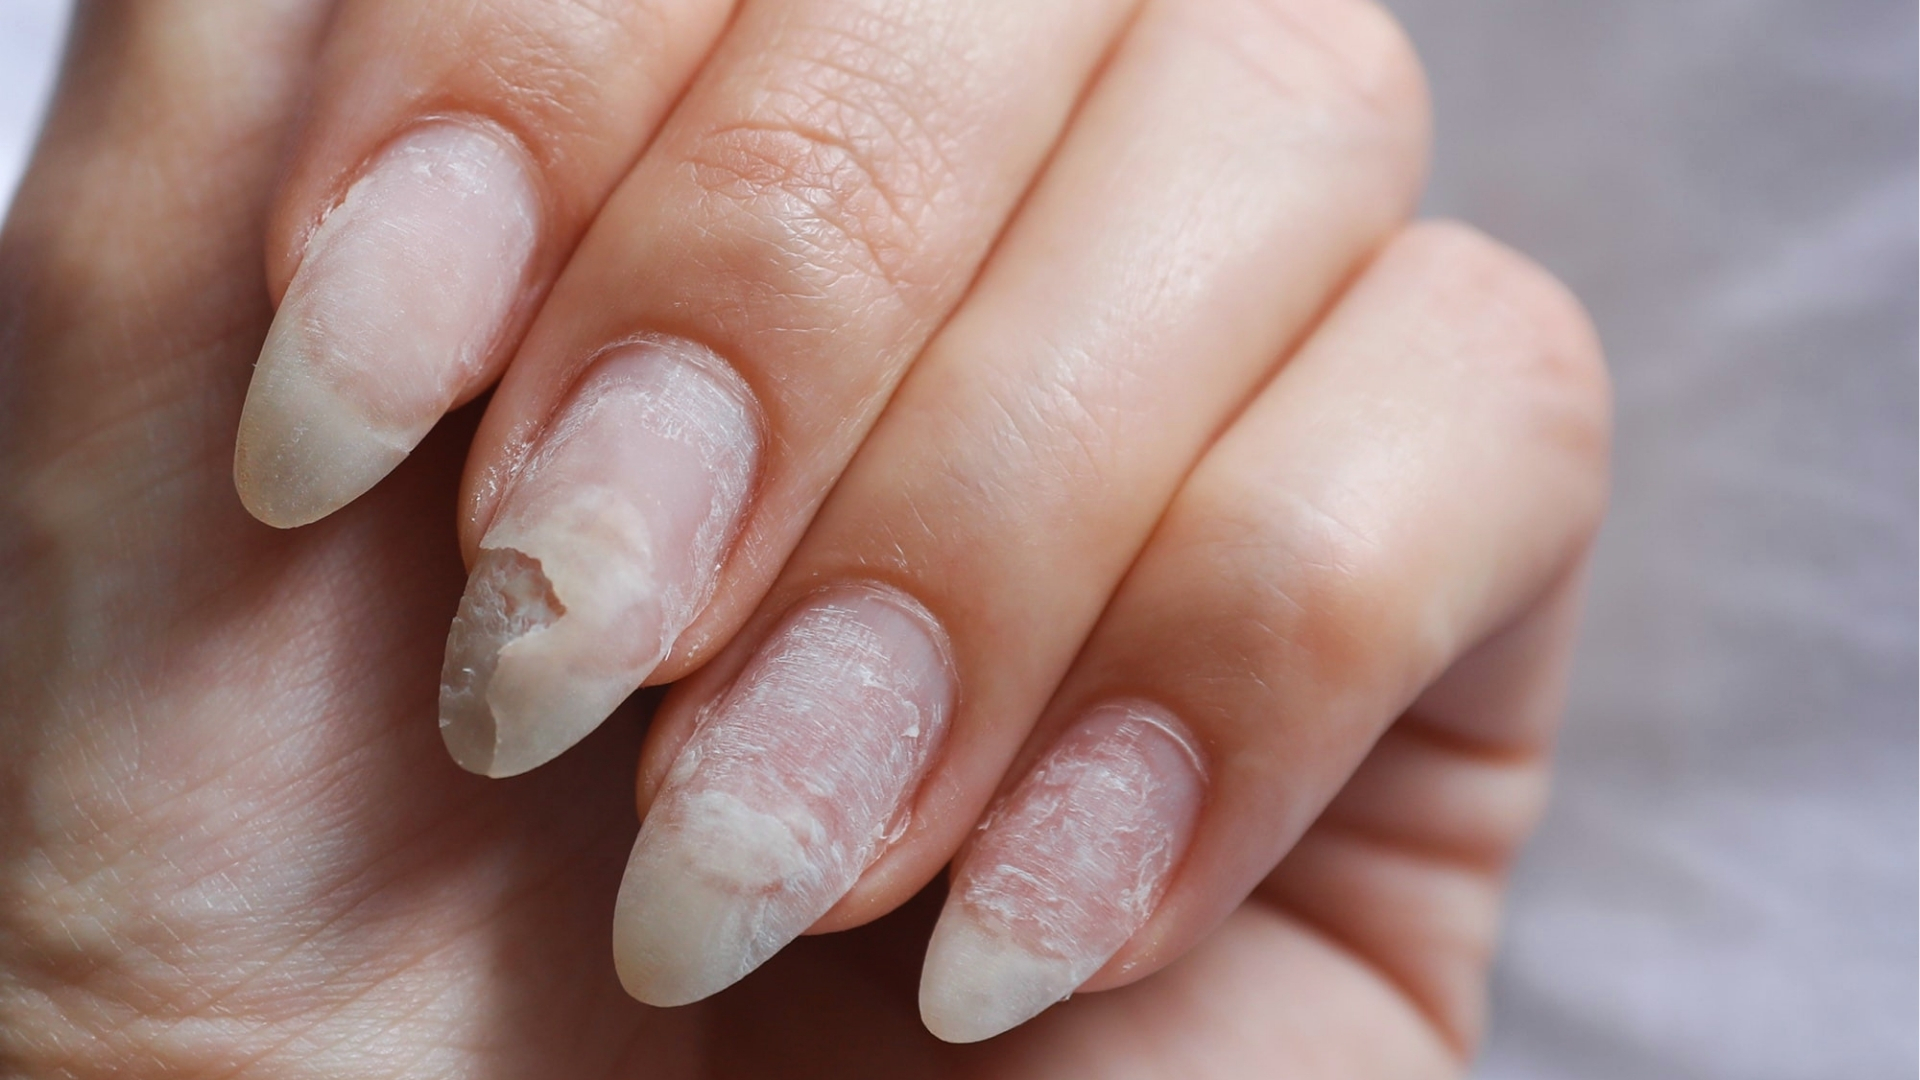
Soaking keeps your natural nail bed intact. Forcing acrylics off pulls layers of your natural nail with them, leading to thin and weak nails.
In some cases, nail bed damage from incorrect removal can take months to fully heal.
What You Need to Soak Off Acrylic Nails at Home

Having the right supplies ready makes the whole process smoother and safer.
Important Tools and Products
You do not need anything fancy.
Here is what to grab:
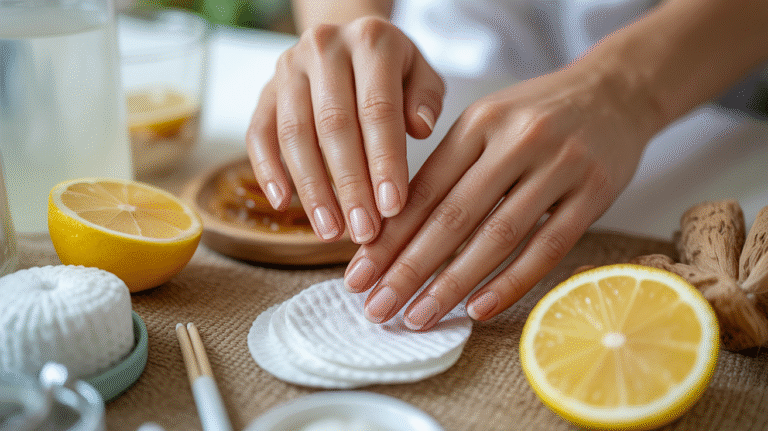
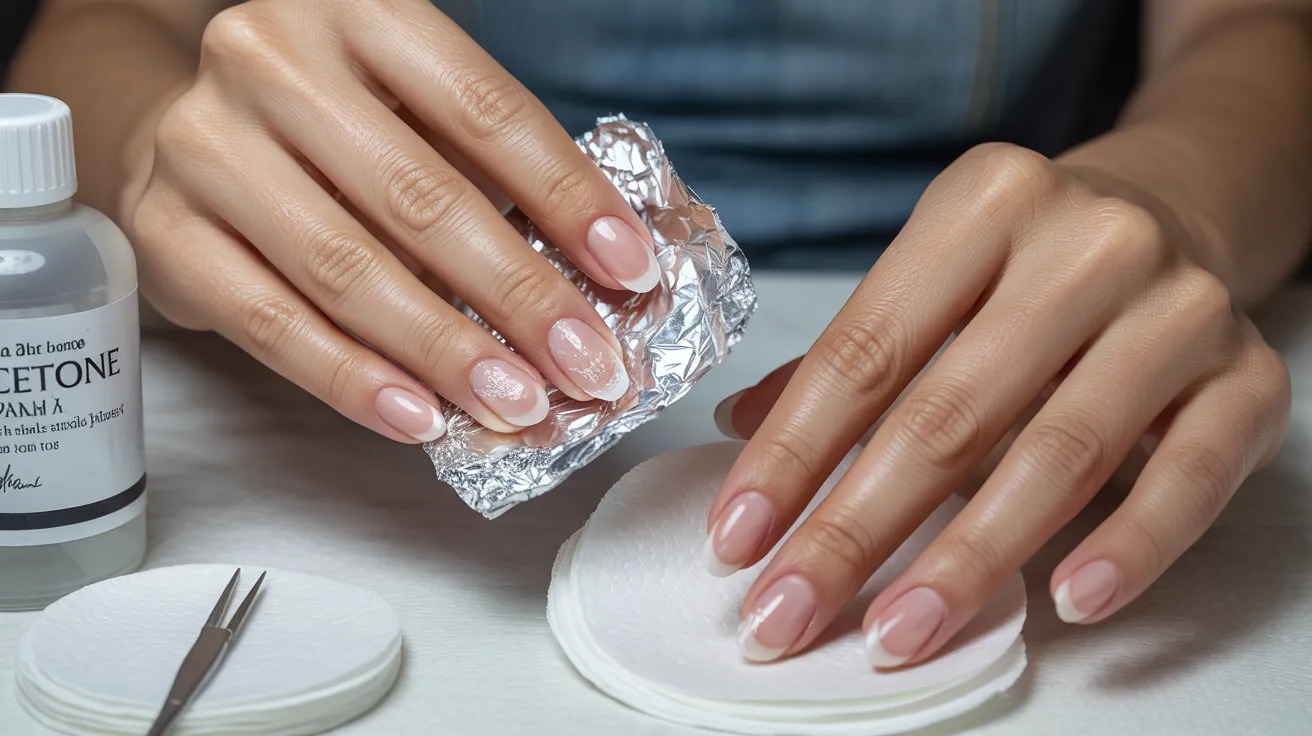
- Acetone: Pure acetone works best. The nail polish remover is not strong enough.
- Cotton pads or balls: These hold the acetone in place on each nail.
- Aluminum foil: Cut into small squares to wrap each fingertip.
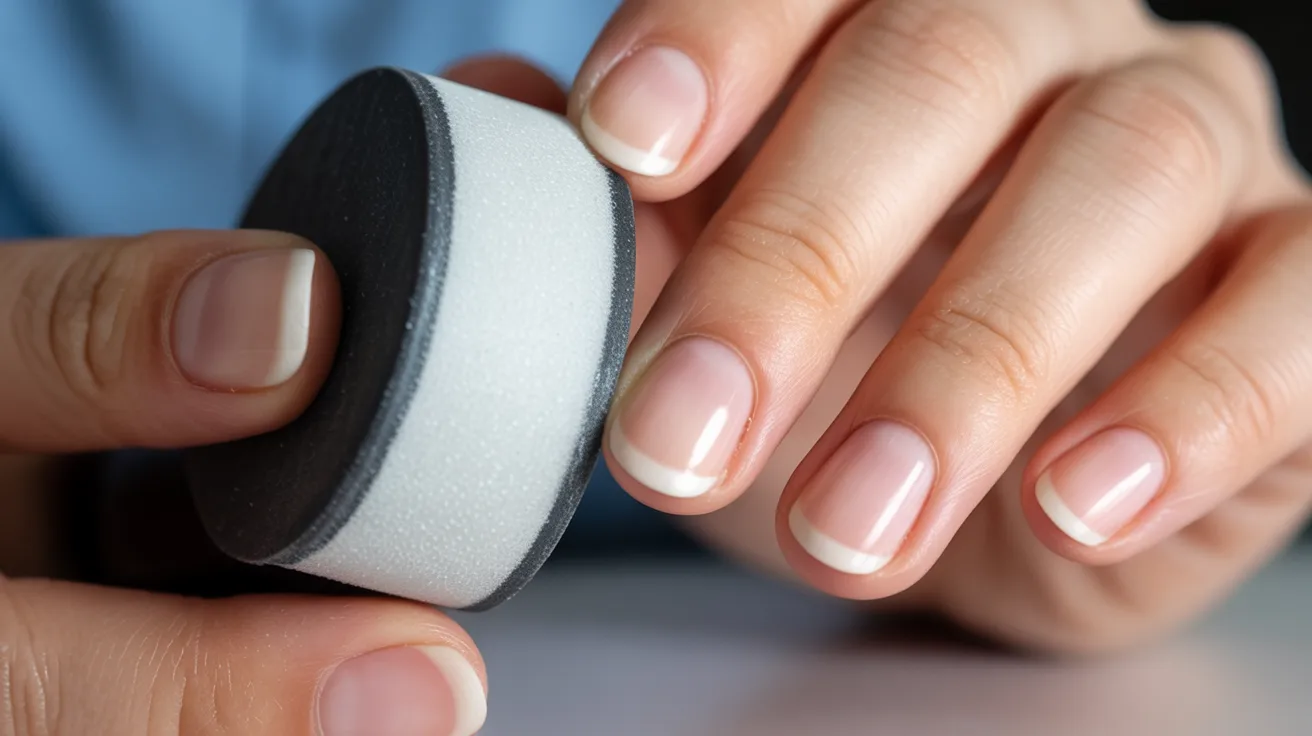
- Nail file or buffer: For filing down the top layer before soaking.
- Cuticle pusher: To gently slide off softened acrylic.
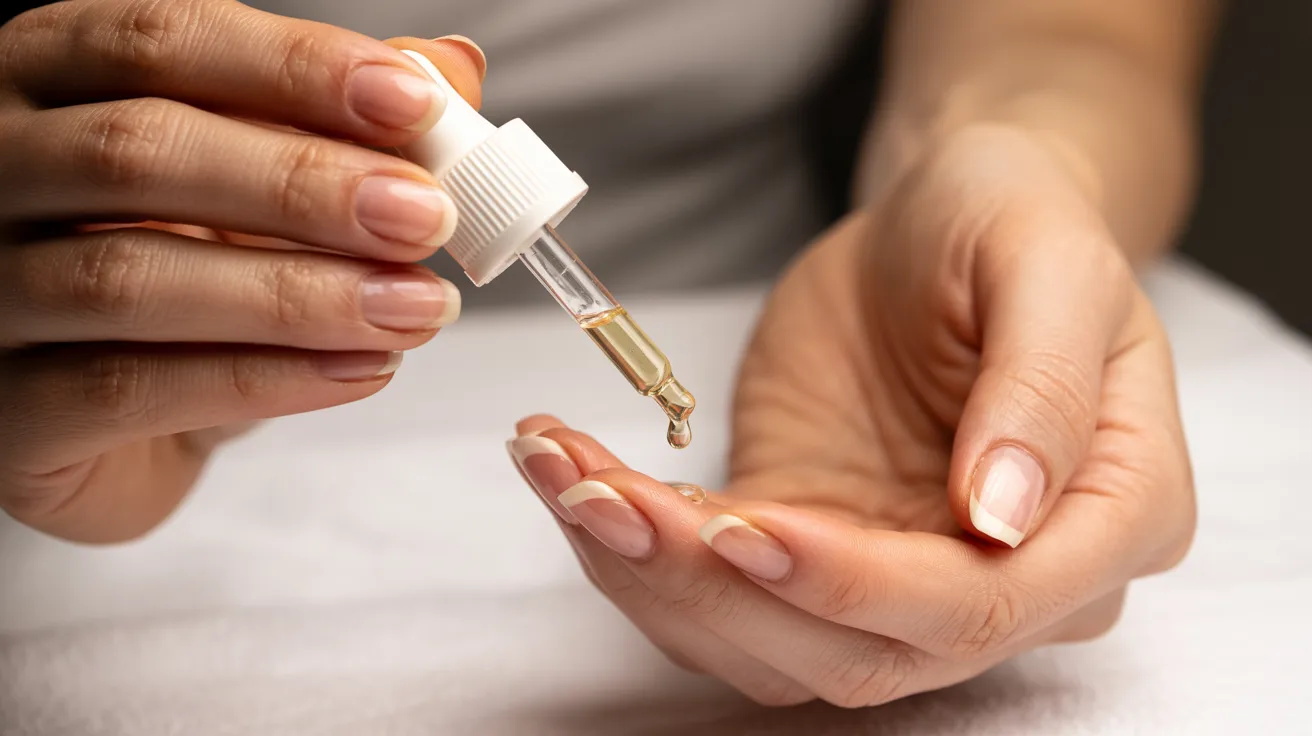
- Petroleum jelly: Protects the skin around your nails from acetone exposure.
How to Prepare Your Nails for Soaking
Start by clipping acrylics as short as possible. Then use a coarse nail file to rough up the shiny top coat. This helps the acetone get through faster. Do not skip this step; it cuts soaking time significantly.
Step-by-Step Guide to Soak Off Acrylic Nails Without Damage
Follow these steps carefully and your natural nails will stay in great shape.
Step 1 – Trim and File the Acrylic Layer
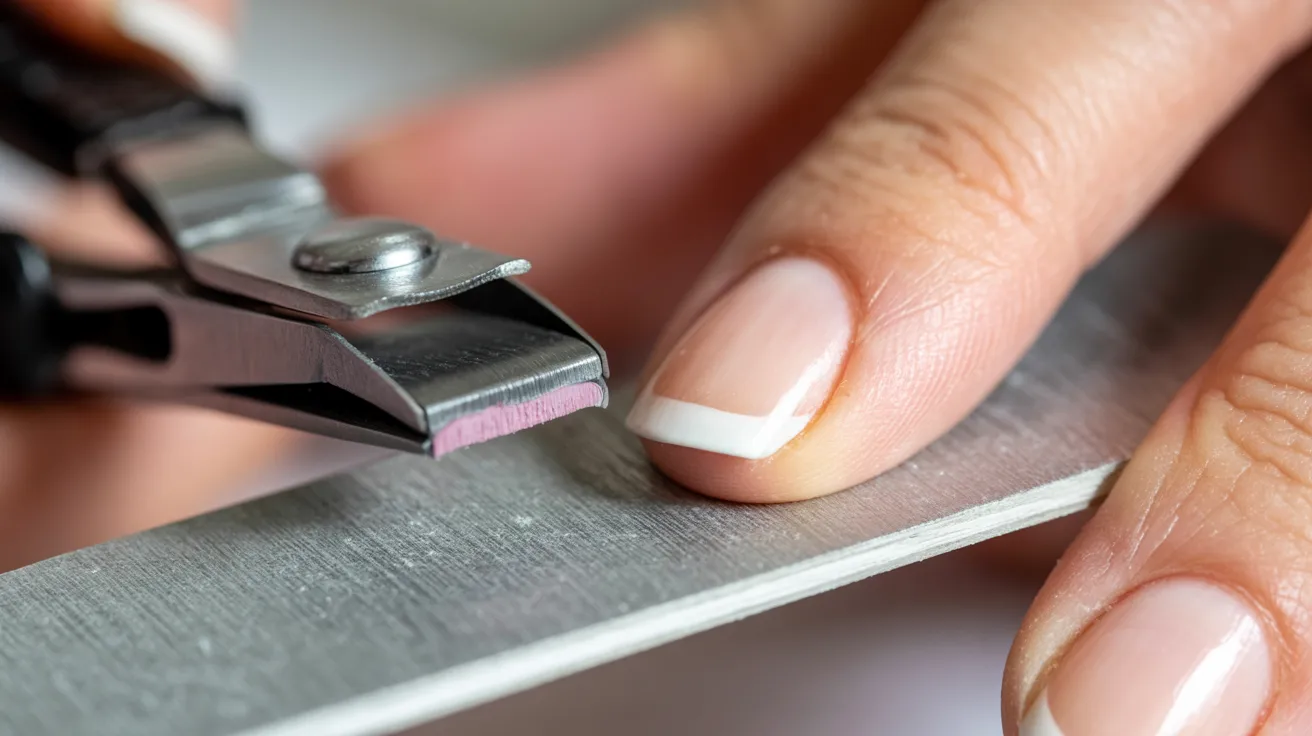
Clip the length down with nail clippers. Use a 100-grit file to remove the shine from the surface. File until the top coat is fully gone. You are not filing your natural nail, just the acrylic.
Step 2 – Protect Skin Around Nails
Apply petroleum jelly generously around each nail and on your cuticles. Acetone dries out skin fast. This simple step prevents irritation and redness.
Step 3 – Apply Acetone-Soaked Cotton

Soak a cotton ball or pad in pure acetone. Press it directly onto the nail. Make sure it covers the full nail surface.
Step 4 – Wrap Nails with Foil
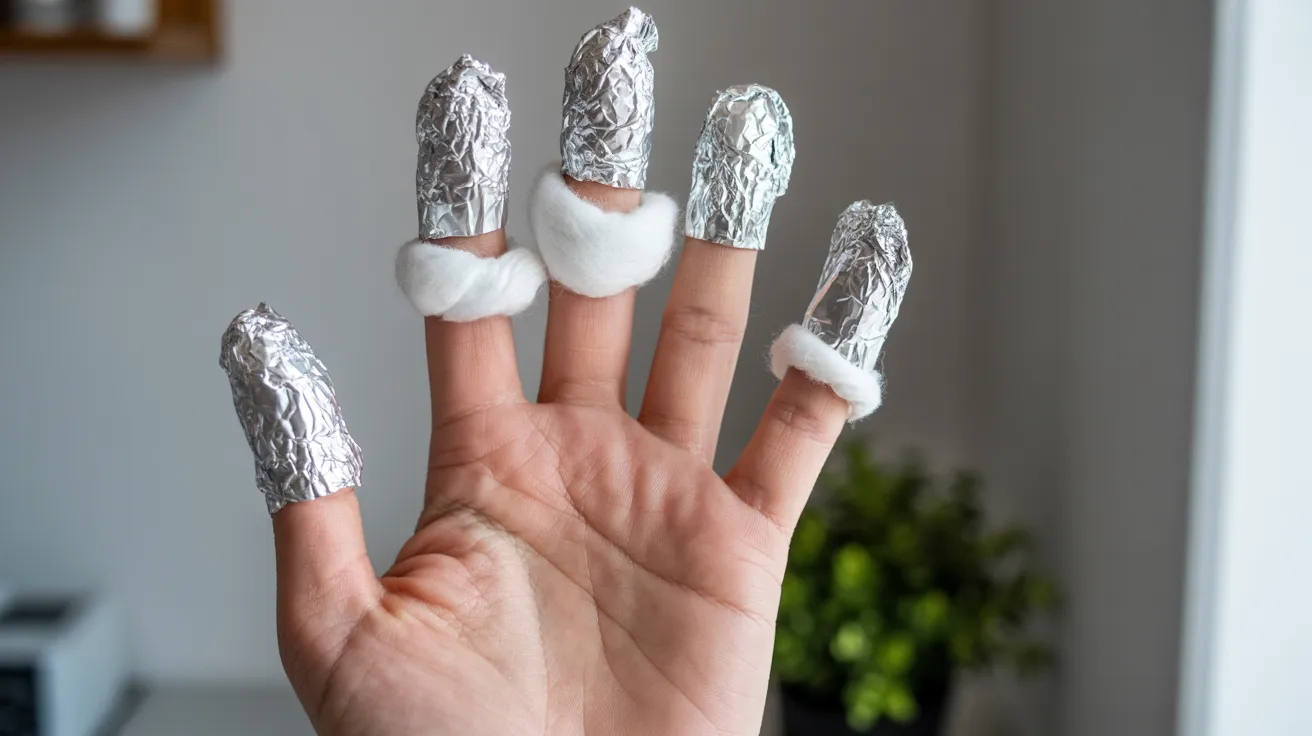
Wrap each fingertip with a small square of aluminum foil. Press it tight so the cotton stays in place. Do all ten fingers before moving to the next step.
Step 5 – Wait for Acrylic to Soften (20-40 Minutes)
This is where patience matters. Leave the foil wraps on for at least 20 minutes. Thicker acrylic may need up to 40 minutes. Do not rush this part.
Step 6 – Gently Push Off Acrylic

Remove one foil at a time. Use a cuticle pusher to slide the softened acrylic off. It should come off with light pressure. If it resists, wrap it again for 10 more minutes.
Step 7 – Buff Remaining Residue
Once the bulk is removed, use a soft nail buffer to smooth out any leftover bits. Work gently. You are almost done.
Alternative Soaking Methods You Can Try
Not everyone likes the foil method. Here are two more options that work well.
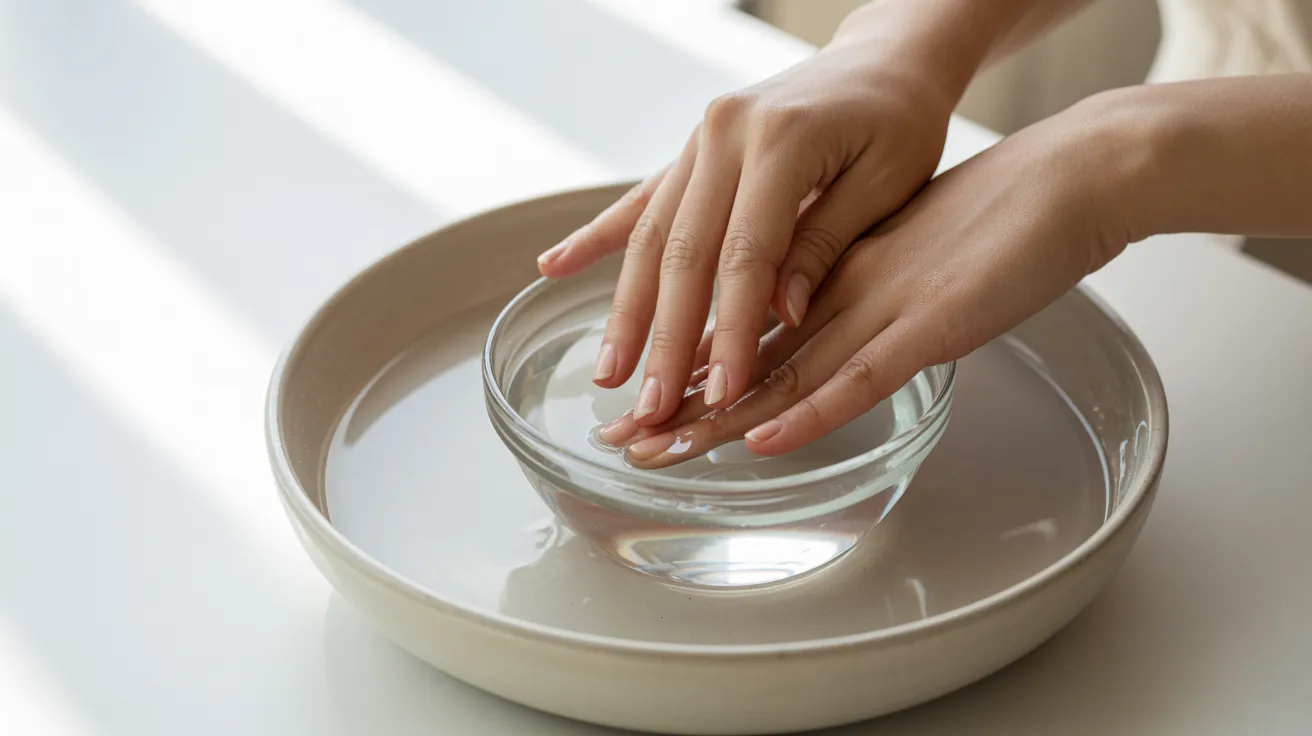
Bowl Soaking Method
Fill a glass bowl with pure acetone. Soak your nails directly in it for 20 to 30 minutes.
You can speed things up by placing the acetone bowl inside a larger bowl of warm water. Never heat acetone directly; it is flammable.
Warm Water + Acetone Technique
Mix warm water with acetone in a bowl and soak for 30 to 40 minutes. This is milder on skin but takes longer to work.
Pros and Cons of Each Method
Each method works, but knowing the trade-offs helps you pick the right one for your situation.
- Foil method: Faster, less skin exposure, great for home use.
- Bowl method: Easy setup, but more skin contact with acetone.
- Warm water mix: Gentler on skin, but slower and less effective on thick acrylics.
Common Mistakes That Can Damage Your Nails
These are the most common ways people accidentally hurt their nails during removal.
Forcing or Peeling Acrylic Off
This is the number one mistake. If the acrylic is not coming off easily, it is not ready. Peeling it tears your natural nail layer with it.
Skipping the Filing Step
Without filing off the top coat, acetone cannot penetrate the acrylic. You will end up soaking for much longer with poor results.
Not Soaking Long Enough
Twenty minutes is the minimum. Thick or old acrylics need more time. Rushing leads to picking, which leads to damage.
Overexposing Skin to Acetone
Acetone strips moisture from skin quickly. Always use petroleum jelly as a barrier and wash your hands well after removal.
Aftercare to Keep Nails Healthy
Removal is only half the work what you do after matters just as much.
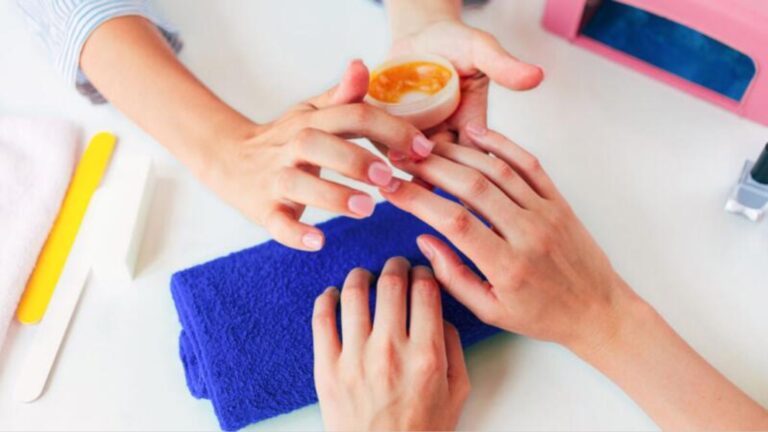
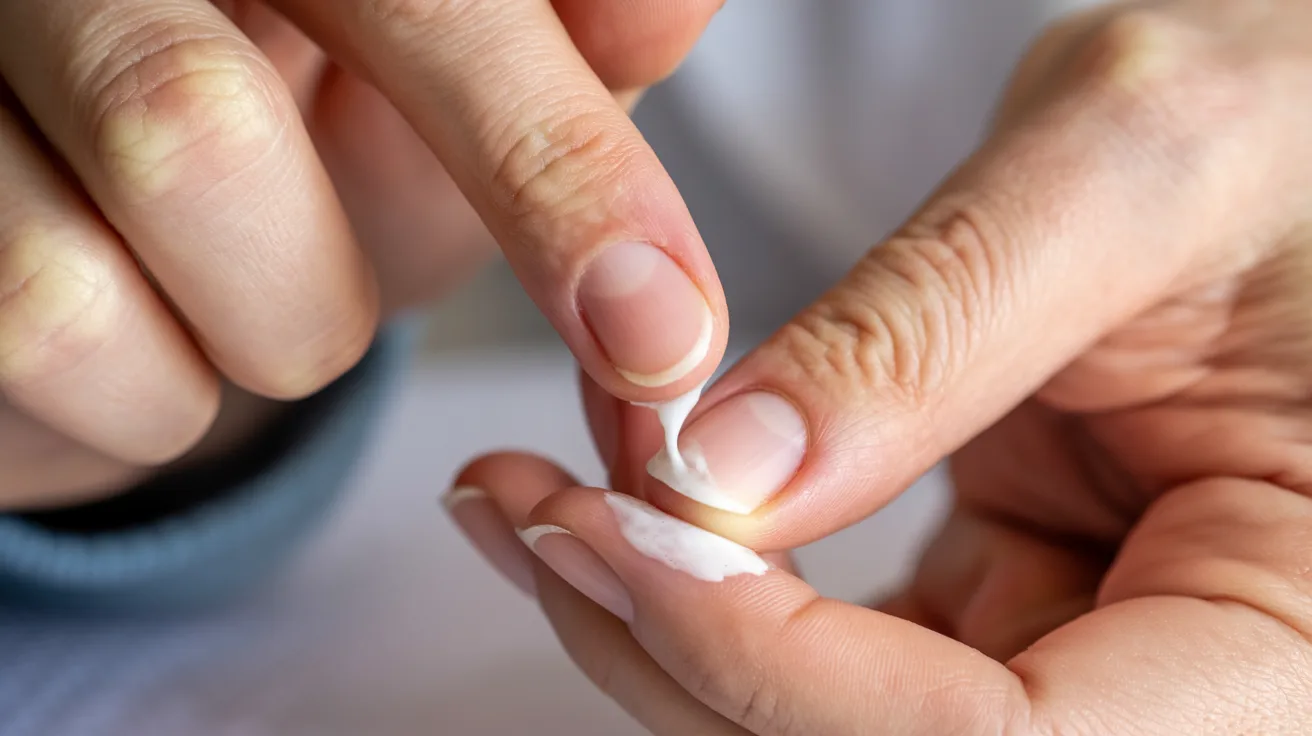
Deep Moisturizing for Nails and Cuticles
Apply cuticle oil or a thick hand cream right after removal. Do this daily for at least a week. Acetone leaves nails and skin very dry.
Using Nail Strengtheners
Pick up a nail strengthener or hardener from any drugstore. Apply it as a base coat to help rebuild nail strength over the next few weeks.
Letting Nails Recover Before Reapplication
Give your nails at least one to two weeks before applying acrylics again. Your natural nails need time to rehydrate and regain strength.
Pro Tips for Damage-Free Acrylic Nail Removal
Small habits make a big difference when removing acrylics at home.
- Be patient and avoid rushing. The process takes time and rushing causes damage every time.
- Re-soak stubborn acrylic instead of pulling. If something feels stuck, add more acetone and wait.
- Never force acrylic off. Forcing it tears your natural nail along with it.
- Use warm acetone to speed up the process. Place the container in warm water for a few minutes before use.
- Moisturize daily after removal. Dry nails break and peel easily once acrylics come off.
- Give your nails time to recover before going back to acrylics.
Conclusion
Removing acrylics at home does not have to be scary. When I first did it myself, I made the mistake of rushing and I paid for it with peeling nails for weeks.
It was frustrating, but it taught me to slow down. Now I know better, and so do you. Stick to the steps, give your nails the care they deserve after, and they will bounce back strong.
Drop a comment below and let me know how it went. Share this with a friend who needs it too!
Frequently Asked Questions
How long does it take to soak off acrylic nails at home?
It usually takes 20 to 40 minutes for the acrylic to soften properly. Thicker or older acrylics may need a bit more time to break down.
Can I use regular nail polish remover instead of acetone?
Regular nail polish remover is too weak to break down acrylic nails. You need pure acetone for the process to work effectively.
Will soaking off acrylics damage my natural nails?
Not if you follow the right steps and protect your skin with petroleum jelly. Done correctly, soaking is completely safe for your natural nails.
How often should I remove and reapply acrylic nails?
Every 6 to 8 weeks is the ideal timeframe for removal and reapplication. Always give your nails a short break in between to stay healthy.
What should I do if acrylic does not come off after soaking?
Wrap your nails again and re-soak for another 10 to 15 minutes. Never pull or force it off as patience is the key to avoiding damage.