Beginner Nail Art Techniques for Pro-Level Results

I remember the first time I tried nail art. My hands were shaking, and the polish went everywhere except where I wanted it.
But here’s what I learned: anyone can master these skills with the right guidance.
Nail art techniques aren’t just for professionals anymore. You can create gorgeous designs right at home, starting today.
I’m going to walk you through everything from basic dots to advanced 3D work.
The best part?
You probably already have some of the tools you need.
Building Your Nail Art Foundation

Starting with nail art doesn’t require a huge investment. Pick up a few key items and learn as you go. Your collection grows naturally with your skills.
Good lighting and a steady surface make the biggest difference. Keep your workspace organized so supplies are easy to reach.
These small setup choices improve your results immediately.
Focus on quality basics before buying specialty items. A solid base coat and top coat matter more than dozens of colors. One reliable brush beats ten cheap ones.
Add new tools only when you need them for specific techniques. This prevents waste and keeps you from feeling overwhelmed. Your kit should match the methods you actually use.
Nail Art Techniques to Master
Let me walk you through the methods I use most often. Each one builds your skills in different ways.
Dotting Technique
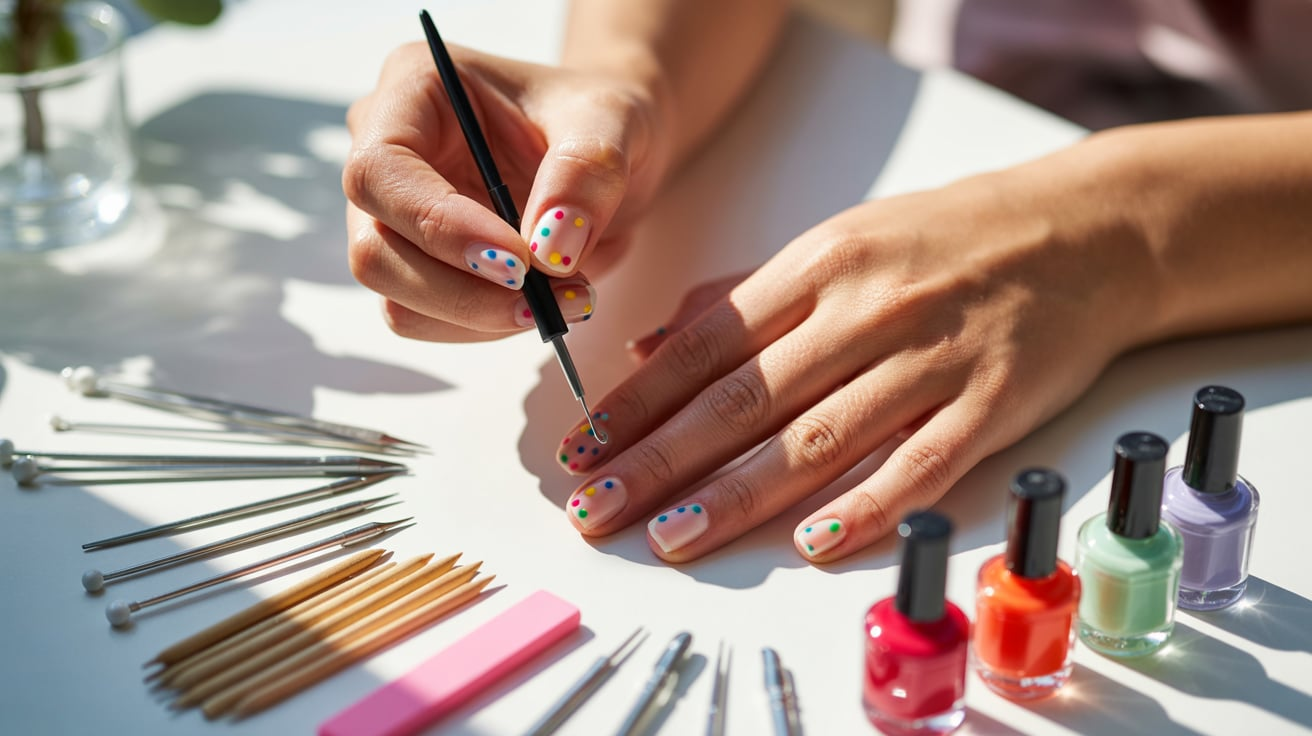
Dotting tools create perfect circles every single time. You dip the tool in polish and press it gently on your nail. Make polka dot patterns across your nails. Cluster five dots together to form simple flowers.
Don’t have a dotting tool yet? Bobby pins work incredibly well for medium dots. Toothpicks make tiny ones. The eraser end of a pencil creates larger circles.
Practice on paper first to get consistent sizes. The pressure you apply matters more than you’d think. Light touch for small dots, firmer press for bigger ones.
Striping and Lines
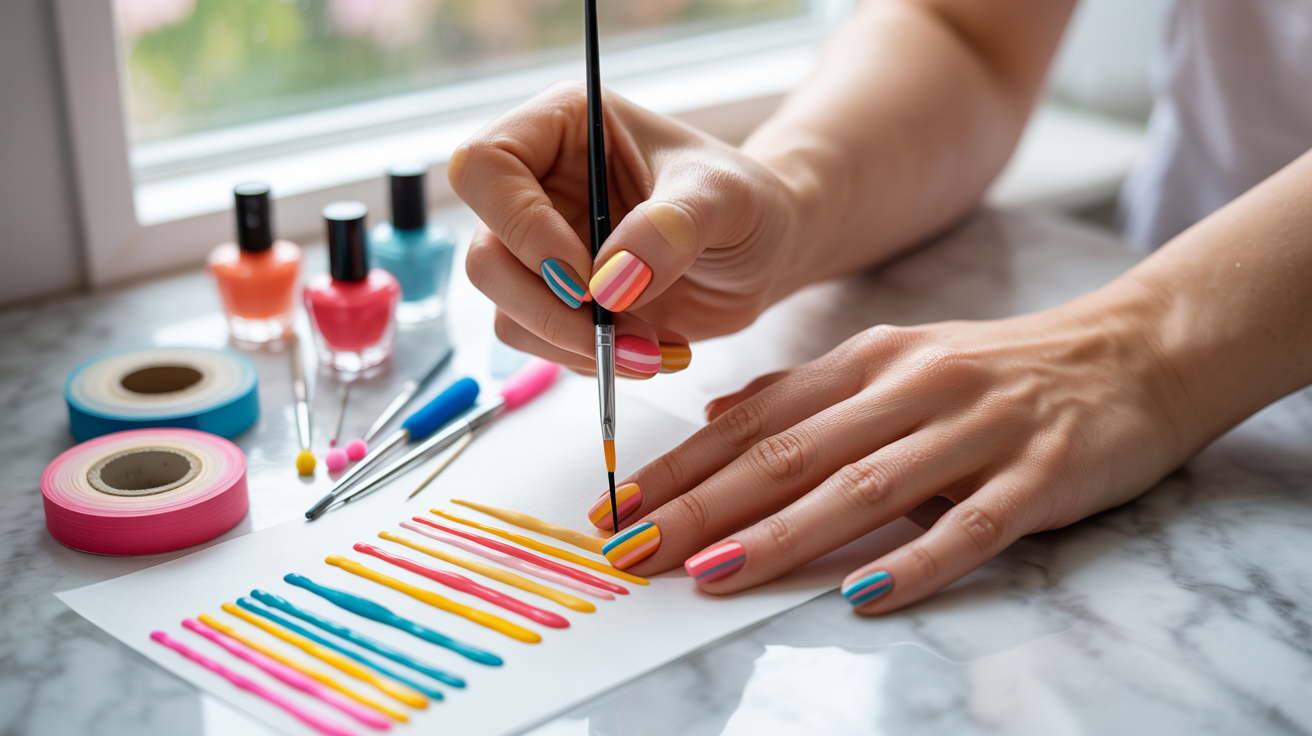
Thin brushes changed my nail art game completely. Rest your hand on a flat surface before you paint. Dip your striping brush in polish and wipe one side on the bottle rim.
Striping tape makes geometric patterns simple. Place it on dry polish, paint over it, and peel it off while the new layer is still wet. You’ll get crisp, clean edges.
Try vertical stripes one day, horizontal the next. Mix different thicknesses in one design. These nail art techniques work with any color combination.
Gradient and Ombre Effects
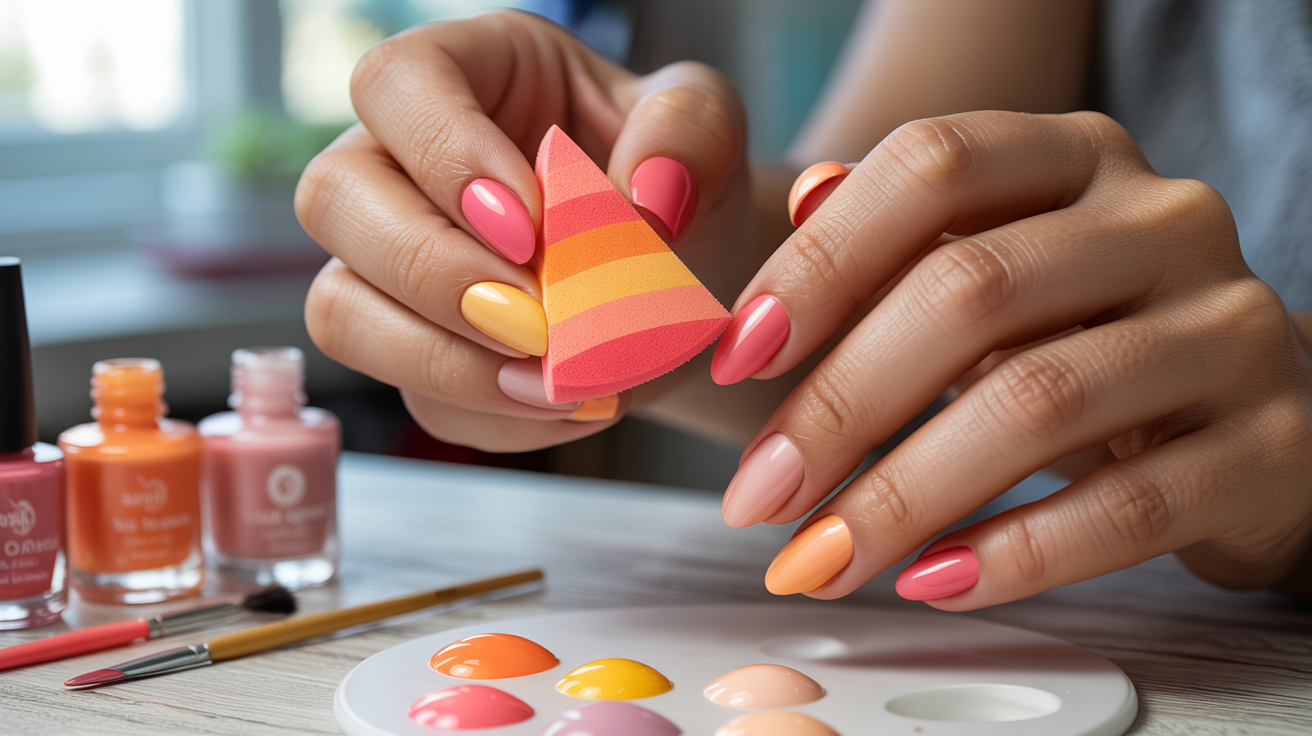
Sponge gradients look complicated but they’re actually beginner-friendly. Paint stripes of color directly onto the sponge. Dab it on your nail with a gentle bouncing motion.
Work fast because polish dries quickly on sponges. You might need to reapply color and dab again. Don’t worry about polish on your skin. Clean it up after everything dries.
Horizontal gradients go from cuticle to tip. Vertical ones sweep across the nail. These nail art techniques let you play with endless color stories.
Stamping Designs

Stamping felt like cheating when I first tried it. You get intricate patterns in seconds without any artistic skill required. Apply polish to the pattern on your plate. Scrape off the excess at a 45-degree angle.
Press your stamper on the design, then roll it across your nail. Special stamping polishes work best because they’re thick and opaque. Make sure your base color is completely dry before stamping over it.
You can stamp over any base color or even other nail art techniques. Layer multiple stamped images for complex looks.
Marbling and Swirls
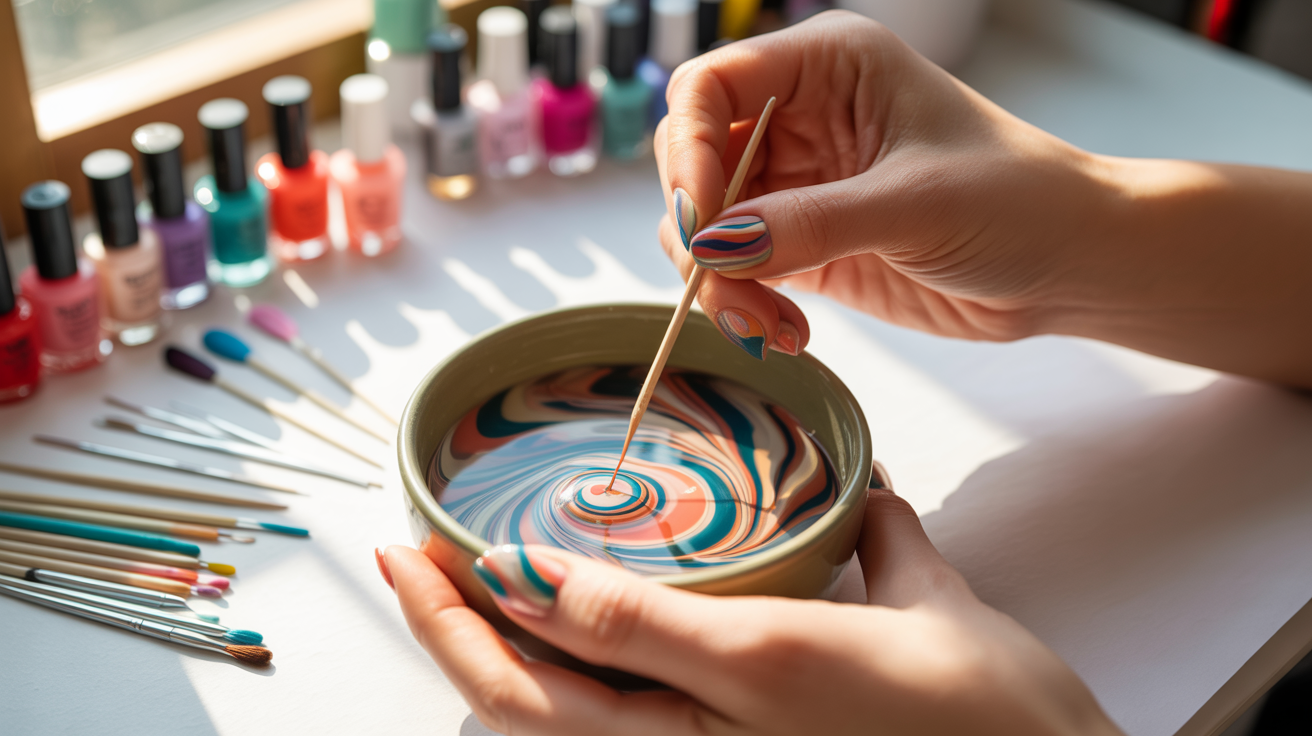
Water marbling looks magical but it takes practice. Drop different polish colors into room-temperature water. Use a toothpick to swirl the colors together into patterns.
Dry marbling is more forgiving for beginners. Drop polish directly onto your nail while it’s still wet. Swirl it with a toothpick or thin brush. You control everything better this way.
Some polishes marble better than others. Test your colors on paper first. These techniques create one-of-a-kind designs every time.
Freehand Painting
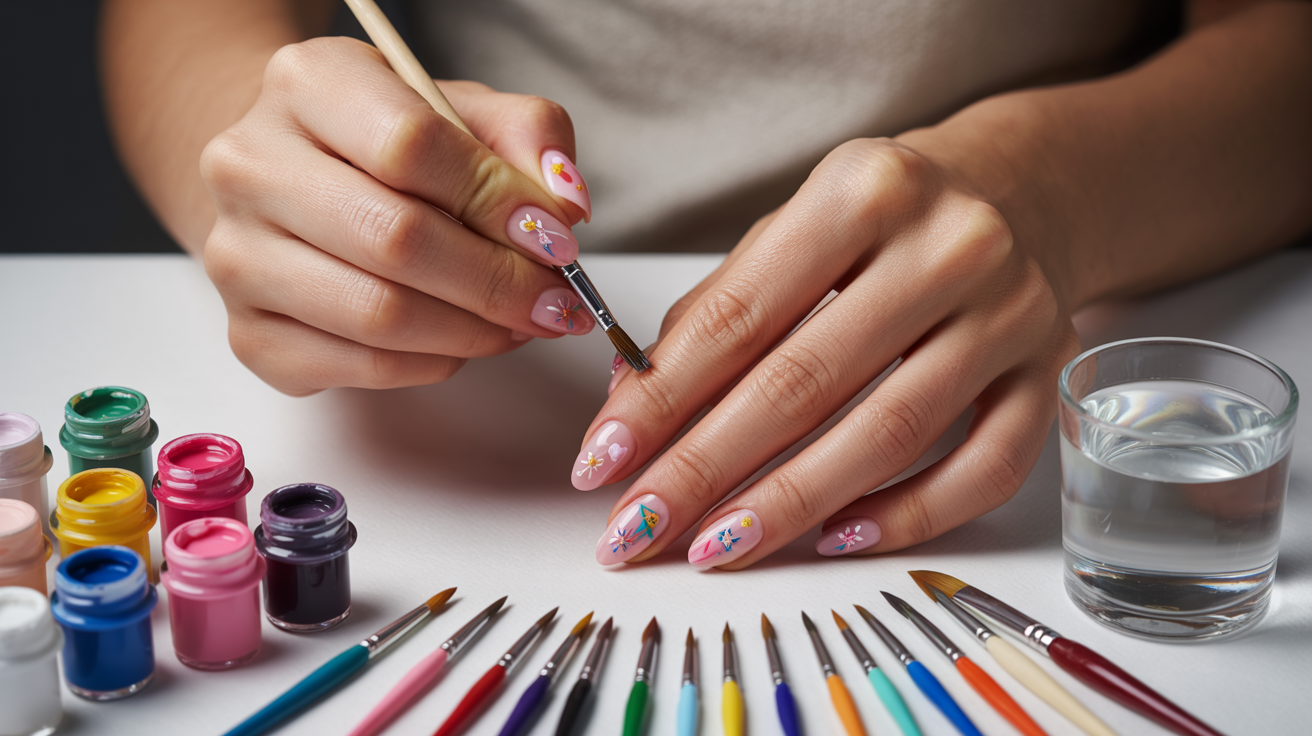
Painting by hand scared me at first. Start with simple shapes like hearts and stars. Move on to basic five-petal flowers. Your hand steadiness improves every time you try.
Acrylic paint works better than polish for detailed work. It’s thinner, dries slower, and you can fix mistakes with water. Rest your painting hand on your other hand for stability.
Textured and 3D Designs
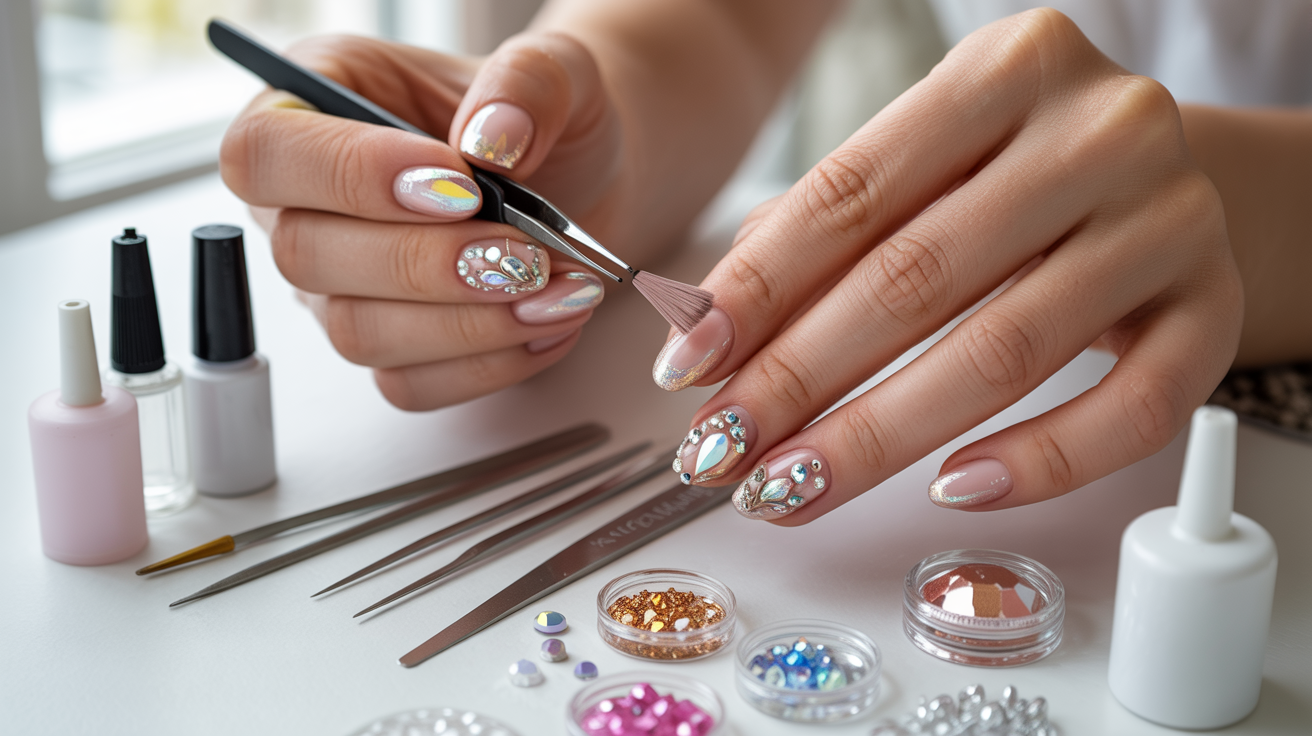
Adding dimension takes your nails from flat to fabulous. Build up layers where you want raised elements. Texture powders and flocking add instant dimension when you sprinkle them over wet polish.
Small crystals and rhinestones stick to wet top coat or nail glue. Place them carefully with tweezers or a dotted tool.
Seal everything with top coat but avoid flooding the design. These methods add that extra wow factor to any look.
Nail Preparation for Better Results
Good prep work is the secret behind long-lasting nail art techniques. I used to skip this step and my designs would chip in a day.
Follow these prep steps every time:
- Trim your nails to your preferred length
- File them into your chosen shape
- Push back your cuticles gently
- Buff the nail surface lightly for smoothness
- Wash your hands and clean under your nails
- Wipe each nail with polish remover to remove oils
- Apply a thin base coat and let it dry completely
Clean, prepped nails give your polish something to grip. Base coat protects your natural nails from staining. Spending five extra minutes here saves you from redoing everything in two days.
Tips for Perfecting Your Nail Art Skills
Getting good at nail art happens faster when you practice smart. I learned these lessons through lots of trial and error.
These tips will speed up your progress:
- Start simple and add complexity gradually
- Practice on fake nails or paper before your real nails
- Work in bright lighting so you can see details clearly
- Rest your hands on a table for steadiness
- Apply thin polish coats (they dry faster)
- Wait for each layer to dry completely
- Keep a small brush with remover nearby for cleanup
- Seal every design with a quality top coat
- Don’t get frustrated by mistakes
- Watch video tutorials to see techniques in action
- Try weird color combos
- Practice at least once a week
- Remember that everyone starts as a beginner
I still mess up regularly. Your confidence grows with every design you complete, even the imperfect ones. Pick one technique at a time rather than trying everything at once.
Conclusion
Nail art techniques are skills you can absolutely learn. You don’t need artistic talent or expensive supplies to get started. What you need is curiosity and a willingness to practice.
Pick one or two methods from this guide that excite you most. Master those before moving to others. Mistakes don’t mean you’re bad at this. They mean you’re learning.
Start creating today. Your nails are a tiny canvas for self-expression. Try bold colors. Mix unexpected patterns. Let your personality show through your fingertips.
Frequently Asked Questions
How Long Should I Wait Between Coats When Doing Nail Art?
Wait at least two minutes between thin coats of regular polish. Thicker layers need five minutes. I use quick-dry drops to speed things up, but rushing causes smudges. Test with a gentle finger tap before adding more layers.
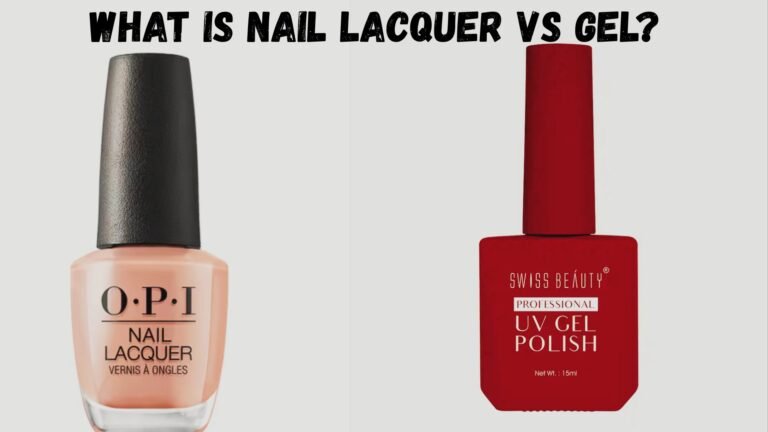
Can I Use Regular Nail Polish for All These Techniques?
Regular polish works for most nail art techniques like dotting, striping, and gradients. Stamping needs special thick polish for best results. Gel polish lasts longer but requires UV light. Start with what you have and upgrade later.
What’s the Best Way to Remove Nail Art Without Damaging My Nails?
Soak cotton pads in acetone-free remover and press them on each nail for 30 seconds. The polish softens and wipes off easily. Never scrape or peel polish off. Use cuticle oil after removal to rehydrate your nails.
How Can I Make My Nail Designs Last Longer?
Proper prep work and base coat make the biggest difference. Apply thin polish layers and seal with top coat. Avoid hot water for two hours after painting. Reapply top coat every three days to maintain shine and protection.
Do I Need Expensive Tools to Create Beautiful Nail Art?
Not at all. Bobby pins, toothpicks, and tape work great when you’re starting. Invest in a few good brushes and a quality top coat. I created gorgeous nail art techniques with drugstore polish for years before upgrading.