Nail Prep Steps: How to Make Polish Last Longer
You just painted your nails yesterday, and they’re already chipping. Maybe the polish is lifting at the edges, or it peeled off in one frustrating sheet.
I’ve been there, and it’s so annoying.
Here’s what most people don’t realize, though.
The problem isn’t always your polish or technique. It’s usually the prep work you did before painting. Nail prep steps create the foundation for everything that comes after.
They ensure proper adhesion, help your manicure last longer, and keep your nails healthy underneath.
I’m going to walk you through each step of proper nail preparation.
Why Nail Preparation Matters
Proper preparation prevents the most common nail problems. Lifting, chipping, and even infections often start with skipped prep steps.
When you prep correctly, you create a strong foundation for any nail service. Polish, gel, or acrylics all need that clean, prepared surface to stick properly.
Your results last way longer with good prep. The time you invest at the beginning pays off with extra days or weeks of wear.
Prep removes the natural oils and debris that interfere with adhesion. Your nails produce oils constantly, and these create a barrier between your nail and whatever you’re applying.
Key Tools You Need for Nail Prep
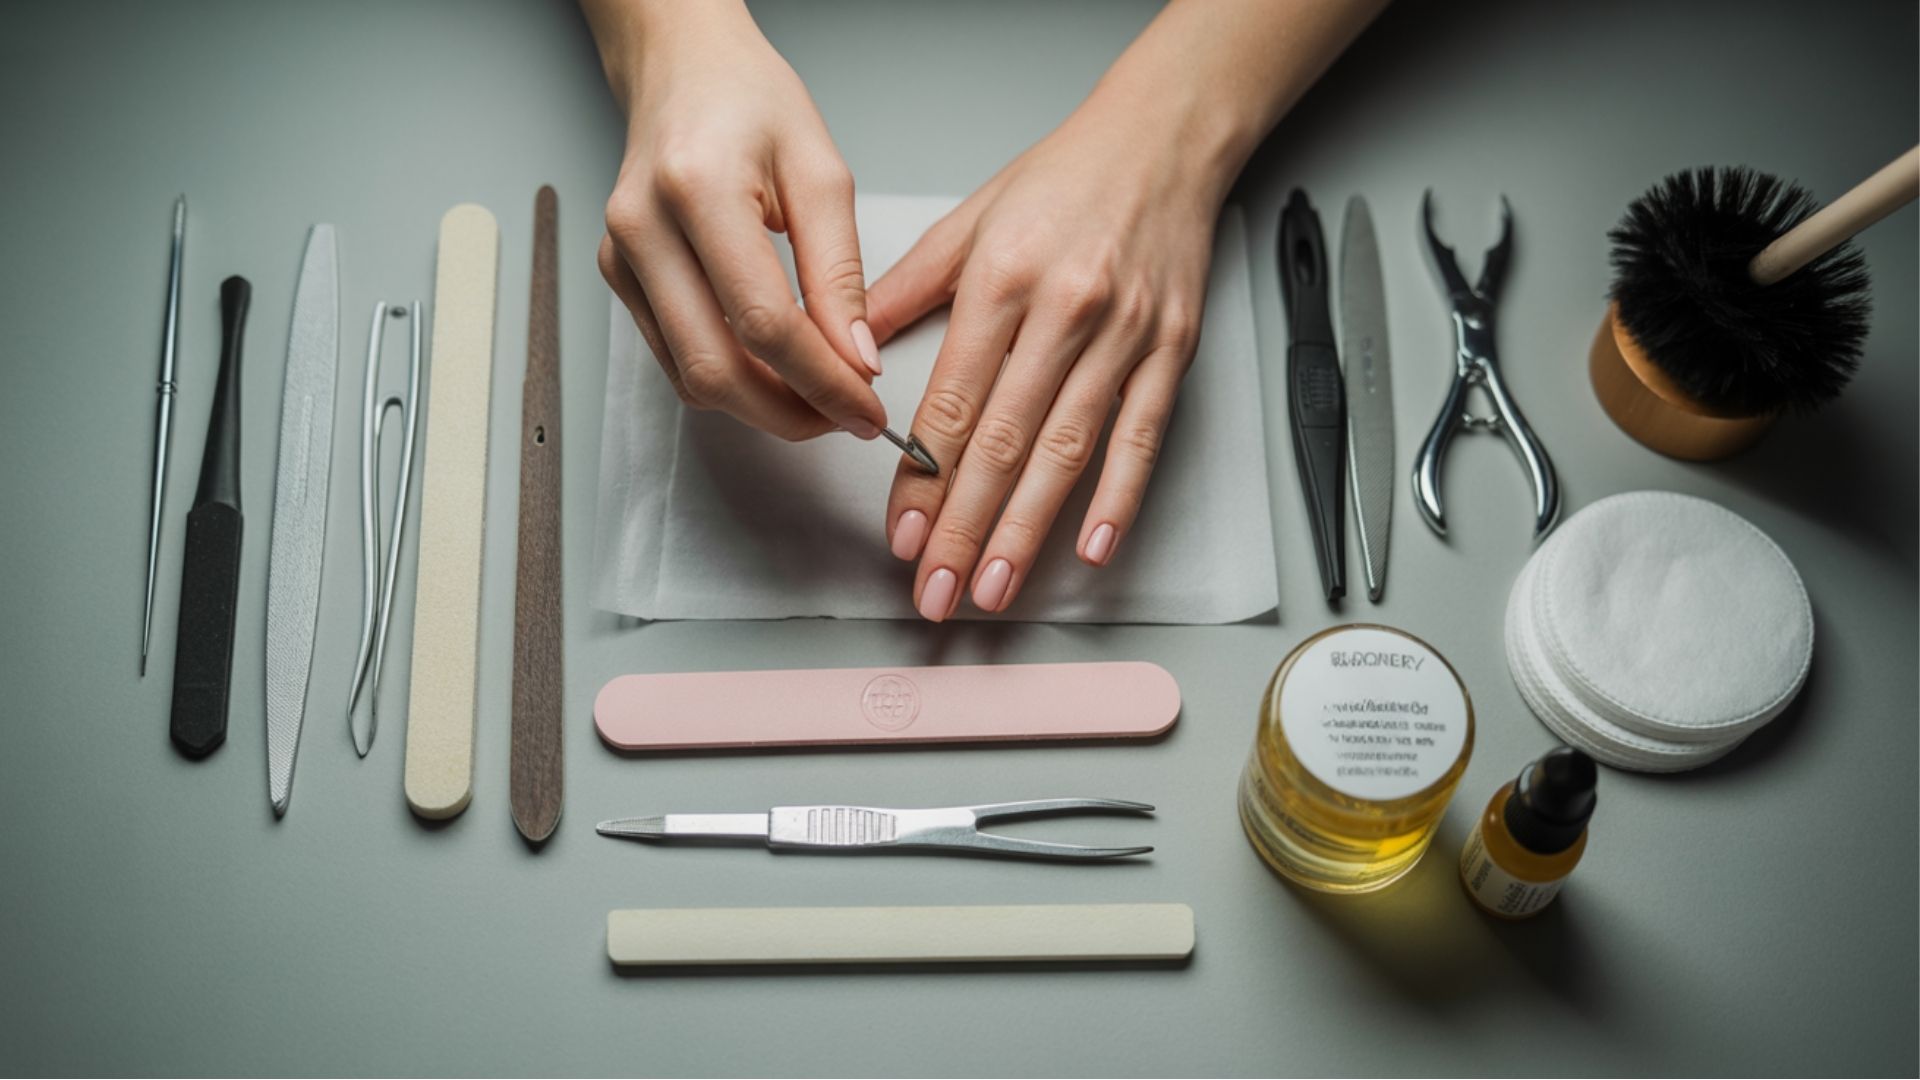
Having the right supplies on hand makes the entire process smoother. You don’t need expensive professional tools, but quality basics make a difference.
Start by gathering everything before you begin. Stopping mid-prep to find tools breaks your flow and can compromise your results.
- Nail file (180-240 grit) and buffer block
- Cuticle pusher or orangewood stick for gentle pushing
- Nail clippers for length reduction
- Cotton pads or lint-free wipes that don’t leave fibers
- Isopropyl alcohol (70% or higher) or nail polish remover
- pH bonder and primer for professional adhesion
- Cuticle oil or hand moisturizer
- Dust brush to sweep away filing debris
Each tool serves a specific purpose in the prep process. Files shape and smooth edges. Buffers create texture for adhesion. Alcohol removes oils.
Primers bond polish to nails. Using proper tools prevents damage and improves your final results significantly.
Step-by-Step Nail Prep Process
Following nail prep steps in the right order gives you consistent, professional results. Here’s exactly what to do and when to do it.
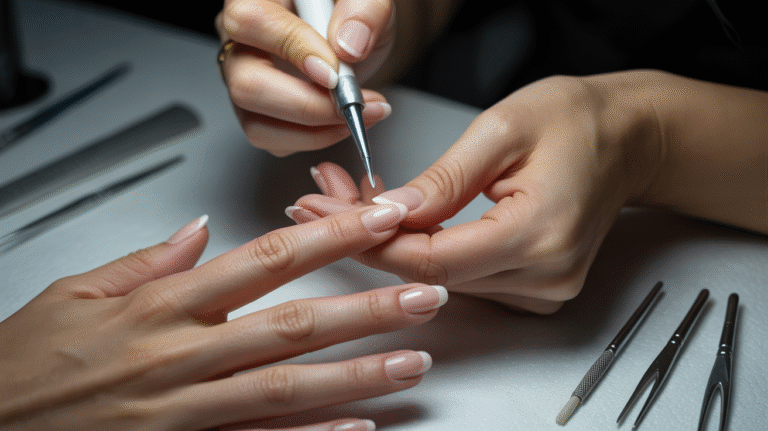
Step 1: Remove Old Polish or Nail Art
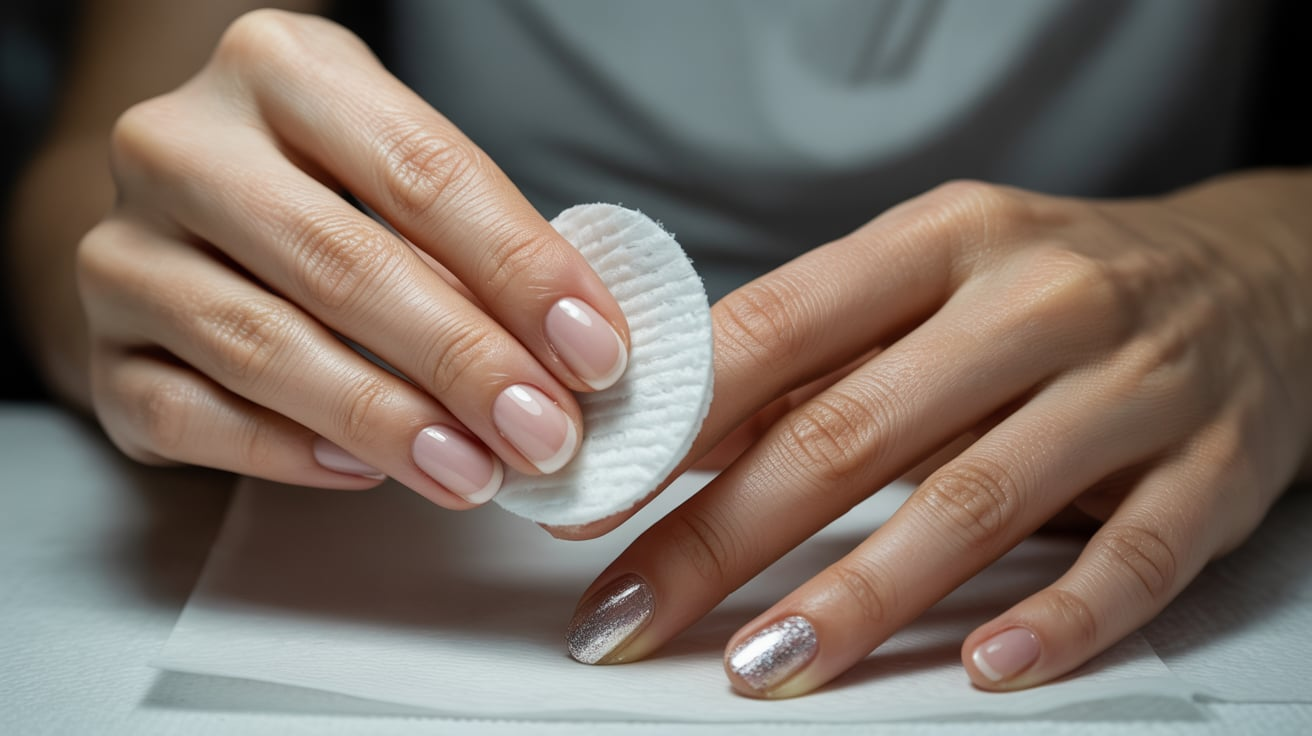
Soak a cotton pad in nail polish remover. Press it against your nail for a few seconds before wiping.
Clean off every bit of old color completely. Even tiny specks left behind create bumps under fresh polish.
Gel or acrylic removal needs more time. Soak cotton pads in acetone, wrap them on your nails with foil, and wait 10 to 15 minutes.
Don’t force product off your nails. Let the remover do its job, then gently wipe away softened polish.
Step 2: Trim and Shape Your Nails
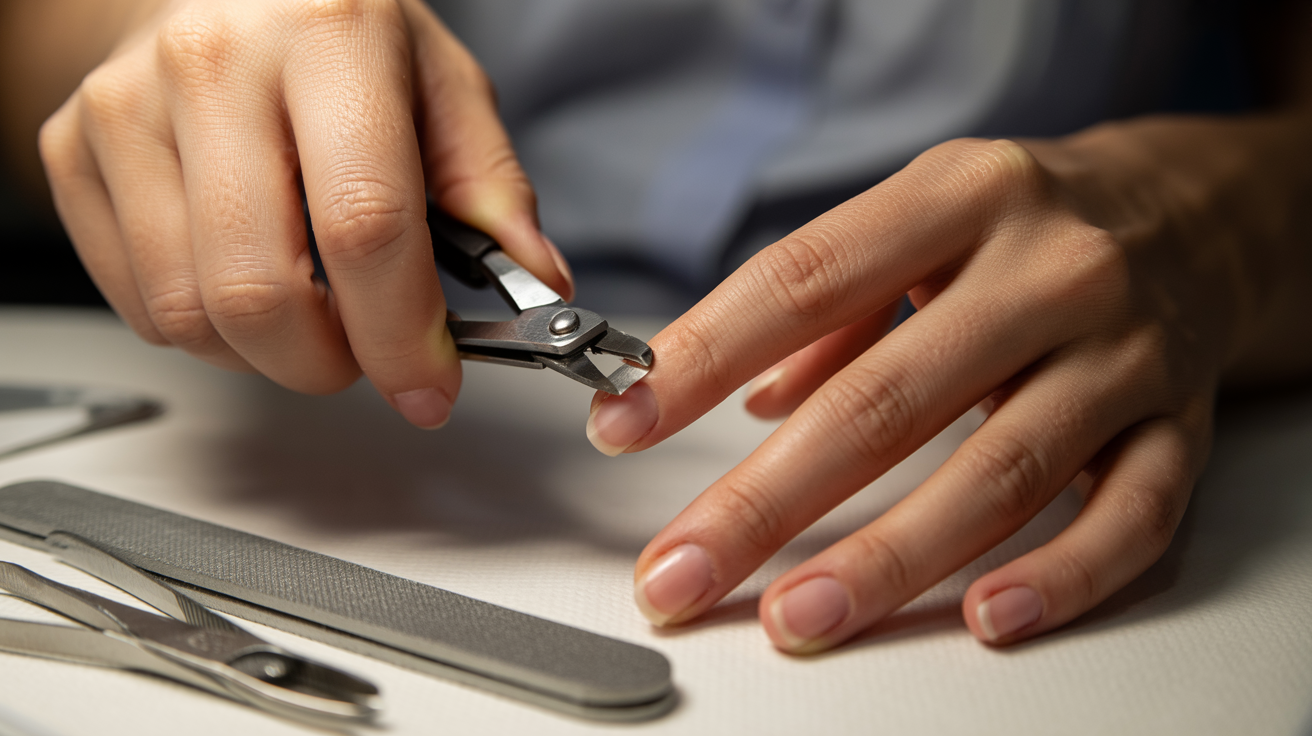
Clip your nails to your desired length. Keep a little white tip visible for the healthiest look.
File the edges smooth using a medium-grit file. Rough edges snag on everything and look messy.
Choose your preferred shape now. Square, round, oval, or squoval all start with proper filing technique.
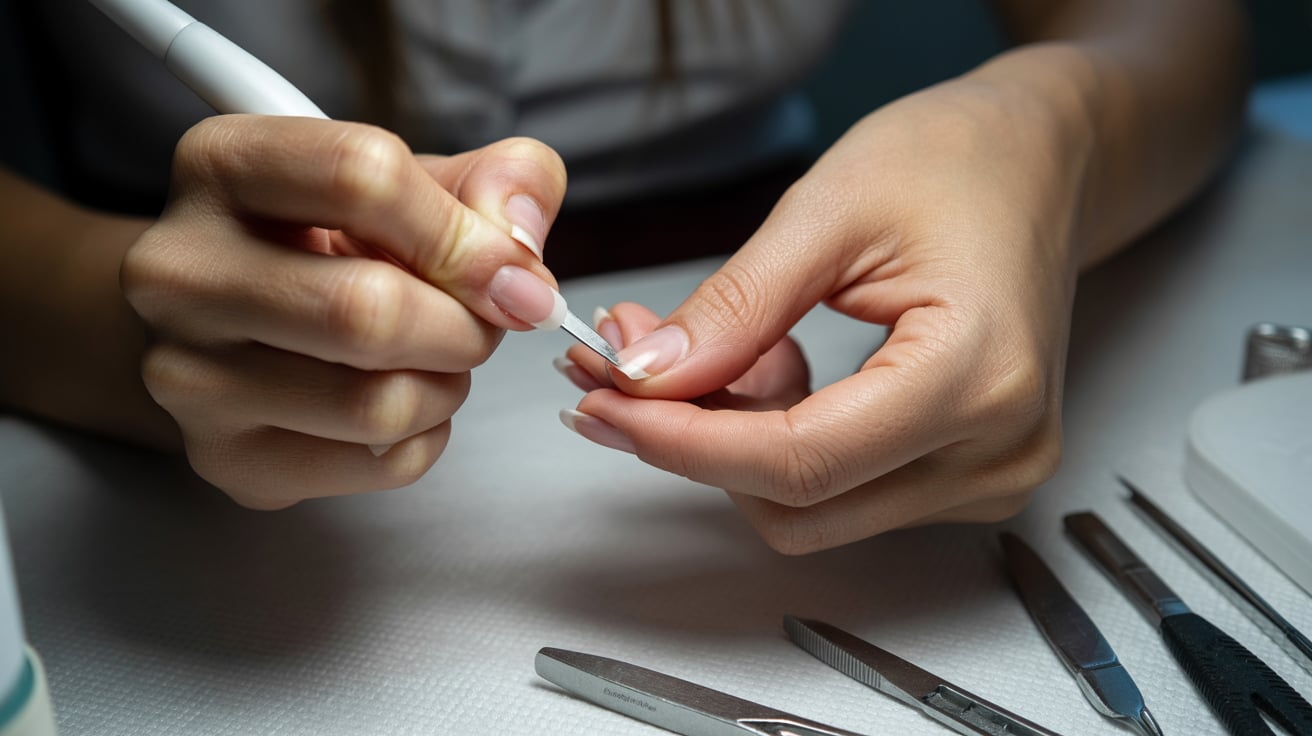
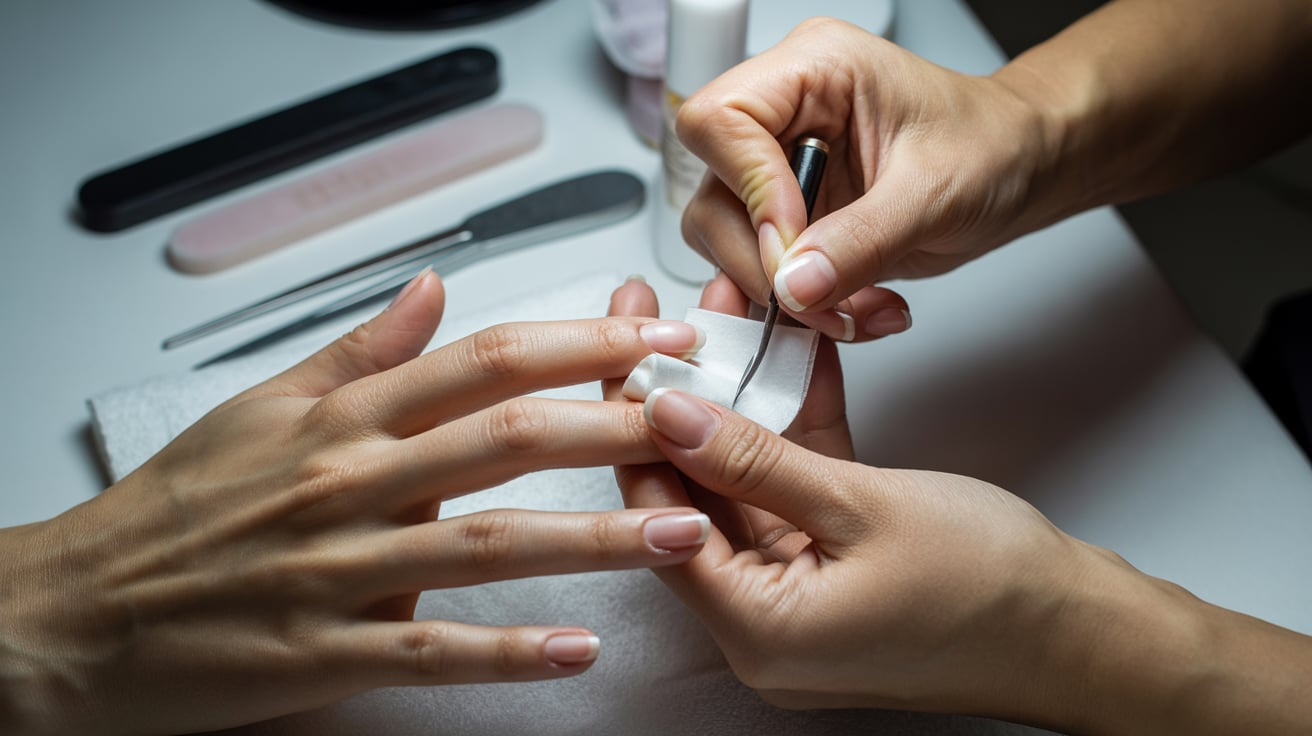
Remove any lifted or dead cuticle tissue carefully with a nipper. Only trim what’s already separated from your nail.
Step 3: Buff the Nail Surface
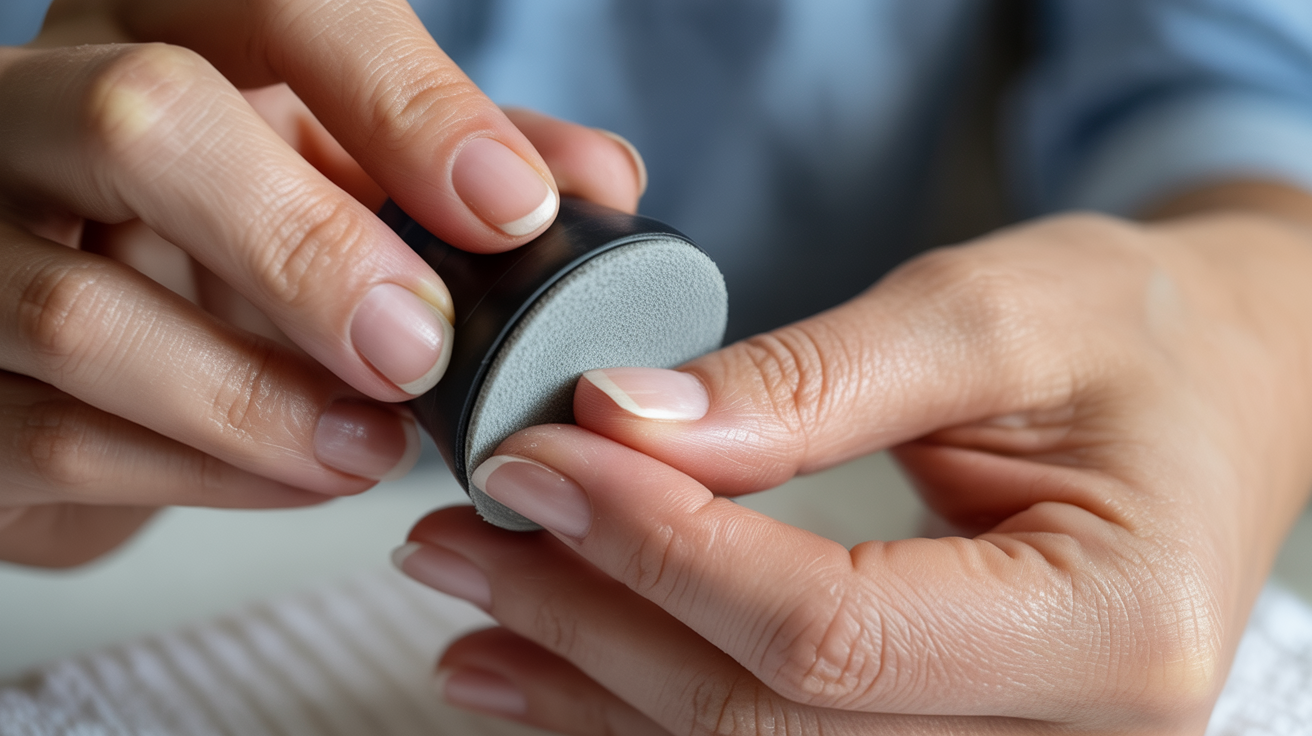
Use a mildly coarse buffer on your nail surface. This creates a microscopic texture that helps products grip better.
You’re aiming to remove the natural shine without damaging the nail plate underneath. Light pressure is all you need.
Don’t over-buff your nails. Too much buffing actually weakens them and makes them thinner over time.
The surface should look slightly matte when you’re done. If it’s still very shiny, buff a bit more.
Step 4: Soak Your Nails
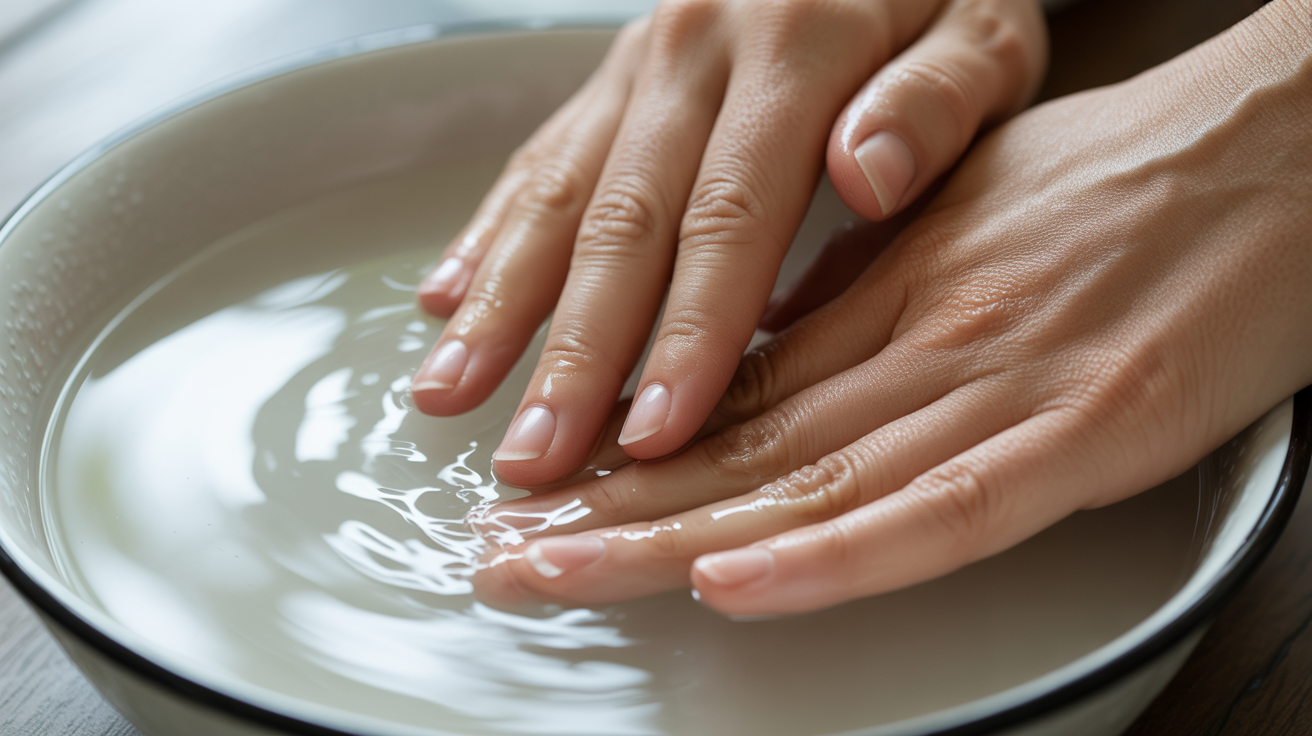
Fill a bowl with warm water and add a drop of gentle soap. The water should feel comfortable, not hot.
Soak your nails for 3 to 5 minutes. This softens your cuticles and makes them easier to work with.
The soak also removes grime and residue that plain wiping might miss. Your nails come out really clean.
Pat your hands dry completely when you’re done soaking. Wet nails don’t hold polish well at all.
Step 5: Address Your Cuticles
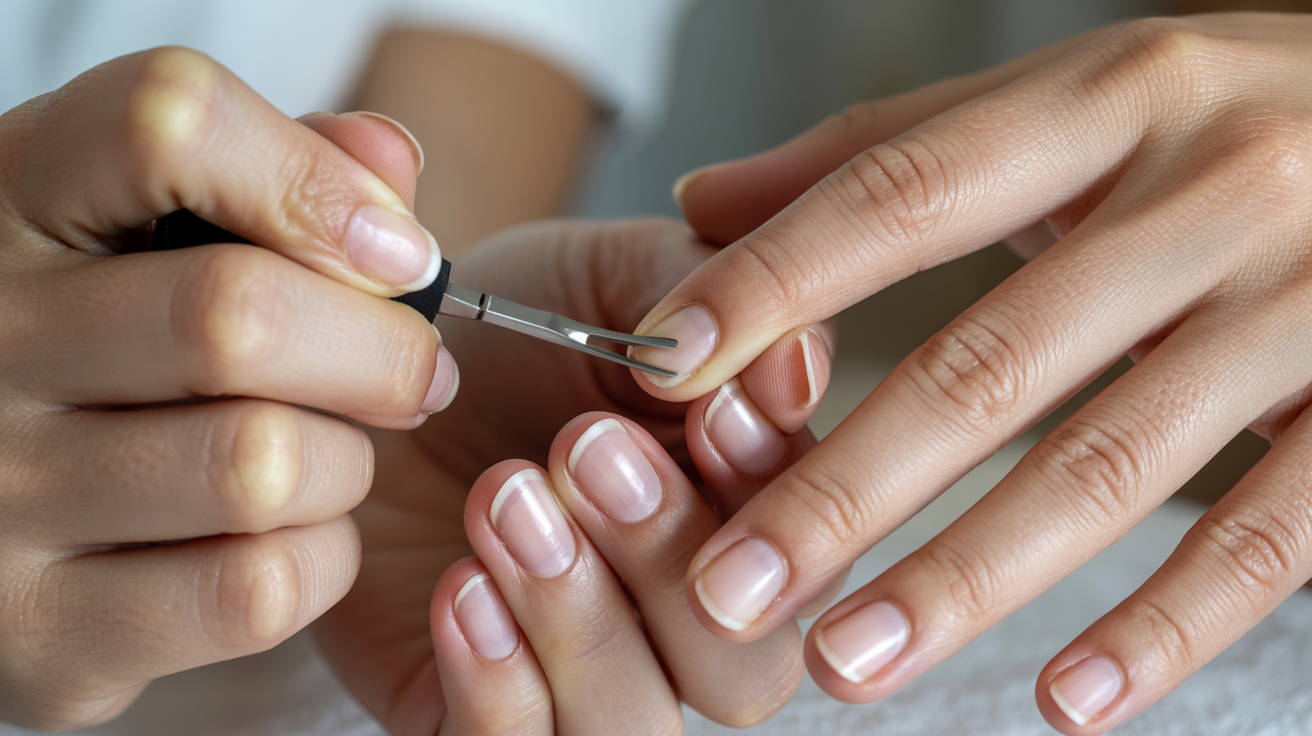
Push back your cuticles gently using a cuticle pusher. Work carefully and don’t force anything.
Only trim cuticles if you’re experienced and confident. Cutting too much can cause bleeding and infection.
Revealing more nail surface helps your polish last longer. The color has more nail to grip onto.
Healthy cuticles protect your nails from bacteria. Never cut living tissue, only the dead, lifted parts.
Take your time with this step. Rushing here can lead to painful cuts and problems later.
Step 6: Moisturize and Let Dry
Apply cuticle oil or hand cream generously. Focus on your cuticles and the skin around your nails.
This step keeps your nails and surrounding skin healthy. Dry cuticles crack and peel, which looks bad.
Wait at least 30 minutes for complete absorption. The oils need time to sink in fully before the next step.
Your hands will feel soft and hydrated. Moisturizing regularly prevents hangnails and dry patches.
Step 7: Clean and Dehydrate the Nail Plate
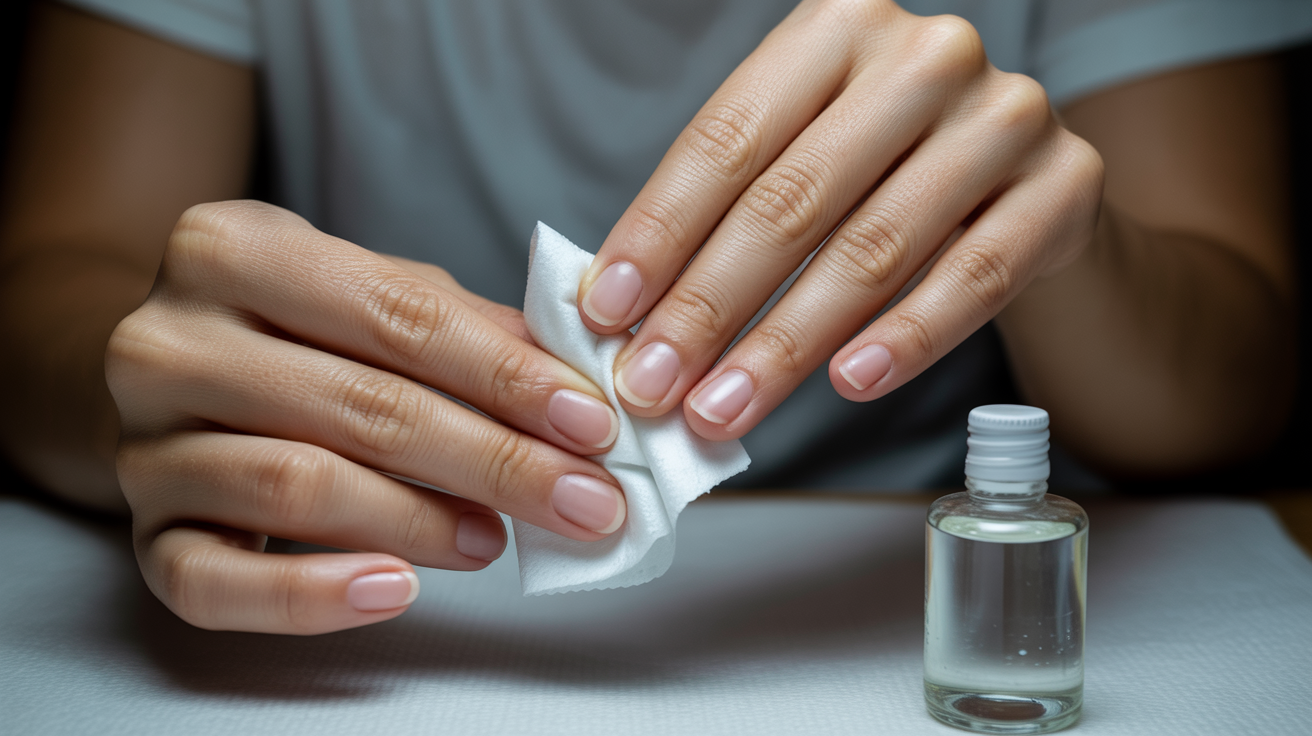
Wipe each nail thoroughly with isopropyl alcohol or nail polish remover. Get the entire nail surface and under the free edge.
This removes all traces of oils and residue. Even natural nail oils need to go for proper adhesion.
Your nail should feel completely dry and slightly tacky. Any moisture or oil left behind causes lifting.
This is the most critical step for adhesion. Don’t skip it even if you’re in a rush.
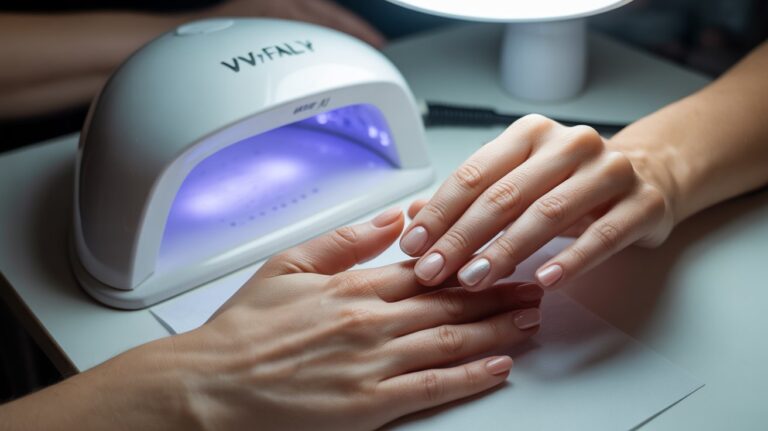
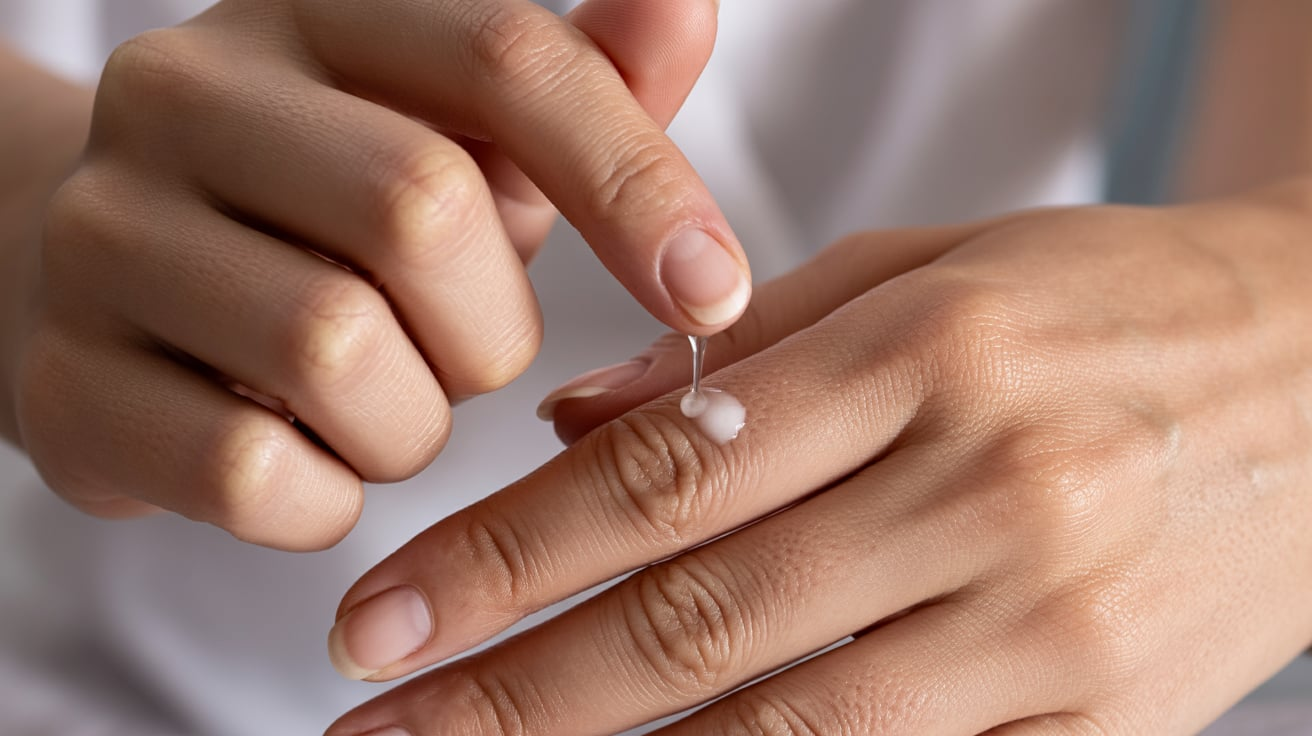
Apply Primer or Base Coat
Primer and base coat serve different purposes. Primer is a chemical bonder that changes your nail’s pH level.
Base coat provides a smooth surface and protects your natural nail from staining. It also helps color adhere better.
Use primer for gels and acrylics. Use base coat for regular polish. Some people use both for extra insurance.
Apply primer sparingly if you choose to use it. A thin layer across the nail plate is plenty.
Let primer dry completely before applying base coat. Then apply base coat in thin, even strokes from cuticle to tip.
This seals all your prep work and creates the perfect foundation. Everything you apply next will stick properly and last longer.
Tips for Successful Nail Preparation
Small habits make a big difference in how well your nail prep steps work. These tips come from years of experience and lots of trial and error.
Never rush through preparation. Taking your time with each step prevents problems later and actually saves time overall because your manicure lasts longer.
- Don’t rush the process even when you’re excited to paint
- Be gentle with your cuticles to avoid cuts and irritation
- Work in good lighting so you can see what you’re doing
- Keep all your tools clean between uses for hygiene
- Prep routines can vary by personal preference but the goal stays the same
- Avoid cutting cuticles too deep as this causes pain and infection
- Use the right grit level for your nail type and needs
- Replace tools when they become dull or damaged
Consistency matters more than perfection. Following the same routine every time trains your hands and improves your results. You’ll get faster and better with practice.
Conclusion
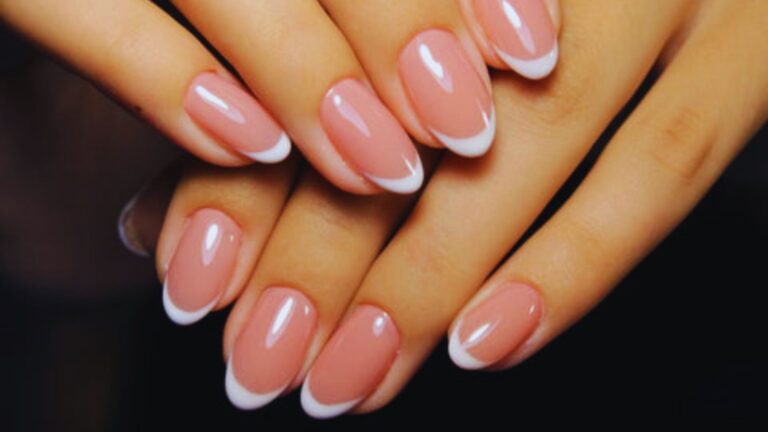
Proper nail prep steps make the difference between polish that lasts two days and polish that lasts two weeks.
The time you invest in preparation always pays off with better, longer-lasting results.
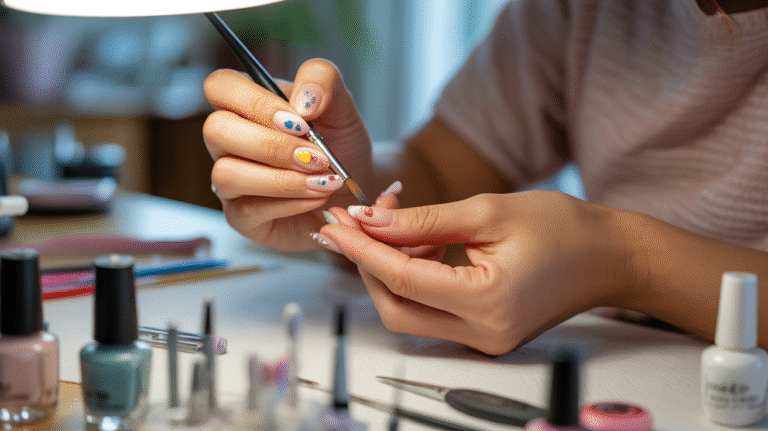
I encourage you to practice and refine your technique with each manicure. You’ll notice improvements quickly as you get comfortable with the process.
These steps might seem like a lot at first, but they become second nature fast. You can absolutely achieve salon-quality results at home.
Start with your next manicure and see how much better your nails look and feel with proper prep.
Frequently Asked Questions
How Long Does Nail Preparation Usually Take?
Expect to spend 15 to 30 minutes on complete nail preparation. Your speed increases with practice and experience. The time varies based on your nail condition, how much cuticle work you need, and whether you’re removing old product first.
Can I Skip Certain Prep Steps If I’m In A Hurry?
Never skip cleaning and dehydrating your nails. This step is absolutely critical for adhesion. You can skip the soak if needed, but your cuticles will be harder to push back. Skipping prep leads to early chipping and lifting every single time.
What Happens If I Don’t Use Primer Before Polish?
Regular polish doesn’t require primer at all. Primer is mainly for gel and acrylic applications. Without primer on these products, you’ll get lifting and poor adhesion. For regular polish, base coat alone provides enough bonding and protection for your nails.
How Often Should I Replace My Nail Prep Tools?
Replace files and buffers every 3 to 6 months depending on use frequency. Metal tools last for years with proper cleaning. Cotton pads and wipes are single-use only. Replace any tool that shows signs of rust, damage, or wear.
Is Nail Prep Different For Natural Nails Versus Extensions?
The basic technique stays similar for both. Extensions need more aggressive buffing to remove shine from artificial material. Natural nails require gentler handling to avoid damage. Both need thorough cleaning and dehydrating. The tools and products might differ, but the fundamental approach remains consistent.