How to Shape Nails Step by Step for Salon-Ready Results
You know that feeling when you leave the salon with perfectly shaped nails?
They look polished, even, and just right. But getting that same look at home can feel impossible. Here’s the thing, though.
Nail shaping isn’t some secret skill only professionals have. It matters for more than just appearance too.
The right shape prevents breakage and keeps your nails healthier overall.
I’m going to show you how to shape nails step by step so you can get salon-quality results yourself.
You’ll learn the exact process, understand different shapes, and know which tools actually work. This is totally achievable for everyone, including you.
Let’s get started.
Why Proper Nail Shaping Matters
Shaping your nails isn’t just about looks, it also prevents breakage and keeps them strong. Well-shaped nails are less likely to split or peel.
The right nail shape complements your fingers and enhances your overall hand appearance. Even small adjustments make a noticeable difference.
Using proper tools and techniques ensures nails stay healthy while looking polished. Cheap files or rough filing can cause damage over time.
Learning to shape nails at home saves money and gives you control over your nail care routine. Consistency is key for salon-quality results.
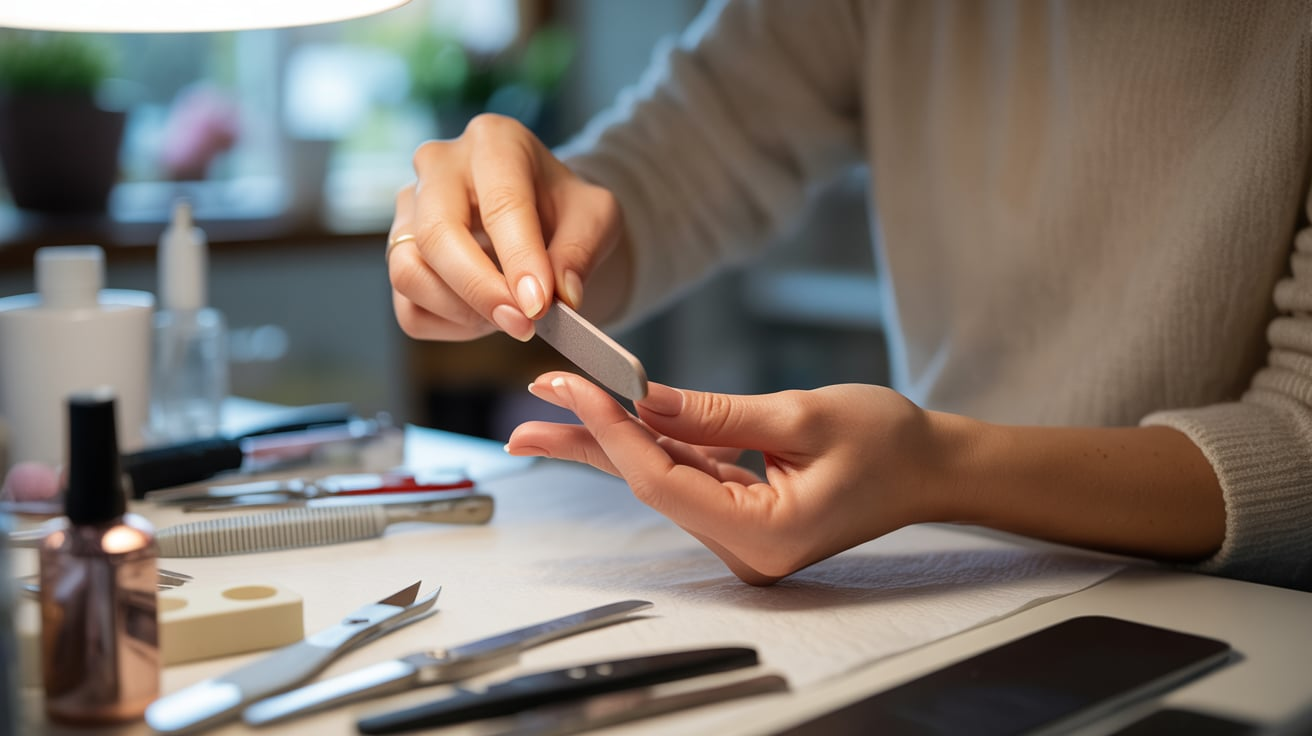
Key Tools You Need for Shaping Nails
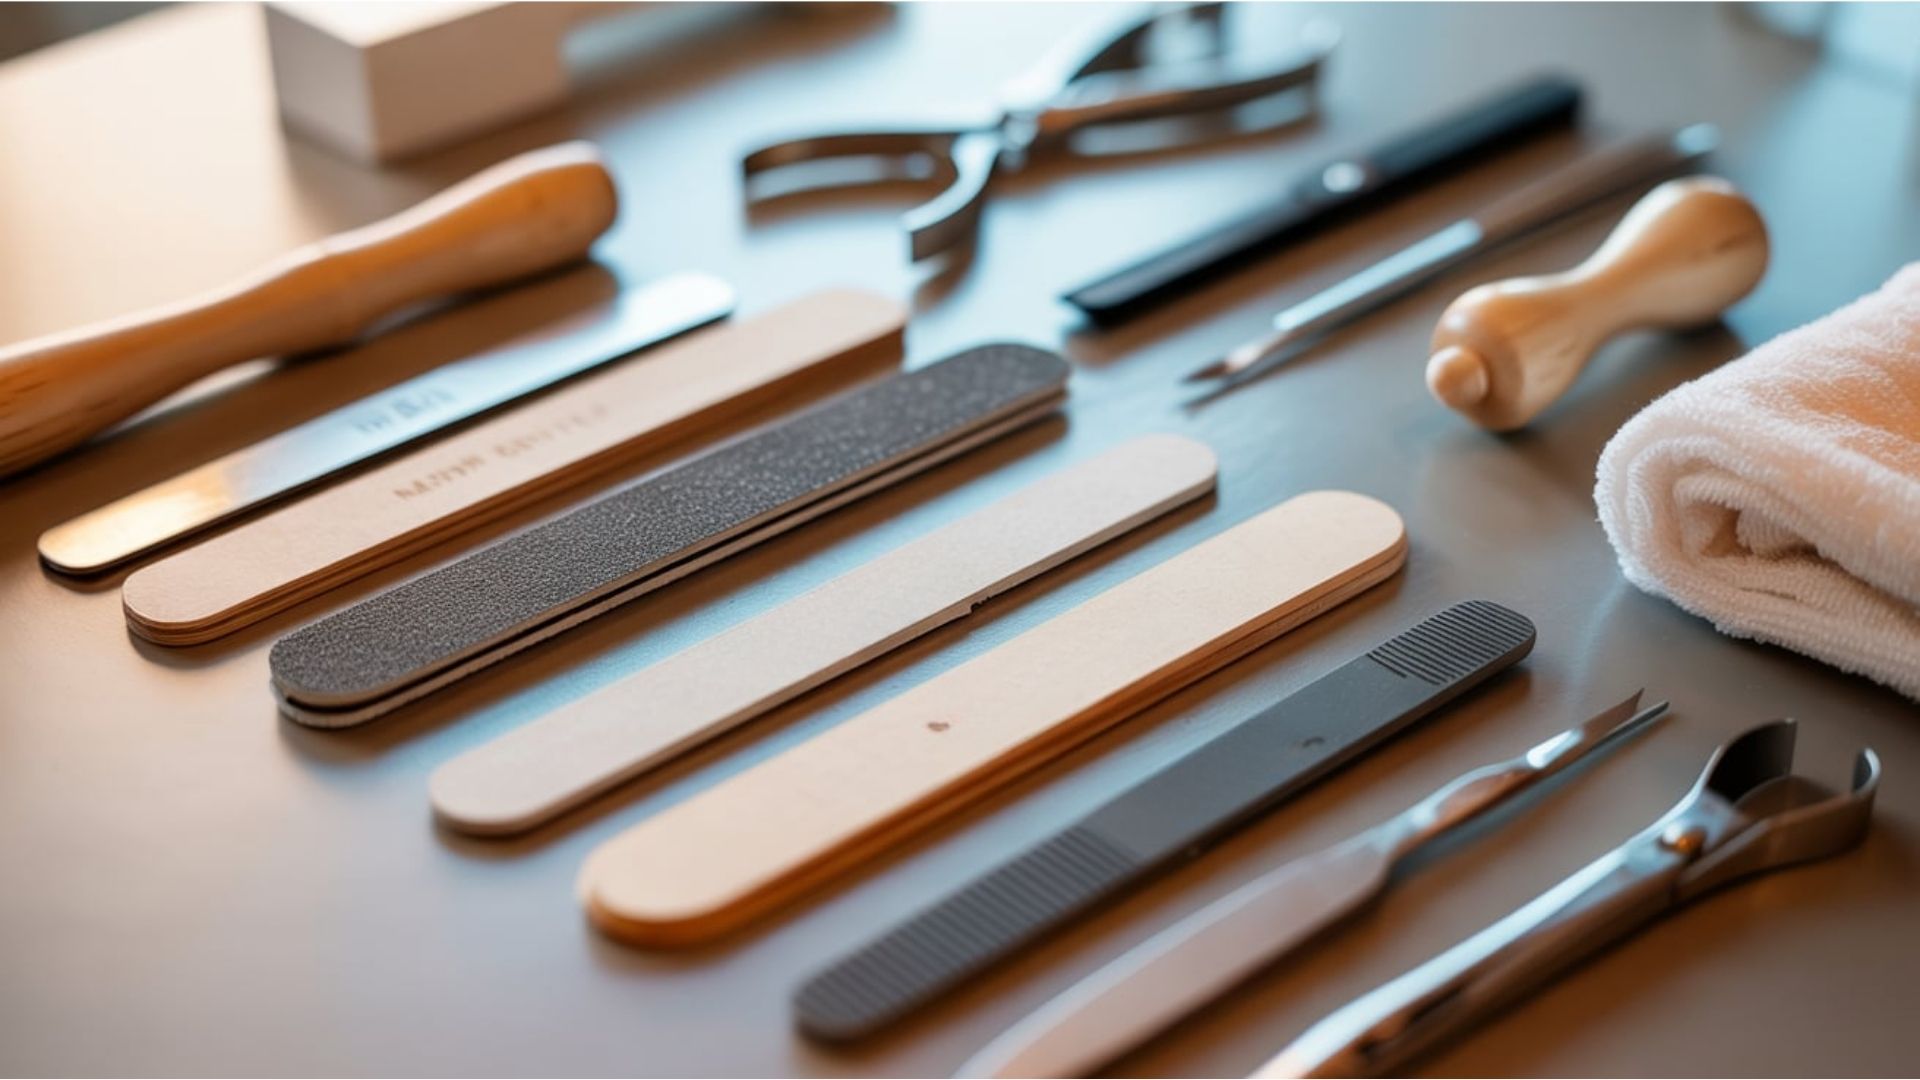
Before you start shaping, you need the right tools in your hands. Using proper equipment makes all the difference between damaged nails and beautiful ones.
A quality nail file is your most important tool. Look for 180 to 240 grit for natural nails. This range is gentle enough not to cause damage but effective enough to actually shape.
- Quality nail file (180-240 grit range)
- Emery boards for gentler filing option
- Nail clippers for initial length reduction
- Buffer (220/280 grit) for smoothing rough edges
- Cuticle pusher for cleanup (optional)
- Clean towel to wipe away filing debris
Investing in proper tools prevents nail damage in the long run. Cheap files are too rough and create tiny tears in your nail edge.
Those tears lead to peeling and splitting later. Spend a bit more on decent tools that protect your nails.
How to Shape Nails in 7 Easy Steps
This process works for any nail shape you want to create. Following these steps in order gives you the best, most consistent results.
Step 1: Start with Clean, Dry Nails

Remove any old polish completely before you begin. Even tiny bits of leftover color can make it hard to see what you’re doing.
Wash your hands thoroughly and dry them well. This seems obvious, but it’s actually really important.
Moisture affects how nails file. Wet or damp nails are softer and more prone to damage during filing.
Wait at least an hour after showering before shaping your nails. This gives them time to return to their normal hardness.
Step 2: Trim to Your Desired Length
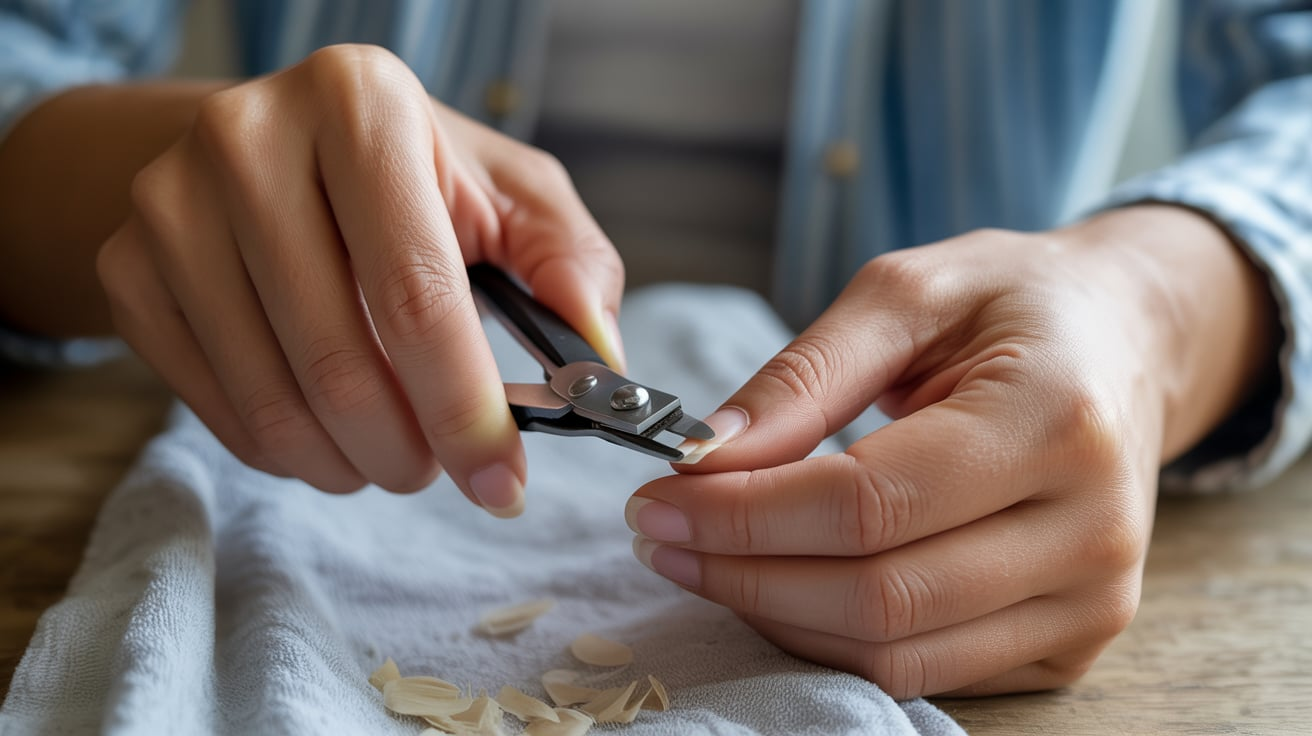
Use nail clippers to cut your nails first. This saves you tons of filing time and effort.
Trim from the sides moving toward the center of your nail. This prevents splitting and cracking at the edges.
Leave your nails slightly longer than your target length. You can always file more off, but you can’t add length back.
Small cuts work better than one big chop. Take your time with the clippers and work carefully.
Step 3: Choose Your Nail Shape

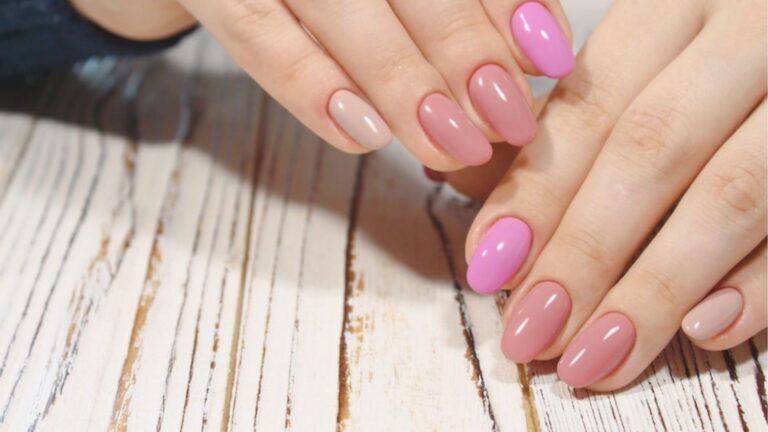
There are five main nail shapes to pick from. Square, round, oval, squoval, and almond each create different looks.
Beginners should follow their natural nail shape. This makes the process way easier and looks more natural.
Consider your finger length and lifestyle when choosing. Short fingers look longer with oval or almond shapes.
Your daily activities matter too. Square nails catch on things more than rounded ones do.
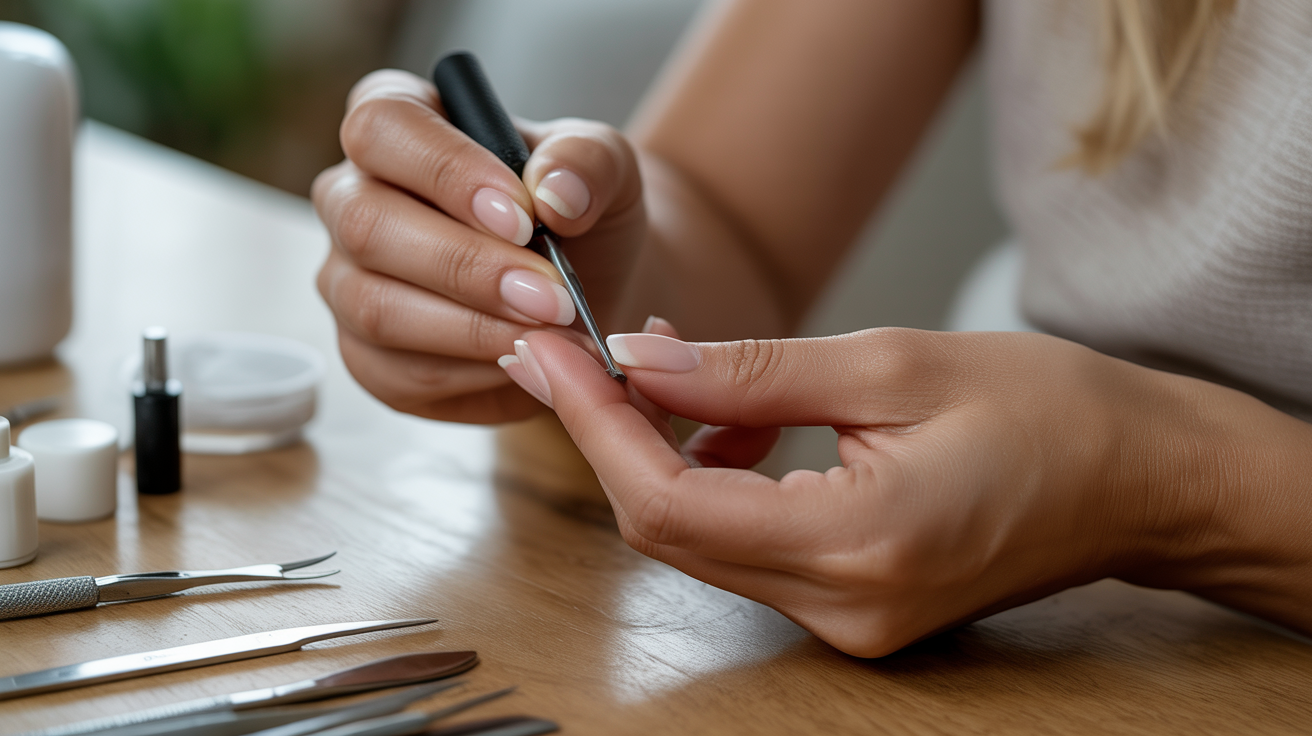
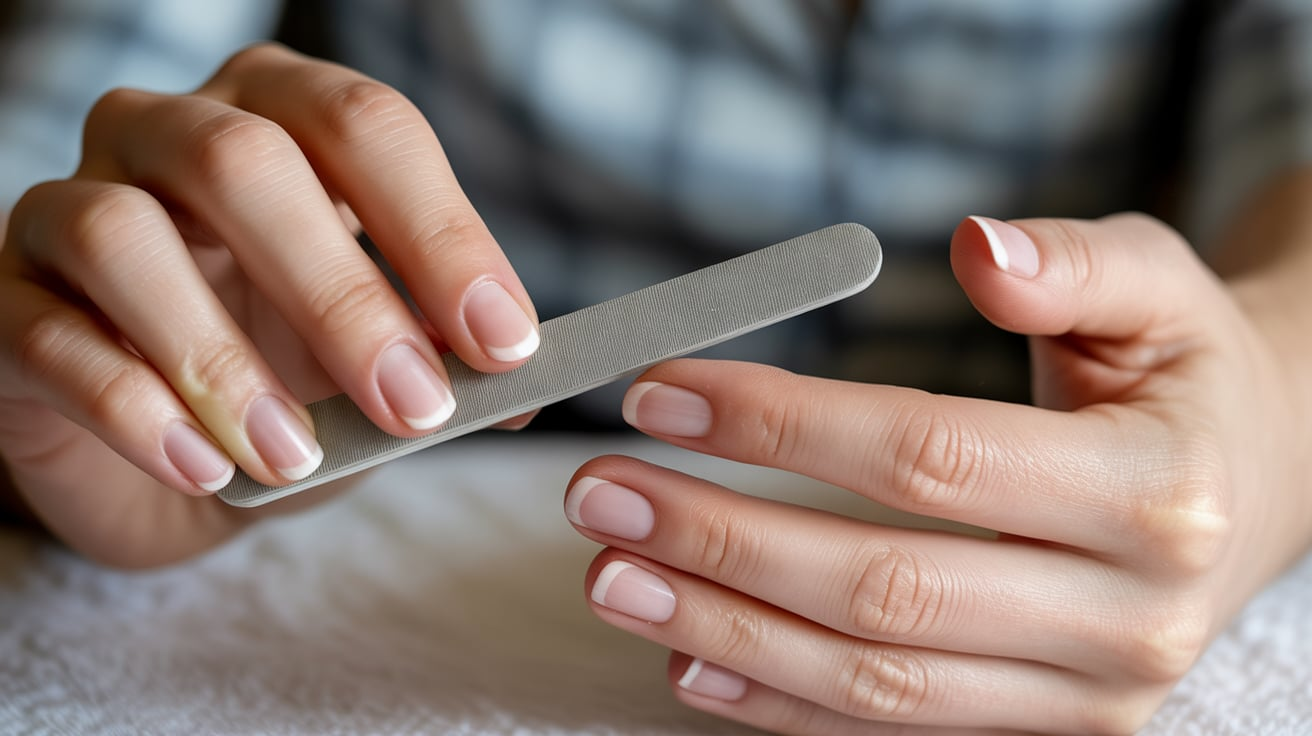
Step 4: File in One Direction Only
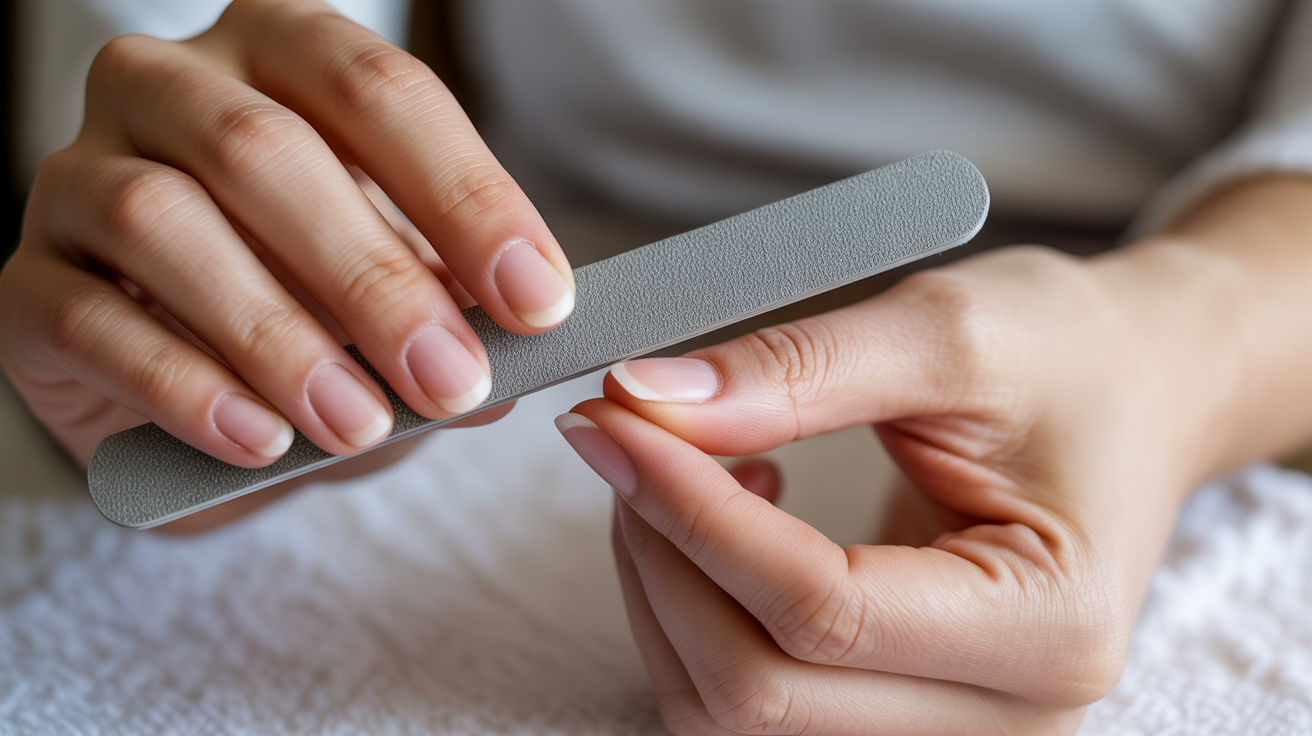
Never saw your file back and forth across your nail. This motion creates microscopic tears that weaken your nails.
Use gentle filing strokes in one direction only. Think of playing a tiny violin with your file.
Start from the outer edge and move toward the center. Lift the file after each stroke and start fresh.
Work on one nail completely before moving to the next. This helps you maintain consistency across all your nails.
Step 5: Shape the Sides and Edges
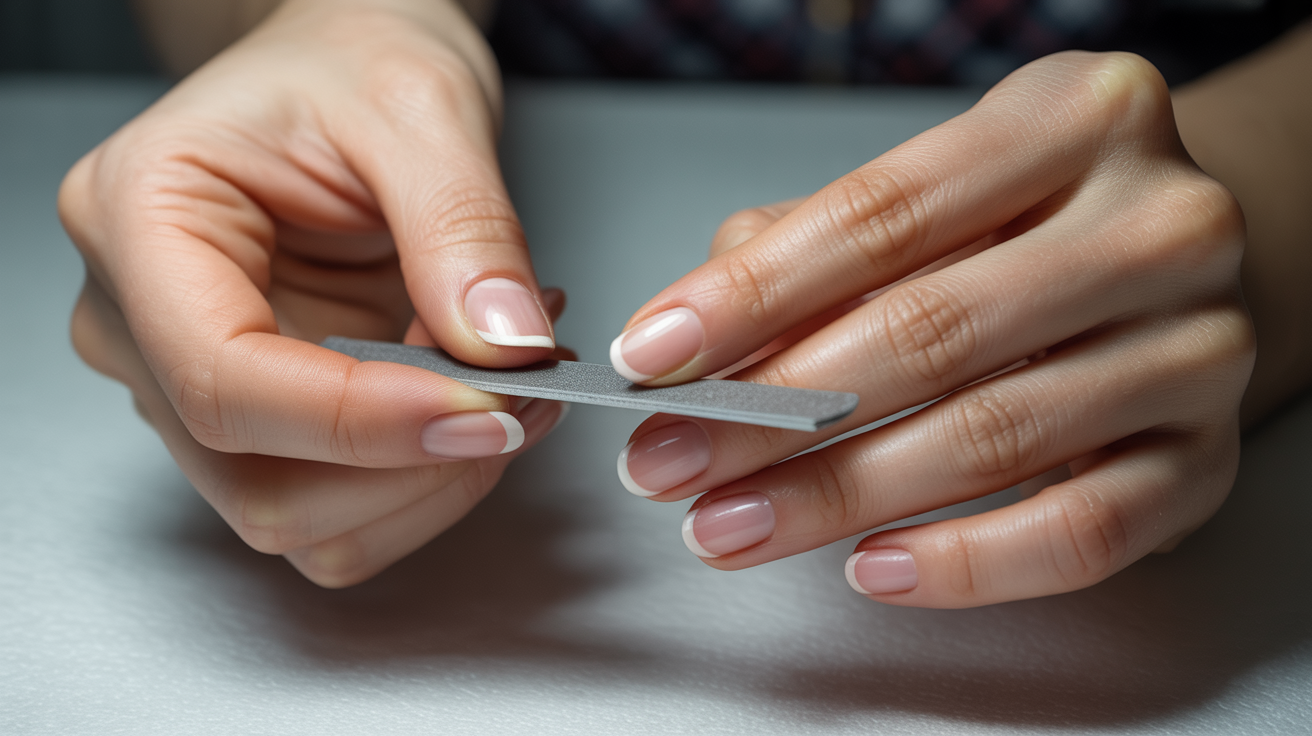
File the sidewalls of your nails to create your desired width. This step defines the overall shape you’re creating.
Angle your file slightly if you want tapering toward the tip. Keep it straight for square or squoval shapes.
Check symmetry from different angles as you work. Look at your nails from the front, sides, and top.
Step back and compare your nails frequently. It’s easy to over-file when you’re focused on one nail.
Step 6: Refine the Free Edge
Focus on shaping the tip based on your chosen style. This is where your shape really takes form.
Smooth out any rough spots or uneven areas. The free edge should feel smooth when you run your finger across it.
Make sure the edges connect smoothly with the sides. There shouldn’t be any weird angles or sharp transitions.
Take your time with this step. The free edge is the most visible part of your nail shape.
Step 7: Buff and Smooth
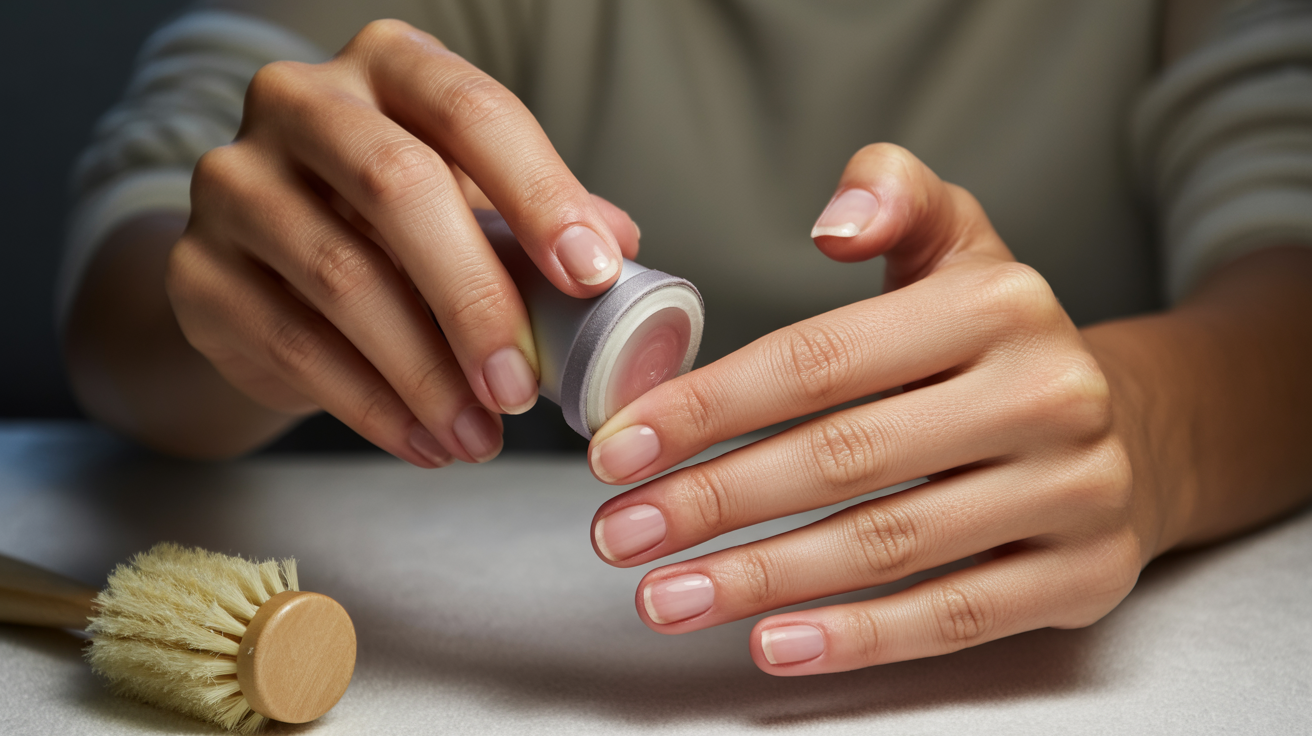
Use a buffer to remove any fraying from filing. This prevents those annoying snags that catch on everything.
Check under and around your nails for rough spots. Sometimes filing creates little burrs underneath the free edge.
Smooth any sharp corners that could scratch your skin. Your nails should feel completely smooth to the touch.
Clean debris from under your nails with a soft brush. This finishing touch makes your nails look really polished.
Understanding Different Nail Shapes
Each shape works better for certain nail types and lifestyles. Here’s what you need to know about the main options.
Your nail shape should complement your fingers and fit your daily life. There’s no single best shape for everyone. What works for your friend might not work for you.
- Square: Flat top with sharp corners, works for all nail bed sizes and looks clean and modern
- Round: Classic curved shape following your fingertip, ideal for shorter nails and easy maintenance
- Oval: Elongates fingers with tapered sides and rounded tip, feminine and flattering on most hands
- Squoval: Hybrid combining square base with oval corners, balanced look that’s practical and pretty
- Almond: Pointed shape requiring medium to long nails, dramatic and fashion-forward but less practical
Each shape requires slightly different filing techniques. Square needs horizontal strokes across the tip. Round and oval need curved motions.
Almond requires precise tapering on both sides. Practice helps you understand which motions create which shapes.
Pro Tips for Perfect Nail Shaping
These insider tricks make learning how to shape nails step by step way easier. Professional nail techs use these techniques every single day.
Always file nails when they’re completely dry. Never shape right after a shower or bath. Wet nails are softer and more vulnerable to damage from filing.
- Keep all nails at similar length for a balanced look
- Thumb and middle finger can be slightly longer since they have wider nail beds
- Pinky should be your shortest nail
- Index and ring fingers should match each other in length and shape
- Don’t over-file the sidewalls because this weakens nail structure
- Regular shaping every 1-2 weeks promotes healthy growth patterns
- Apply cuticle oil after filing to restore moisture
- Replace files regularly when they lose their grit and become less effective
Consistency is what makes nails look professionally done. When all your nails match in shape and length, your hands look polished even without color.
This attention to detail makes the biggest difference.
Conclusion
Learning how to shape nails step by step is simpler than most people think. It just takes the right technique and a little practice.
Remember that filing in one direction is your most important rule.
Everything else builds from there. This skill saves you money and time in the long run. You won’t need salon appointments just for basic nail maintenance anymore.
I encourage you to try your favorite shape this week. Start with something easy like round or squoval if you’re nervous.
You’ll get better with each attempt, and soon it’ll feel totally natural.
Frequently Asked Questions
How Often Should I Shape My Nails?
Shape your nails every 1 to 2 weeks depending on your growth rate. Faster growth requires more frequent shaping. Regular maintenance keeps nails even and prevents them from becoming unmanageable or breaking.
Can I Shape Nails After Applying Polish?
This isn’t recommended because filing can chip your polish immediately. Always shape before painting. If you absolutely must adjust length, file gently and touch up the polish afterward with fresh coats.
What Causes Nails to Split While Filing?
Filing back and forth instead of one direction causes splitting. Using files that are too coarse or filing wet nails also creates problems. Dehydrated nails split more easily, so keep them moisturized regularly.
Is It Better to File or Clip My Nails?
Clip for major length reduction, then file to refine shape. Clipping alone leaves rough edges. Filing alone takes forever on long nails. Using both methods together gives you the best, most efficient results.
How Do I Fix Uneven Nail Shapes?
File the longer nail down to match the shorter one. Use your shortest nail as the reference point. Work slowly and check symmetry frequently. Sometimes you need to adjust multiple nails to create balance.