How to Use Dip Powder Nails at Home: Step-by-Step Guide

Dip powder nails look salon-done. But you can do them at home. This guide covers everything from tools to removal. I have done my own dip nails for years, and I know what works and what does not.
You will learn the right steps, avoid common mistakes, and get nails that last weeks. No guessing. No wasted products. Just clear, simple steps that actually work.
Here is what this blog covers: What dip powder nails are, tools and products you need, step-by-step application, pro tips for longer wear, and safe removal at home.
What Are Dip Powder Nails?
Dip powder nails use colored powder and liquid layers to coat your nails. No UV light is needed. They are stronger than regular polish and easier to do at home than acrylic.
You apply a base coat, dip the nail into powder, and repeat a few times. An activator hardens the powder and a top coat seals everything. Each layer builds on the last one.
Compared to gel, no lamp is needed. Compared to acrylic, there is no strong smell and less damage to your natural nail. With good prep, they last 3 to 4 weeks and come in many colors.
Tools and Products You Need for Dip Powder Nails
Having the right products makes the whole process smoother and gives you better results every time.
You need four liquid steps. Bond dehydrates the nail. Base coat is the sticky layer you dip into. The activator hardens the powder. Top coat seals and adds shine. Do not skip any of these.
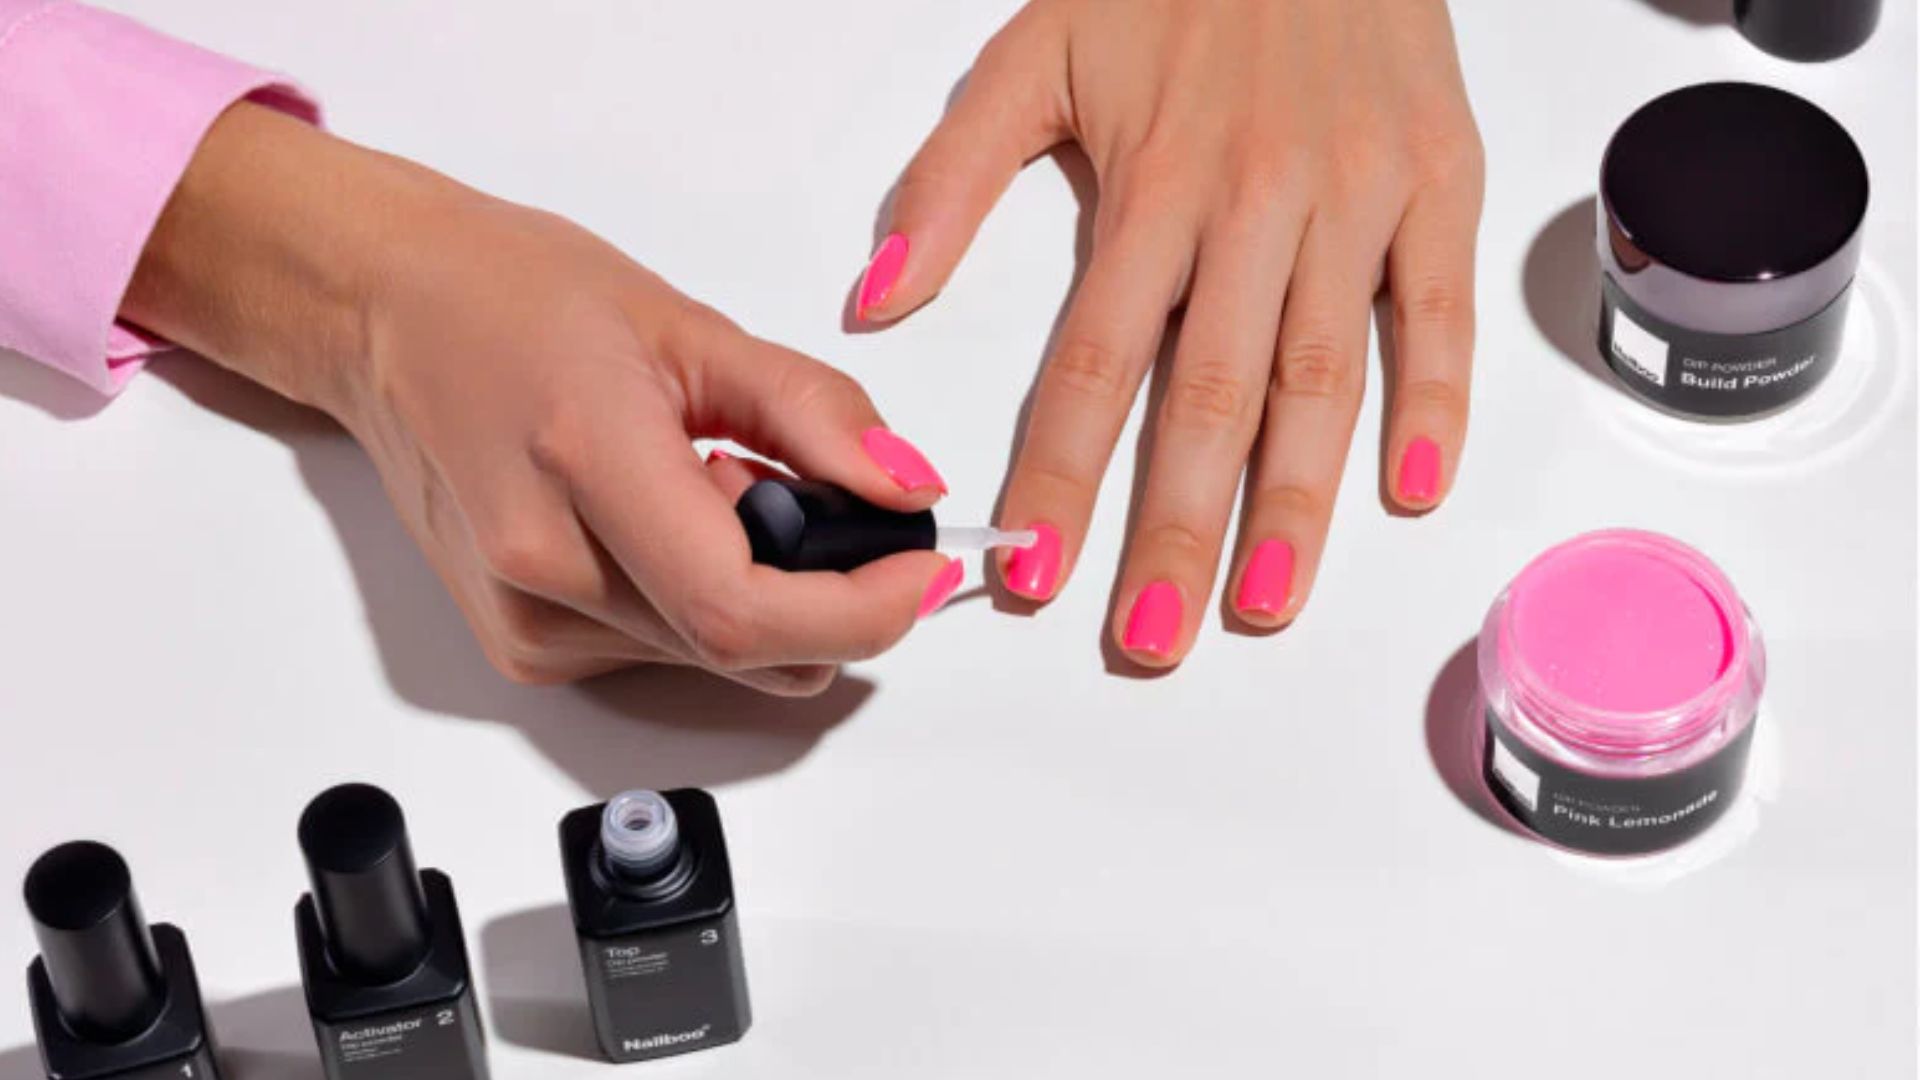
You also need two types of powder. Color powder goes in the middle layers. Clear powder seals and smooths on top. Some people use clear powder as a base layer too for extra strength.
For prep tools, keep it simple. A 180-grit file, buffer block, cuticle pusher, cuticle nippers, lint-free wipes, isopropyl alcohol, and a small brush to sweep off excess powder. A basic kit is all you need.
Nail Prep for Dip Powder (Most Important Step)
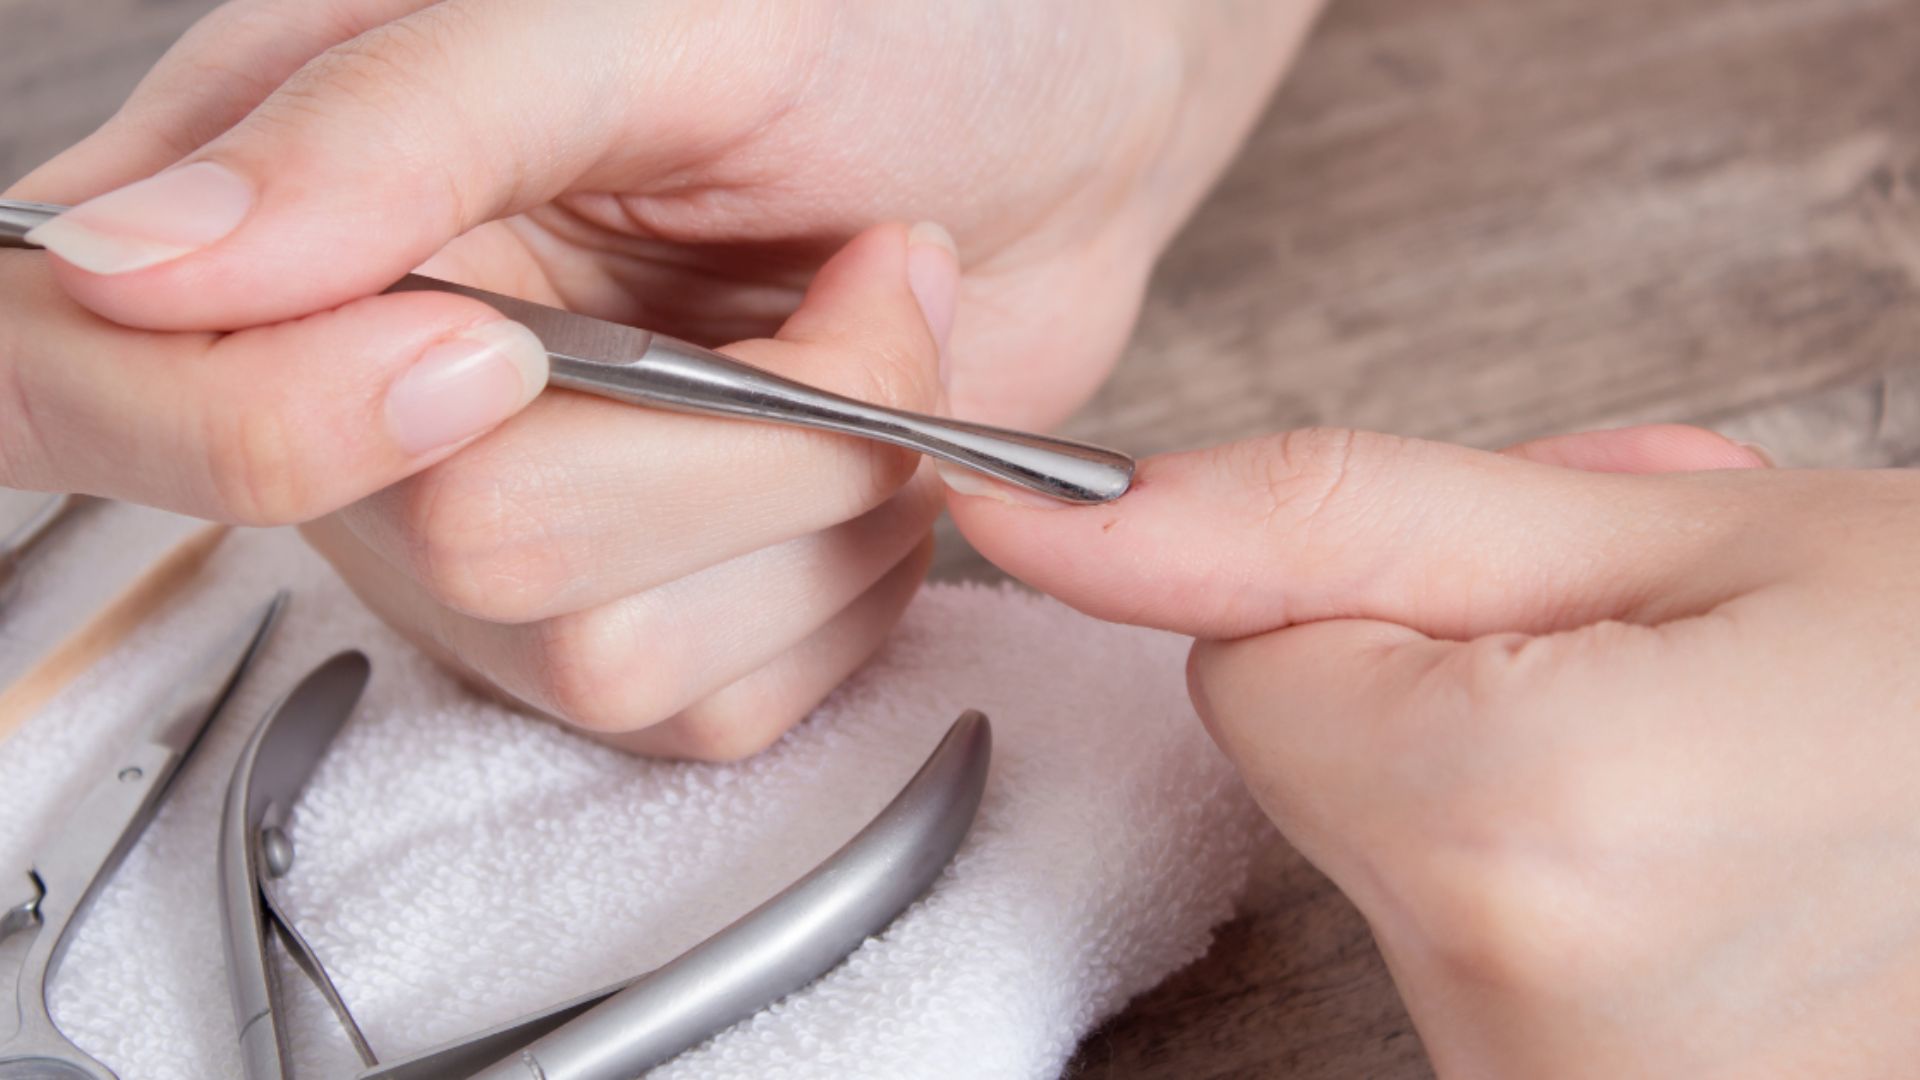
This is the step most people rush. Do not. Good prep is what keeps dip nails on for weeks without lifting.
Start with clean, dry nails. Remove old polish and wash your hands. Shape your nails with a file and always file in one direction. Buff the surface lightly to remove shine. Wipe each nail with alcohol to remove oil and dust.
Push cuticles back gently after soaking hands in warm water. Use nippers to remove only dead skin. Clean cuticle lines stop the product from lifting early.
Oil and dead skin break the bond between your nail and the dip product. That is where lifting starts. Five extra minutes of prep can add weeks to your manicure.
How to Apply Dip Powder Nails (Step-by-Step)
Follow these steps in order. Do not skip ahead. Work on one nail at a time.
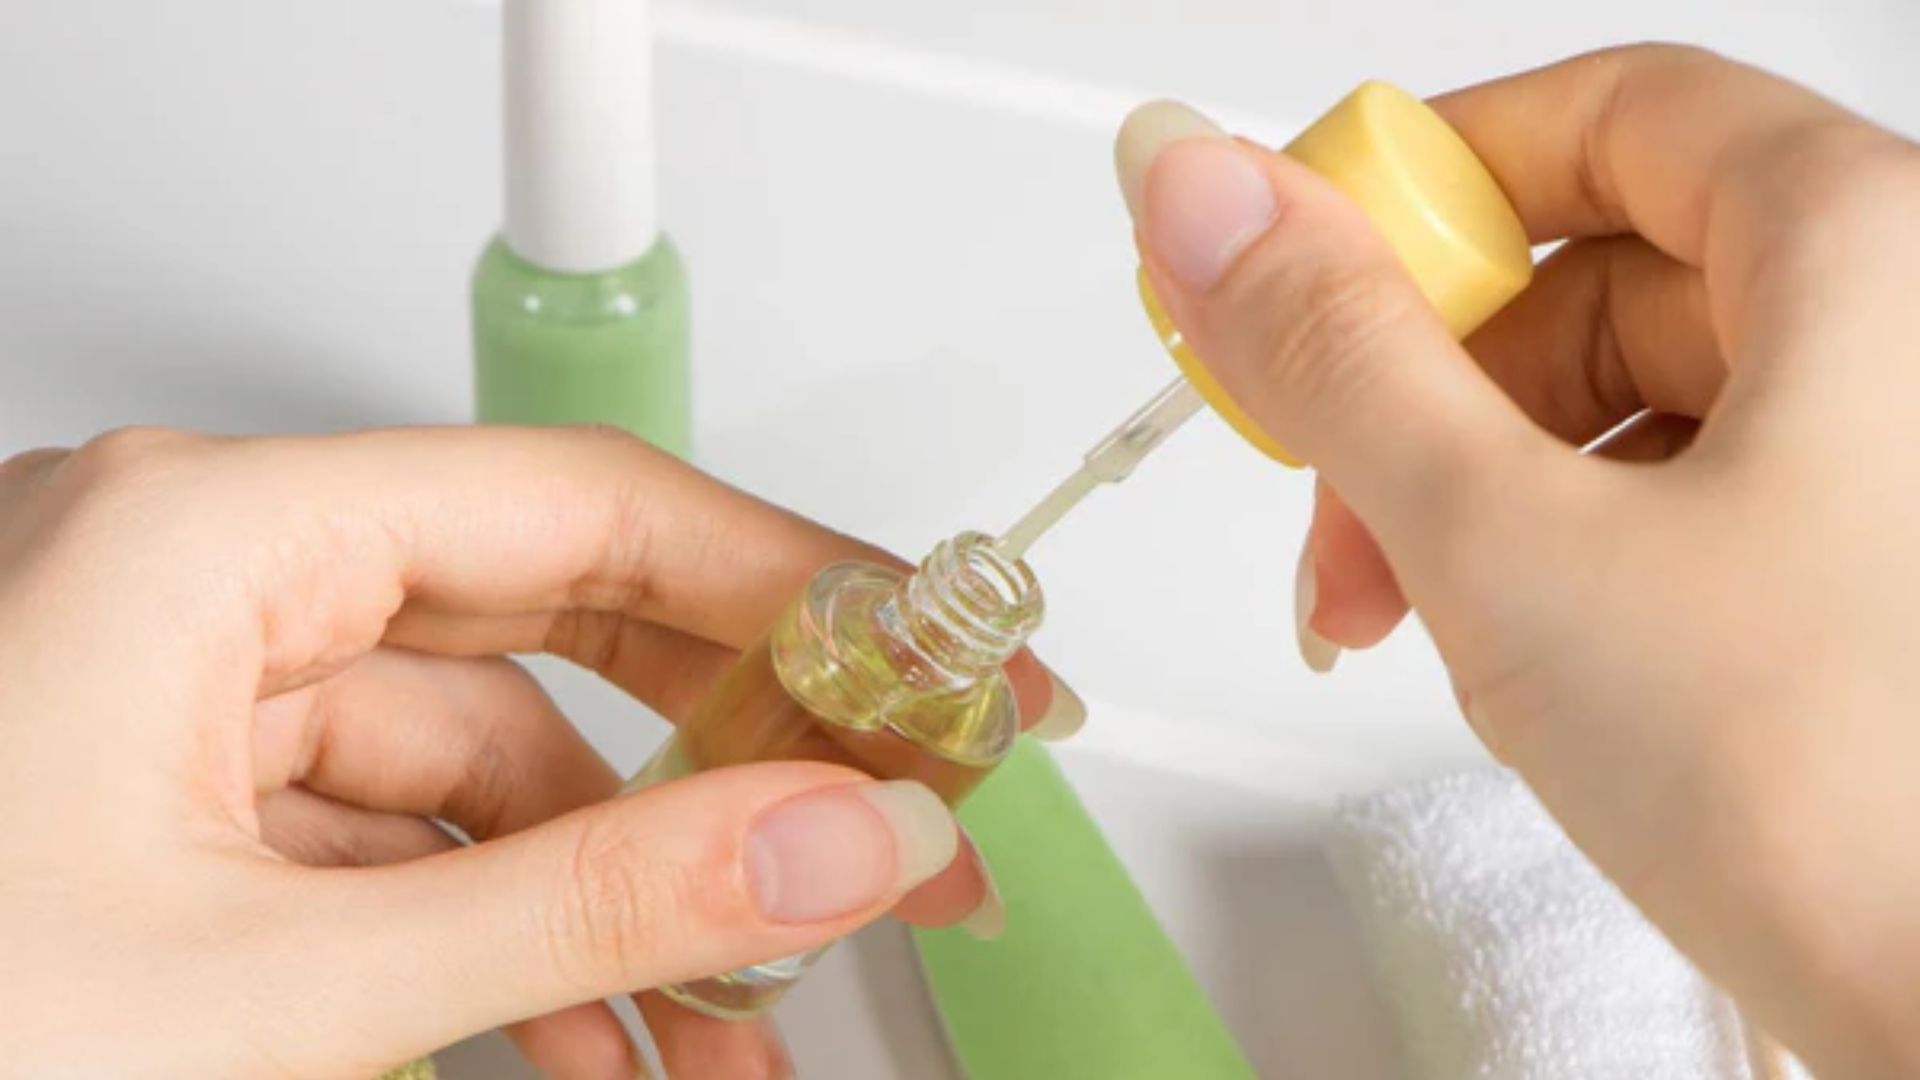
Step 1: Apply Bond to Dehydrate Nails
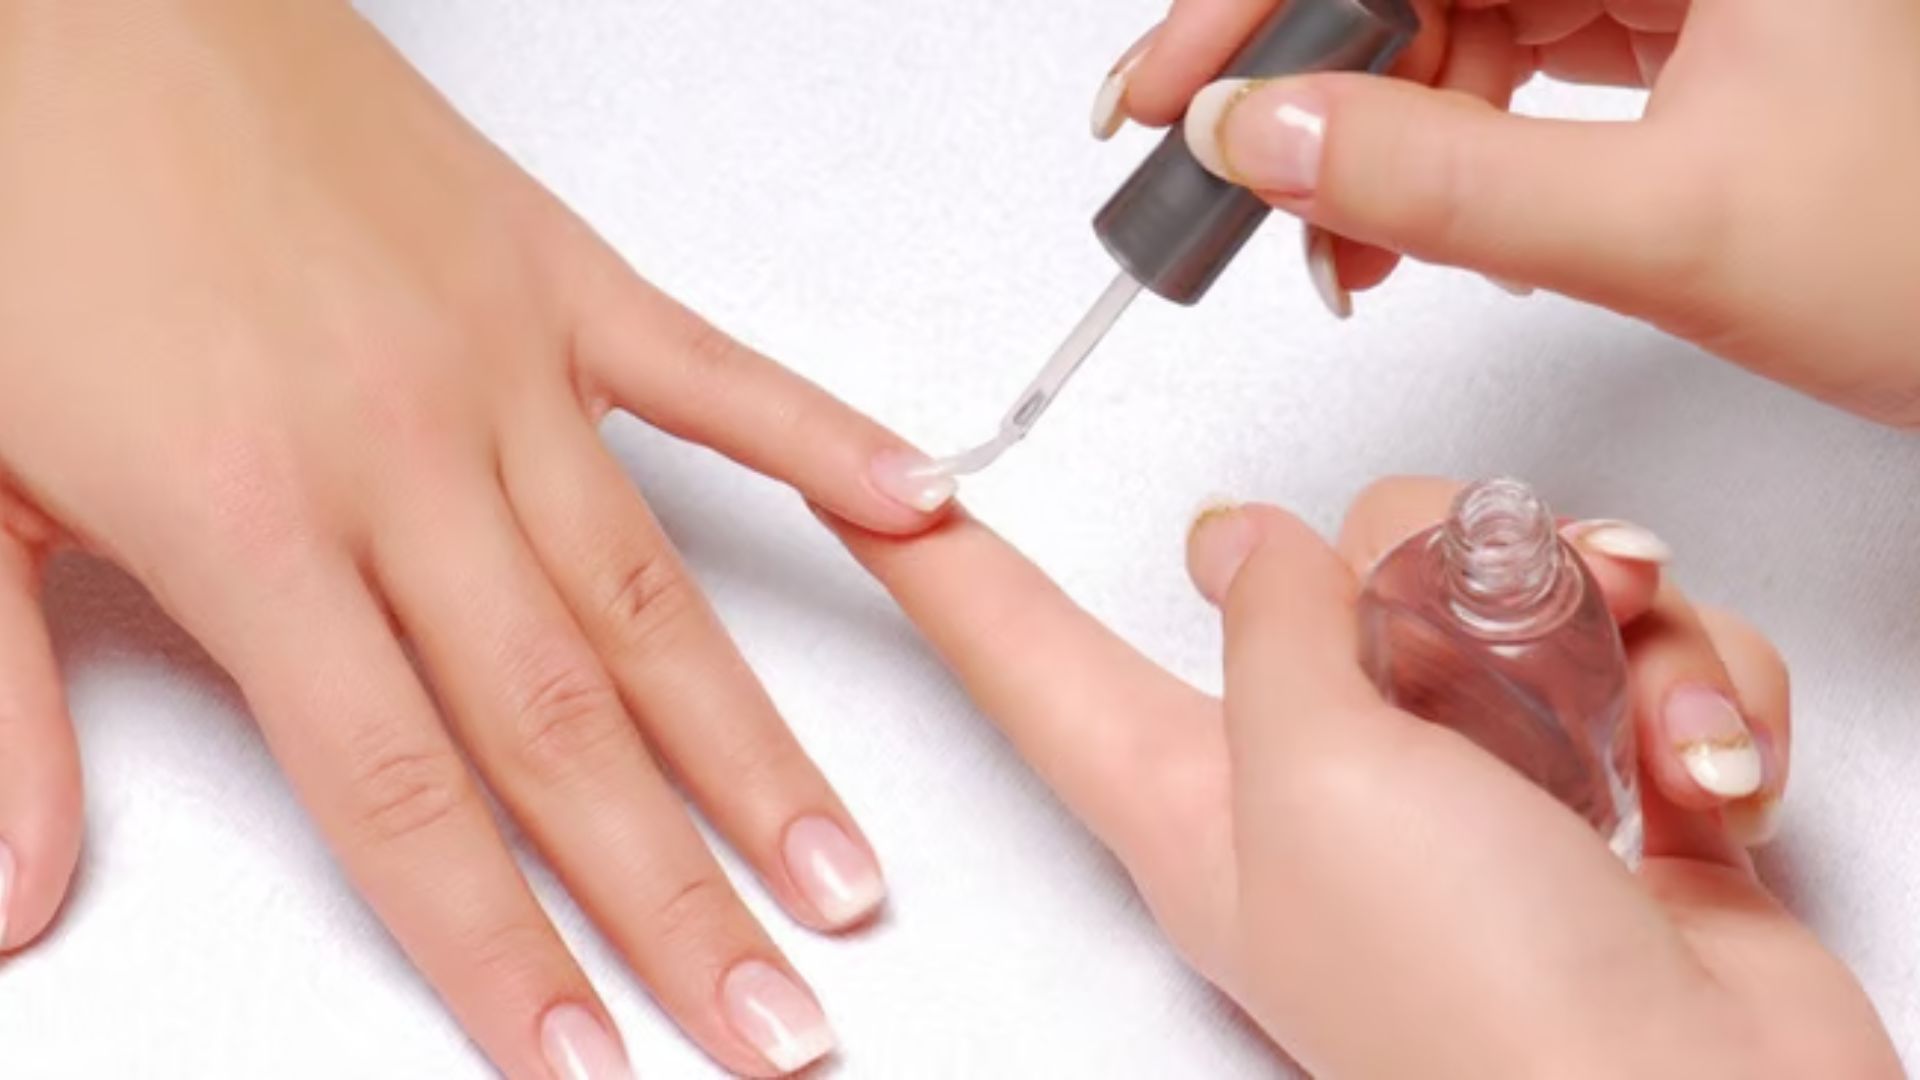
Apply a thin layer of bond to all nails. Let it dry fully. It should look matte when dry. This step removes moisture from the nail surface. It helps the base coat stick better.
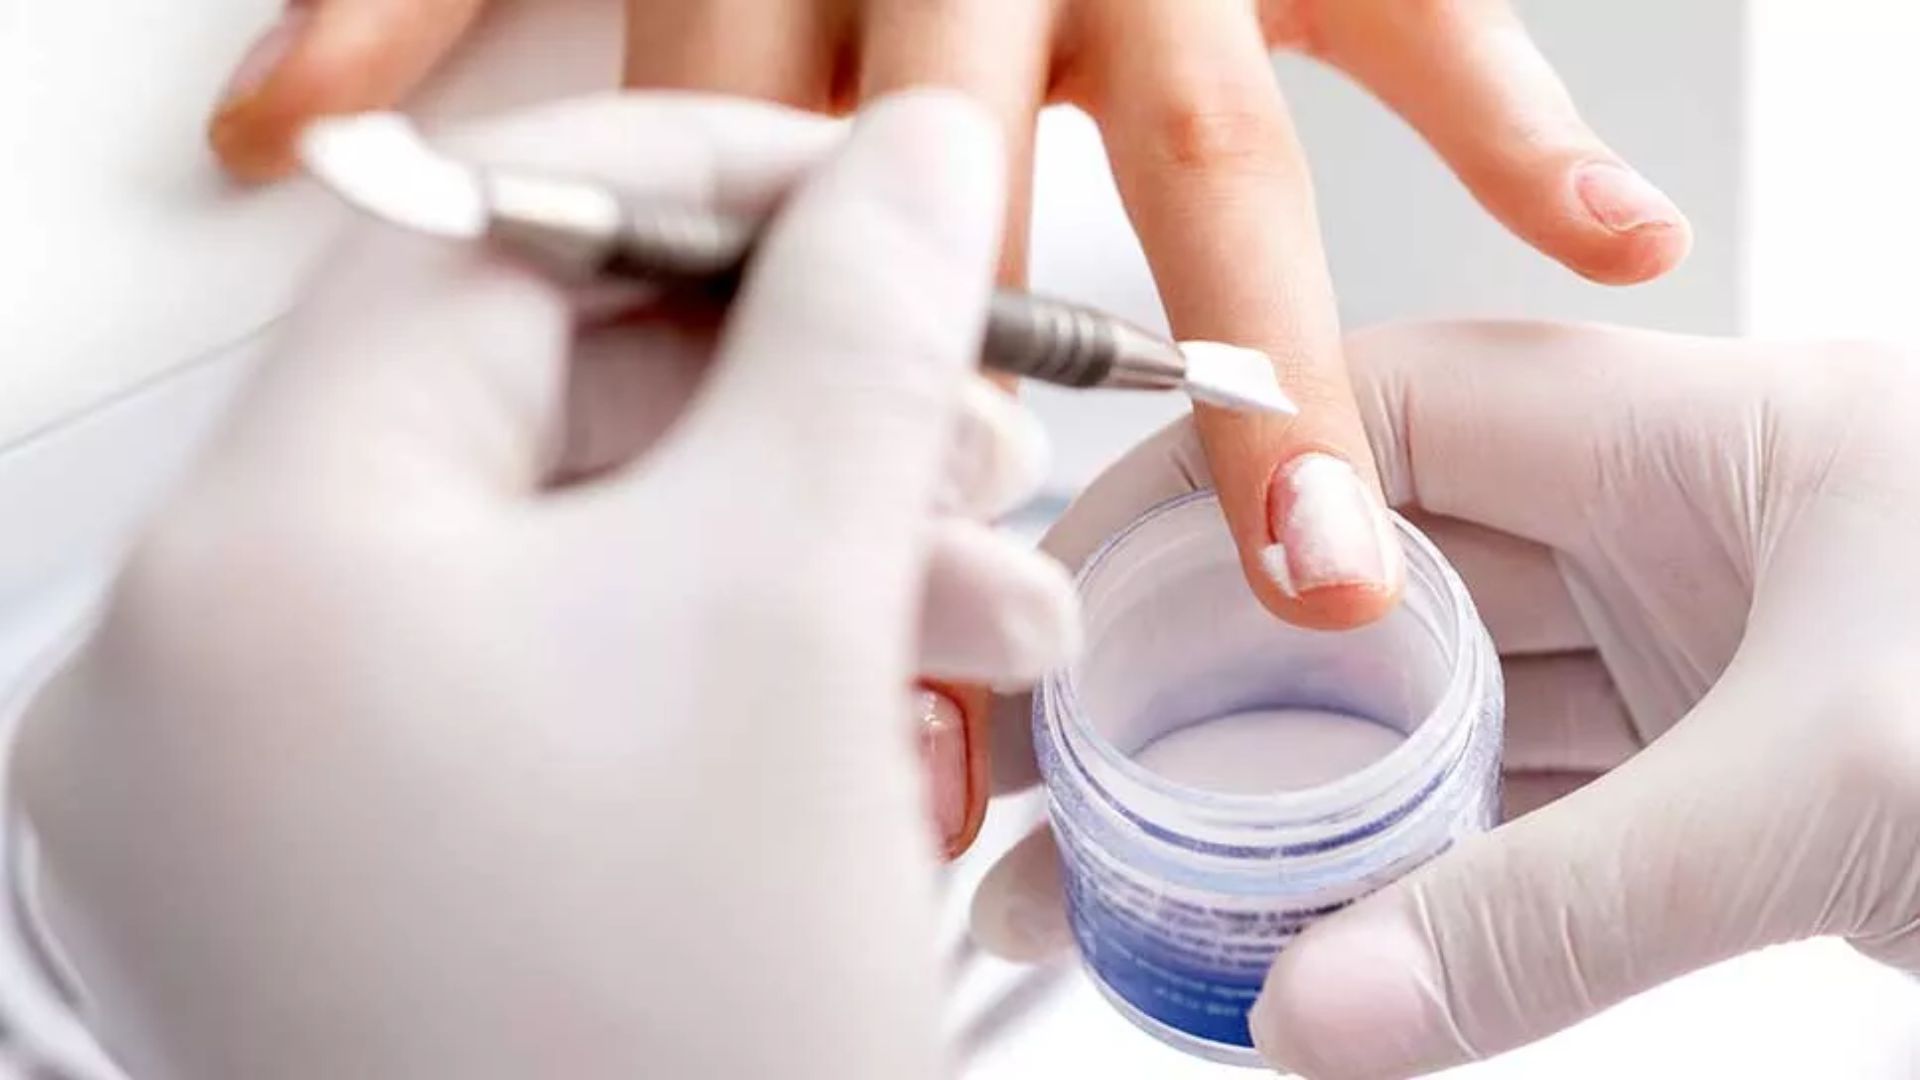
Step 2: Apply Base Coat and Dip at 45 Degrees

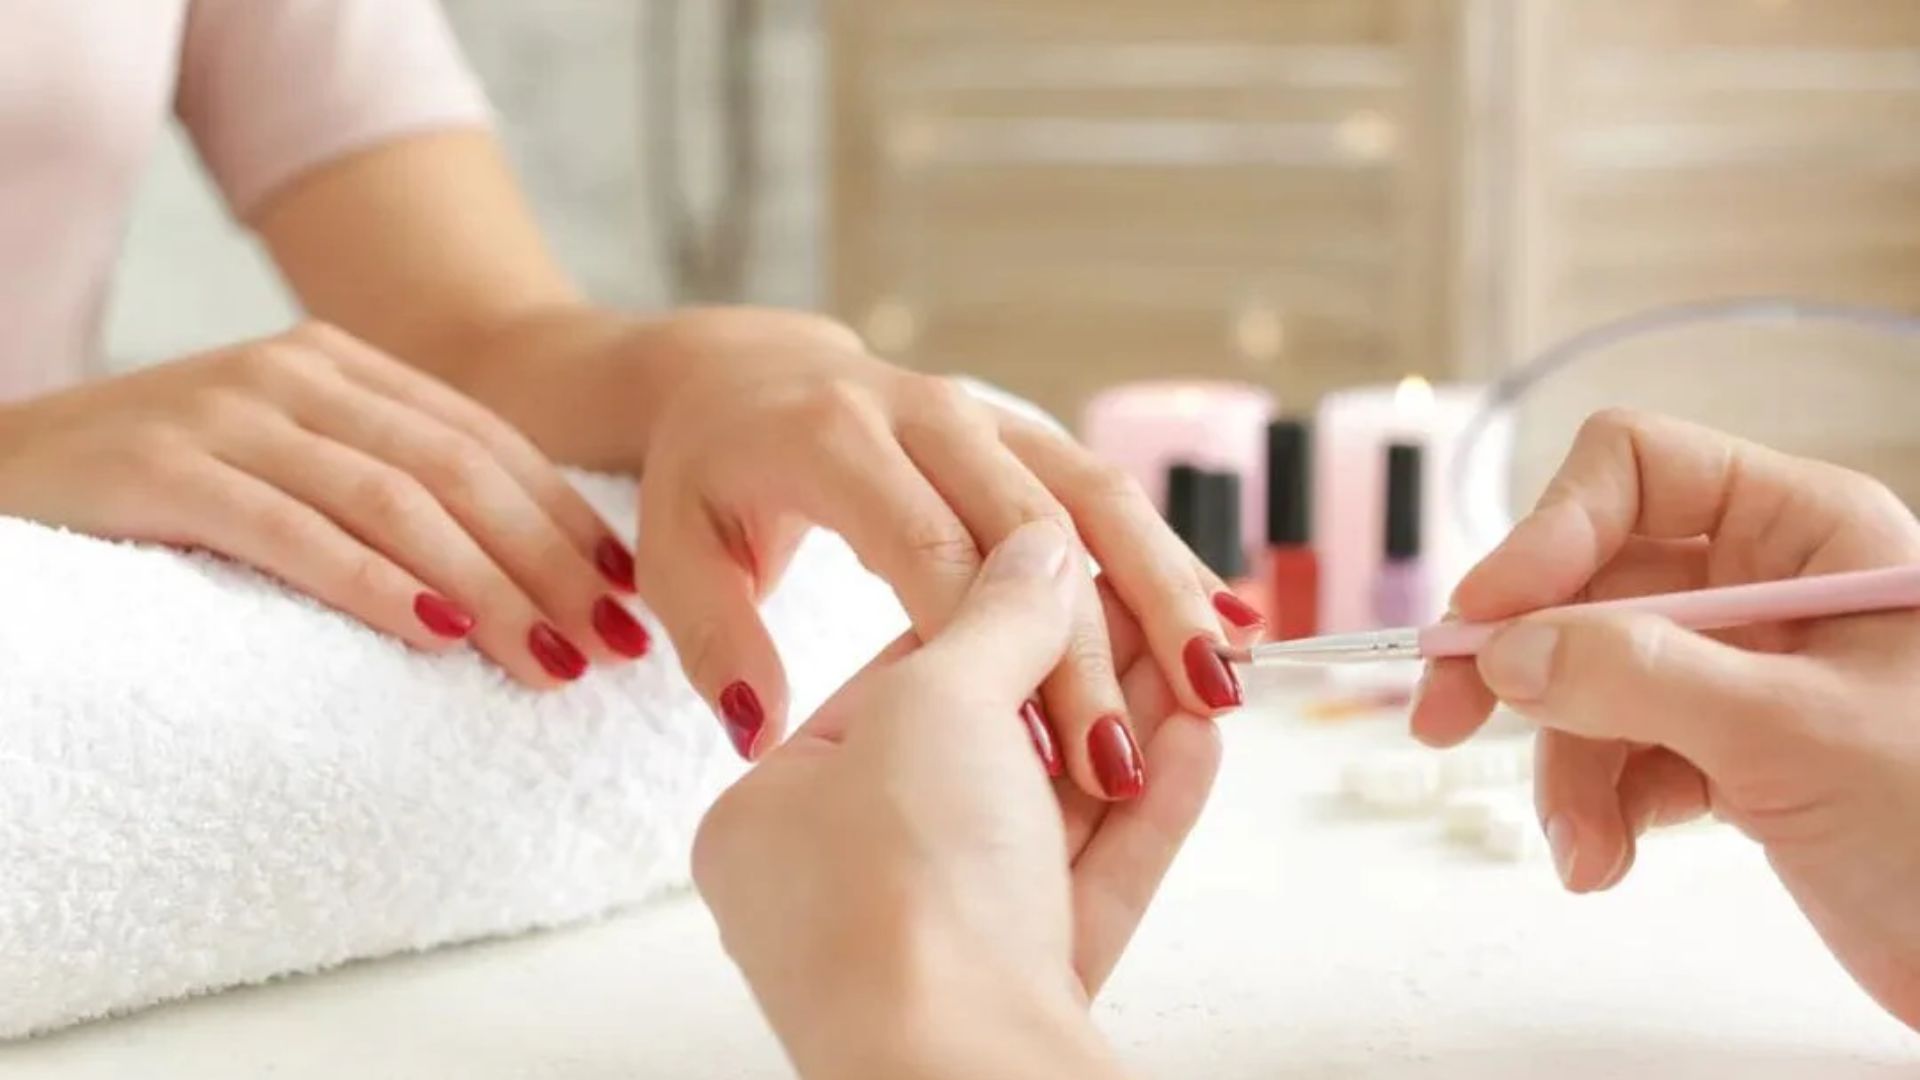
Apply a thin layer of base coat to one nail. Work close to the cuticle but do not touch it. Dip the nail into the powder at a 45-degree angle. This gives better coverage than dipping straight down. Tap off the excess powder with a soft brush.
Step 3: Build Layers with Color Powder
For good color, you need 2 to 3 color powder layers. Apply base coat, dip, tap off excess. Repeat. Keep each base coat layer thin. Thick layers lead to lumpy nails. Thin, even layers give a smooth result.
Step 4: Apply Clear Powder to Seal the Layers
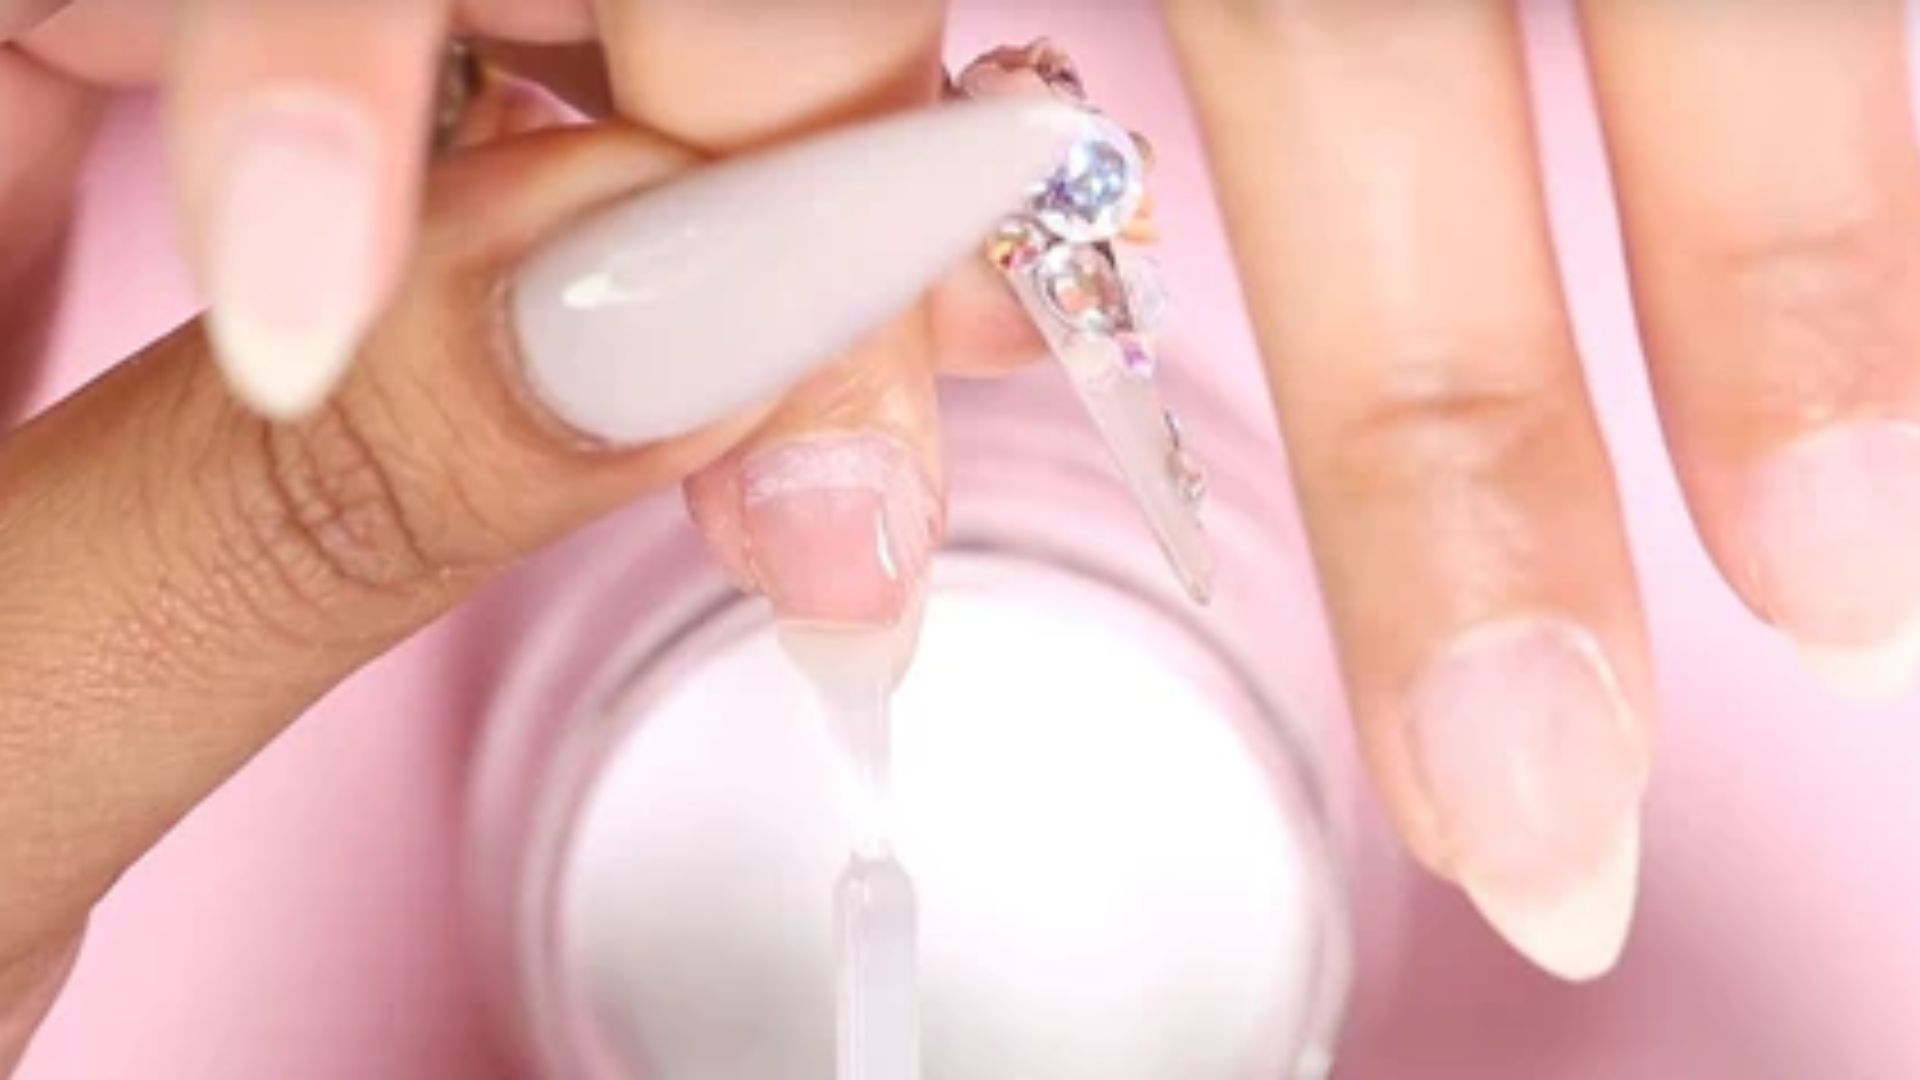
After your last color layer, apply base coat one more time. Dip into clear powder instead of color. This seals the color underneath and adds strength. It also helps the top coat look smooth.
Step 5: Apply Activator to Harden the Nails
Apply a thin, even coat of activator to each nail. Let it dry for about 2 minutes. Do not touch the nails during this time. The activator reacts with the powder layers and hardens them. You will feel the nails become firm.
Step 6: File and Buff for a Smooth Finish
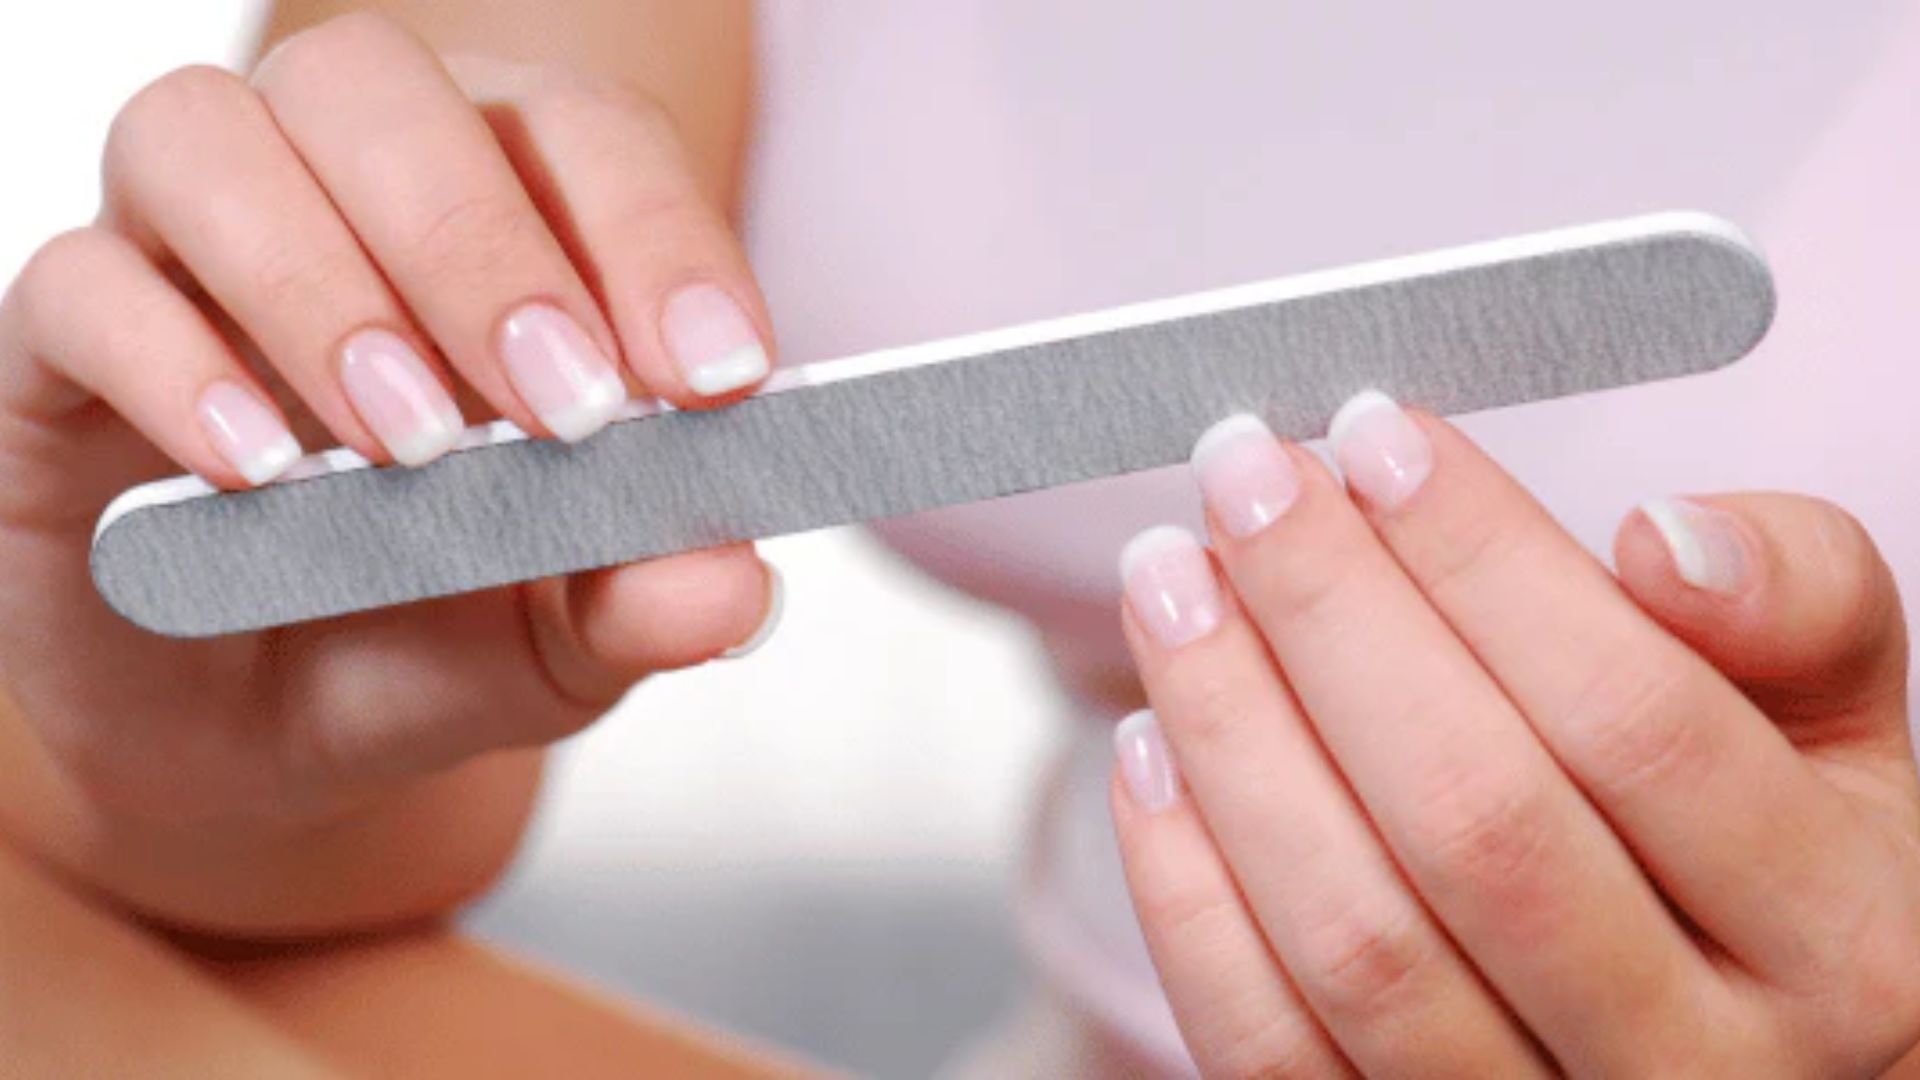
Once the activator is dry, file the nails into your final shape. Use a 180-grit file. Use a buffer to smooth out any bumps or ridges. Work in gentle strokes. Do not press too hard. Wipe off the dust with a dry lint-free wipe.
Step 7: Apply Second Activator Coat
Apply another thin coat of activator. This second layer fully hardens the nails and preps the surface for the top coat. Wait for it to dry fully. The nails should feel very hard at this point.
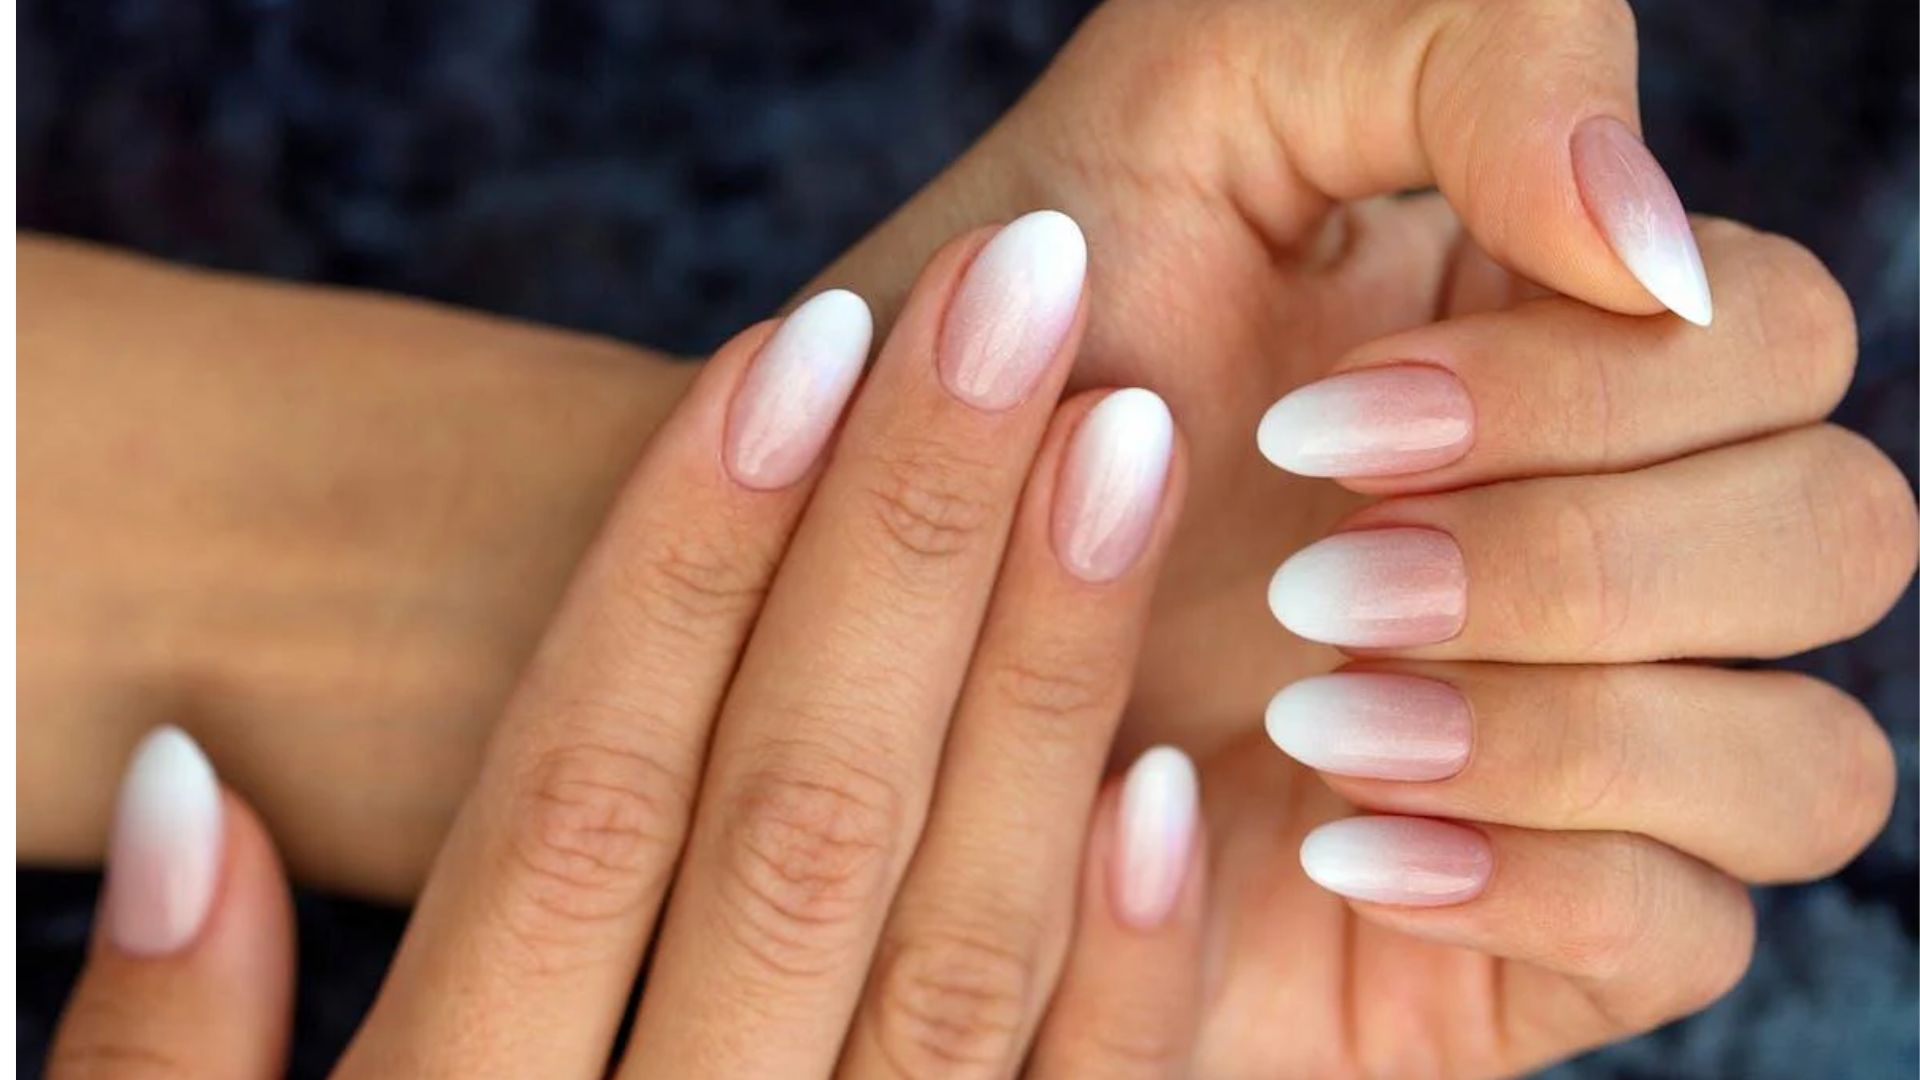
Step 8: Apply Top Coat for Shine
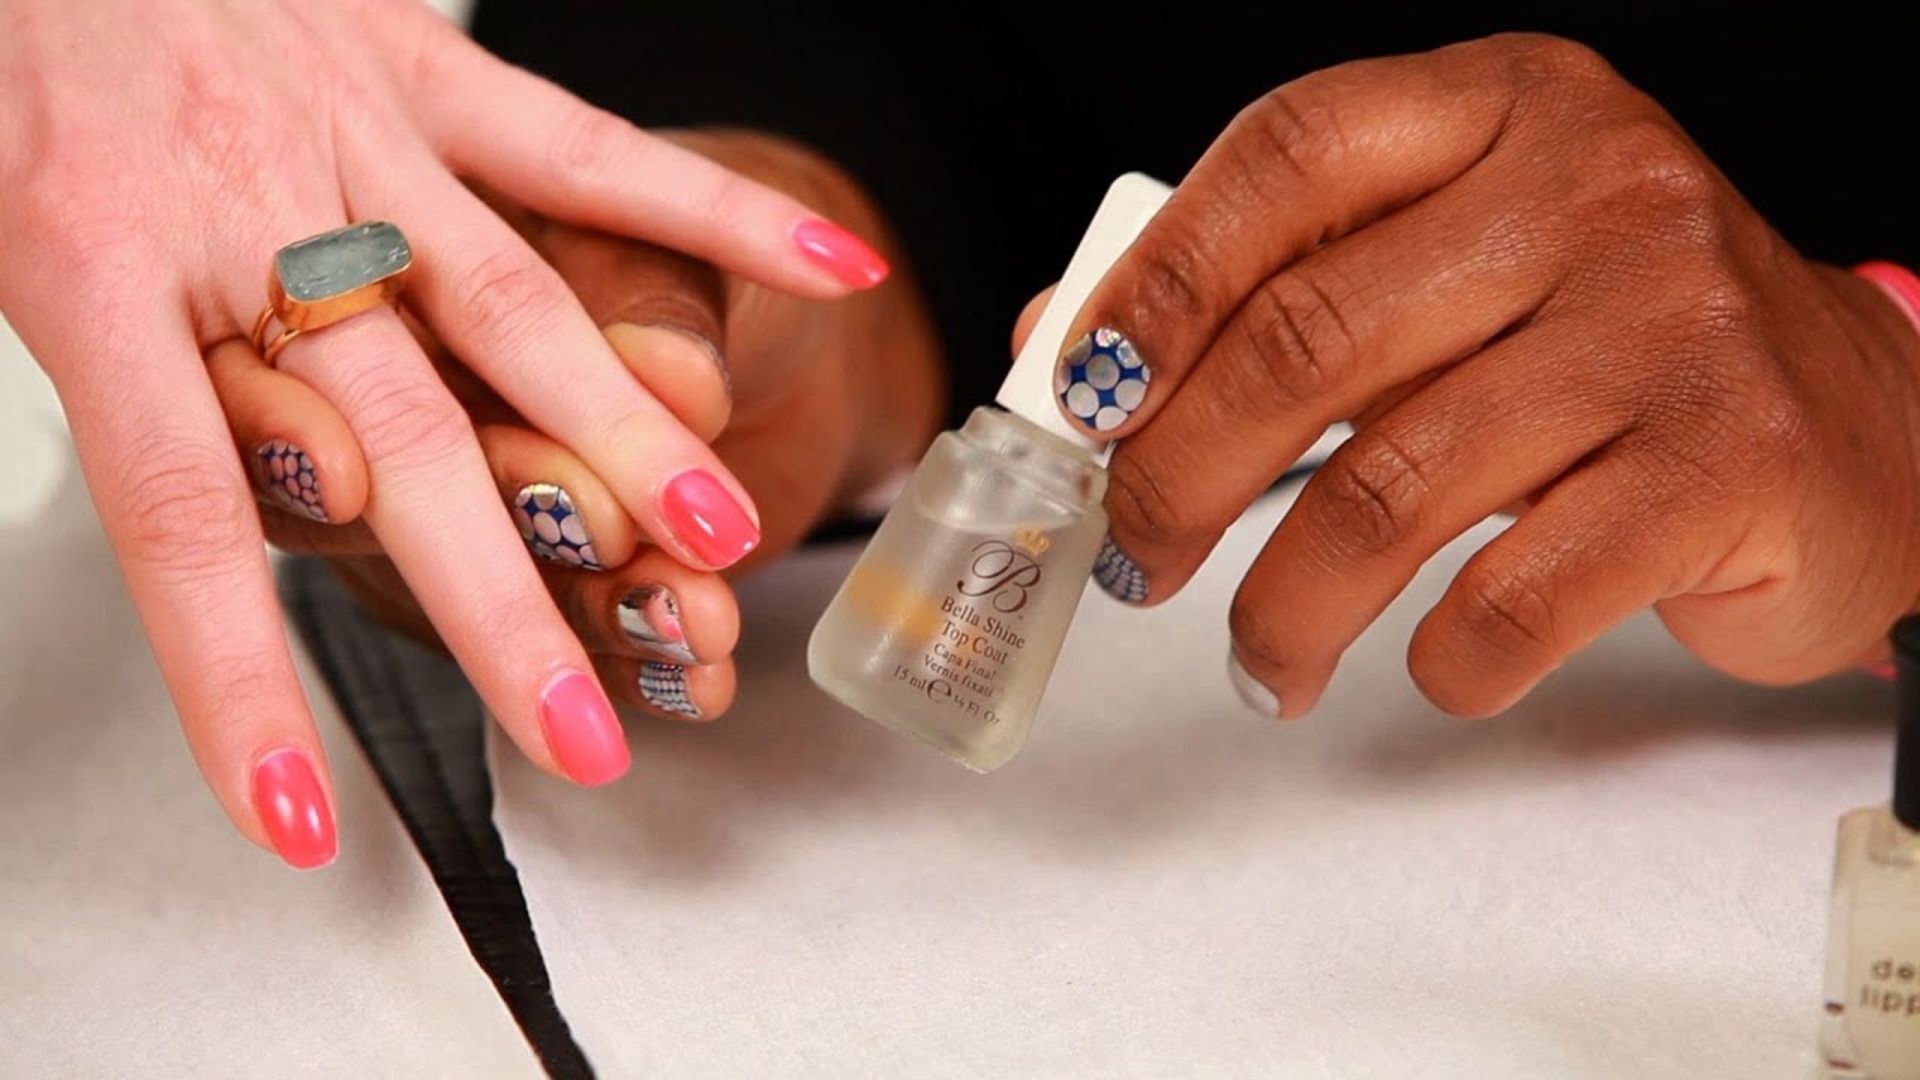
Apply a thin layer of top coat to each nail. Cap the free edge. That means brushing across the tip of each nail. Let the first layer dry. Apply a second thin layer for extra shine and protection.
Step 9: Finish with Cuticle Oil
Apply cuticle oil around each nail. Massage it gently. This keeps the skin around your nails soft. It also keeps your nails healthy while wearing dip powder. Your nails are done.
Pro Tips for a Smooth and Long-Lasting Dip Manicure
These small habits make a big difference in how your nails look and how long they last.
- Always use thin layers. If a layer feels too thin, add another one instead of going thicker.
- Stop the base coat about 1 mm from the cuticle. Clean any overflow with a brush dipped in acetone.
- Work one nail at a time. The base coat dries fast and will not pick up powder if it sits too long.
- Brush off all excess powder before applying the next layer. Use a clean brush each time.
- Wipe your brush on a paper towel between nails. A dirty brush makes the surface uneven.
Common Dip Powder Mistakes to Avoid
Most dip powder problems come from the same few errors. Here is what to watch out for.
Applying Thick Base Coat Layers
More base coats does not mean more powder will stick. It actually makes things worse. Thick base creates clumps and uneven surfaces. Use just enough base to coat the nail. A light, even brush stroke is all you need.
Letting Base Dry Before Dipping
The base coat must still be wet when you dip. If it dries, the powder will not stick. You will end up with a patchy, thin color. Dip right away after applying the base. Do not wait.
Skipping Activator or Clear Powder
Both steps are important. The activator hardens the product. The clear powder seals the color and adds strength. Skipping either one leads to weak nails that chip fast. Always include both in your process.
Not Cleaning Excess Powder Properly
Leftover powder on the skin or cuticle area builds up over layers. It creates rough edges and can cause lifting. Use a small brush to sweep off all excess powder after each dip. Keep your work area clean between each nail.
How to Make Dip Powder Nails Last Longer
Getting 3 to 4 weeks out of your dip nails is possible. These habits help you get there.
Always buff, clean, and dehydrate your nails before starting. Use two to three color layers for good coverage without going too thick.
Cap the free edge at every step. That means brushing the product across the tip of your nail with base coat, activator, and top coat. This is where chipping usually starts.
Wear gloves when washing dishes. Apply cuticle oil daily. Avoid using your nails to open things. Reapply the top coat every few days to keep the shine going.
Conclusion
Dip nails at home felt scary to me the first time. But after a few tries, it became one of my favorite self-care routines.
You do not need a salon to get great results. You just need the right steps and a little practice. Start slow, follow the guide, and you will surprise yourself.
Try it this weekend and let me know how it goes in the comments. Share this post with a friend who loves doing nails at home.
Frequently Asked Questions
How many dip powder layers should I apply?
Two to three color layers work well for most colors. Finish with one clear powder layer on top for strength and a smooth surface.
Do I need to cure dip powder under a lamp?
No, dip powder does not need UV or LED light. The activator liquid hardens the powder on its own within a few minutes.
Can I use dip powder on short nails?
Yes, dip powder works well on short nails. It actually adds strength to thin or fragile nails and helps them grow out without breaking.
How do I fix a lifted dip nail at home?
Gently file the lifted area and apply a drop of nail glue if needed. Seal it with a fresh top coat. For major lifting, it is better to remove and redo the nail.
How often should I redo my dip powder nails?
Most people redo their dip nails every 3 to 4 weeks. It depends on how fast your nails grow and how well you prep and seal them during application.